
If you are new to my blog you should know that I love to stencil pretty much everything.
Among many designs one of my favorite are numbers so of course I had to add
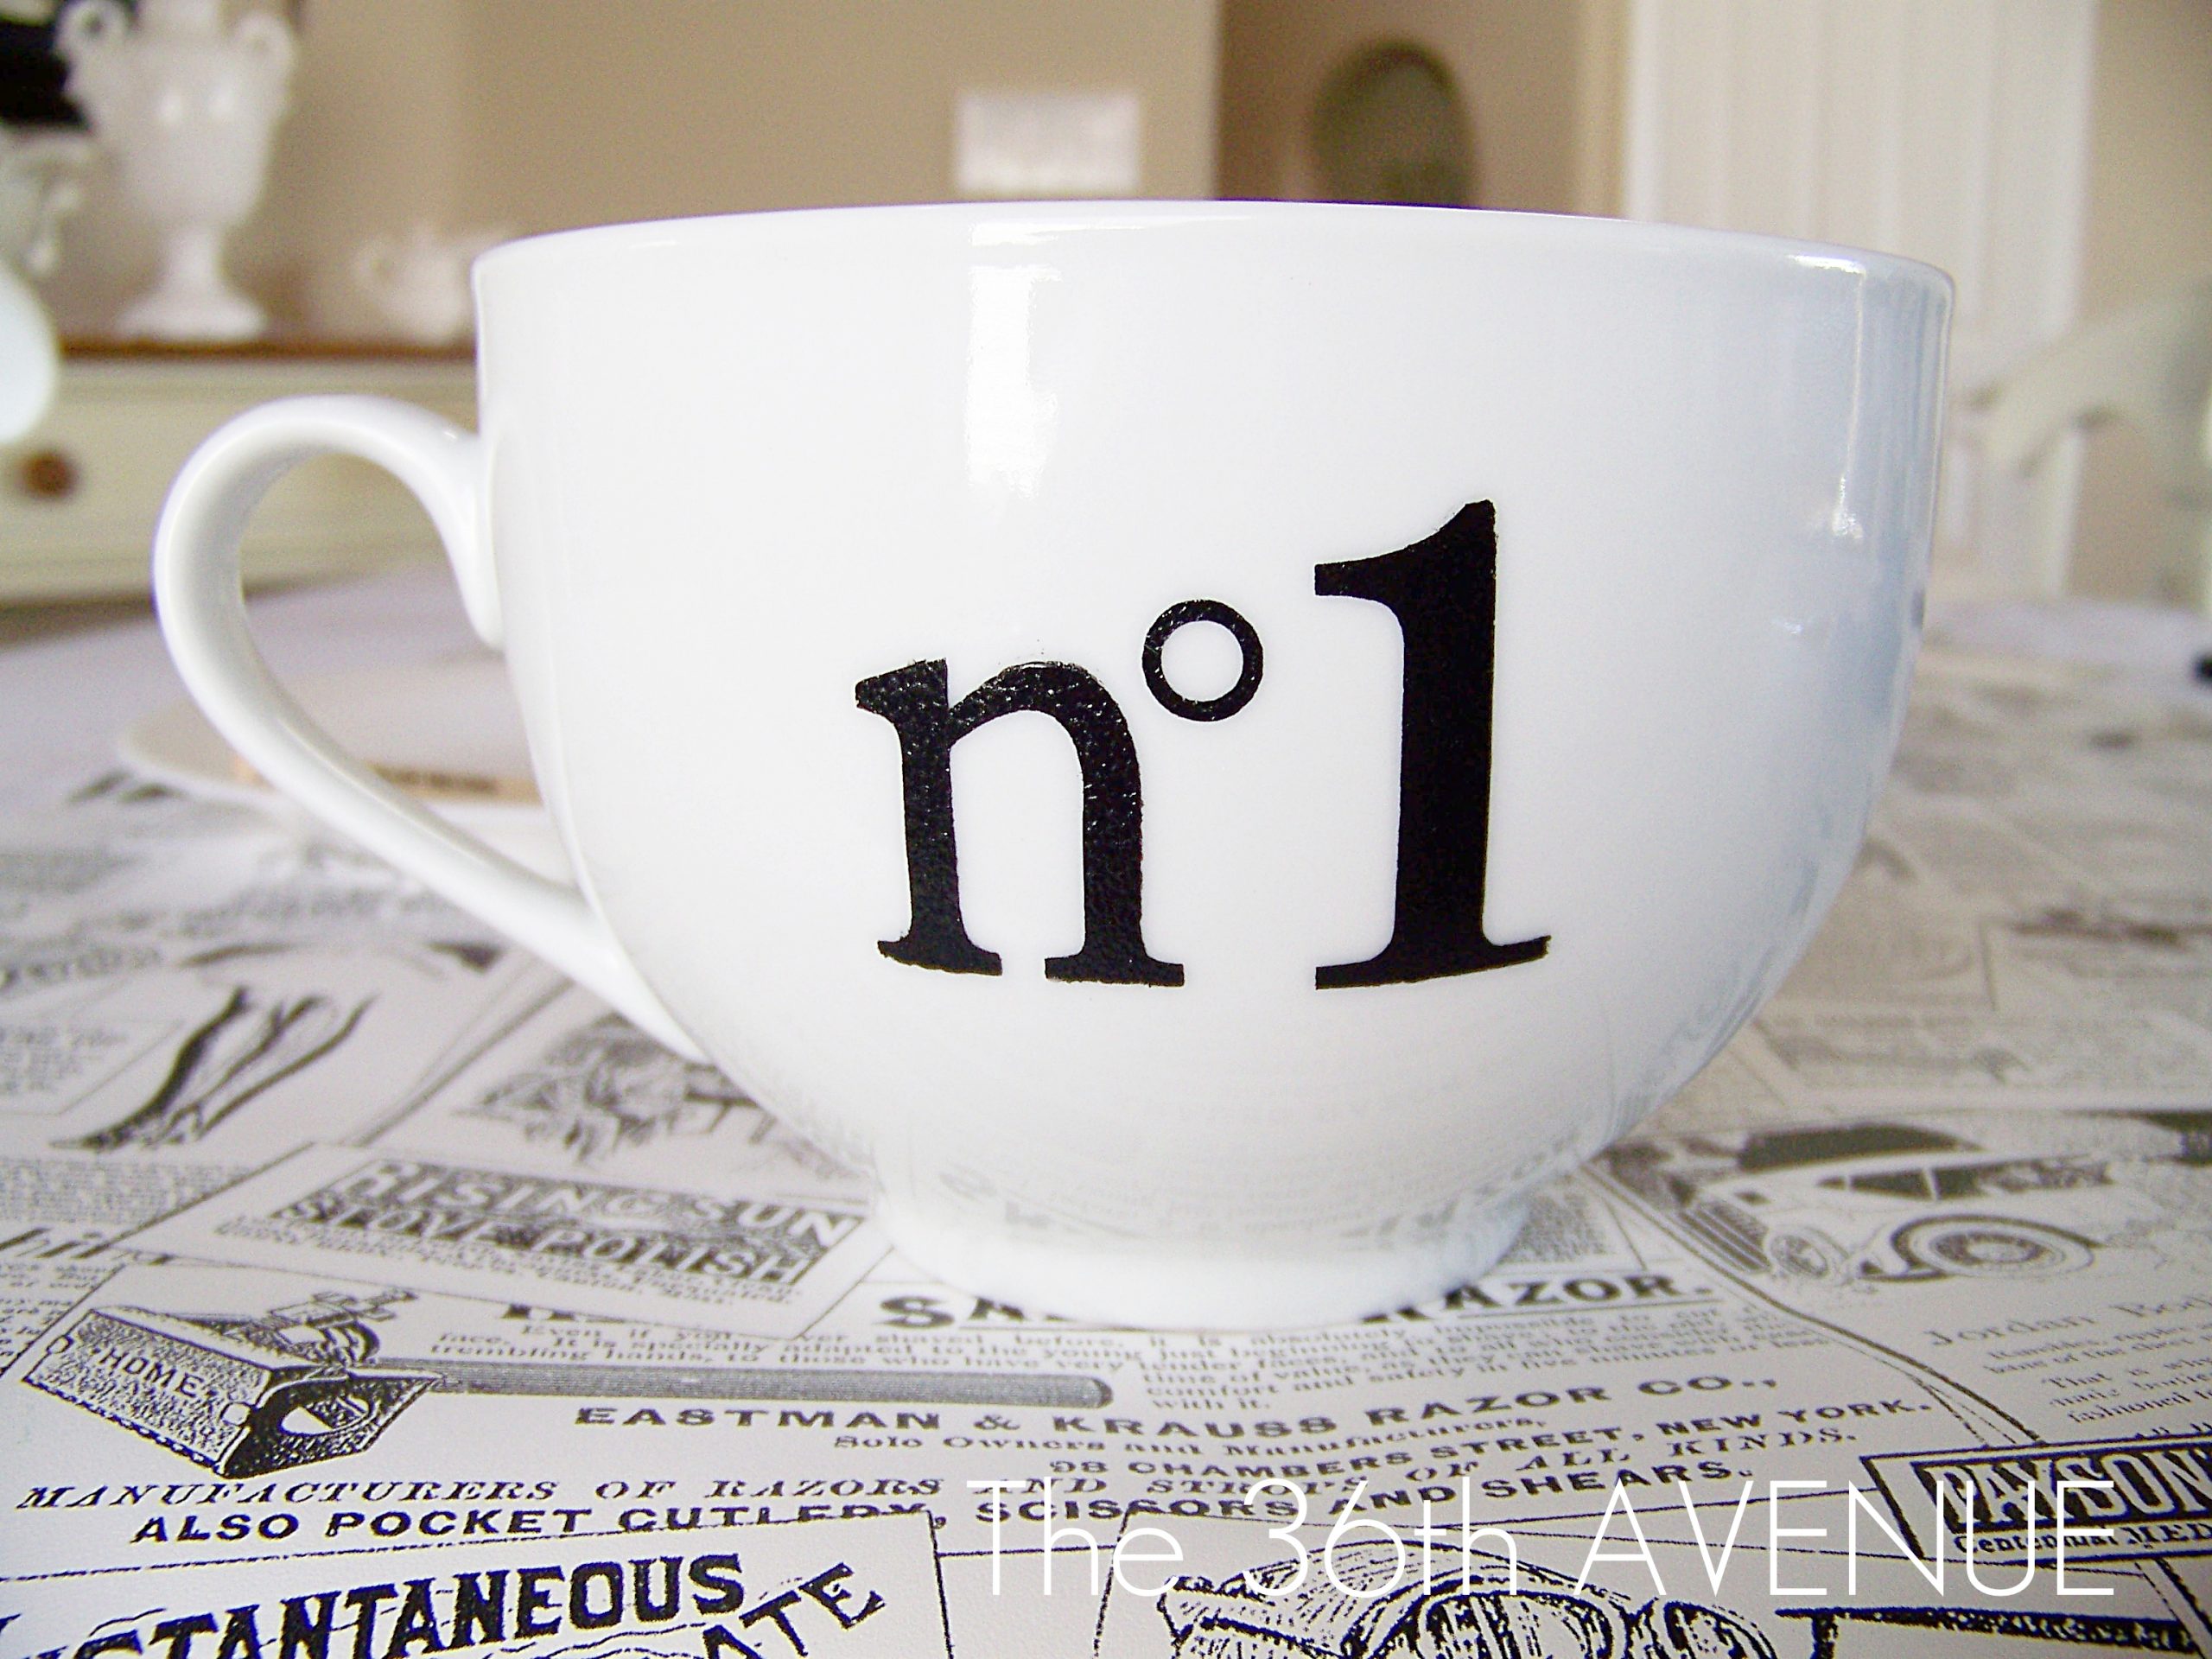
some number love to our new mugs.

To make this project all you need are four things.
1. Mugs. 2. DecoArt CeramicsPaint. 3.Flat Brush. 4.Vinyl Stencils.

TUTORIAL
Nº 1.
Follow the directions on the back of your paint and CLEAN your mugs.
After they are dry and ready apply the stencil that you previously made or purchased.
{ You’ll need some type of Vinyl Machine to make your own stencils }

Because the mugs are not flat your stencil will wrinkle a bit.
Make sure the shape of your lettering is flat. Don’t worry about the rest of the stencil.

Nº 2.
The second step is EASY. It is time to paint.
I love to use DecoArt products. The paint you are looking for is Gloss Enamels for Ceramics.
{ You can find DecoArt paint over your local Craft Stores }
I noticed I have in the picture the Midnight Blue, but I actually ended up using their black one.

I applied one coat of paint. The cover was FANTASTIC.
I have never painted dishes before so I was surprised that the texture was different than regular acrylic paint.
If you are afraid that you are going to paint outside of your stencil,
just add some blue tape around the edge to give you more space to work with.
{ Remeber DO NOT brush side to side or up and down. Tap… tap… tap.}

Nº 3.
Remove the stencil RIGHT AWAY. Use a pin for the hard to reach areas.

Again because the mugs are not flat there is a chance that some of the paint will bleed under the stencil.
Darn it!
If this is the case use the same pin to clean up the paint.
The texture of this paint is thicker than regular acrylic paint so it was easy to remove the unwanted bleeding.
{ Excuse my nails… 😉 }

This is how it looked after the cleanup.

Nº 5.
Now it is time to read the directions once again.
It will take 21 days for the paint to cure if you let it air dry.
Ummmm… NO Thanks!
The second option is to turn your oven on and bake the paint.
My directions said to let it air dry for an hour and then put the mugs in the oven for 30 minutes at 350º.
REMEMBER DON’T BE LAZY AND READ THE DIRECTIONS.
They will come out PERFECT!

It took me around half an hour to stencil all six.
Easy, fun and affordable.
This entire project was under $15.00.
LUV!
Have fun everyone… It is TUESDAY!
……………..
Click here to enter the GIVEAWAY.
You can win the same set of number vinyl stencils that I used
for my mugs.

Love love love these mugs!!! I already have my mugs…just need to buy the paint. What kind of hooks did you use for under your cabinets? I just love the look of them hanging…so stinkin’ cute!
I bought them at Wal-Mart where the hardware area… by the nails and things like that.
They are regular black hooks. Like $3.00 for a box of six or something like that. I hope this helps!
Your kitchen reveal brought me to this post (as well as a few more!) What a lovely space : ) These mugs looks fantastic and I’m excited to give it a try with my Silhouette. I keep looking at giant mugs for $1.00 at the grocery store and have been going back and forth between etching or painting them. This post is definitely making me lean towards paint!
I’m a new follower!
Claire
I love this project, can’t wait to try it. Pinned. One question, can these be washed in the dishwasher or do they need to be hand washed?
Also following you on linky.
Joan,
My Paint says that it can be handwash or top rack dishwasher safe. Make sure you read the instructions of the paint you purchase.
These are great! I loved them the first time that I saw them!
Debbie
Those turned out nicely! Thank you for letting me know I CAN paint my plain mugs!!
These are SO fantastic, Desiree! I love the crisp black and white!
Did you know I have a linky party on Fridays now?
Would love for you to link up! : )
http://www.fivedaysfiveways.com/2012/02/feature-friday-free-for-all-6-little.html
~Abbie
i forgot to mention i have a linky party starting today and would love it if you could link up this project, at http://twiggstudios.blogspot.com/
many thanks xxxx
These are awesome!! And they are washable!! I LOVE the way you numbered them. Thanks for the tips and tutorial!
Stay Crafty x0x0
Jess
awesome idea!! Looks so elegant
http://fitcraftystylishandhappy.blogspot.com/
Those are awesome! I didn’t even know they made paint like that. I love the character that they add to that space. It’s awesome when you can add something that is personalized, inexpensive, and made by you. I’m sure they make you proud when you go into the room 🙂
We would love to have you join out link up party this week at Wayward Girls Crafts! Scoot over and link up, thanks! http://www.waywardgirlscrafts.com/2012/02/wayward-weekend-week-4.html