
If you are new to my blog you should know that I love to stencil pretty much everything.
Among many designs one of my favorite are numbers so of course I had to add
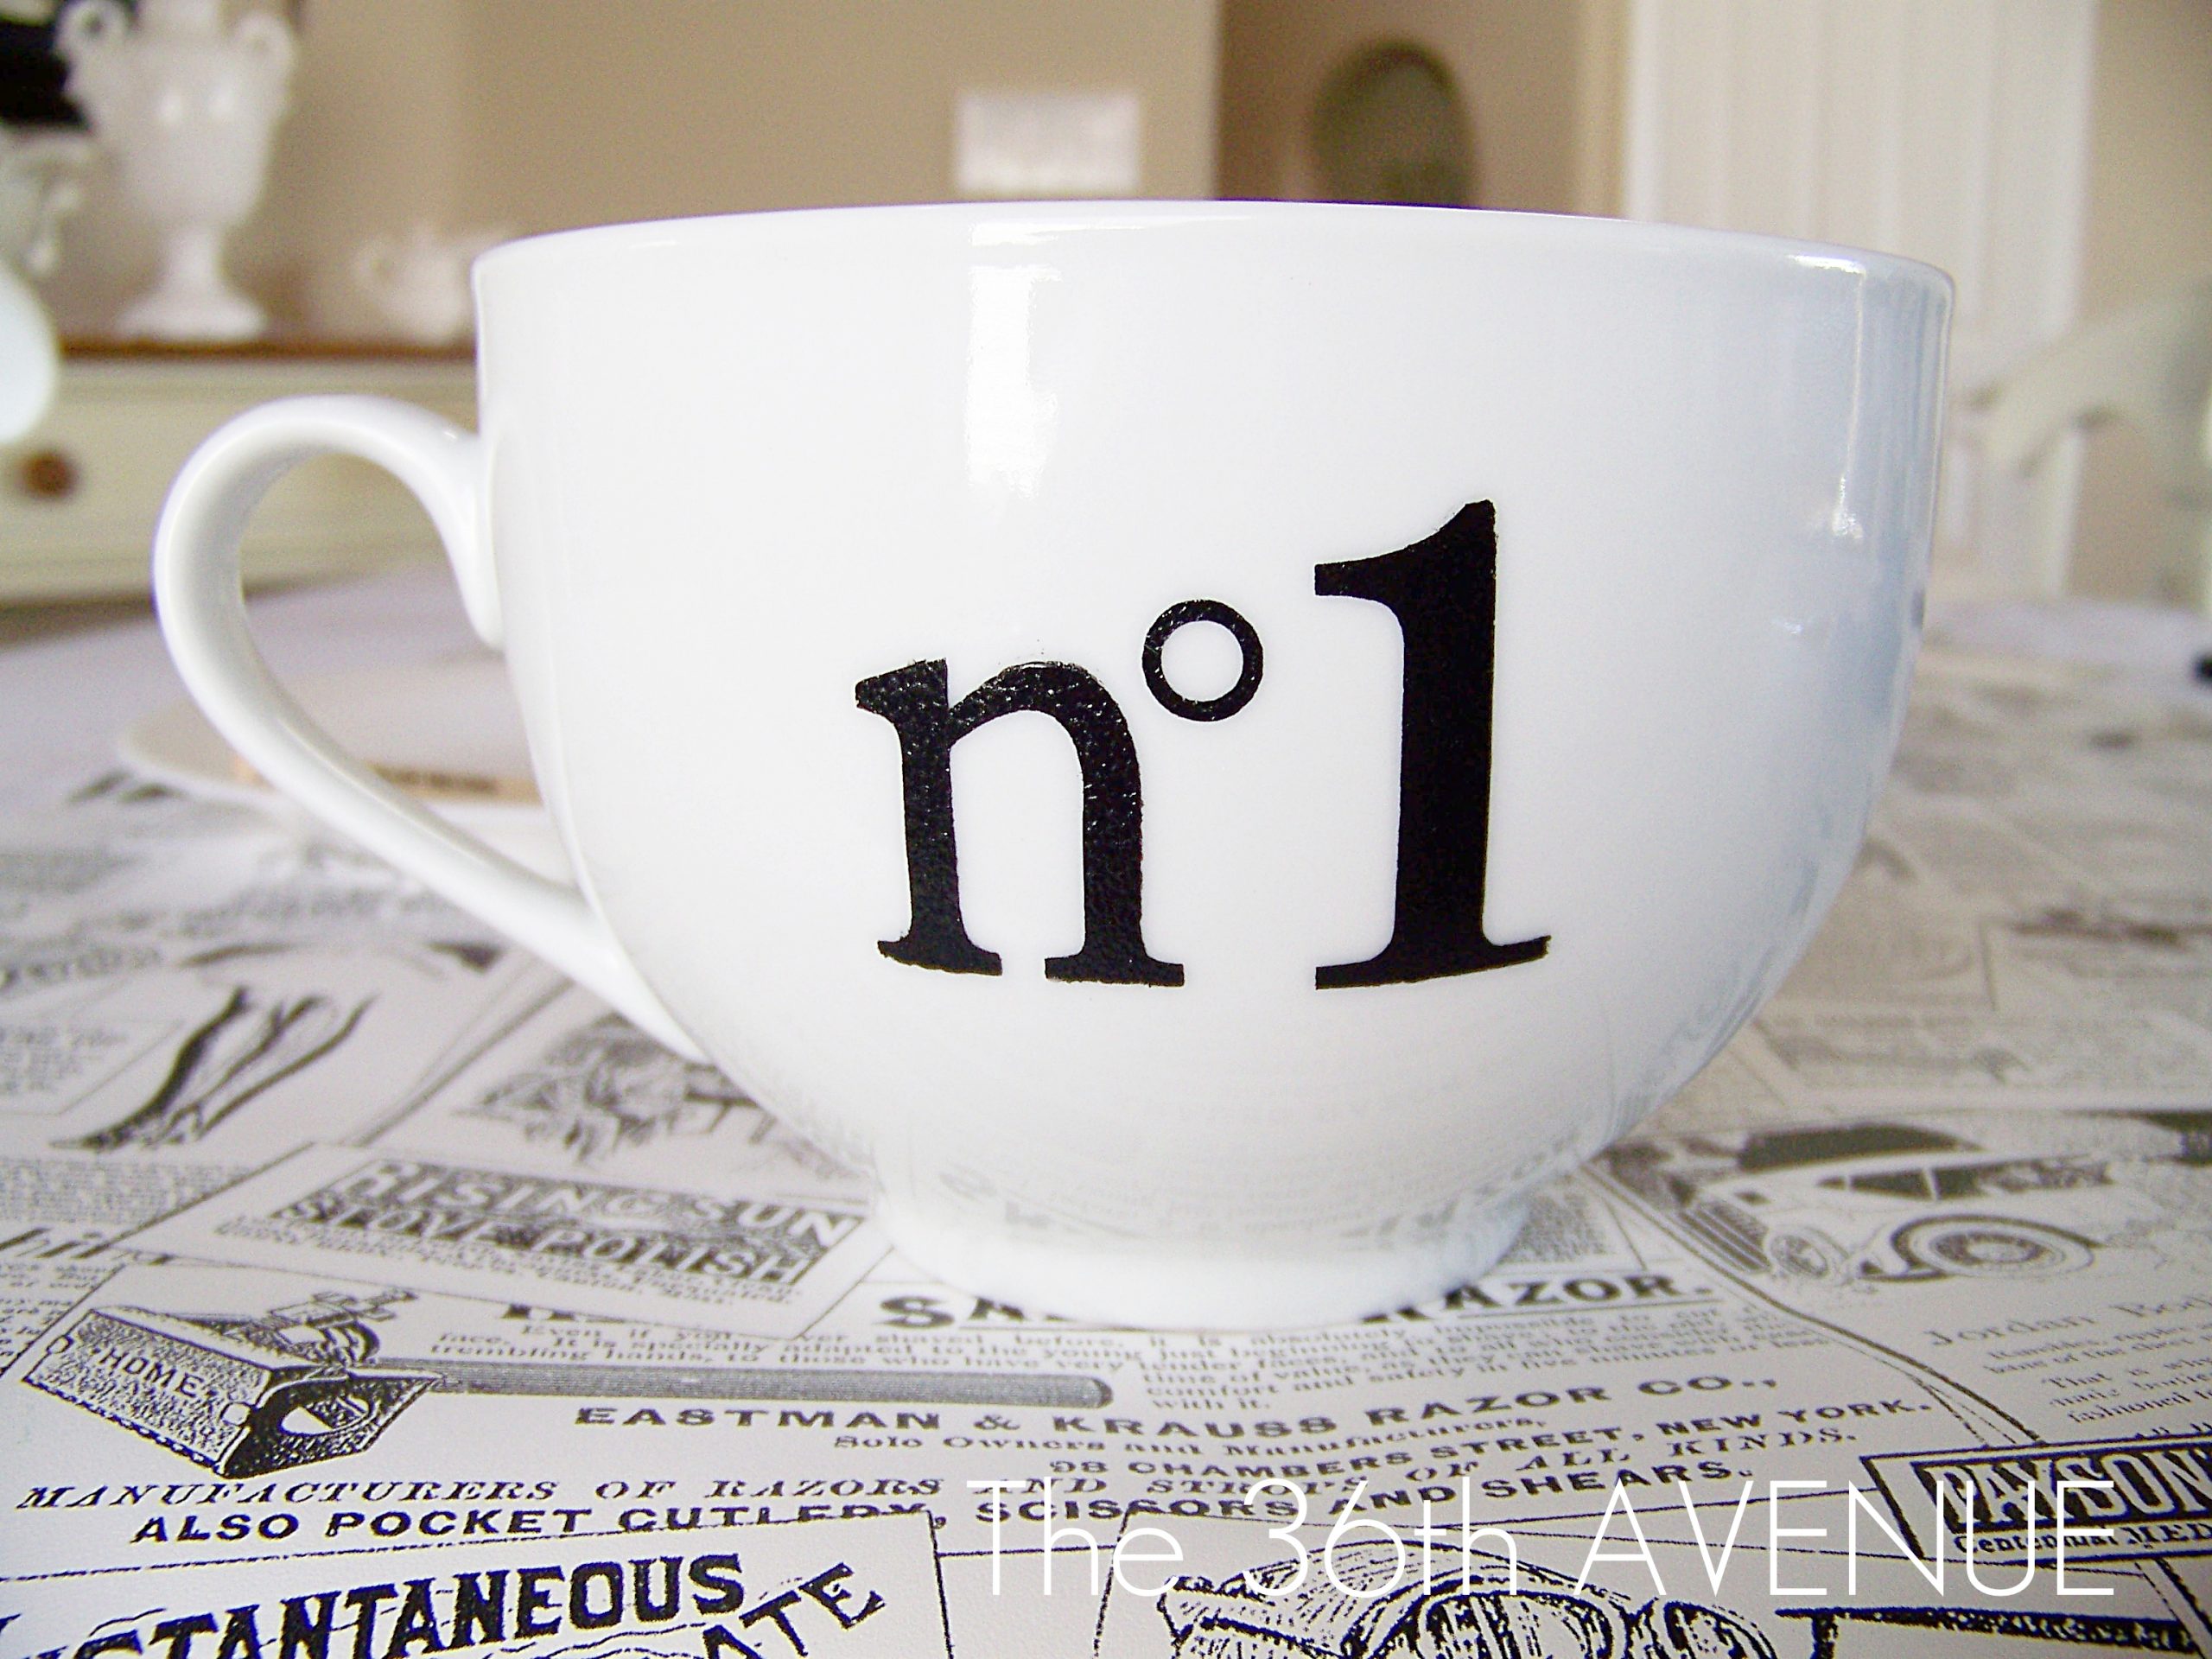
some number love to our new mugs.

To make this project all you need are four things.
1. Mugs. 2. DecoArt CeramicsPaint. 3.Flat Brush. 4.Vinyl Stencils.

TUTORIAL
Nº 1.
Follow the directions on the back of your paint and CLEAN your mugs.
After they are dry and ready apply the stencil that you previously made or purchased.
{ You’ll need some type of Vinyl Machine to make your own stencils }

Because the mugs are not flat your stencil will wrinkle a bit.
Make sure the shape of your lettering is flat. Don’t worry about the rest of the stencil.

Nº 2.
The second step is EASY. It is time to paint.
I love to use DecoArt products. The paint you are looking for is Gloss Enamels for Ceramics.
{ You can find DecoArt paint over your local Craft Stores }
I noticed I have in the picture the Midnight Blue, but I actually ended up using their black one.

I applied one coat of paint. The cover was FANTASTIC.
I have never painted dishes before so I was surprised that the texture was different than regular acrylic paint.
If you are afraid that you are going to paint outside of your stencil,
just add some blue tape around the edge to give you more space to work with.
{ Remeber DO NOT brush side to side or up and down. Tap… tap… tap.}

Nº 3.
Remove the stencil RIGHT AWAY. Use a pin for the hard to reach areas.

Again because the mugs are not flat there is a chance that some of the paint will bleed under the stencil.
Darn it!
If this is the case use the same pin to clean up the paint.
The texture of this paint is thicker than regular acrylic paint so it was easy to remove the unwanted bleeding.
{ Excuse my nails… 😉 }

This is how it looked after the cleanup.

Nº 5.
Now it is time to read the directions once again.
It will take 21 days for the paint to cure if you let it air dry.
Ummmm… NO Thanks!
The second option is to turn your oven on and bake the paint.
My directions said to let it air dry for an hour and then put the mugs in the oven for 30 minutes at 350º.
REMEMBER DON’T BE LAZY AND READ THE DIRECTIONS.
They will come out PERFECT!

It took me around half an hour to stencil all six.
Easy, fun and affordable.
This entire project was under $15.00.
LUV!
Have fun everyone… It is TUESDAY!
……………..
Click here to enter the GIVEAWAY.
You can win the same set of number vinyl stencils that I used
for my mugs.

Will this work on wine glasses too?
A perfect idea I’m thinking of putting it into practice. Bss from Spain
Hey there talented lady! 🙂
These are so adorable! Love those mugs!
Have you heard of or tried using Sharpies on mugs, plates, etc and then baking them to “set” it?
Sharpie won’t set very well. It won’t last past a handful of washes.
I love your mugs! 🙂 What brand is your vinyl??
Love the mugs. I was thinking of doing this with plates too. Would this be safe to do and use everyday?
Love these! I love the idea of numbering cups. So cute!
I notice in the tutorial that the bowl of the ‘o’ is filled in, yet in the final they are not. How did you clear out that paint so cleanly? I am puzzled.
Thanks!
It is a stencil that works like a sticker. I just peel it off.
Where did you find the plain mugs? Do you still have any stencil sets available? Cost?
Thanks – so cute and I am looking for the perfect mug……I think I found it 🙂
Christine,
I found the mugs over at Tai Pan Trading. You cab fine the stencil’s info here: http://www.the36thavenueshop.com/2012/03/numbers-stencils.html
I hope this helps!
can you do wine glasses??? these are super cute
Melinda, I’m not sure… You should give it a try!
very cute!!
love how your kitchen turned out… was wondering what kind of stencil machine do you use and how much does one cost?
Liane,
I have a Copam CP-2500. This is a big machine and you are looking over $500 price tag. For you I would recommend something smaller as the Silhouette Cameo:
http://www.silhouetteamerica.com/
I hope this helps!