
Today I am sharing with you a little DIY Project that can make such a difference in a Craft Room or Laundry Room.
I am sharing how to make an Ironing Board Cover in less than 30 minutes.
Feel free to Pin this image but DO NOT COPY or/and paste. ©the36thavenue
DIY Ironing Board Tutorial

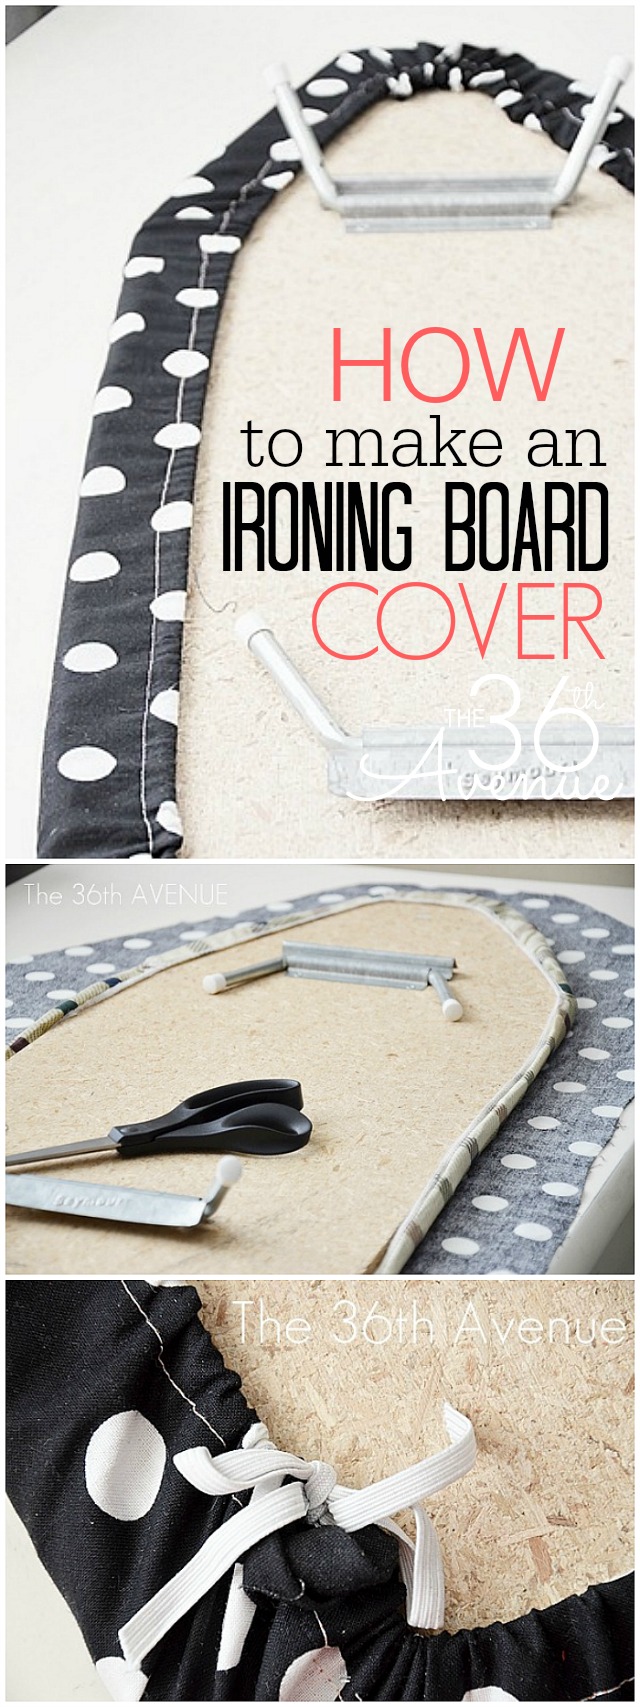
First open your fabric and sit the iron board right on top.
Using your ironing board as a template cut the shape of it about three to four inches away from the edge.

Done? Good!
After your fabric is cut make a 3/4 of an inch hem all around the fabric.
I like to use the iron to make mine sharp.

Now you are ready to sew.
Don’t give me the I don’t sew excuse. You can do this.
Turn the fabric around and sew the hem about 1/2 of an inch from the edge.

Make sure to leave one corner open so you can insert the elastic band inside and pull it out.
Easy!

Now we are ready for the elastic and last step.
The 1/4” elastic works perfectly.
The length of the elastic will depend on the size of your ironing board.

Insert the elastic inside of the hem.
I like to use a bobby pin to help me move the elastic along easily.

After I was done with this step all I had left was to carefully put the
new cover on my iron board. It feels like you are putting on a fitted sheet of a mattress.
Pull elastic so edges of cover are gathered making sure not to let the elastic slip inside your hem tunnel.
When it feels snug tie both ends of the elastic together.
Here is a picture.

You are done!

Here is how my new little ironing board looks in my Craft Room.
So cute!

My advice, don’t waste your time looking for a new cover in a store.
They are not pretty.
Just take a chance and make your own in about 20 minutes.
You are going to love it!
Thank you for visiting!
Besos
Desirée

Thank you for the very nice tutorial. I’ve never felt that guiding the elastic through the casing for the distance around the ironing board cover is that easy. And if the elastic is not held in place at the insertion site or is not long enough to prevent this from happening, it will just slip through the other end wasting the time you spent moving the elastic through the casing in the first place. Just a suggestion, I use a large safety pin to guide the elastic through the casing and another one to hold the elastic at the other end so that it does not just slip through. Thanks again.
I have an unusual ironing board; it doesn’t have a pointed front edge. Because of its shape I haven’t been able to find ANY cover for it. Thanks for the tutorial! I think I can do this!
yay Carol! It is so easy to make, I am sure you can do it!
I make my own ironboard covers for years. Then became lazy. But now a days no bought one fits properly. You inspire me again. Thanks. Have a lovely day. From South Africa.
I soooo need to do this. Can you give a little info on the type of material you used? It looks like a heavy cotton. Does it need to be any thing special or can I just pull something from my stash?
Thanks for the idea!
I used a regular cotton fabric that I had already. You can give it a try with yours.
Thank you for stopping by!
Desiree, I dont know where you find all your hours in a day, but I seem to fall short each day! You simply amaze me with all your time and talent and projects. I know that you are a wonderful mom, an amzing wife, a best friend everyone wishes that they had, and still have time to craft, shop, decorate, and blog about it! Today you are my hero!!! xoxo
So cute! My ironing board is seriously the ugliest thing ever… I should probably do something about that ; )
Very Cute indeed!! One can never have enough polka dots in their life.. 🙂
I wish I had an ironing board to do this with! This is so cute.
I am going to do this; I hide mine in the closet because it is so ugly. About your polka dot walls, back in August I came across pictures of your polka dot walls, and had to have my own in my office/sewing room. My husband was away at the time, and when he came home and saw it, he thought I lost my mind. I love it though, and it is my room 🙂
I don’t think men and Polka Dots do good together. Matt thought the same thing when he saw my wall 🙂
Super cute! I have wanted to make a new one for a while- only full size. As always Desiree- you have inspired me!