
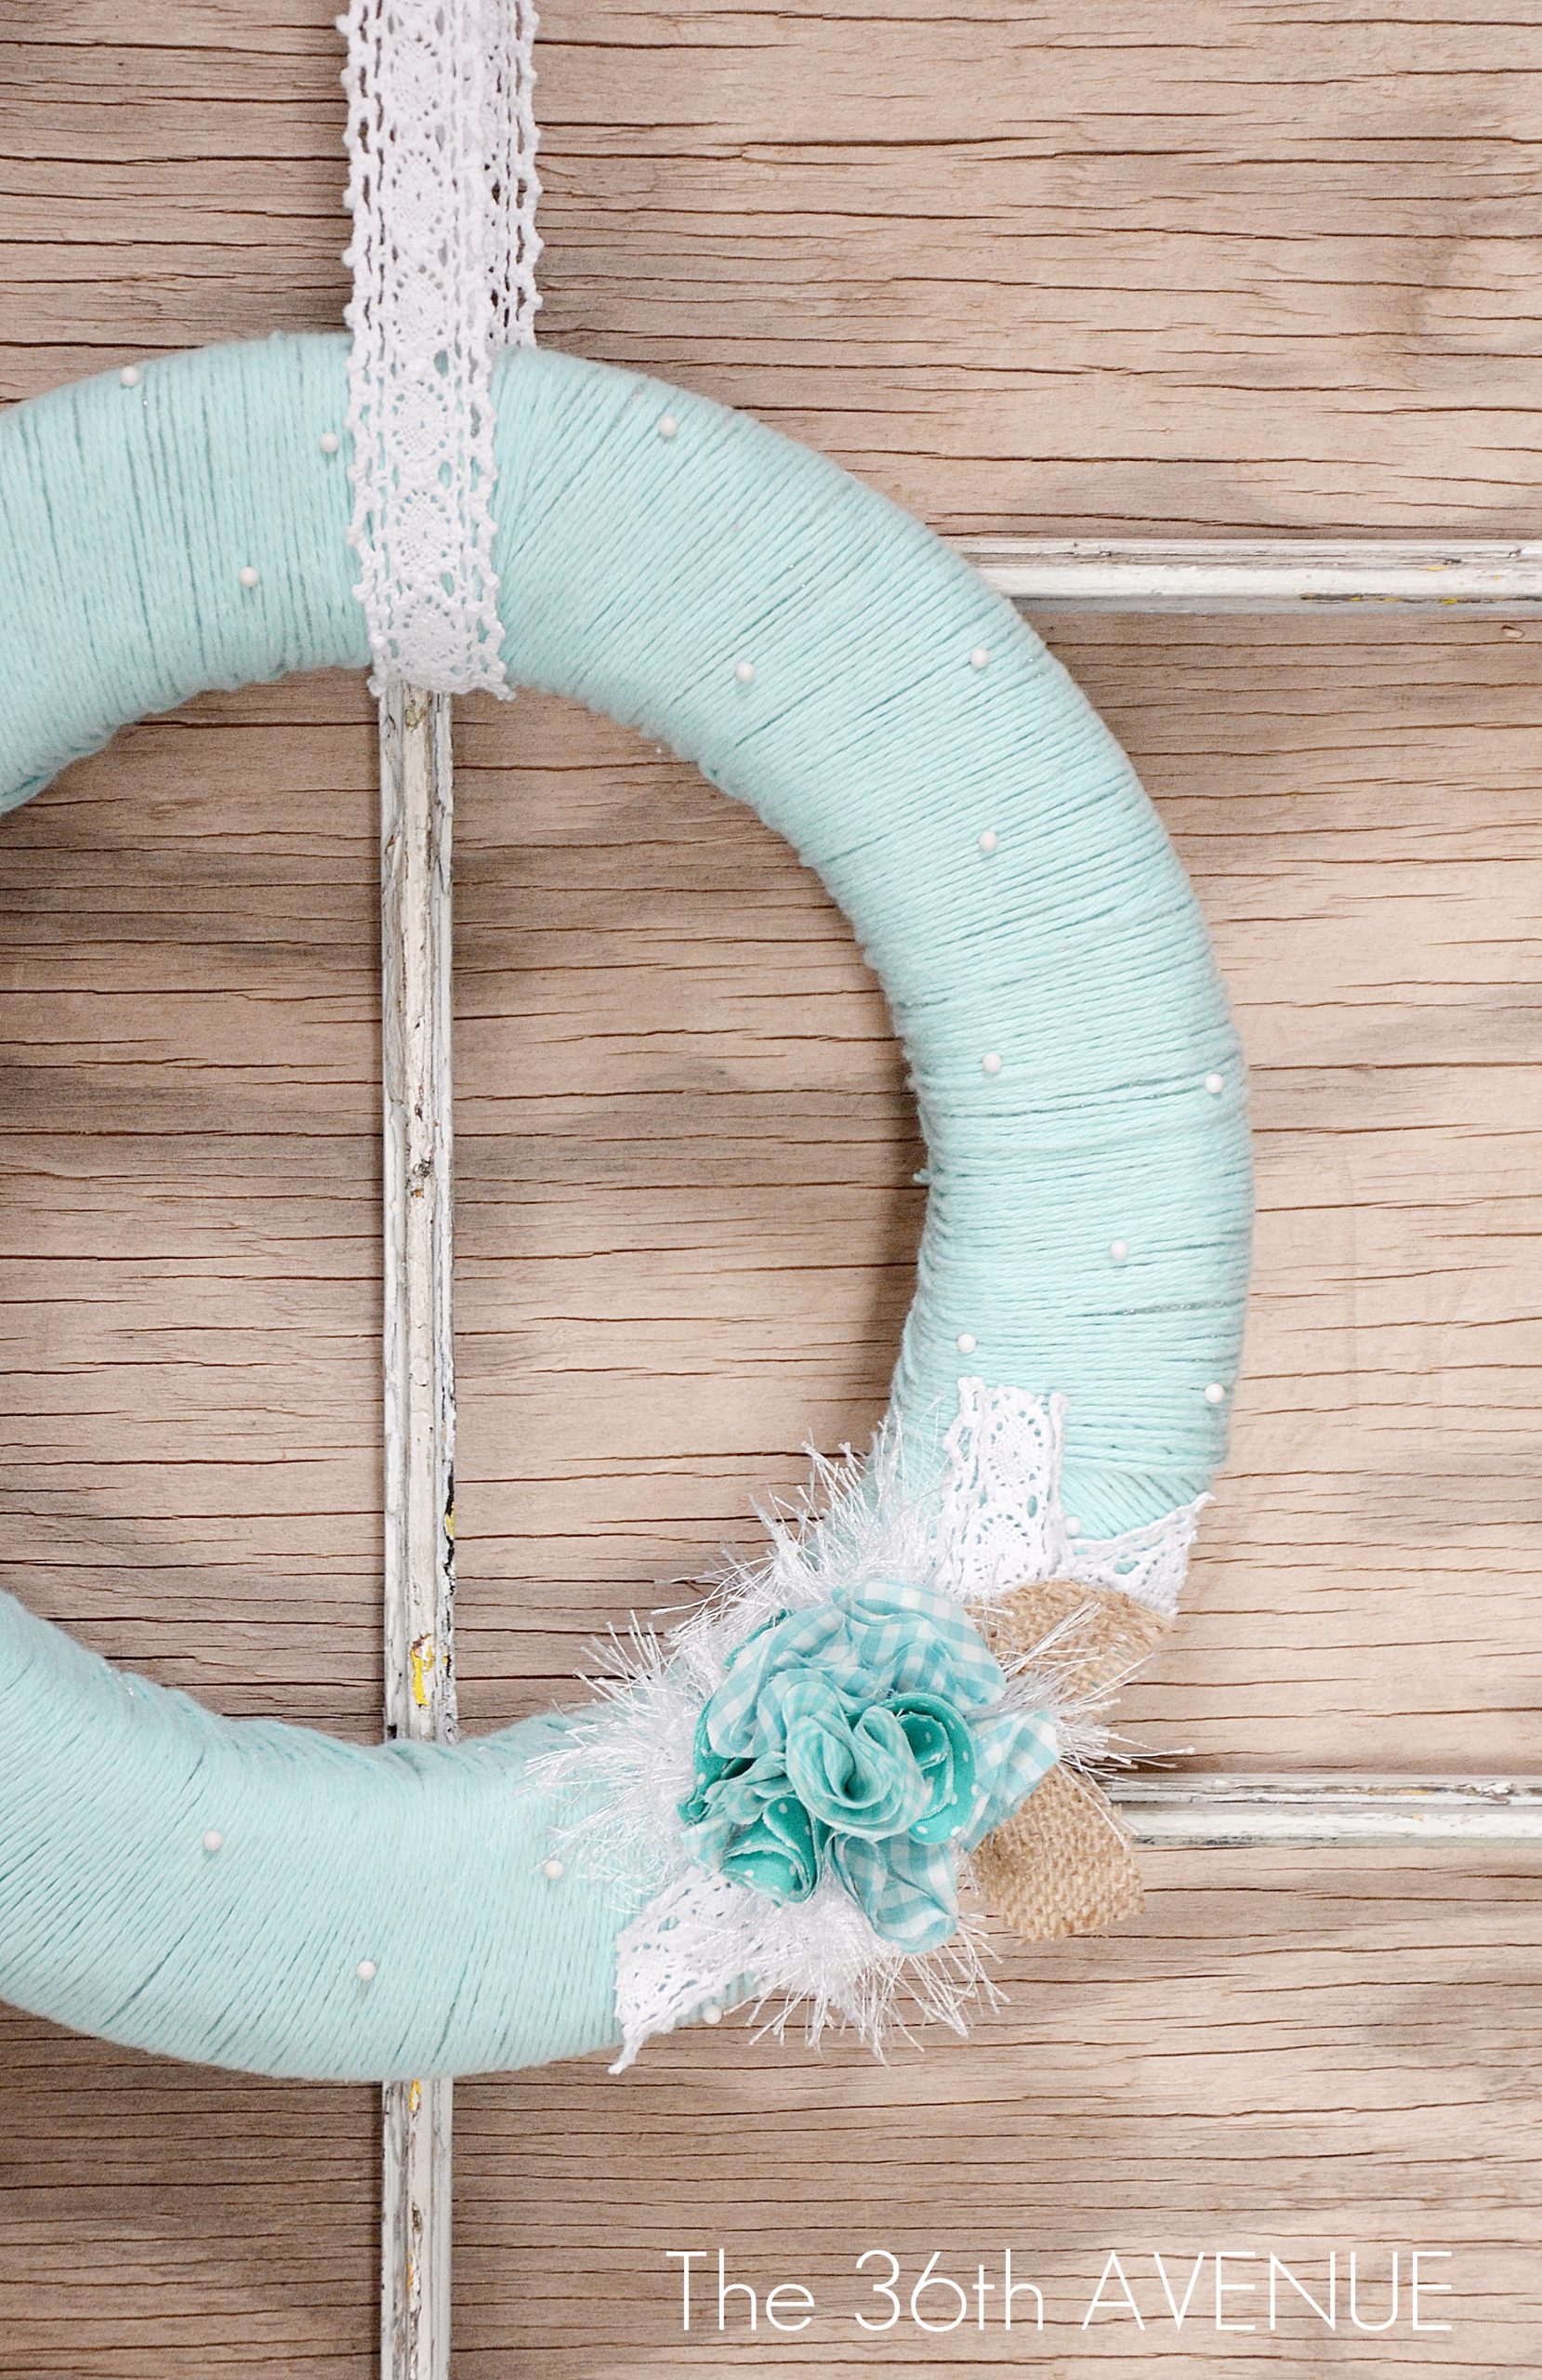
For the longest time I have wanted to make a yarn wreath and I finally found the time to make one for my home. One of my favorite home decor ideas are handmade wreaths so I am excited to share with you today my new Spring Wreath Tutorial. You are going to love how easy it is to make!
The Materials
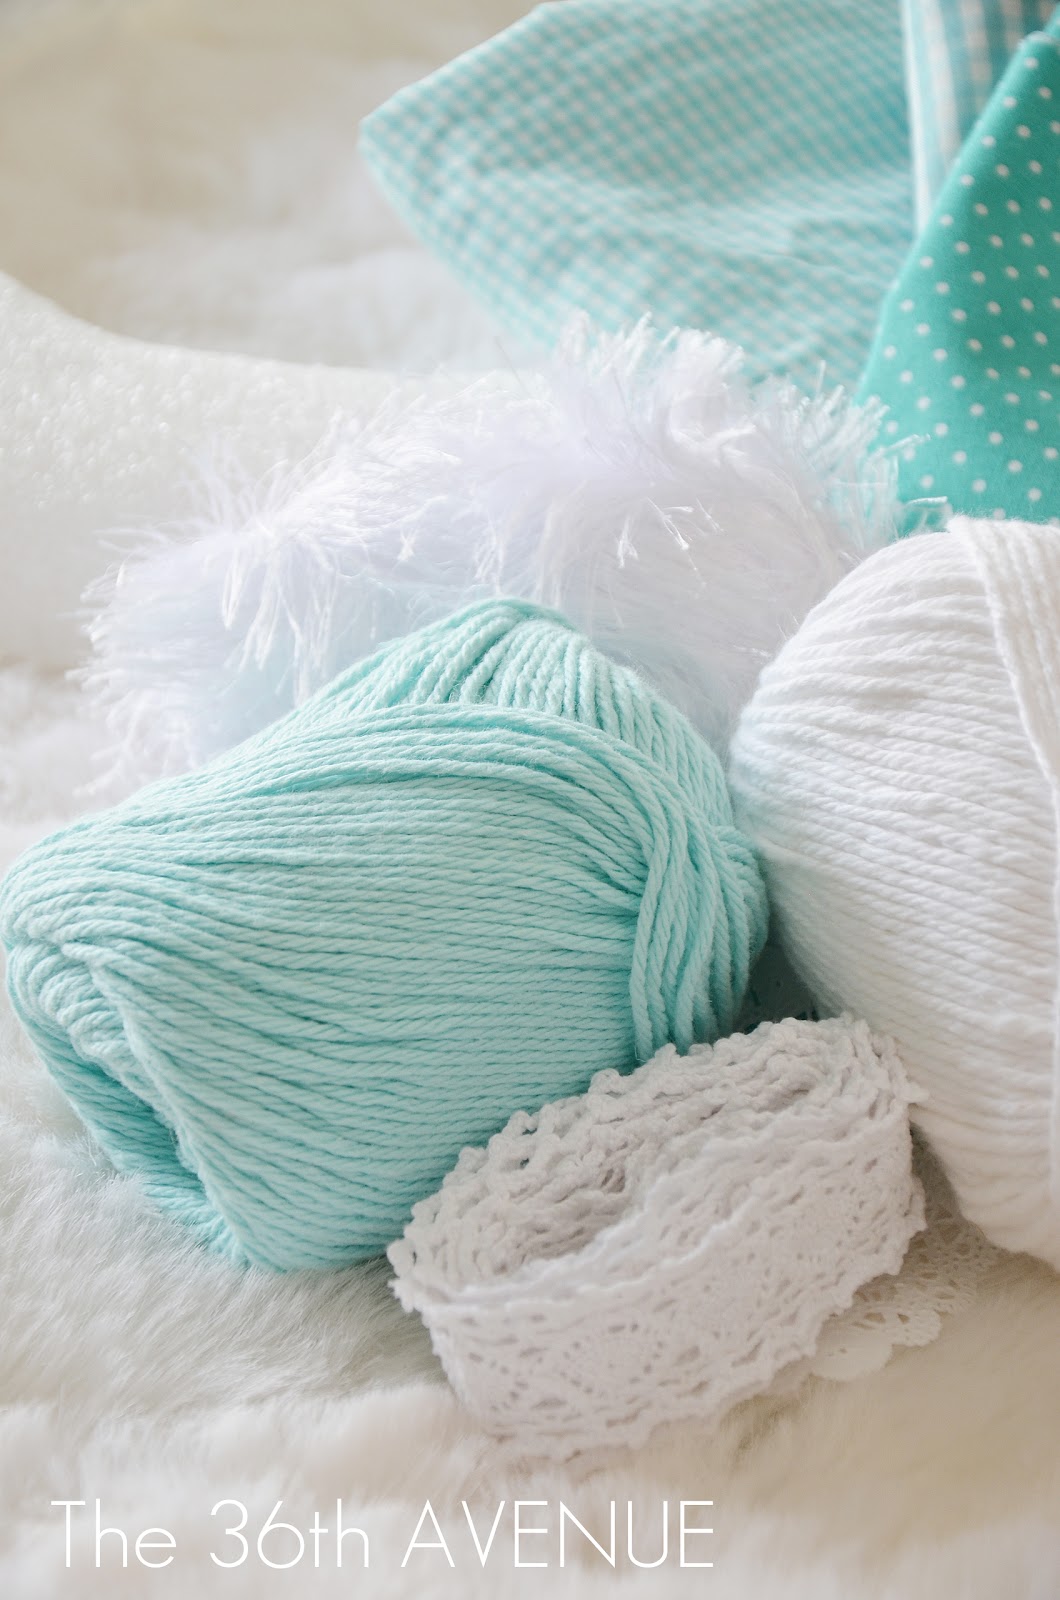
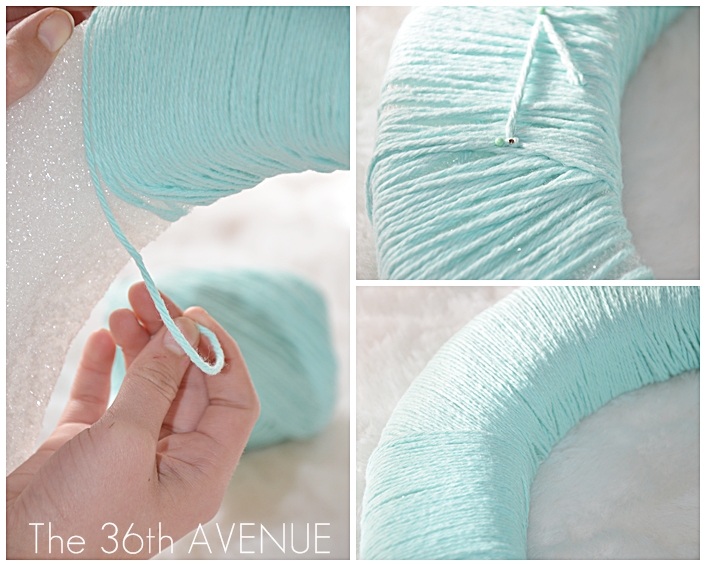
All I used was a small spool of yarn.
Laced Ribbon.
Pins.
Burlap.
Fabric.
{ I found all the material at Wal-Mart}
The Tutorial
1
I secured the yarn to the wreath with a knot and a pin.
After it was in place I rolled the yarn around the wreath and
I rolled… rolled… rolled and rolled.
{Keep the yarn tight and close together. }
2
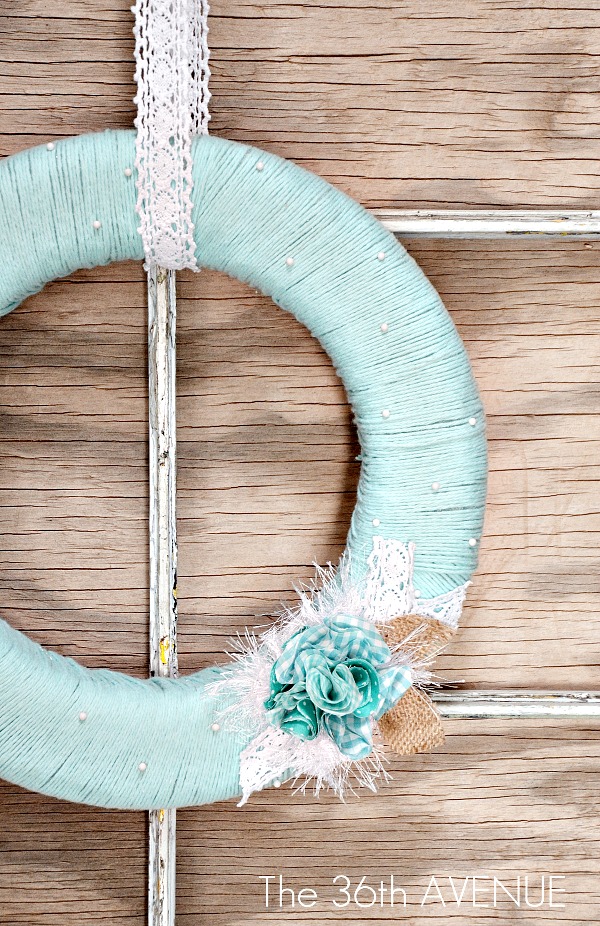
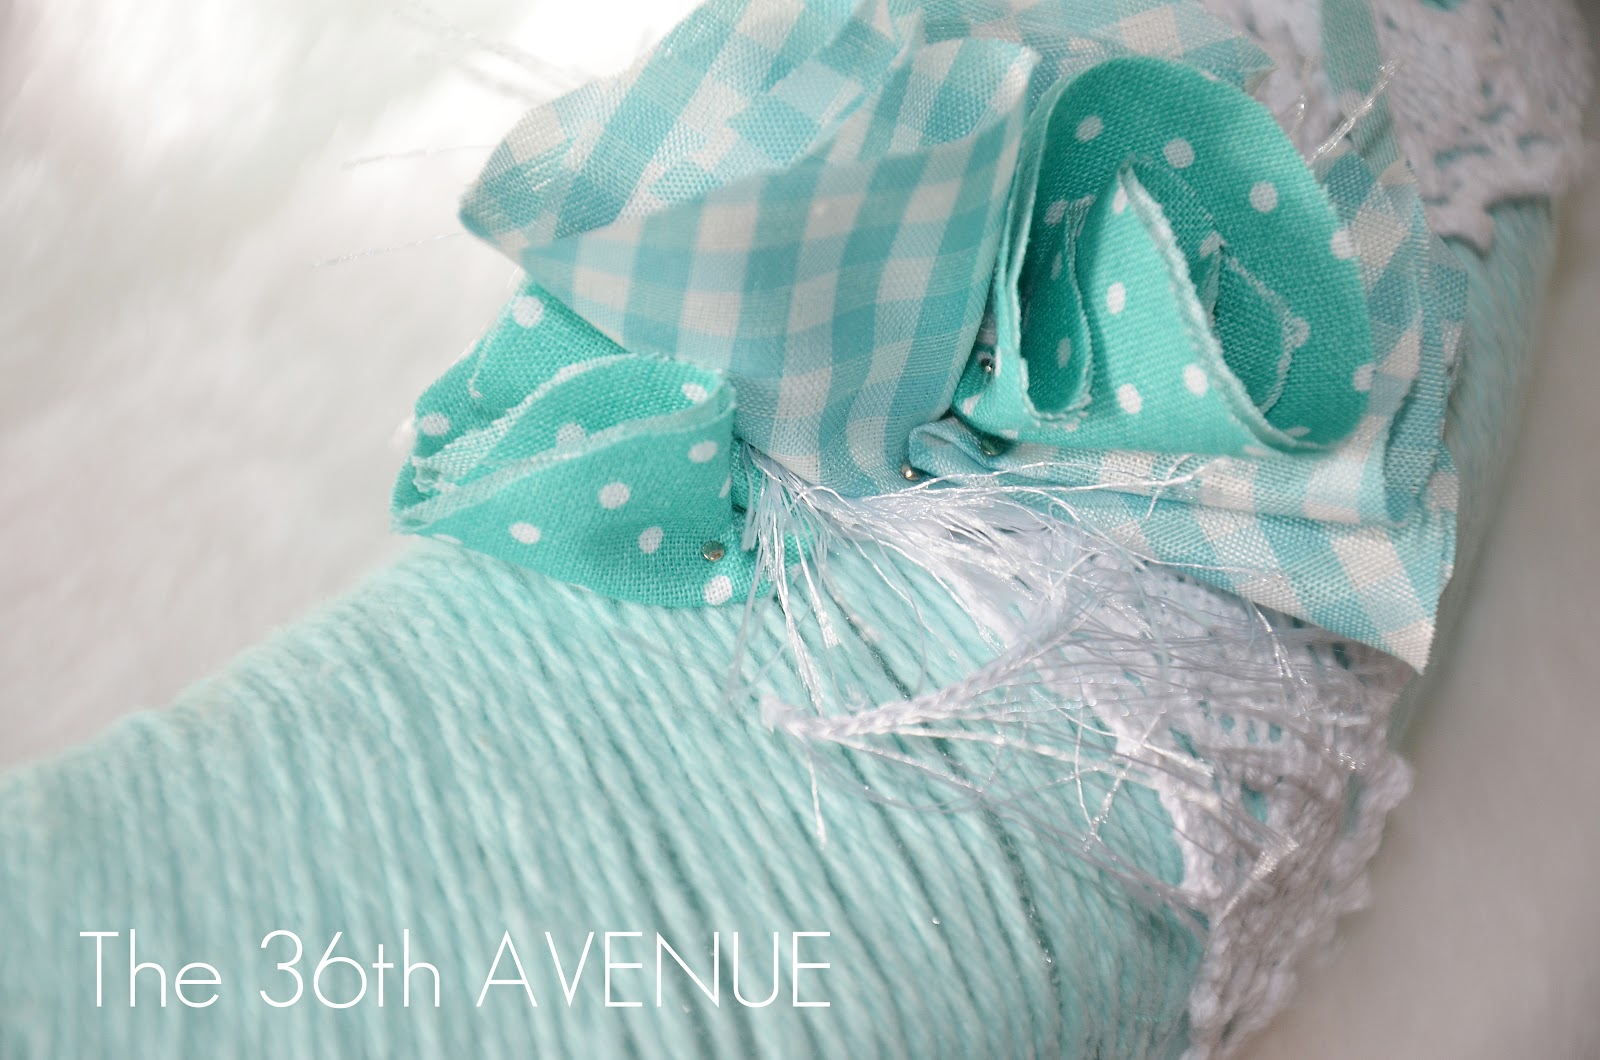
After the wreath was covered with yarn I added some flowers made of fabric.
Anyone can make these flowers.
I cut pairs of circles of different sizes. I placed two of them together so the best part of the fabric will show on both sides.
To make the flower fold the circles in half to make a semicircle{ picture 2}.
Then fold it in thirds {picture 3} overlapping the layers {picture 4}.
You are done.

3
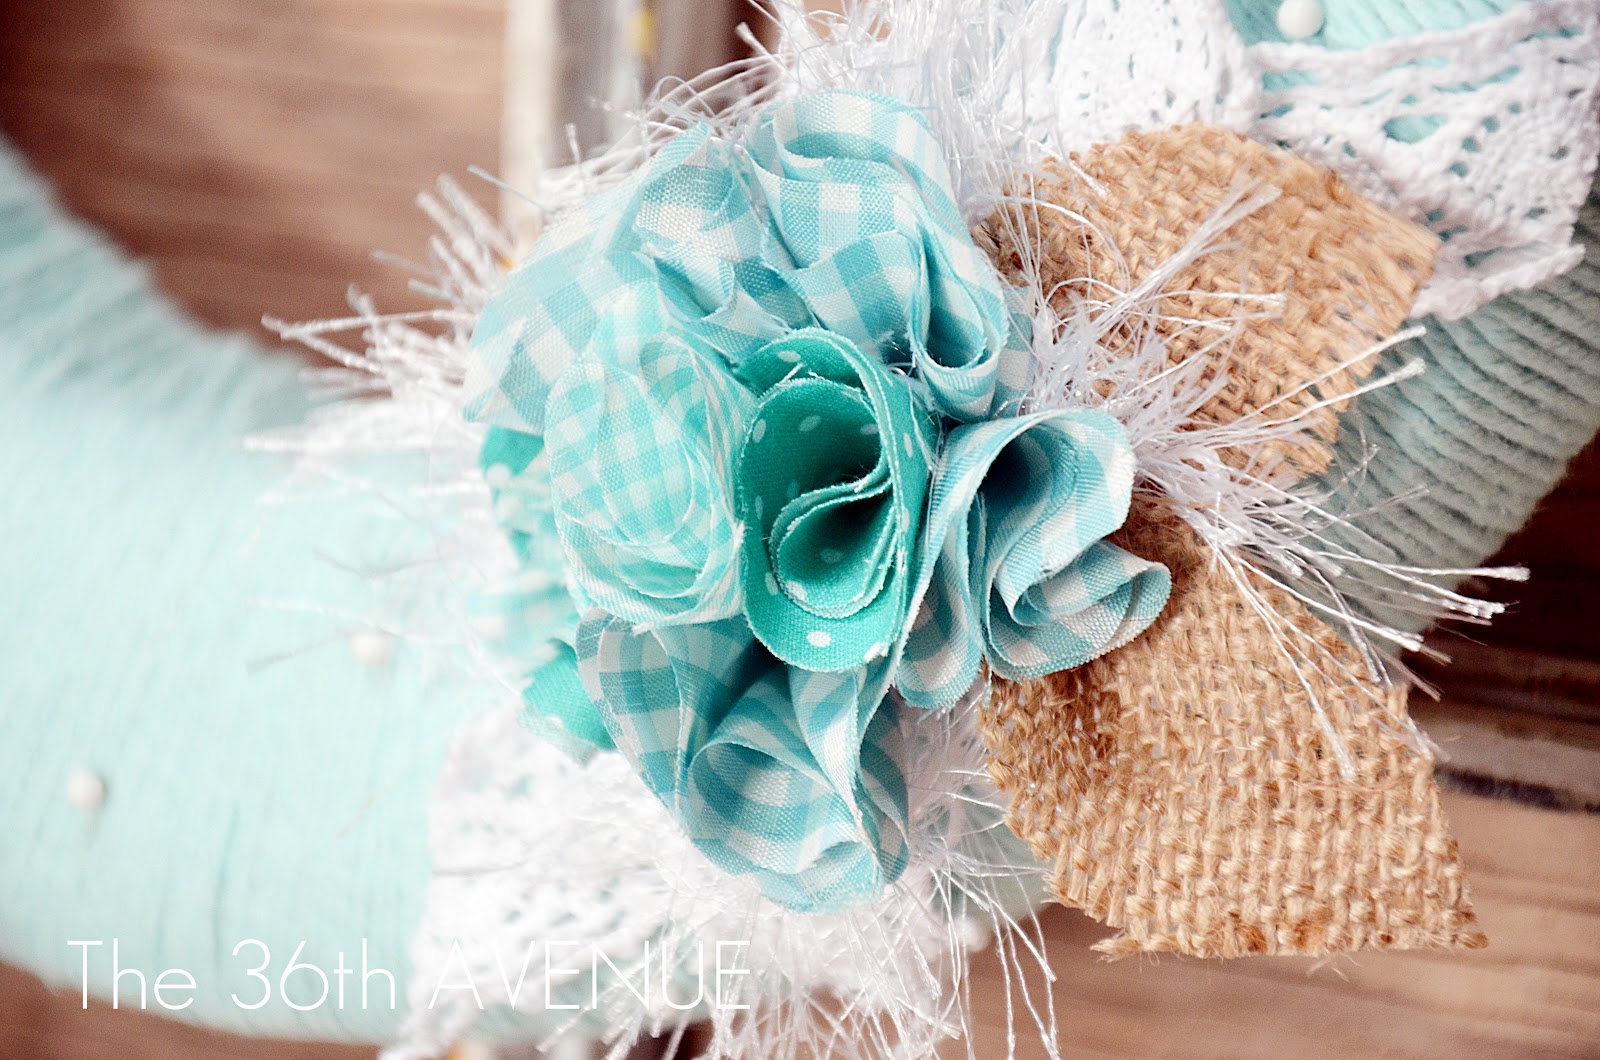
Attach the flowers to the wreath with pins.
Add as many flowers as you like to achieve the look you love.
I used different patterns of fabric to make it fun.
4
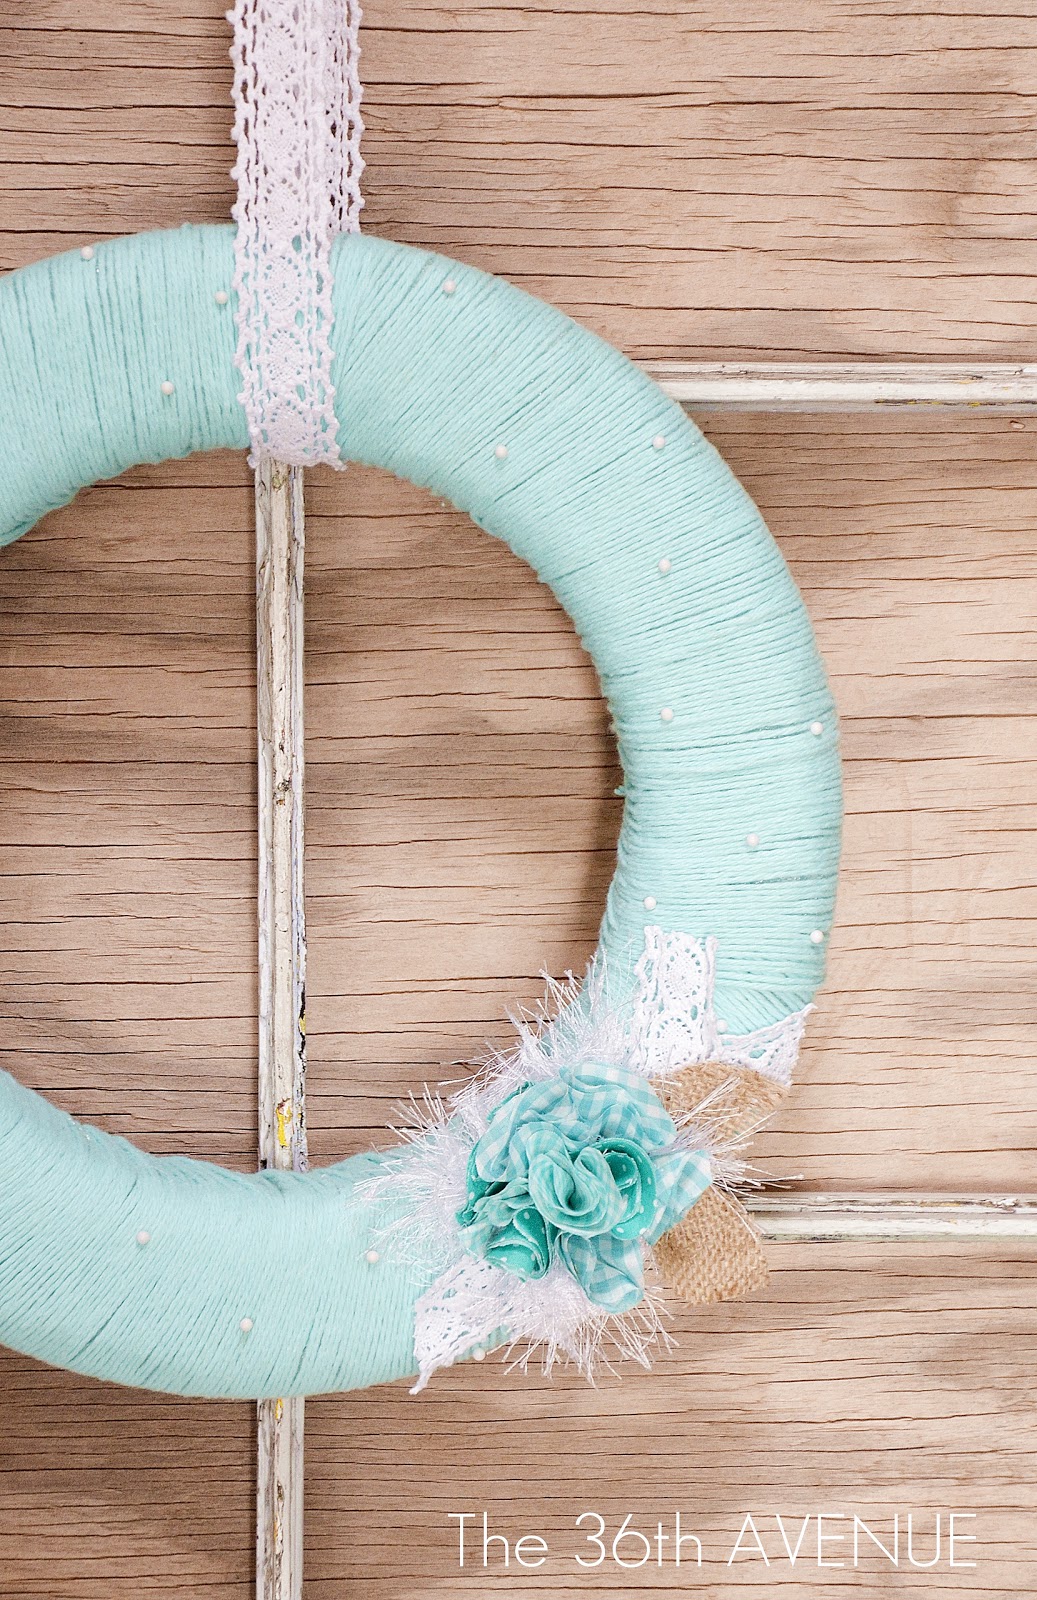
To finish it I added some burlap leaves, white pins, laced ribbon and the crazy fun white yarn.

Some more ribbon on the top to tie it to my old window and I was done!
I love Spring!

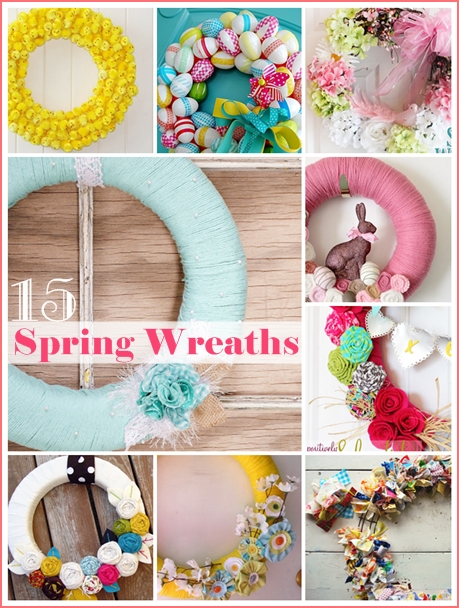
For more inspiration make sure to check out these other
15 Spring Wreath Tutorials… So cute!
Thank you all for visiting with me today!
Besos
Desiree!

I love this wreath! I made my own version of it, and linked to your post from my blog 🙂 Thanks for the great tutorial!
– Meggy (www.mmctavish.wordpress.com)
You are very welcome Meggy… I can’t wait to see yours!
Thank you Desiree! It’s a beautiful and easy to make wreath. This will be a great gift!!! Besos
Thank you so much Alma… and I’m loving the besos 😉