I am super excited for tonight’s party.
Part of it is because you are going to get to see one of my favorite areas of my Craft Room
and the other one is because Cutting Edge Stencils will be with us hosting a great GIVEAWAY!
I have used my polka dot stencil quite a bit and let me tell you I’m not even done with it yet.
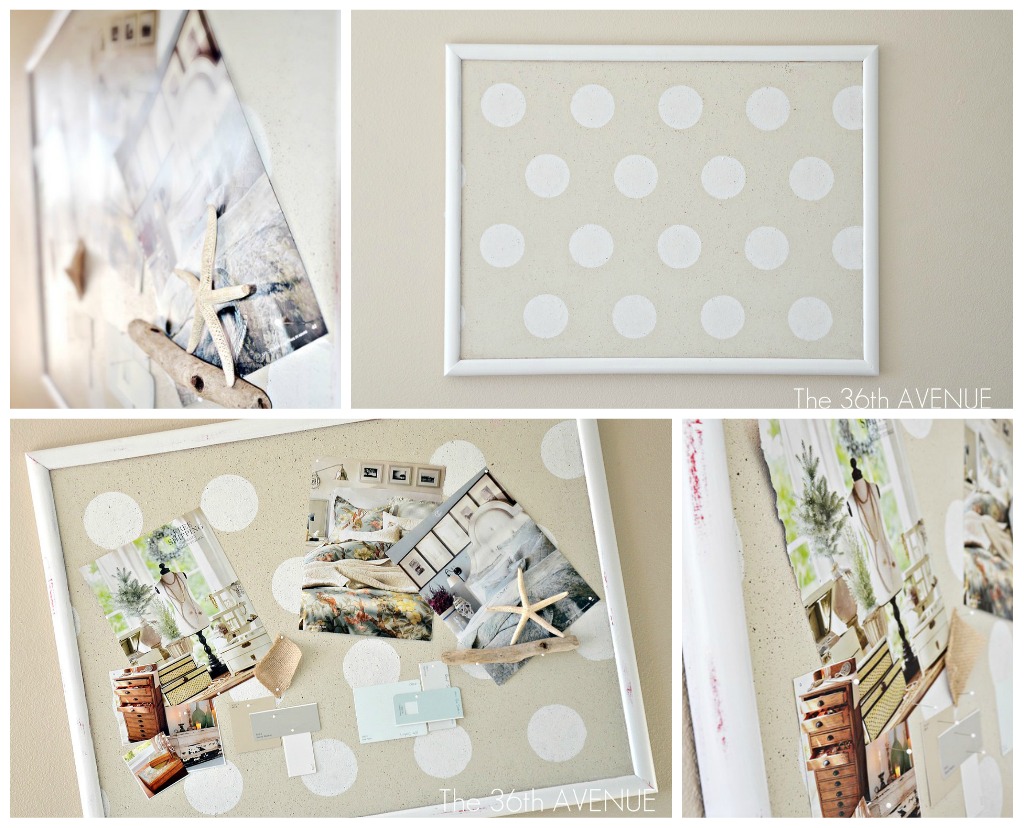
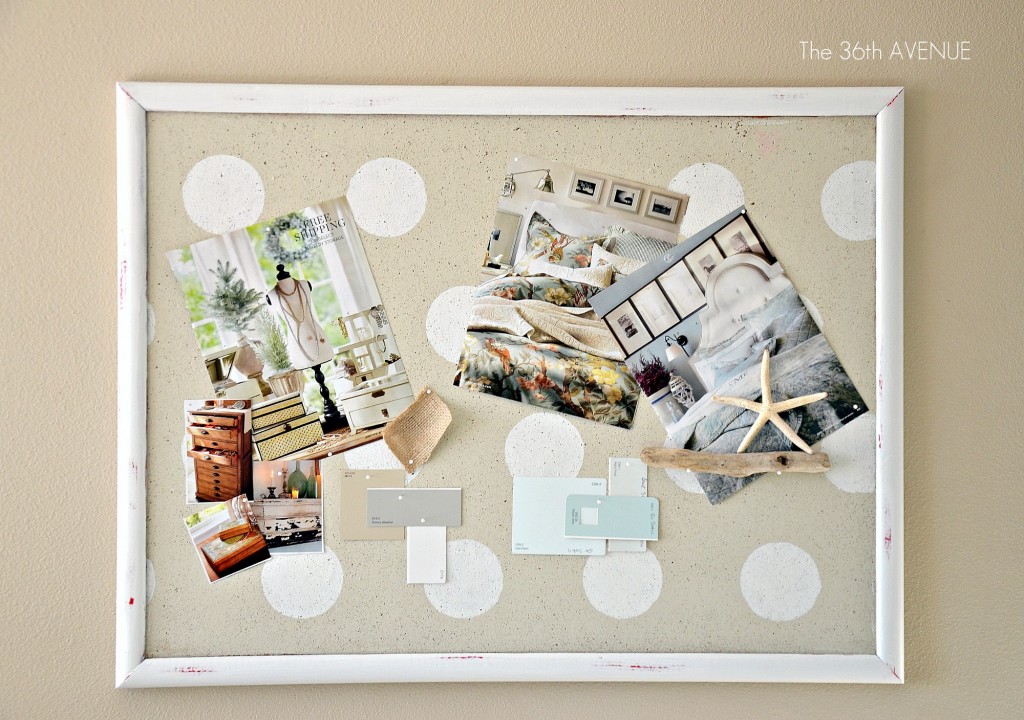
This is another little project that I did for my Craft Room.
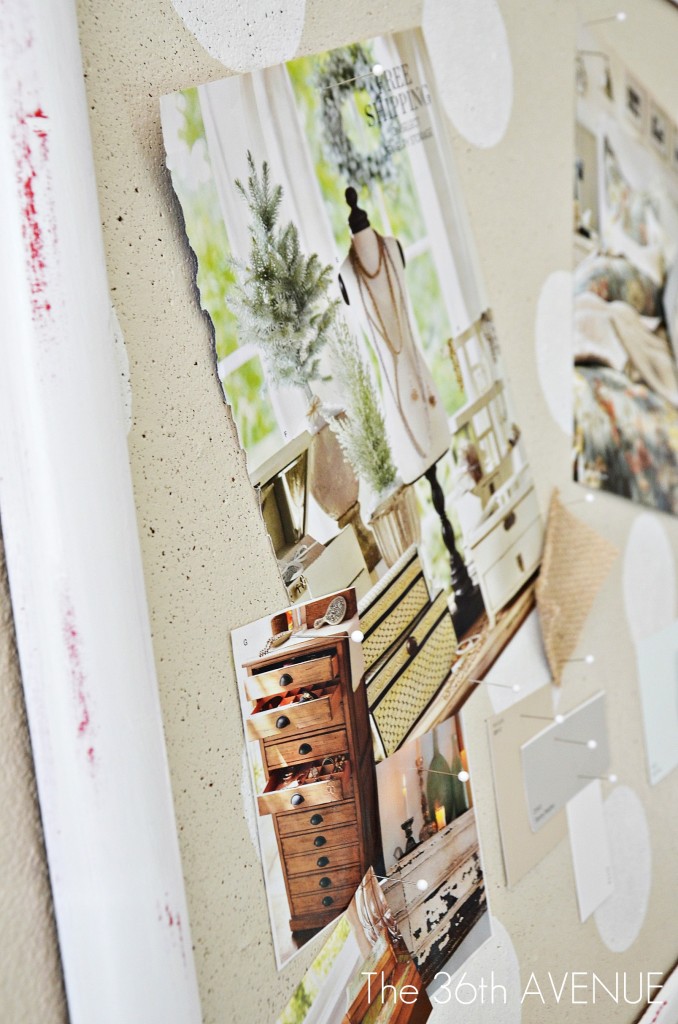
The Polka Dot Cork Board.
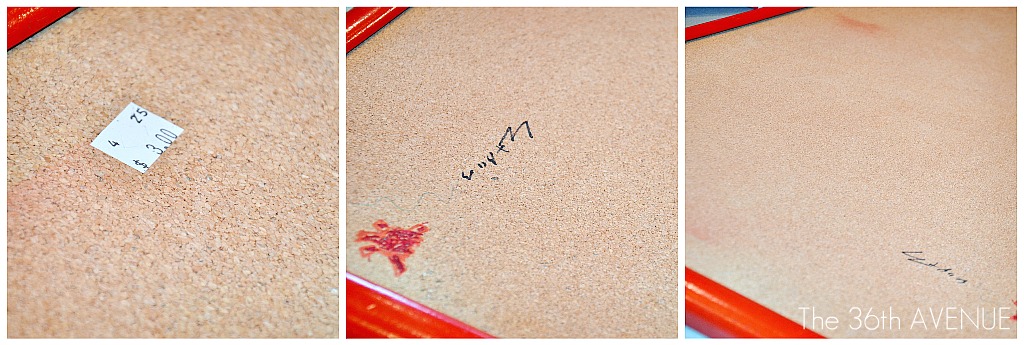
I started with the saddest Cork Board you have ever seen…
This is what $3.00 will buy you: A huge permanent marker stain.
TUTORIAL
The steps I took for this small project are the same steps you’ll take if you decide to stencil a BIG area such as a wall.
1
Prepare the area!
I love red but I wanted a really simple neutral board so I knew I had to paint it to solve the Sharpie’s problem and the color problem.
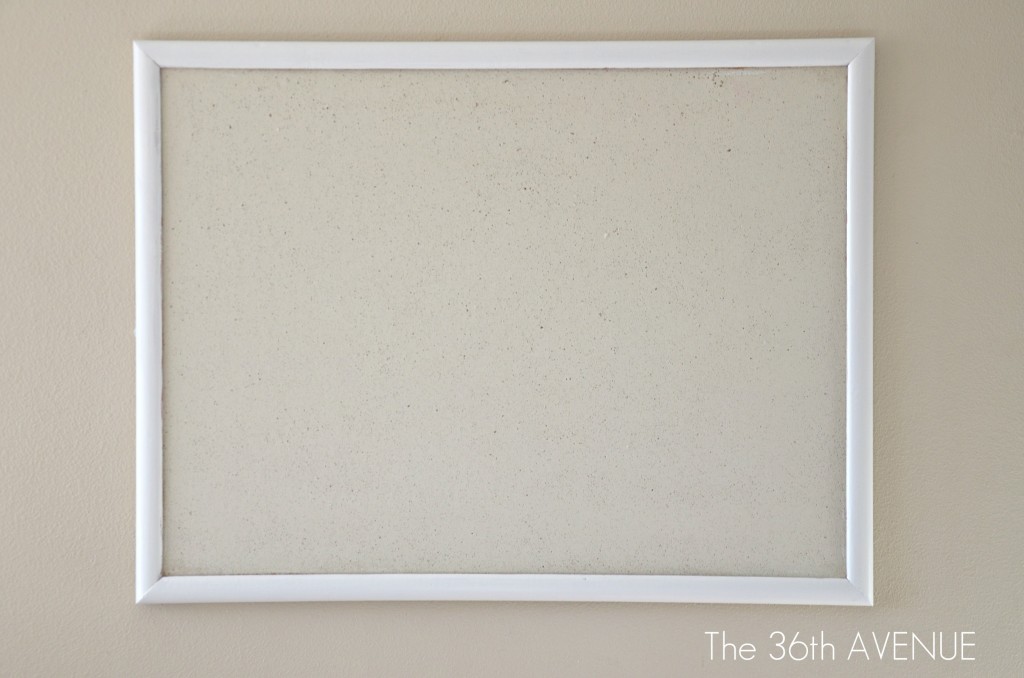
After some love it looked like this…
Clean but BORING!
Stencil Time!
2
Place The Stencil.
I knew I had to give my board some EXTRA love, what I didn’t know is that love could come this easy!
To place your stencil all you need to do is put it in the chosen surface and secure it with the help of tape.
If I tell you the truth this is the part that I was scared about when I first got my stencil.
How was I going to keep it straight?
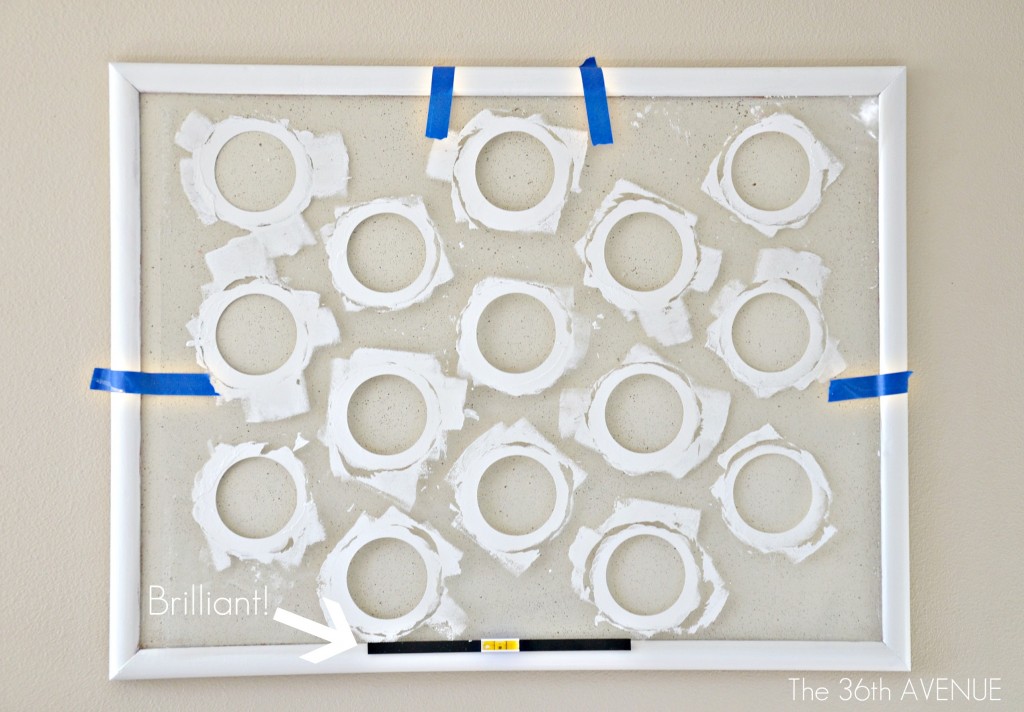
Look at the arrow…
This is how… with the help of the smartest invention EVER!
There is this small leveler that came with my stencil.
You just clip it in the middle of the stencil and it WILL STAY THERE.
Did you hear me? IT WON’T MOVE!
Shut the front door!
{ OK… this deserves more than that }
Shut it… Open it and then… shut the front door again!
You don’t need to hold it.
Are you clapping?
Then stand up… this little guy deserves a standing ovation.
3
Time to paint!
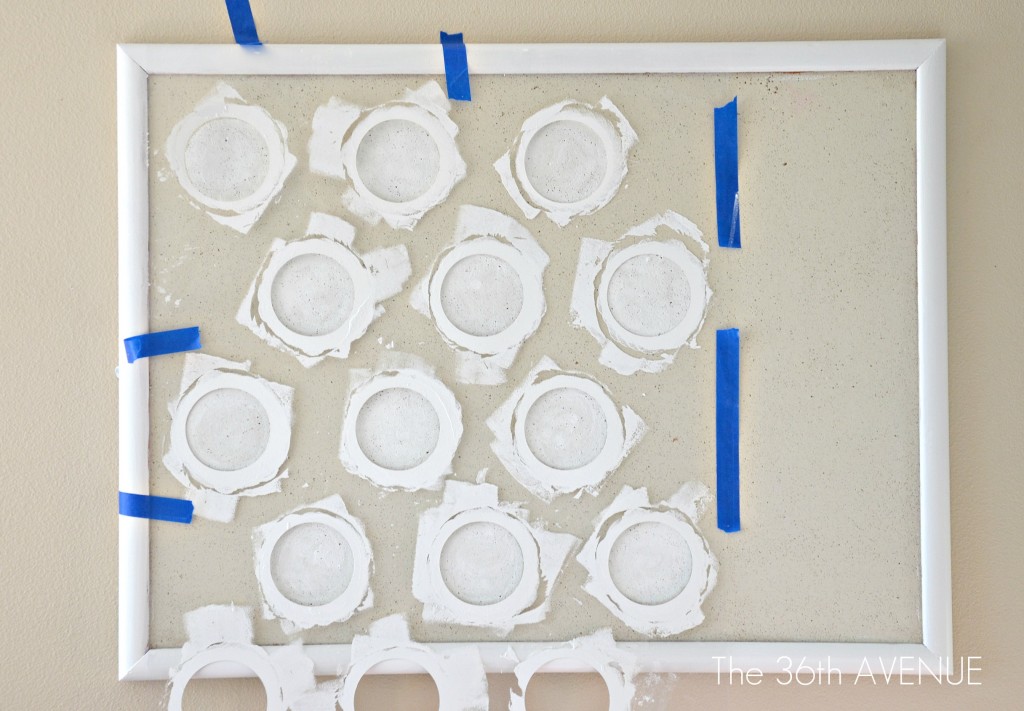
I want my polkadots to go in the same direction as my walls.
To do that I had to place it vertically… so I did.
I am not a believer in rollers for stenciling therefore I did my own old way… I tapped the paint with a flat stenciling brush.
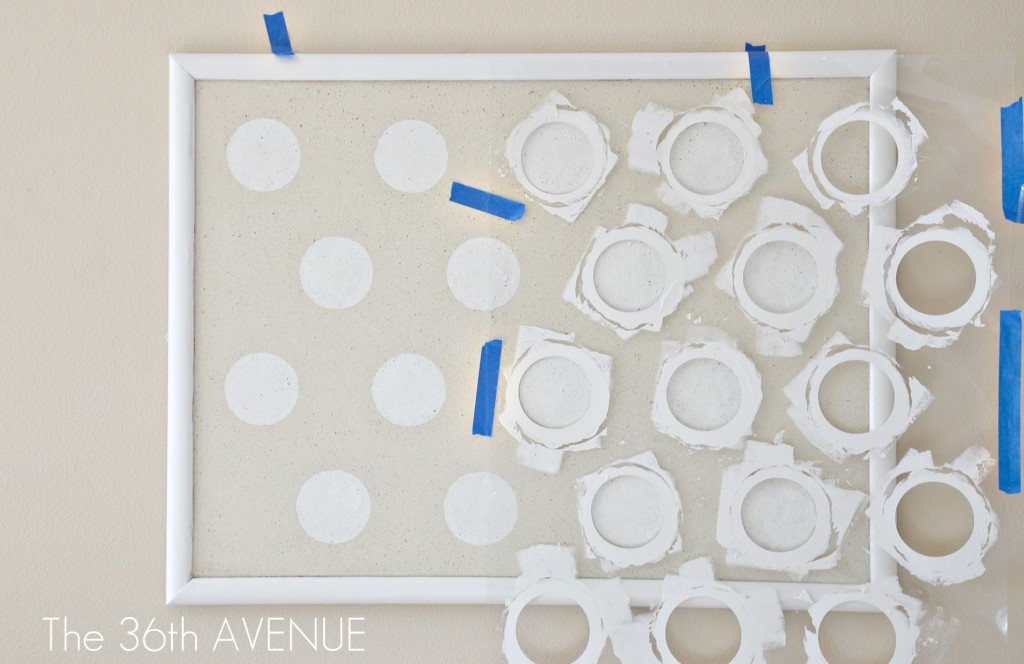
…Of course there is always another side.
I just pulled the stencil off and I overlapped the last set of the painted polka dots with the first set of polka dots on the stencil.
{ I hope this makes sense. }
I made sure that the little bubble in the leveler was centered and I placed it in the right spot.
SUPER EASY!
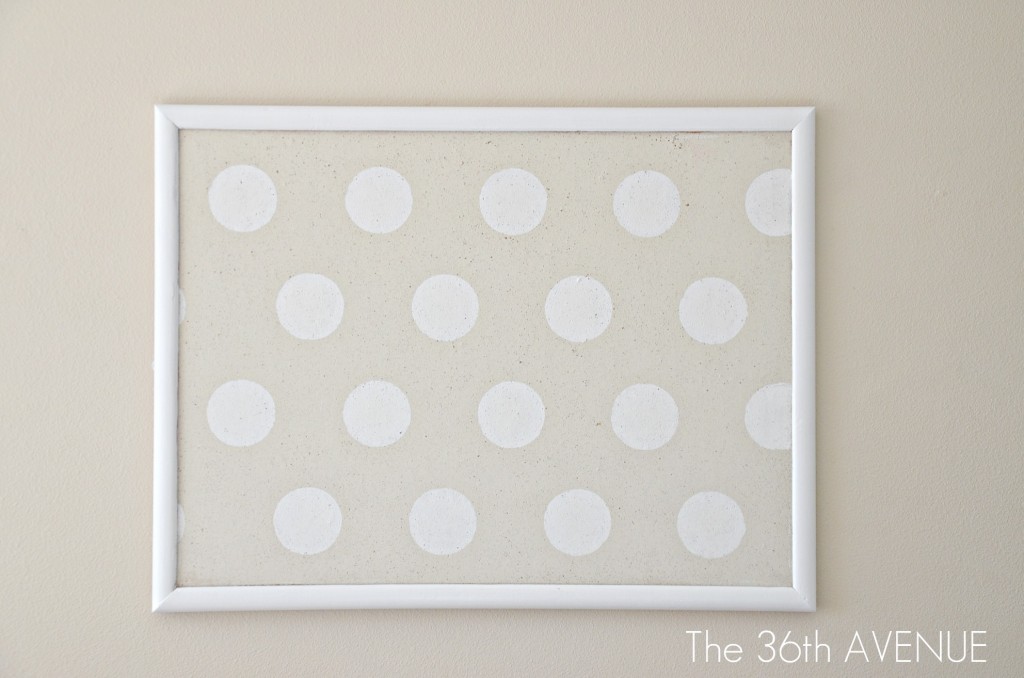
Before I knew… around 10 to 15 minutes later I was done!
All I had left was remove the stencil, let the paint dry and to sand it a little…
All done!
I hope you come back this evening at 6:00 pm to party with me.
I can’t wait to show you more!
See you later!


Hello! What is the colour that you painted the background first? Grey?
It is a light tan color but gray would look fantastic as well!
I got so excited promoting the site that I forgot to tell you what stencil I loved most. What a very hard decision. There are so many amazing ones on the Cutting Edge Site. It was like a Woman in the shoe store. After all the ones I looked at I did pick a great one that follows my decorating style. I love butterflies so my choice would be the “Butterfly and Dragonfly Craft Stencil. I see so much potential in this one. Again Thanks and Have a great HAPPY Day. KC
I love this Desiree – all of the polka dot projects you have done this week are so cute! I featured you today in my Friday I’m In Love favorites!
http://socialsalutations.blogspot.com/2012/01/friday-im-in-love-with-organizing-and.html
– Jenn @ Social Salutations
i’m seeing SPOTS!!!! : ) LOL!!!! LOVING the polka dots!!!! just can’t get enough of them…keep them coming my friend!!! you Rock everything you do…simply AMAZING!!!! hugs…