

Today I’m sharing a super cute Handmade Christmas Gift Idea that I made using my Silhouette. Every year on Christmas Eve we give our kiddos new PJs and this year I’m adding to our Christmas tradition these adorable Sleeping Masks. I have a feeling that Santa is going to love them as much as the kids. So fun!

The first thing you want to do is print and cut the mask template.
{Click HERE to Print Template}
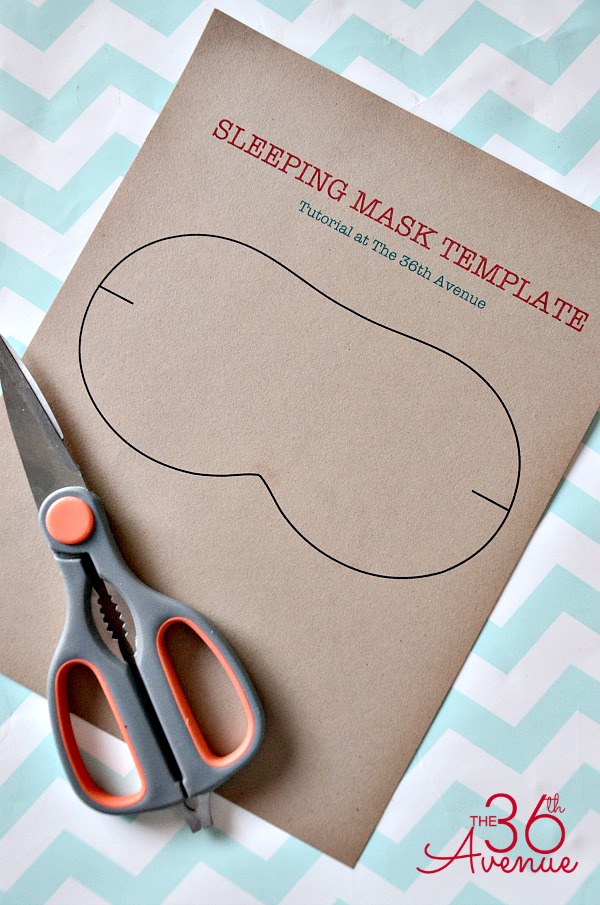
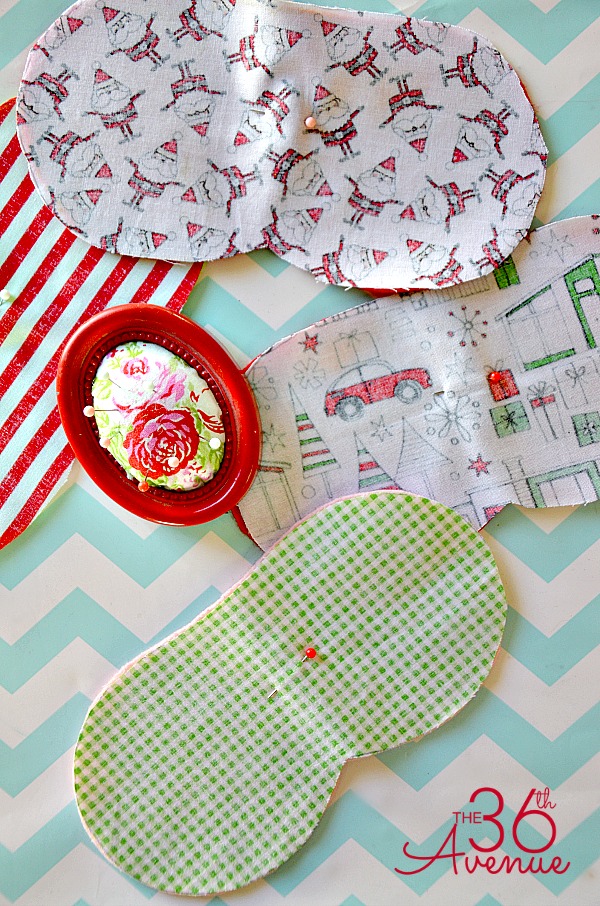
Trace the outside of the template on the felt and fabric and cut them both.
I like to iron both pieces together before I sew them.
2
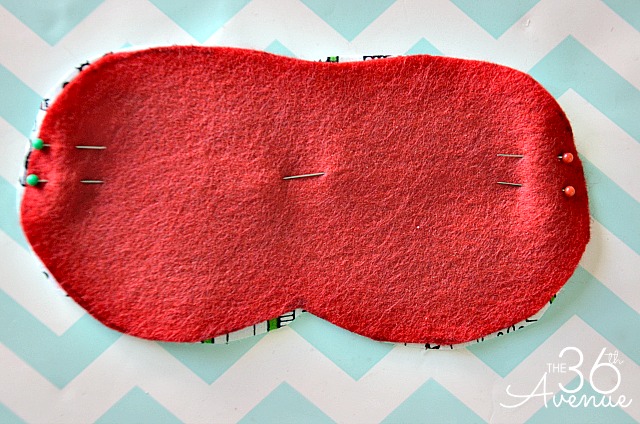
Make sure the backside of the fabric is facing you and pin both pieces together.
I like to mark with pins the two areas where the elastic will go. This makes the sewing even easier.
3
Sew both pieces together stopping where the elastic will be.
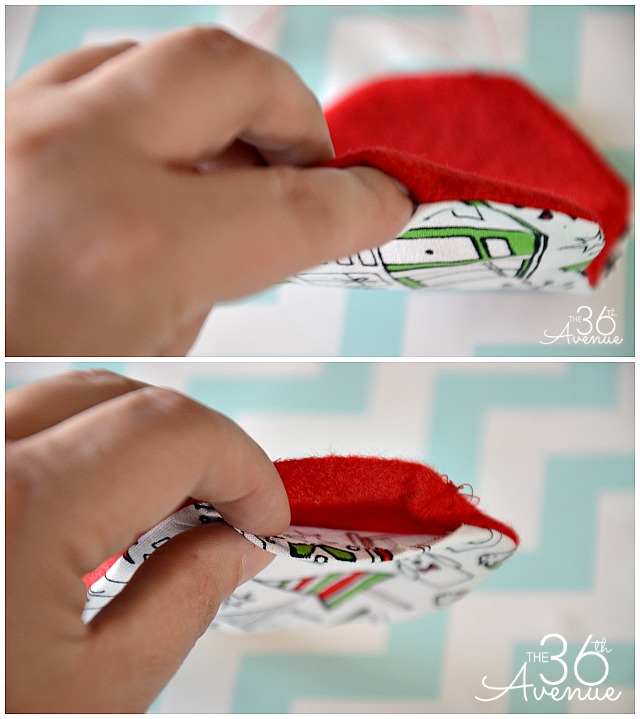
On one side leave an opening so you are able to flip the mask inside out.
Now that you have flipped the mask inside out put the elastic inside of the opening and close the holes stitching right on top of it.
HOW TO ADD THE TEXT
MATERIALS
Iron
Sleeping Mask and Silhouette Machine
If you don’t have a Silhouette, you should ask Santa for one HERE
Also you can get more info about the Silhouette Portrait HERE.
Use your Silhouette Studio Software to design your wording.
IMPORTANT: Be sure to mirror the text before you cut it. It should look backwards on your screen!
To do this, on your Silhouette Menu go to Object – Transform – Flip Horizontally.
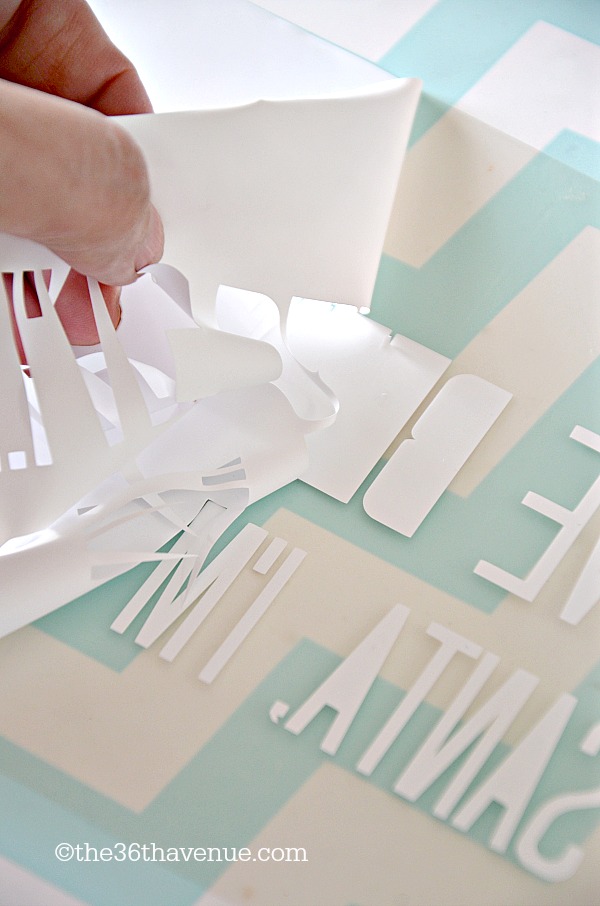
Once the design is cut, trim your project to size and remove the negative-space material.
Only your wording should remain on the clear plastic sheet.
{ If you have never used Heat Transfer Material make sure to read the instructions placed on the back of its box. }
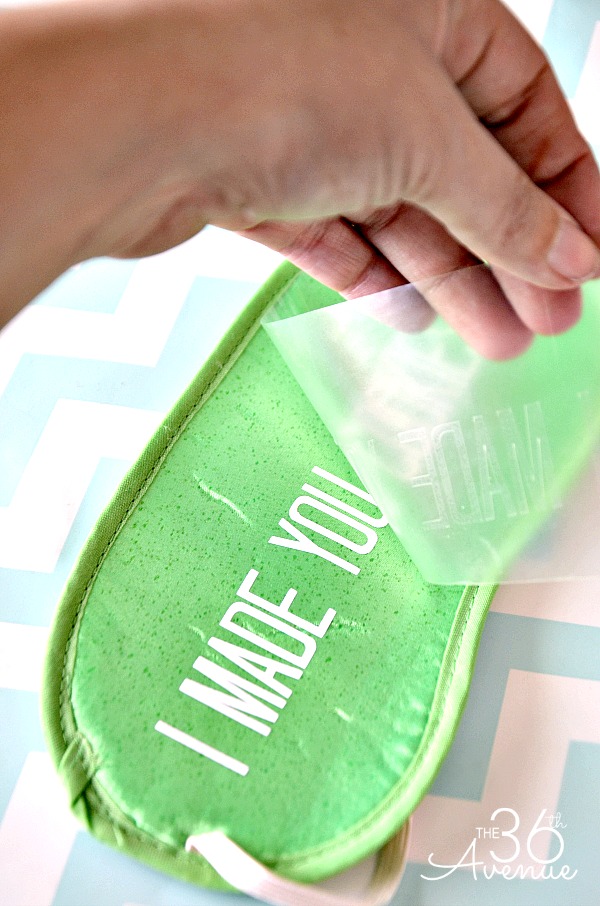
Now that your heating material is ready, position the design on your mask with the clear plastic sheet facing up.
The design should no longer look backwards.

Place a cloth over the design and apply firm pressure with a heated iron for 45 to 60 seconds. Make sure your iron is not set to more than 300 degrees F.
Gently peel away the clear plastic sheet.
{ If the heat transfer material continues to stick to the clear plastic sheet, place the cloth on top of it and iron again.
You are done!

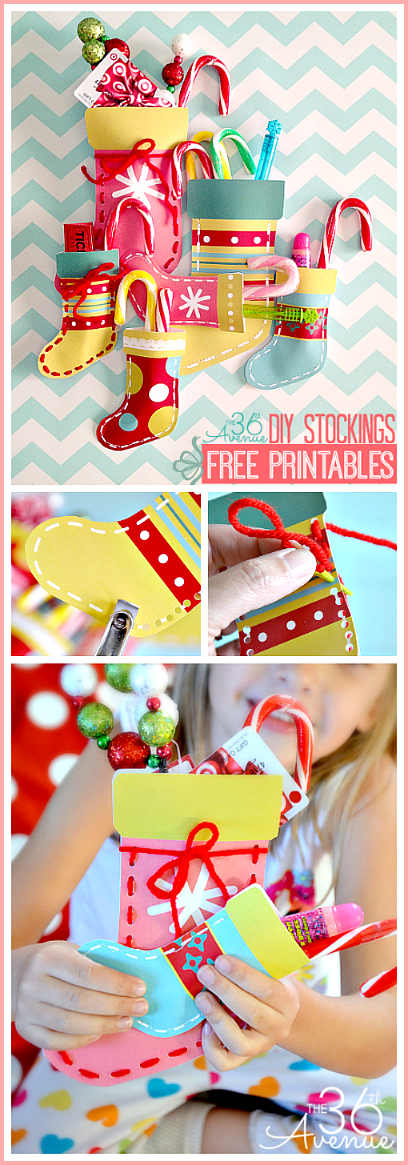
Here are some other Christmas Projects that you are going to love!
DIY Christmas Stockings Free Printables
Try to our White Chocolate Popcorn Recipe

Thank you so much for stopping by today!
Besos
Desiree

How cute! I am IN LOVE WITH THESE. tHANKS FOR THE GREAT TUTORIAL!
These are absolutely adorable! What a fun gift!
These are so dang cute! I love them
http://MAKINGMEMORIESWITHYOURKIDS.COM
It is the adults in my life that need sleep and may get this 🙂
THIS looks like a fun gift to make! Thank you, Desiree! 🙂
I am so making these this year for the kids. Maybe it will get them to sleep sooner on Christmas Eve!
Love thEse! SO sweet! Will they help the christmas eve cant sleep syndrome???