
Really?!
$9.99?!

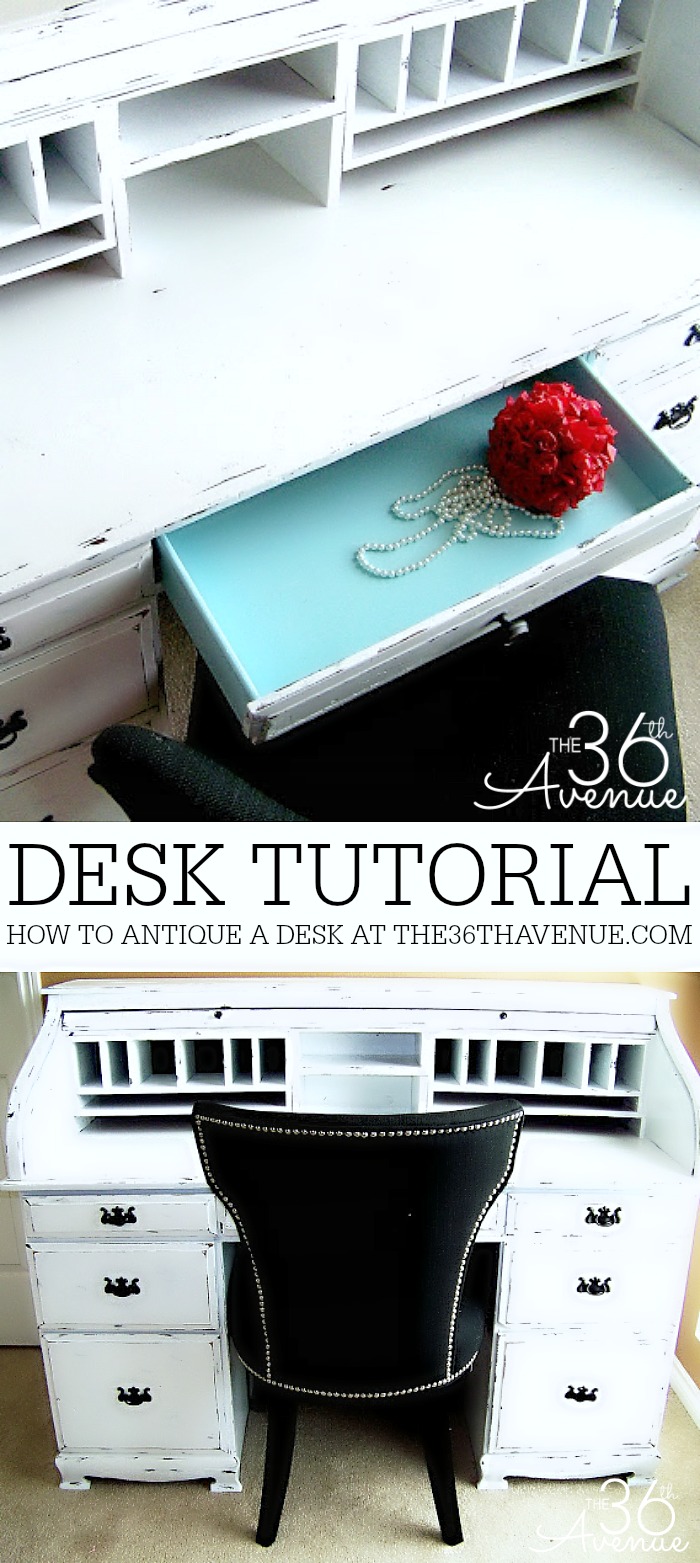
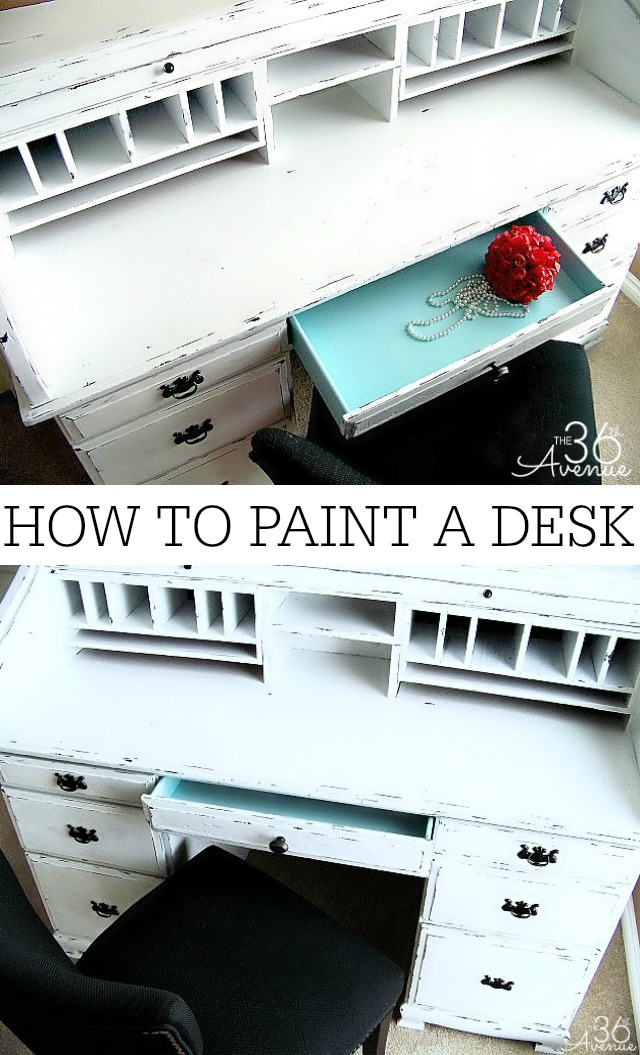
I worked on this desk on and off during the course of three days but with you I’m sharing a quick tutorial!

1
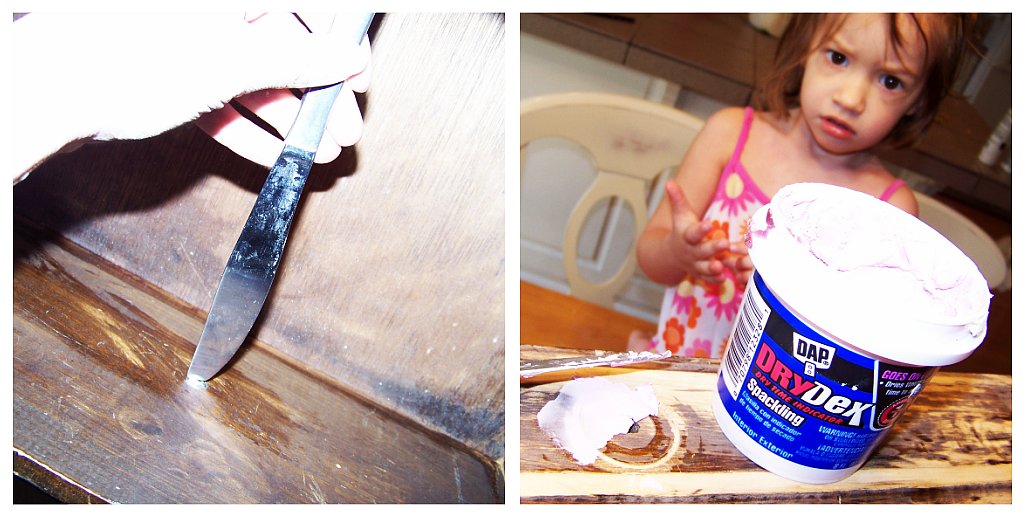
Prepare It
First thing you want to do is clean the desk, remove the hardware, and fill the holes.
{My baby girl thought that the DryDex was yogurt. You can see the disappointment on her face when I told her ” Mimi, you can’t eat that!”
2
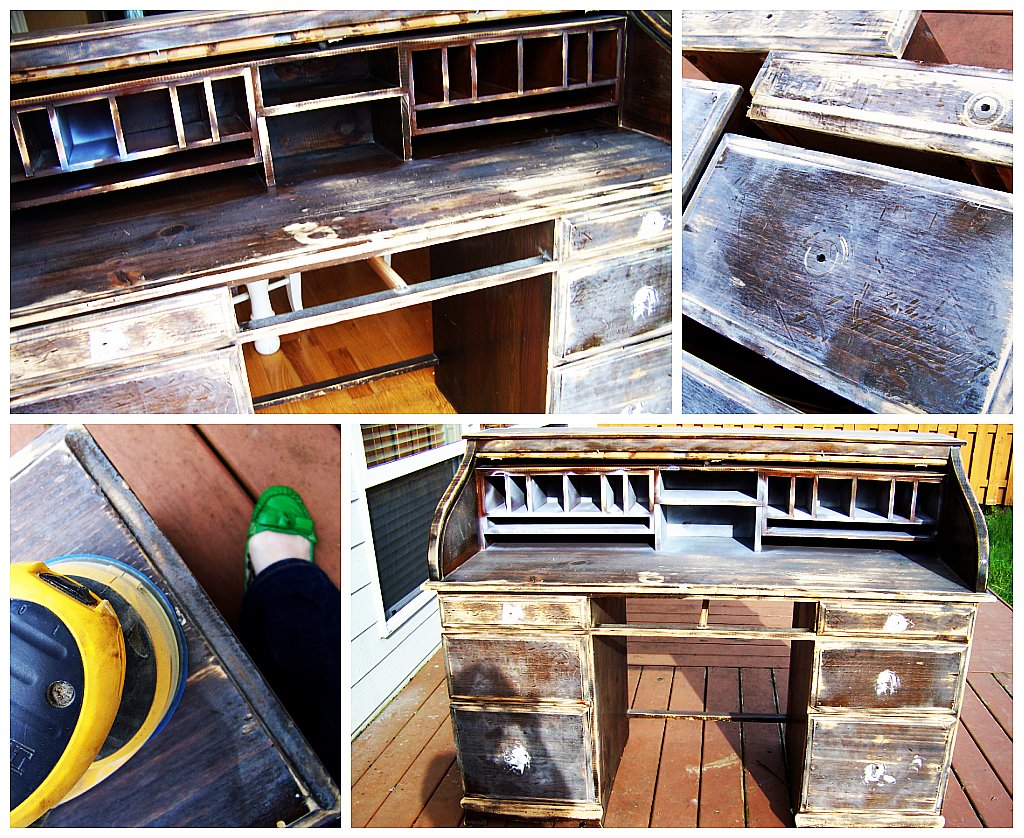
Sand It
Even when I prime a desk I like to lightly sand it first so the primer is absorbed in the wood.
You don’t need to sand it perfectly but just enough to remove the top coat of varnish.
3
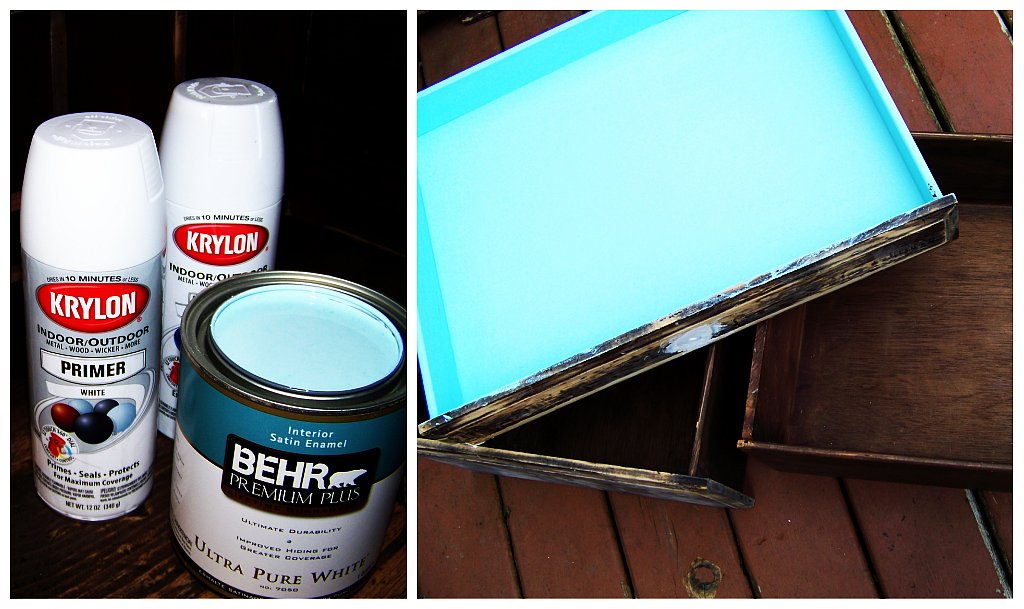
Prime and Paint
I like to use paint but if you prefer spray paint that’s OK.
Before you paint though make sure to prime the entire desk, this will help the paint stick to the wood a lot better.
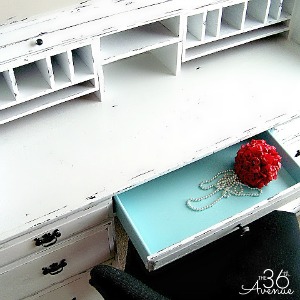
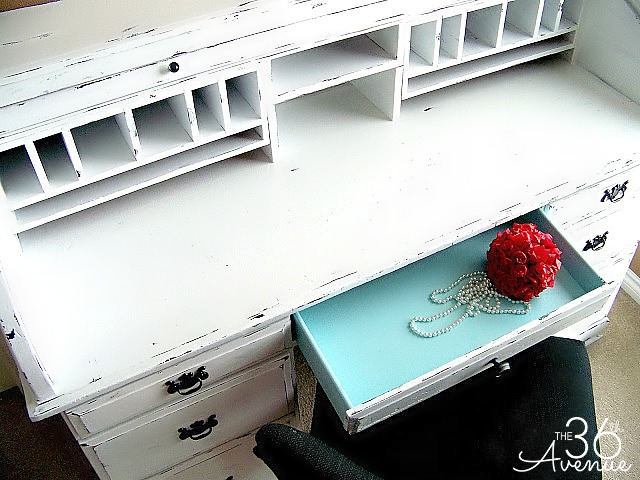
After I primed the desk I painted the inside of the drawers in turquoise…

After the break I painted the entire desk BLACK.


I let the black paint cure over night and the next morning I painted the entire desk white.
It will take two to three coats of paint to give the desk a bright white color.
I like to use a satin finish since it is easier to clean than a flat finish.
As you can see in the picture below some of the black is coming out from under the white paint.
Are you ready for the fourth step?
4
Antique the Desk
I used one simple tool to achieve this look… My good friend the electric sander.
The amount of pressure you use will determined how deep into the layers of paint you are going to go.
If you don’t have an electric sander you can use sand paper.


So, here are the steps.
First: Black
Second: White
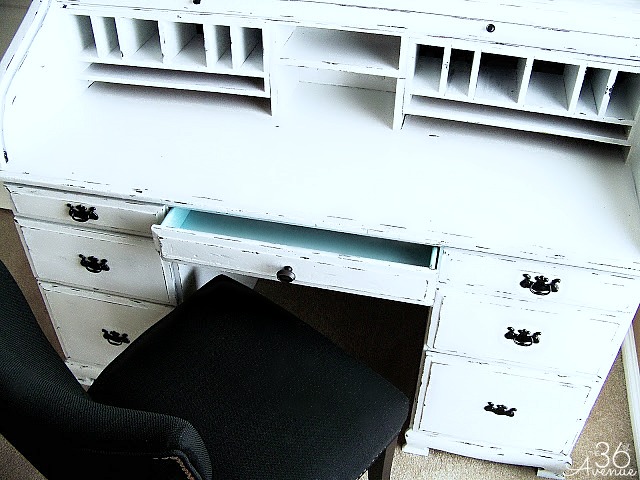
Third: Sand it and enjoy all the layers!

5
Repaint and Reinstall the Hardware
If you are lucky to have the original hardware you can leave it as it is or you can give it a little makeover.
I primed and spray painted all the hardware in black. After it was dry I reinstalled.

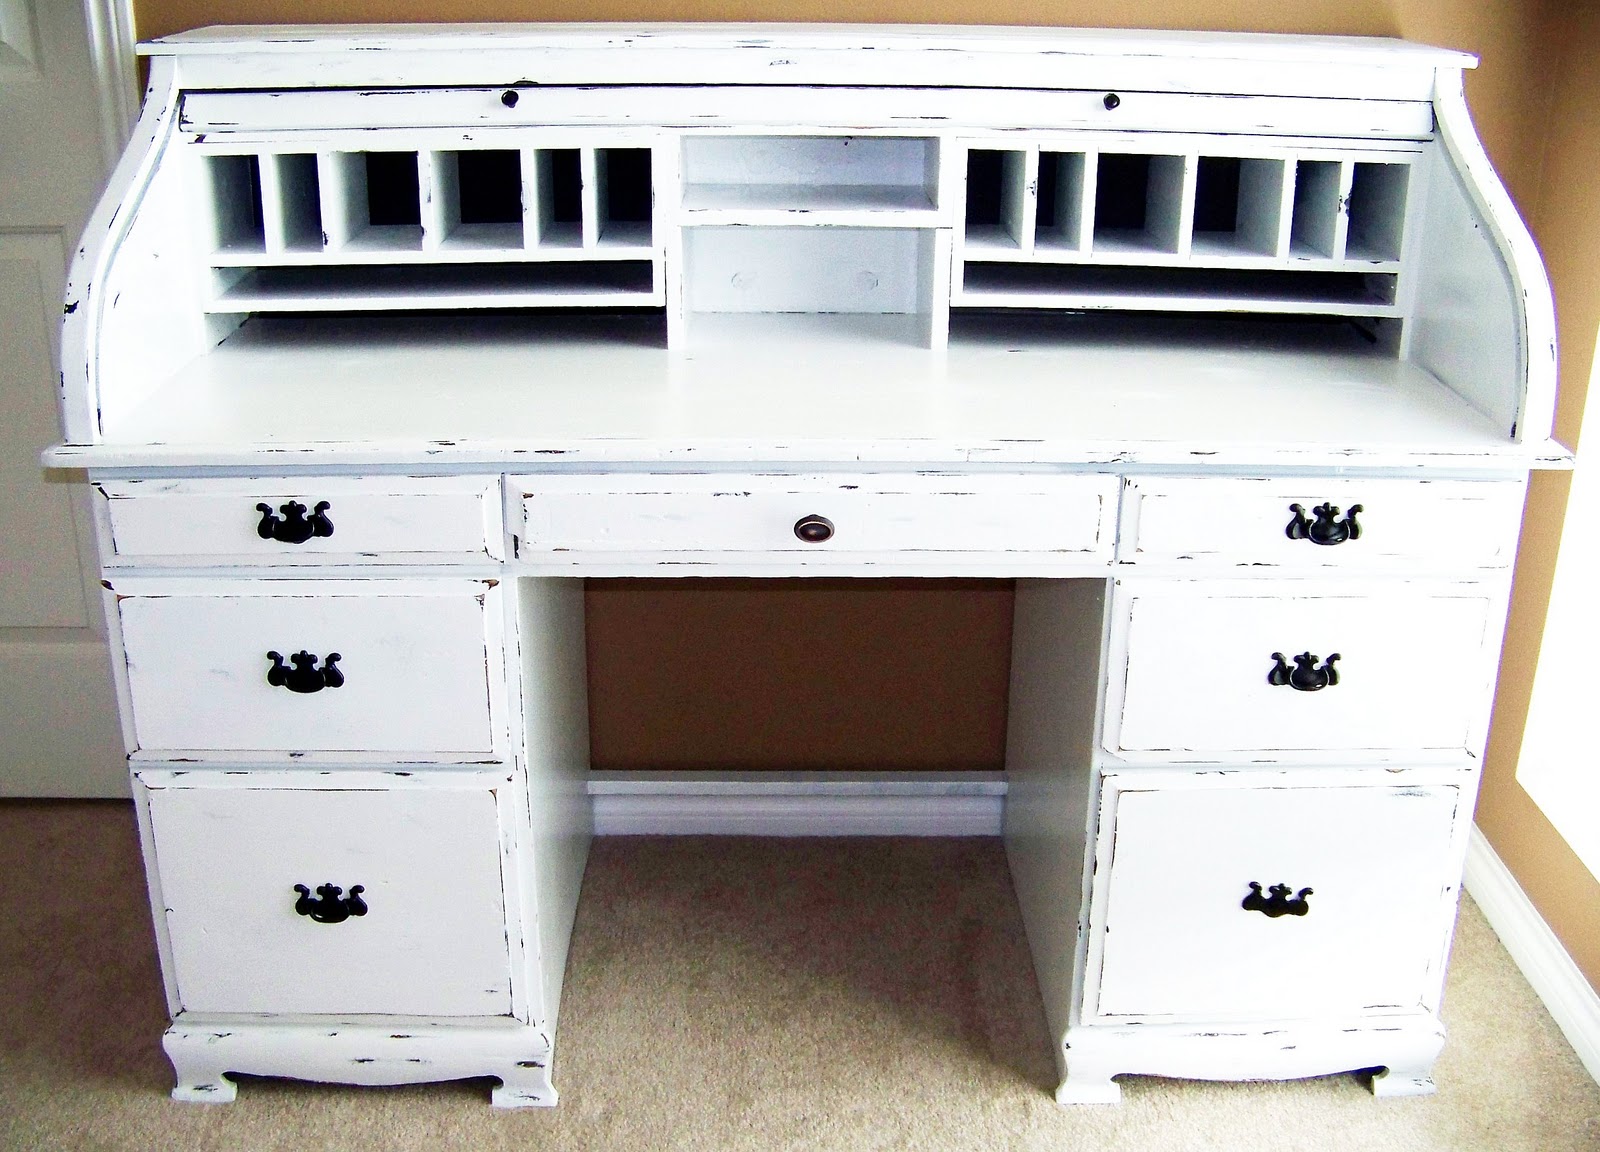
We are done!
I loved working on this desk.
I found myself often thinking about the similarities the desk has with life in general. As I was sanding the edges a small thought crossed my mind and I felt a sense of gratitude for all the “layers” and experiences that I’ve had in my own life. All those layers at the end of the day are what have made us who we are today… Don’t you think?
In the end for me it is as simple as this… Price and value are NOT the same thing.
Sometimes appearance can blind us and take away from the true worth of things as a moment…, people, or of something as simple as an old desk. Most of the times in order to restore and see true beauty we need to clean up and get rid of some old “unwanted” layers. At times things need to get darker before they get lighter and brighter. Sometimes you even need to open your heart to look deeper and see what is inside!
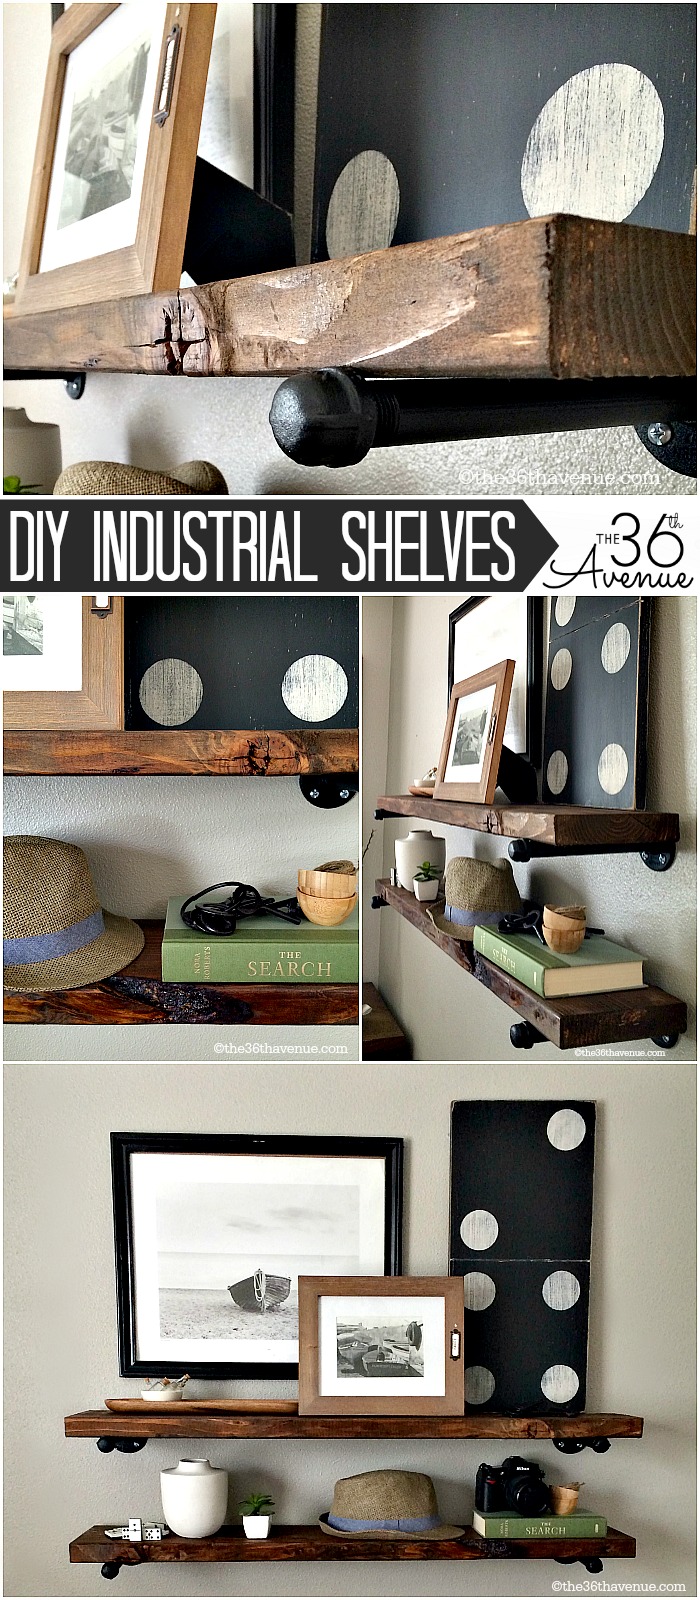
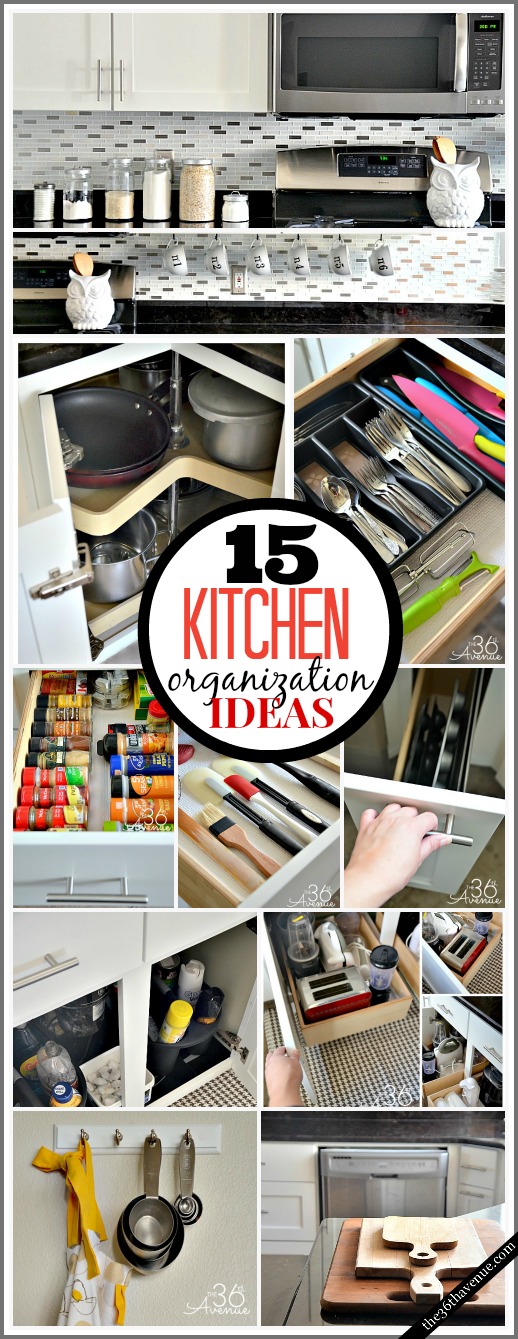
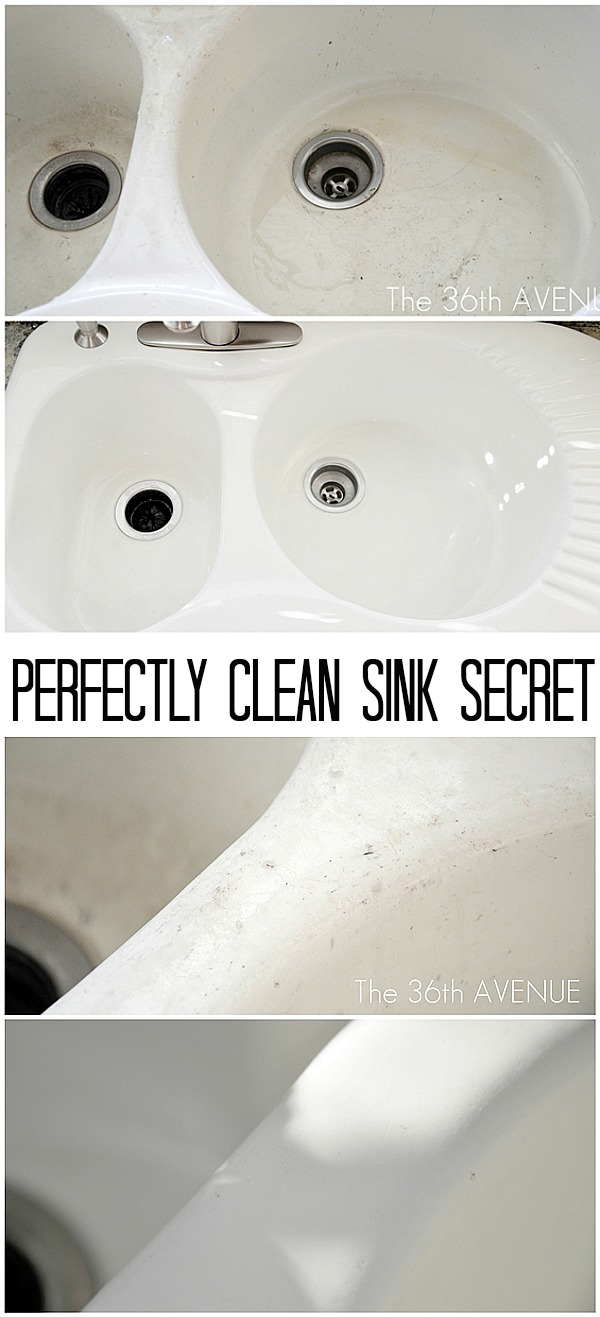
Here are some other DIY Home Ideas that I love!
Thank you so much for stopping by!

![]()

Love the desk!! It turned out beautiful!
The desk looks amazing and I love the analogies you made between old pieces of furniture and life. I have a roll top desk that I have been thinking about painting white, but was a little hesitant as I was not sure if I would like the look. You have inspired me to give the project a try.thanks for sharing.
You are very welcome Dorene… Thank you for taking the time to say hi!