
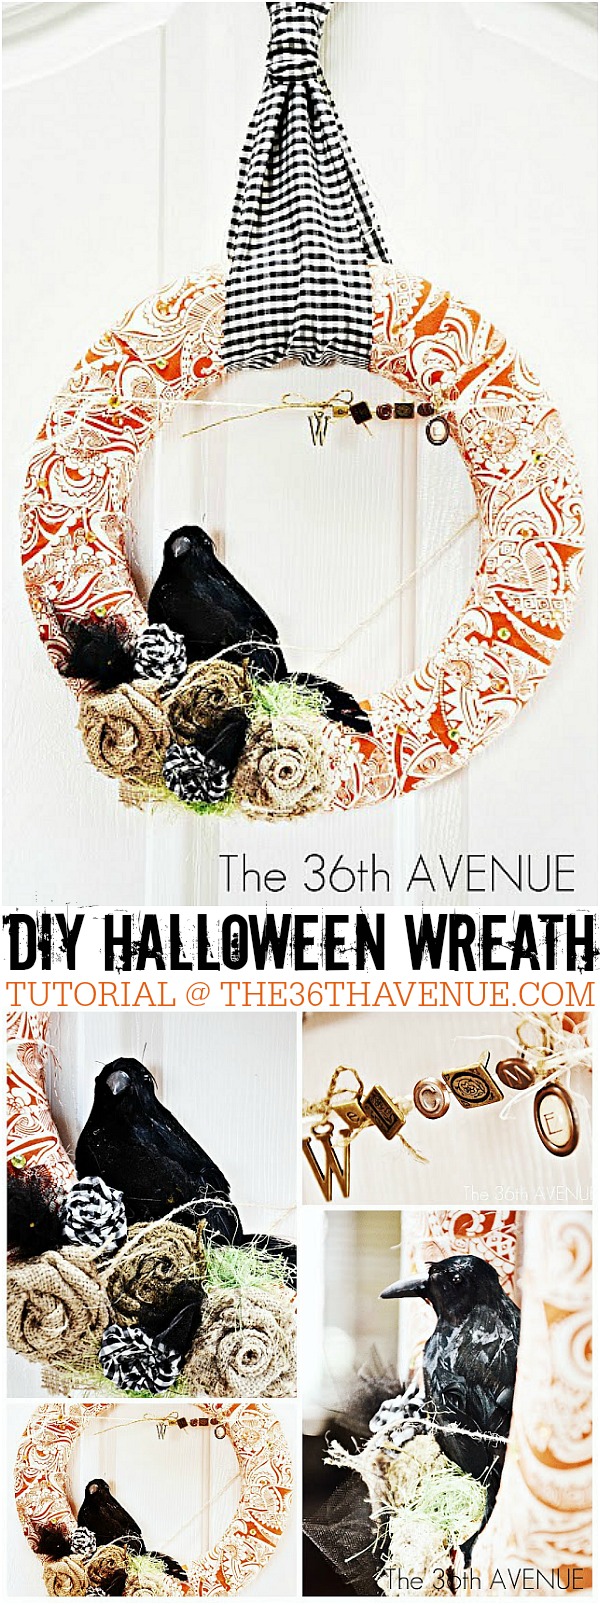
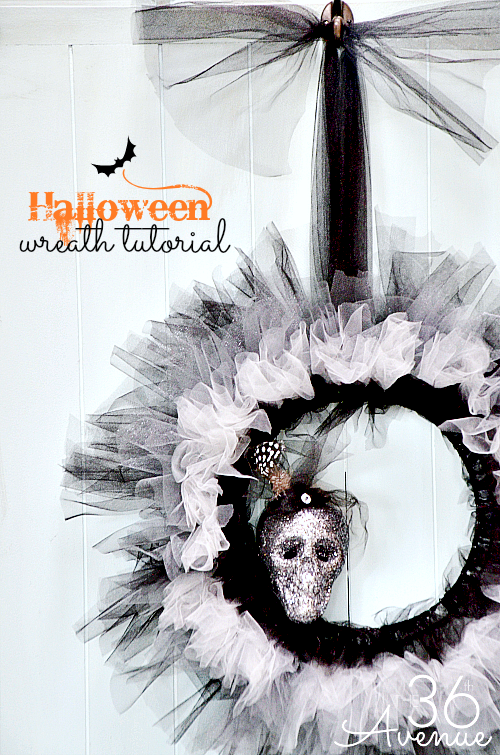
Halloween Wreaths are an easy way to decorate for the Holidays. Today I am sharing our easy Halloween Wreath Tutorial. I hope you like it as much as we do!
©THE36THAVENUE.COM DO NOT COPY, SAVE, OR PASTE THIS COLLAGE IMAGE.
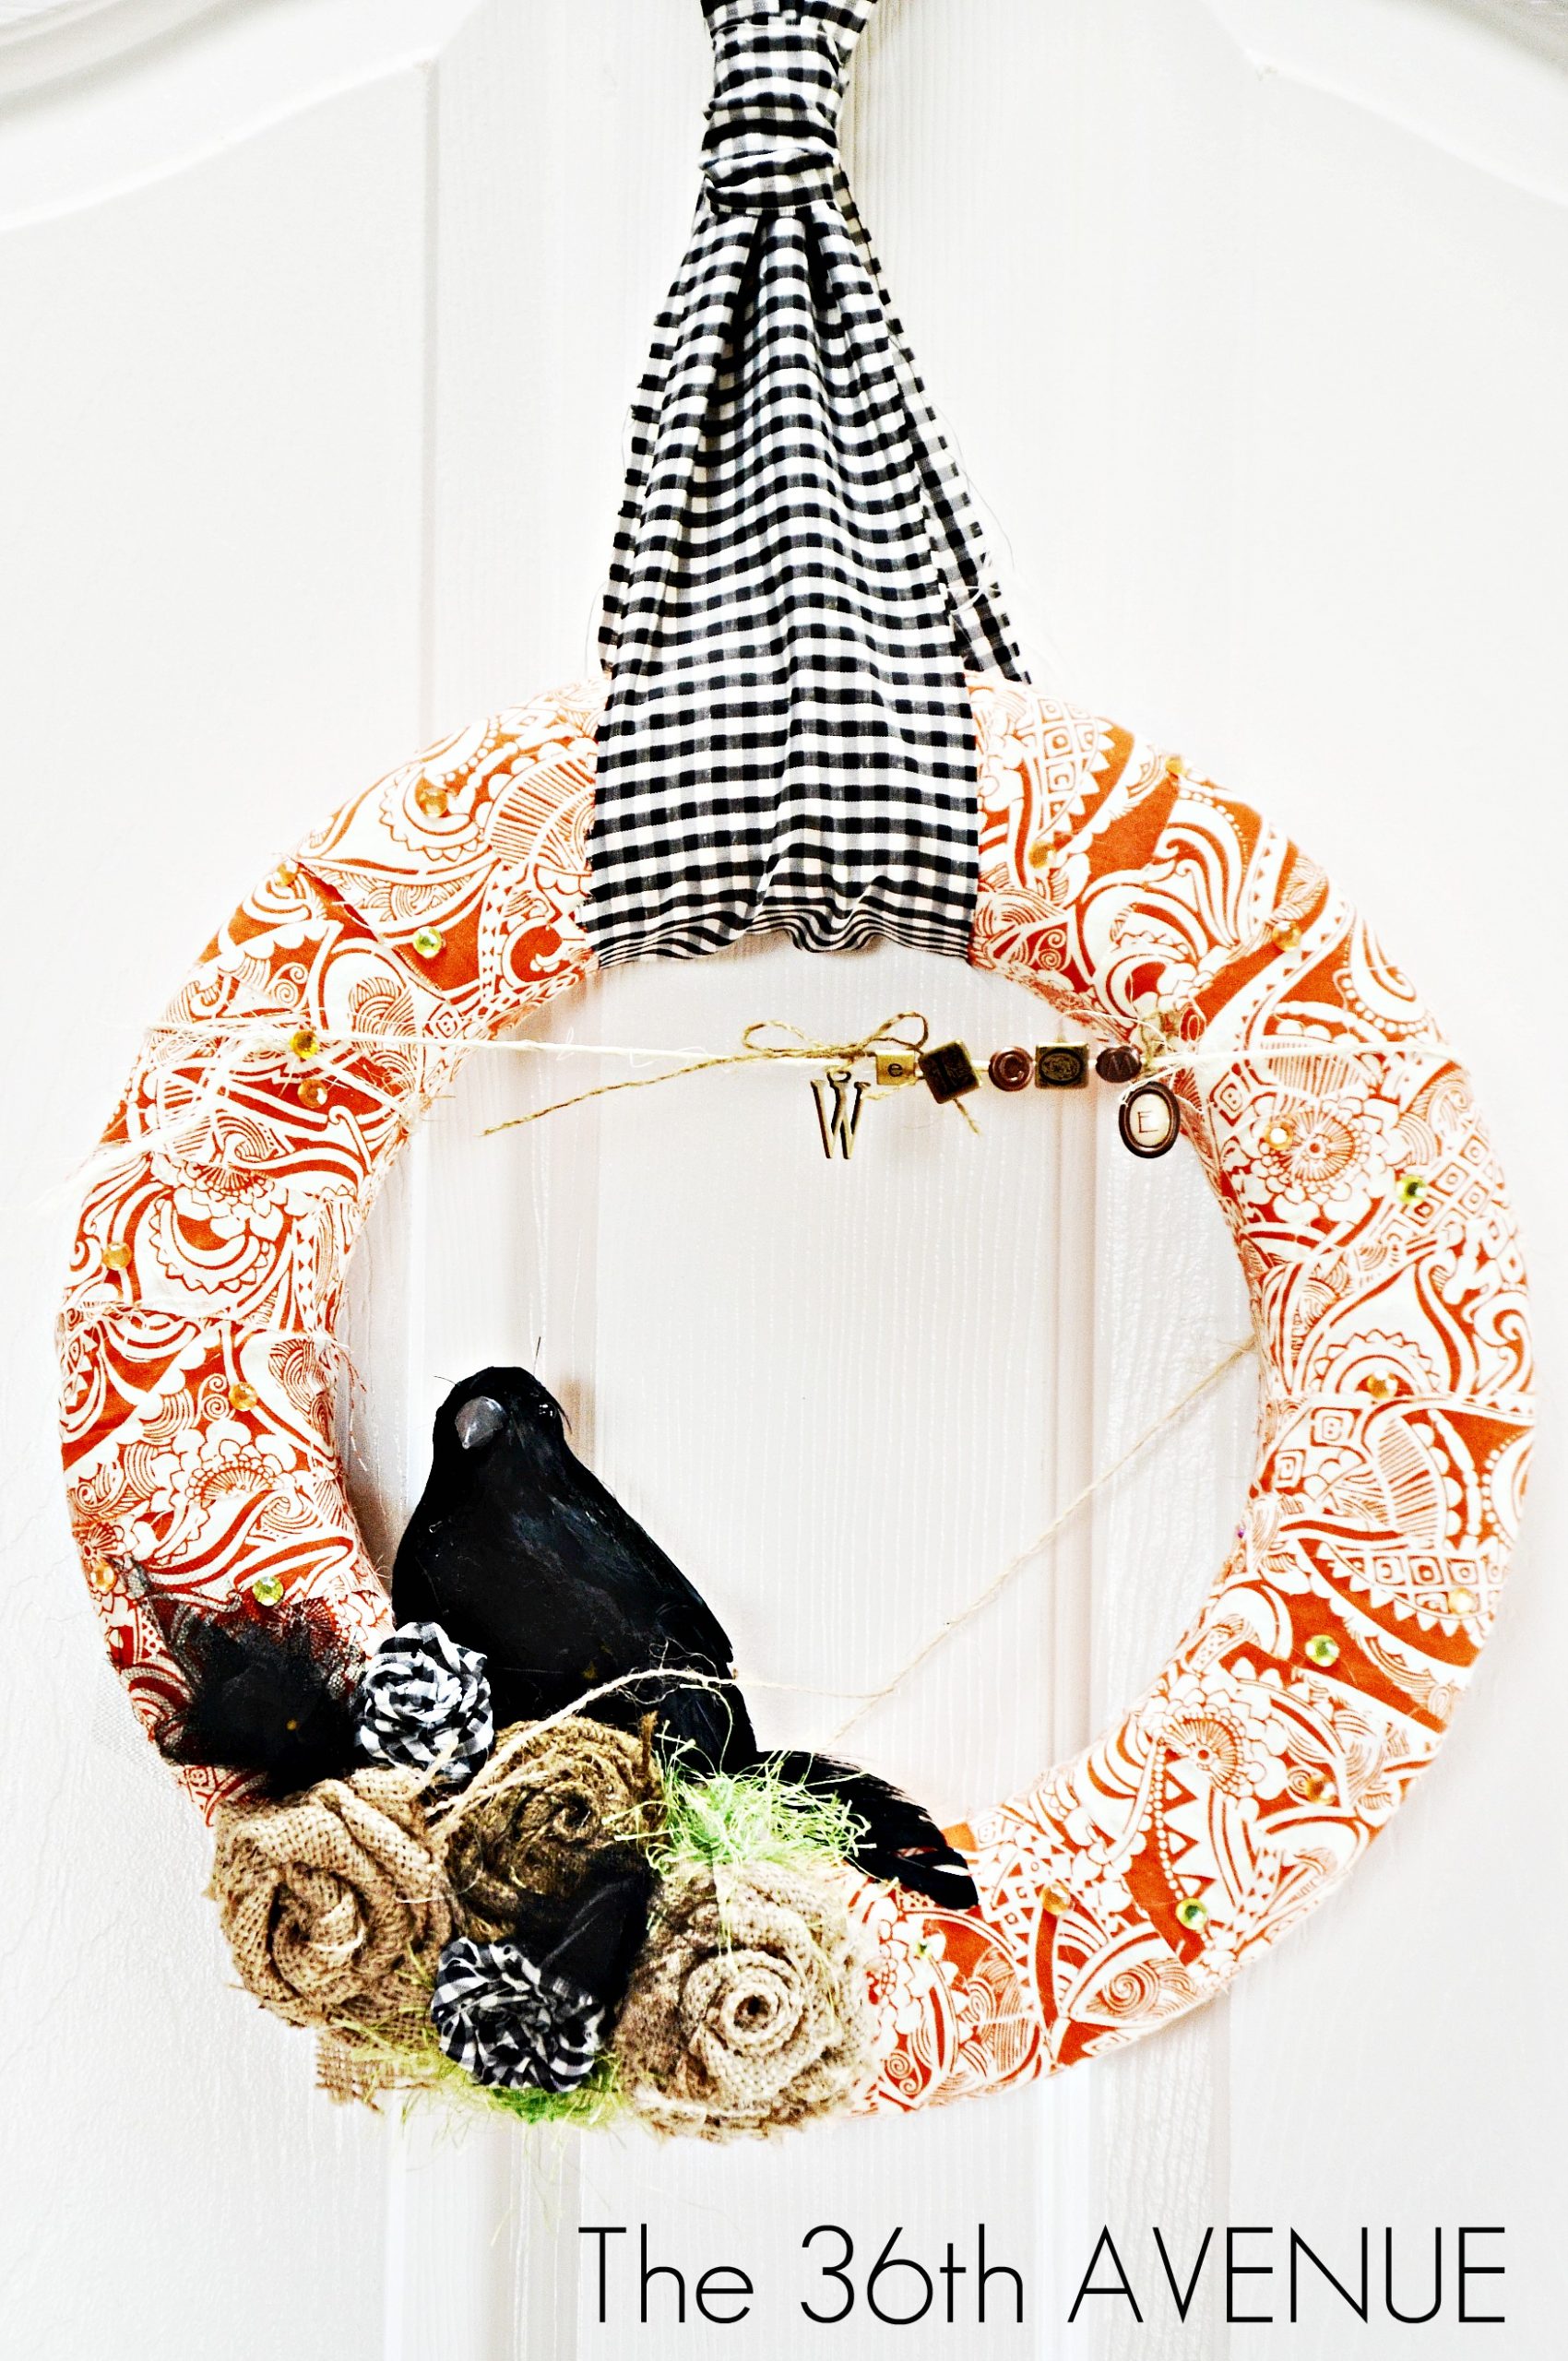
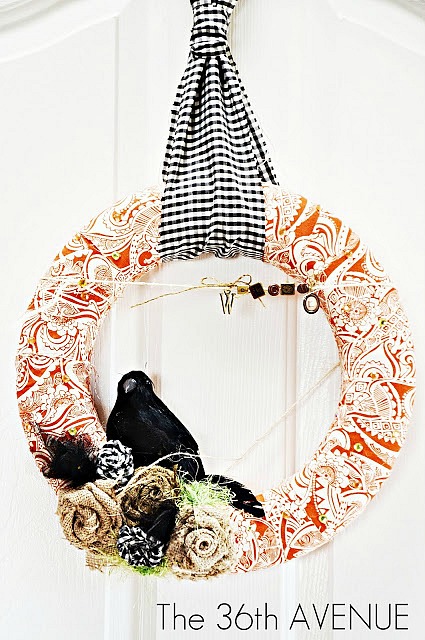
I have a wreath for the front door of my house from last year that I love… so I thought this year to make a smaller one for the entrance of my home.
I wish I was ready to show you the rest of the decor but here is the new little wreath for now.
It was so simple to make and fast if you are not like me and get distracted with other things easily, important things such as… Pinterest 😉
Here is a small picture tutorial of the process…
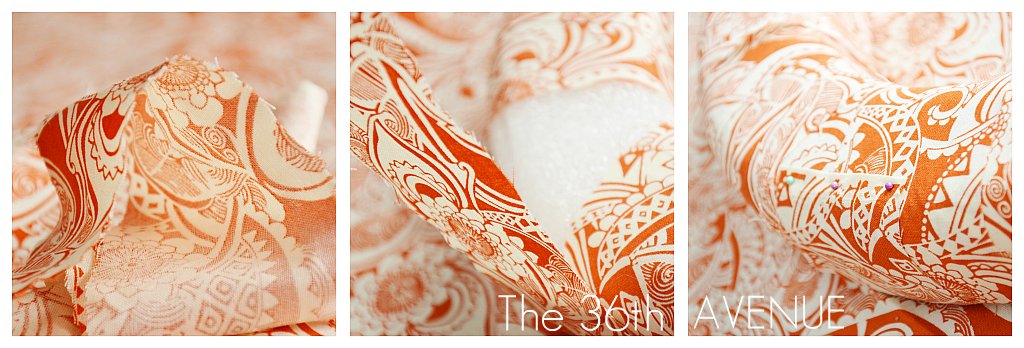
{first }
cut, roll, pin
{second}
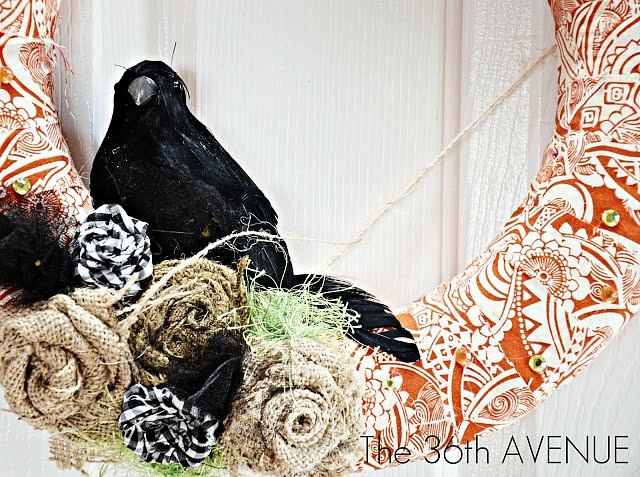
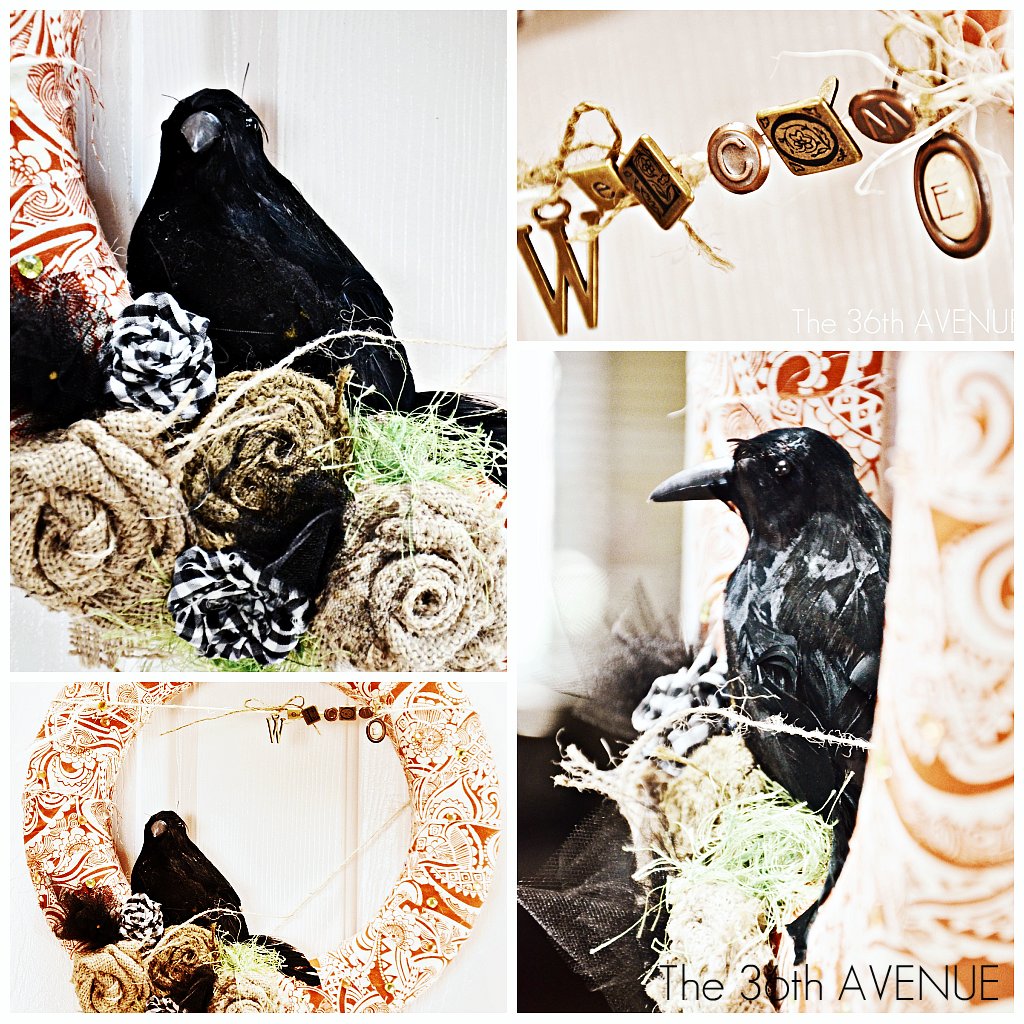
Make your embellishments and go HOT glue CRAZY!
Mine has burlap and fabric flowers.
Green Yarn, Acrylic Crystals, and a little black birdie that I found at the Dollar $tore.

{ third }
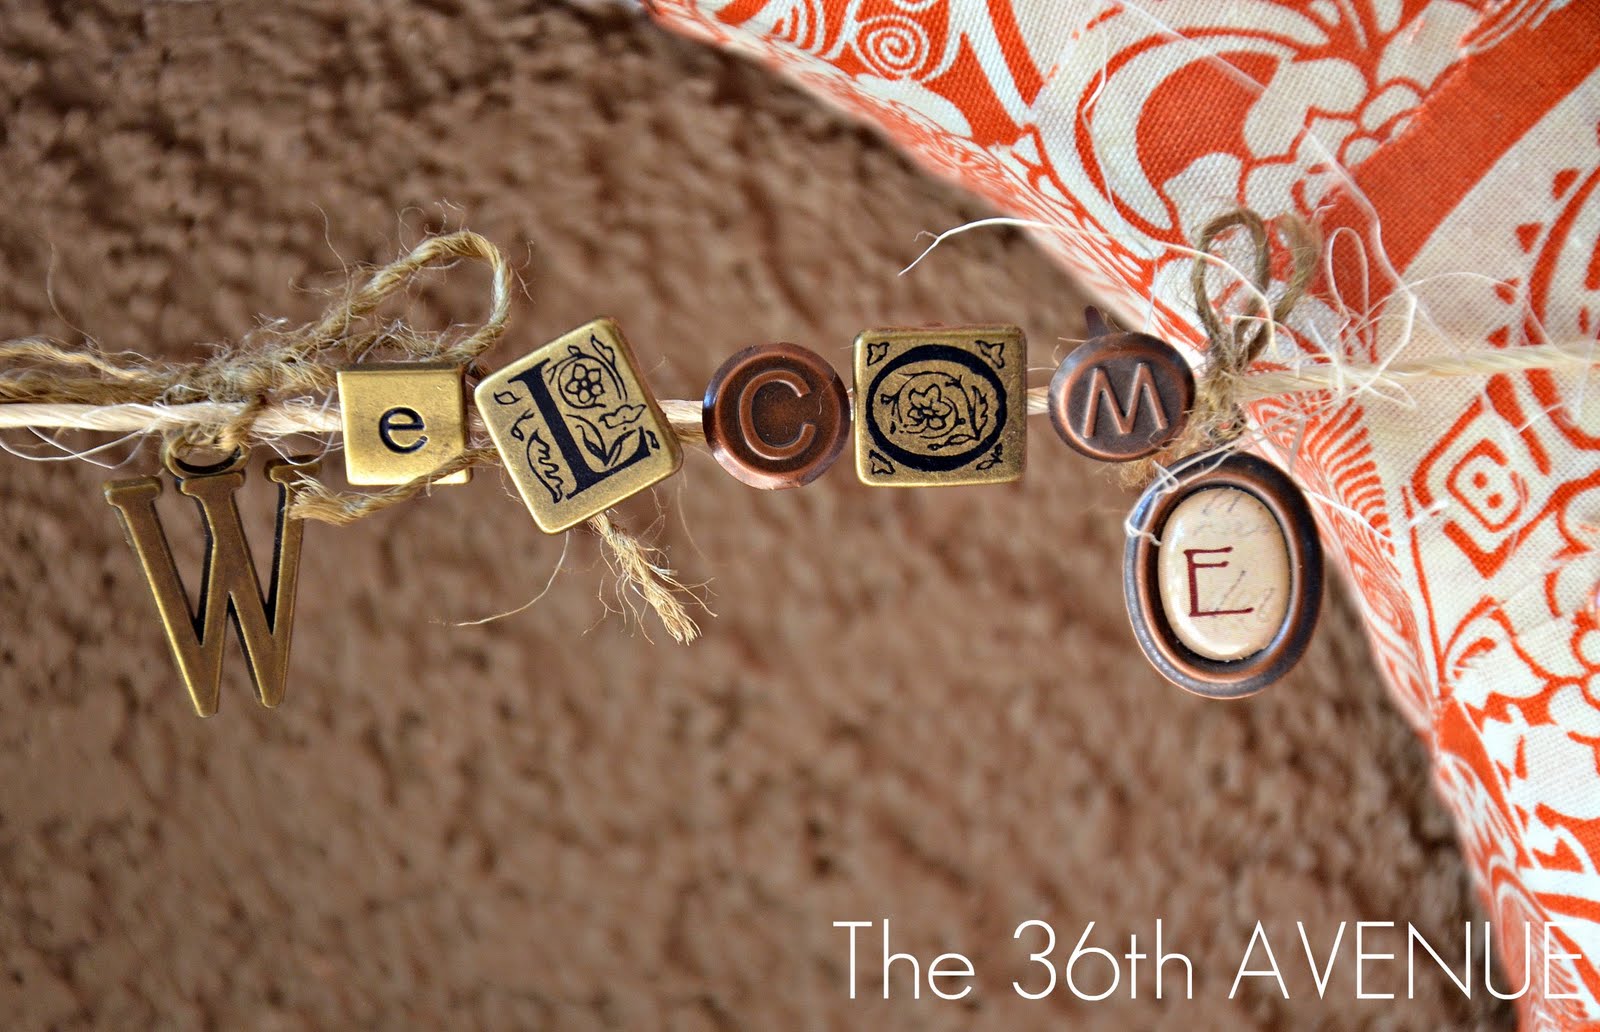
Say it!
Add a little message…
{ fourth }
Hang it!
{ fifth }
…enjoy and share your work!
We are done!
I hope you like it!
Check out these other Halloween Projects!
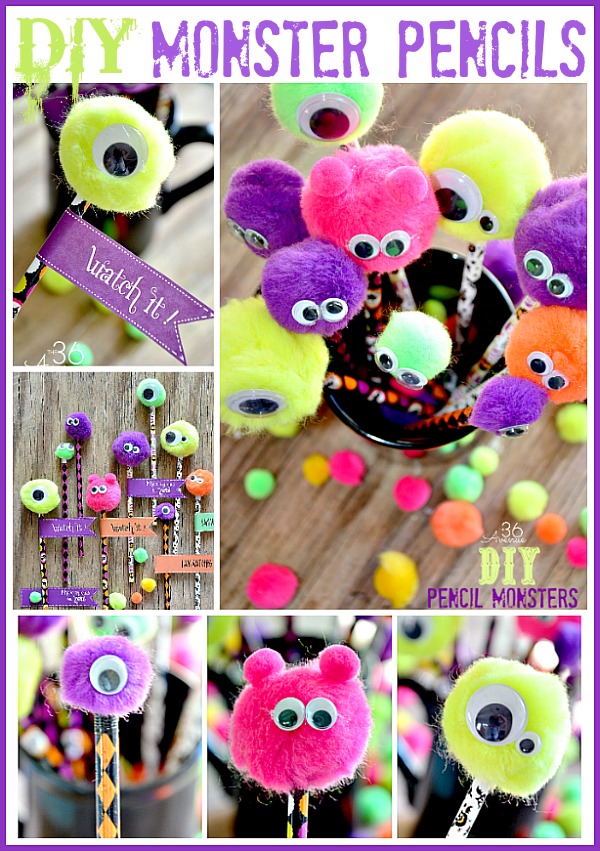
Halloween Monster Pencils and Free Printables here.
Thank you so much for visiting with me today!
Besos
Desiree

Just stopping by to let you know, I featured this project on my fall wreath post here- http://diycraftyprojects.com/2012/11/50-yes-fifty-fall-wreath-ideas-and-inspiration.html. Please grab a featured button from my side bar to use on you blog, if you’d like. 🙂
Oh, Desirée – this is absolutely gorgeous!
So cute! Can you post how you made the rosettes? Thanks!
Janelle,
I will make a tutorial post for you. Just give me a few days!
I’m doing a craft day with my sisters in law this Monday and I’d love to make this! I’m not very crafty so I need more detailed instructions on how to make it, lol. How much fabric will I need and how thick were the strips that you wrapped around the wreath? Thanks so much!
Kelsey
Kelsey,
you won’t need much fabric, perhaps 1/4 of a yard. The strips were about 2″ thick.
Have fun with your sisters!