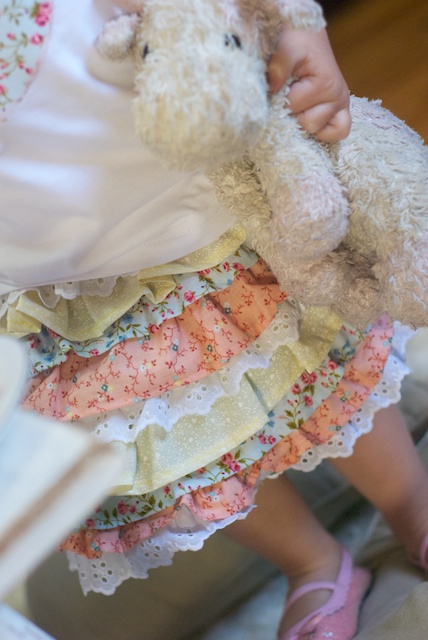
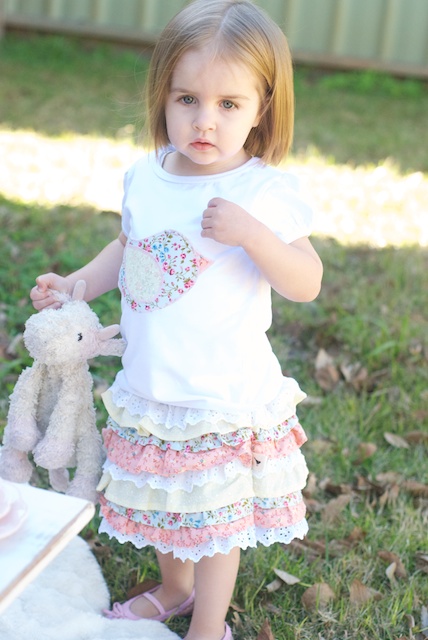
Skirt Tutorial – Easy and adorable little girl ruffle skirt tutorial. This is the perfect project to use fabric scraps. Follow the steps below to create your own skirt!
Hello, my name is Bec and I am so excited to be able to share on The 36th Avenue today from my little blog/label called Small Birdie. I live in a beautiful little city called Toowoomba in Queensland, Australia with my best friend, who also happens to be my husband. I work as a nurse but lately, I can’t seem to take my focus off sewing.
I love creating things, making new from old and I love the joy of sharing all the little creations that come along the way. Today I have the pleasure of sharing a beautiful ruffle skirt tutorial that I designed for one of my little nieces.
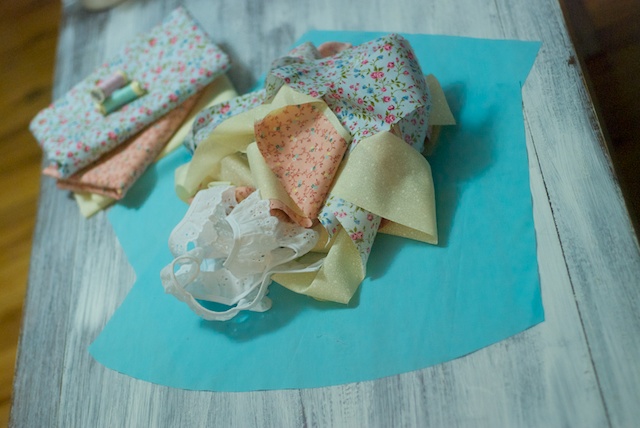
What do you need for this skirt tutorial?
You will need for size 2T:
2 X Cotton fabric 18″x10″
18 strips of fabric 18″x2″
18″ elastic 1.5″ wide
waistband- 5.5″ x 21″
cotton
sewing machine
Skirt Tutorial:
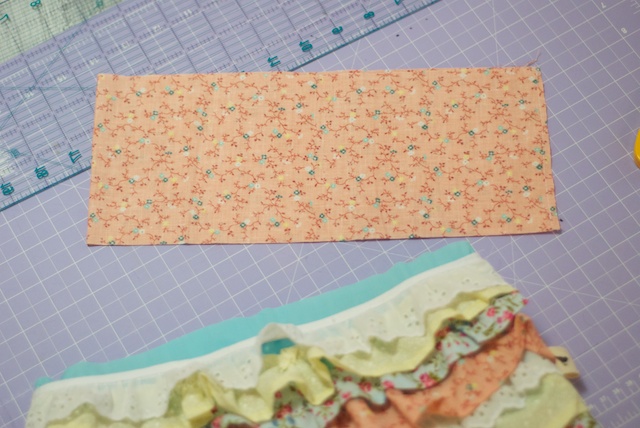
First, with the cotton fabric pieces, cut in from 2 inches at the top to the bottom corner, and round the bottom, like you would to make an A-line skirt. Hem the bottom.
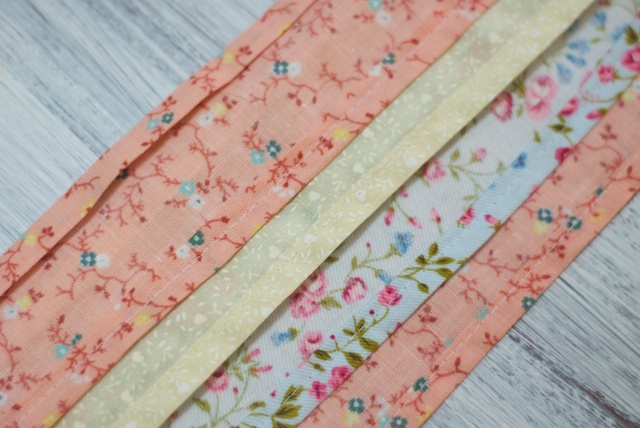
Next, prepare your fabric strips by hemming each side of the length, so that no raw edges are showing.
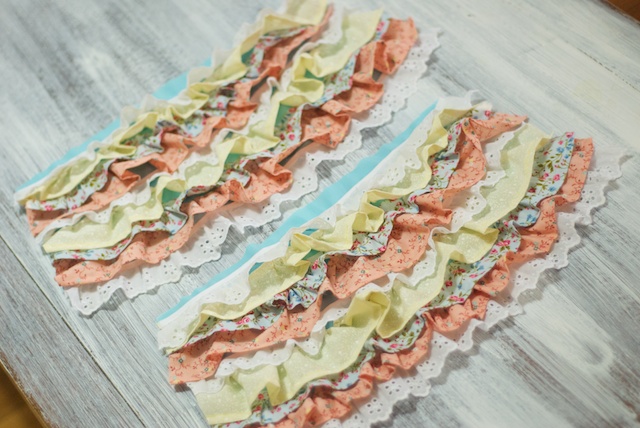
Once all the strips are done, sew a running stitch at the top of each strip, and pull from one end of the cotton to create a ruffle. make the ruffle to fit the with of the A-line piece of fabric you have already cut. Continue this process for each strip.
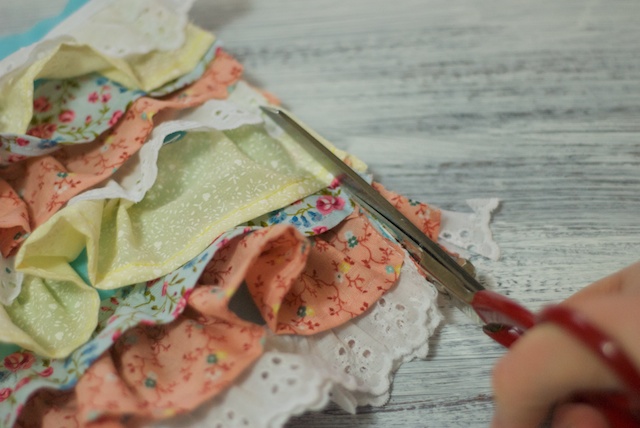
Next, sew on each ruffle starting from the bottom, covering the hem. There will be some fabric at the top that is still visible, but this will be covered by the waistband.
Next, place both pieces of the A-Line skirt together right sides facing out, and sew along the sides. Trim the edges. Turn inside out, and sew along the sides again, encasing the stitch you have just made…this is a french seam.
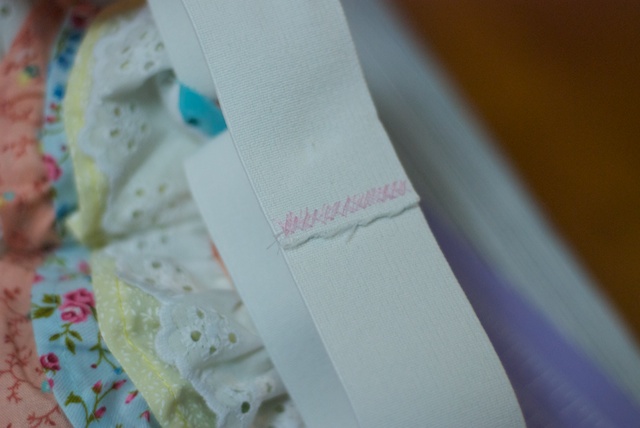
Finally, the waistband. Fold the waistband in half, meeting each 5.5″ side, and sew at the edge. Iron the waistband in half lengthways, and fold in a 1″ tuck each side and iron flat. It should now look like a waistband to sew on the top of the skirt. pin the waistband in place at the top of the skirt, ensuring that each side meets up, and covering the top of the last ruffle.
Sew the waistband in place, leaving a 2-inch gap to thread the elastic through. Thread the elastic through, and sew ends together. Sew the gap closed. And you are finished!


This is darling! Thank you for sharing how to make it!
Hello
I just wanted to let you know that I have mentioned you in one of my posts. If you wish for me to remove any content please let me know
Cheers
Jennifer
http://www.eatcraftsow.blogspot.com
This GIVEAWAY is CLOSED!
I left a comment on smallbirdie blog also!
[email protected]