
Holy Cow!
How in the world are we in April already and Easter is here in four days?
Are you ready for Easter?
Our kitchen makeover took all of the time I had for decorating so this year the only room that got some Easter love was my entry!

What about you?
Do you have any special traditions that you do every year?
Do you eat a special meal?
We are going to have a simple and hopefully meaningful day.
In our home we do the Easter Egg Hunt on a Saturday so on Sunday we focus our thoughts and dedicate the day to think about the life of our Savior and the meaning of his resurrection.
I am excited to have a peaceful Sunday and spend the day with my husband and kiddos.
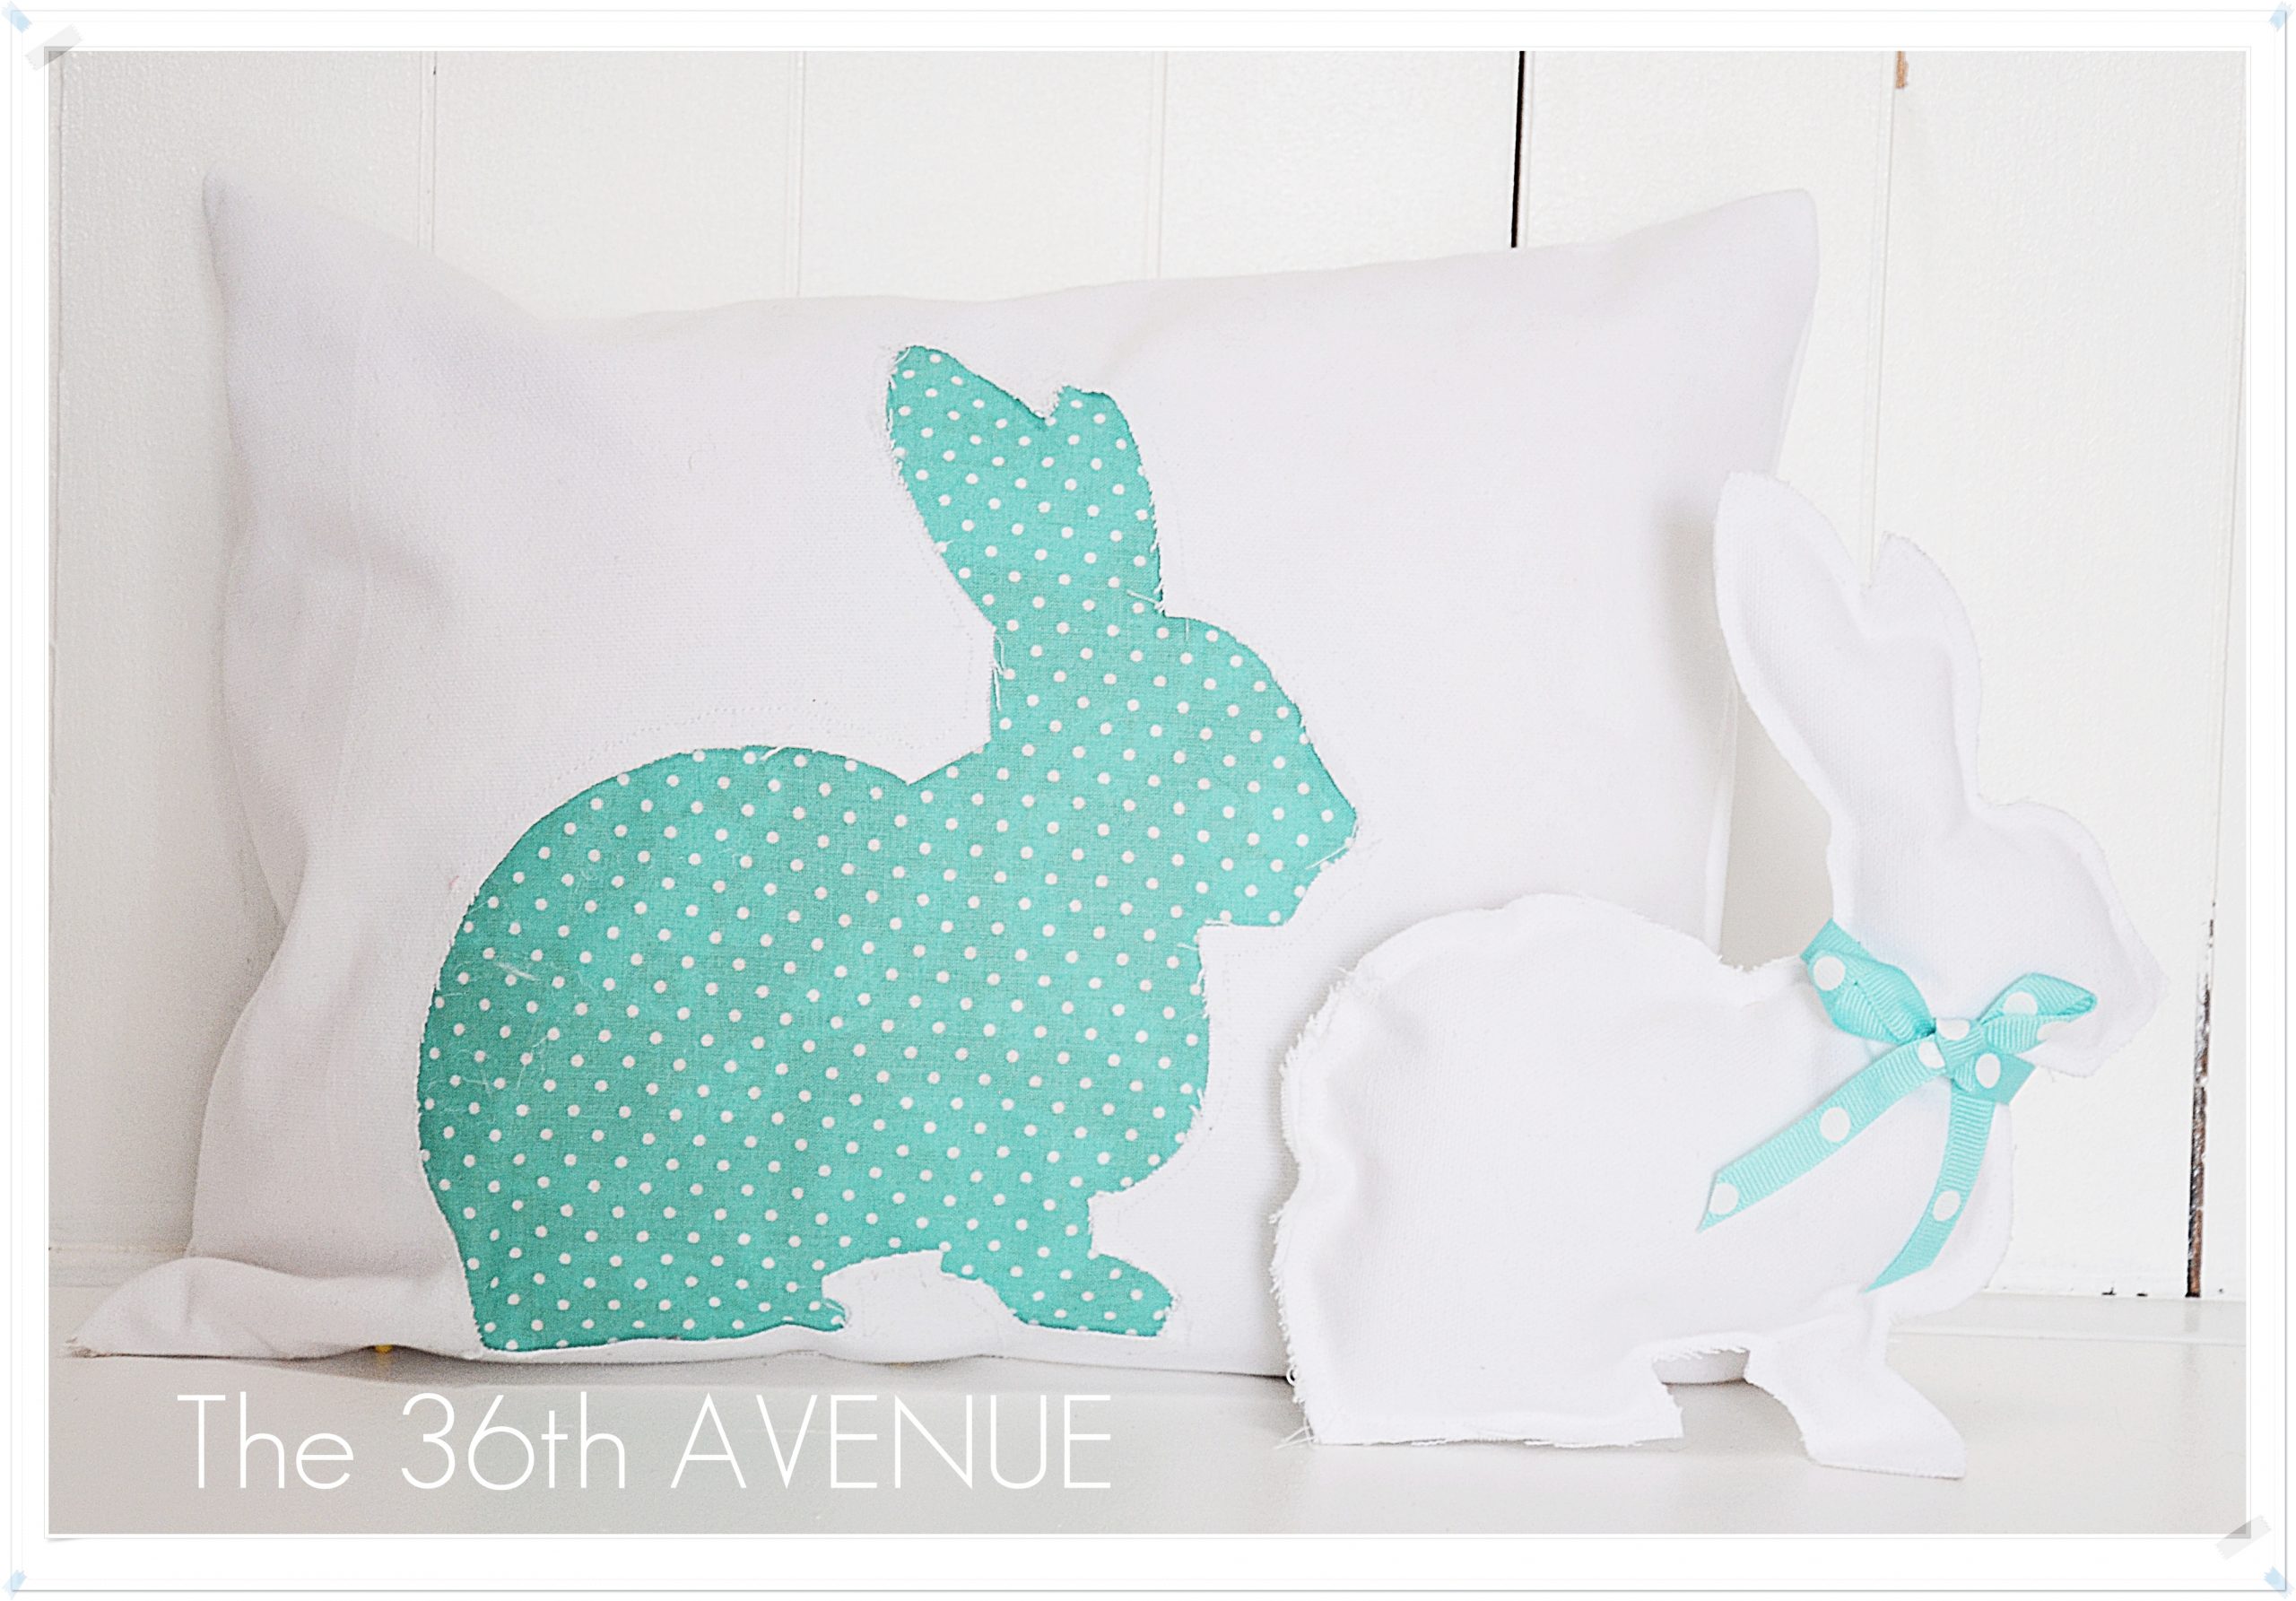
Anyways, today I am sharing the tutorial of my Easter Pillow and the little bunny just in case you missed it a few weeks ago
when I shared it over at Tatertots & Jello.

This pillow and little bunny were super easy to make.
I want you to know that I’m not that good when in comes to sewing so if I was able to make this project I am sure you will too.
You’ll need fabric and ribbon.

TUTORIAL
1
After you cut and iron your fabric the first thing you will need to do is to trace the shape of the bunny.
{ My fabric was 15 x 25 inches and I folded it in half }
I found my template over at Yonnie At Home.
I placed the fabric right on top of my computer screen and with a pencil I traced the shape.

This is how it looked at this point.

2
With an exacto knife I carefully cut right on top of the traced shape.
Make sure you put under the fabric a cutting board to protect the surface where you are working on and
please be careful not to cut your fingers.

After you cut out the bunny you will have these two pieces.

3
Cut your second fabric and put it under the cut shape.
Pin the two fabric together so it is easier to work with as you sew them.

4
Time to sew!

5
When I was done sewing the two pieces together I turned the pillow around and I cut the excess blue fabric.
I was almost done at this point all I had left was to sew the other sides together and insert the pillow.

Time to Make the Little Bunny!
Then I remembered I had the white fabric bunny cut-out.
I just cut another piece of fabric, sewed it together and after I was done sewing I trimmed the extra fabric matching the shape of the original bunny.

My Anni helped me to fill it up.

After a few final stitches to completely close the bunny I was finished with both projects.

You can use this same technique for any other Holiday or occasion.
Just change the image for whatever you want and there you can have your own pillow.
Before you go, take a minute and check out these other Easter projects.

If you need some ideas for decorating your eggs
I recommend you take a peak at these amazing tutorials.

Don’t forget to come back at 6:30 to link up your projects
during the Show Me EXTRAORDINARY Link Party!
Happy Wednesday!
Desirée

I love the bunny pillow – I just might have to make this next year – I’m sure my new little grand daughter will love having a little stuffed bunny next Easter. I hope you have a wonderful weekend with your family!
Happy Easter!
Hugs –
Carol @arewethereryet
The entryway looks great! I love the color palette with whites and aqua. I love those eggs – did they come in those colors, or did you paint them?
Thank you Julia!
I purchased the eggs at Target like that. They came in a bag with coral and green ones too.
This area in your house is decorated so beautifully!
I love following your blog-You are one very talented girl! What a cute pillow idea and I LOVE the little plastic egg garland you made. Genius!! Have a very blessed day!
Thank you Anica… if we don’t talk before Sunday, Happy Easter to you my love!
This is awesome. I adore your style, I am amazed at how beautiful your house is, magazine ready if you asked me.
Trina,
so sweet of you to say so. Thank you so much!
It has been a lot of work but we are having fun making each room our own.
Have a wonderful day!
You are seriously so talented- I would have never thought of that! Love the bunnies!
I love the Bunny pillow! Our Easter Tradition is kite flying! So many fun, great funny memories of our competitive kite flying!
I love that idea. It is fun and perfect for the family. I may copy you.
Thank you for stopping by!
Super cute!!!! I’m not a sewer, but thinking i could iron on transfer! Thanks for the inspiration!
Natalie,
that is a great idea!
Ooh love your bunny and pillow! I think I may just have to do this…although it is going to have Lovely Man freaking out….he says we have far too many pillows all over the place haha!
Rona… there is never such a thing as too many pillows 😉
Hi Desiree – I love your entry! You did a great job decorating it for Easter – just the right touches! How did you find the time after just completing your lovely kitchen reno?? The bunny pillow is just too adorable! What is the wall color you used on your entry walls? I really love it and how it looks with the white bench. Have a wonderful day! Heather @ [email protected]
Heather,
I don’t have the name I painted it years ago before blogging 🙁
Darn it! Sorry…