
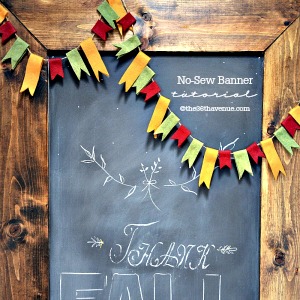
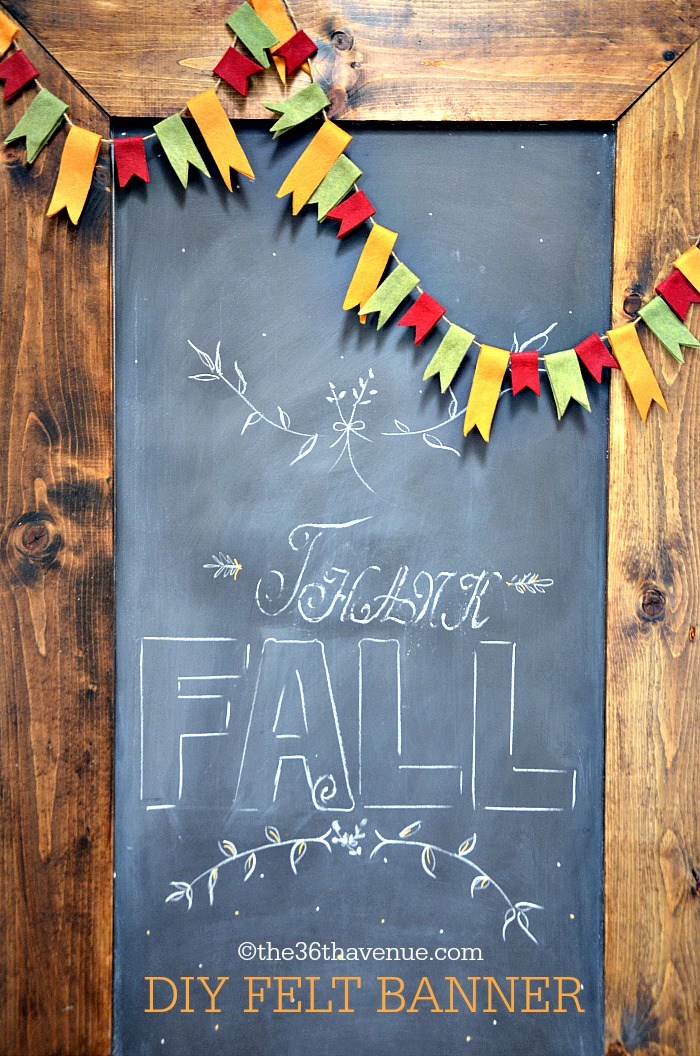
Today I am sharing an easy No Sew Banner Tutorial. The best part about this project besides no sewing is the fact that you can make it for around two dollars if you already have a glue gun! It is super easy to put together and because felt comes in so many colors the possibilities are endless! I am using it for my entryway Fall decor. Stay tuned… I will be sharing the full reveal in the next few days!

MATERIALS
Three 9×12 inch Felt Sheets in three different colors
Scissors
Glue Gun and Glue Sticks
Twine
BANNER TUTORIAL
1
Cut the Felt
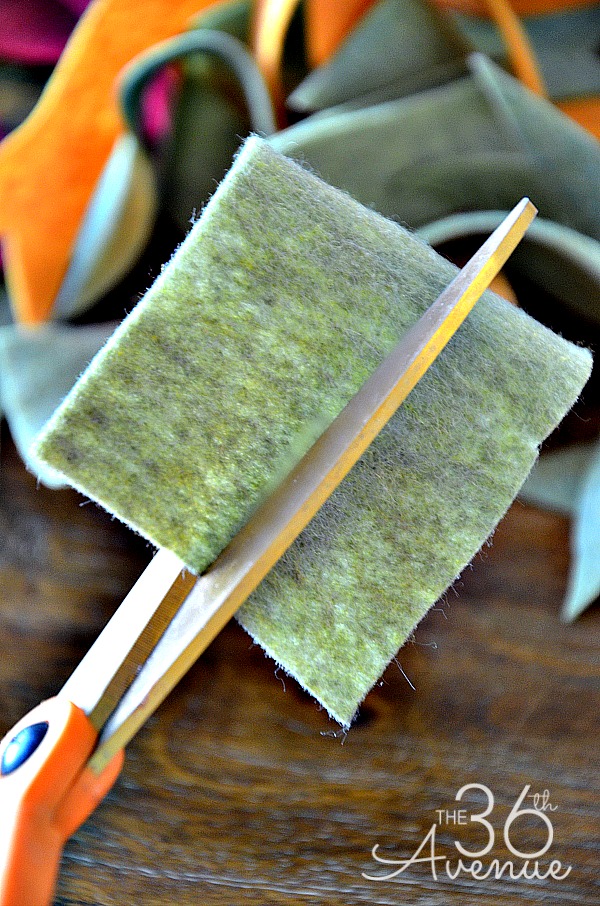
I wanted my banner ribbons to have different lengths. To get this look I first cut the sheets of felt in these sizes:
Small : 4.5″x12″
Medium- Green : 7″x12″

Large: For the large ribbons I used the entire size of the felt 9″ x 12″.

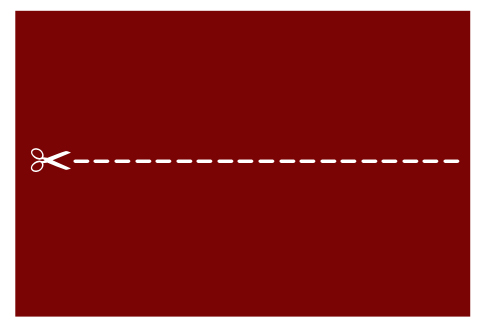
Now you are ready to cut the width of the felt into 1 to 1.5″ strips.

2
Make the Ribbons
All you need to do is fold each strip in half and trim the ends.
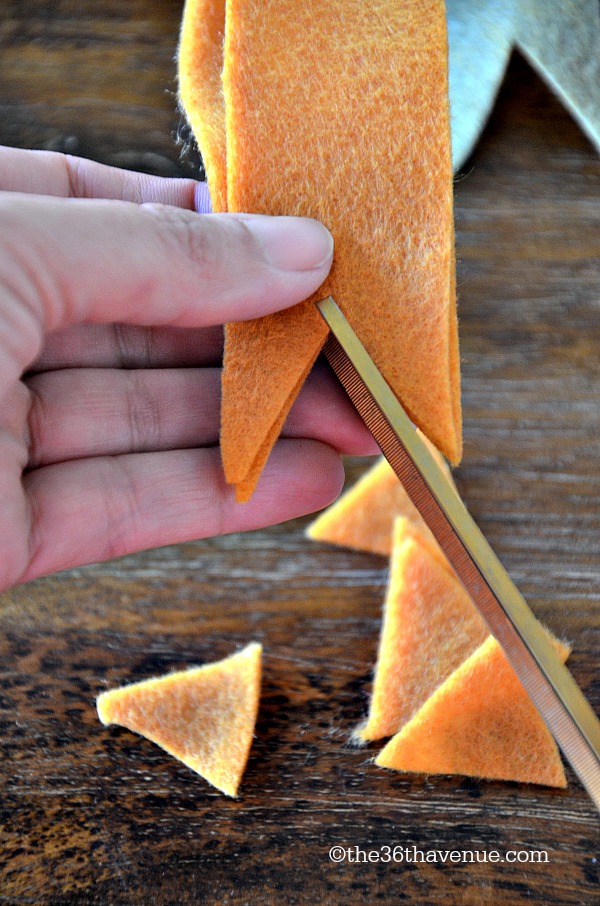
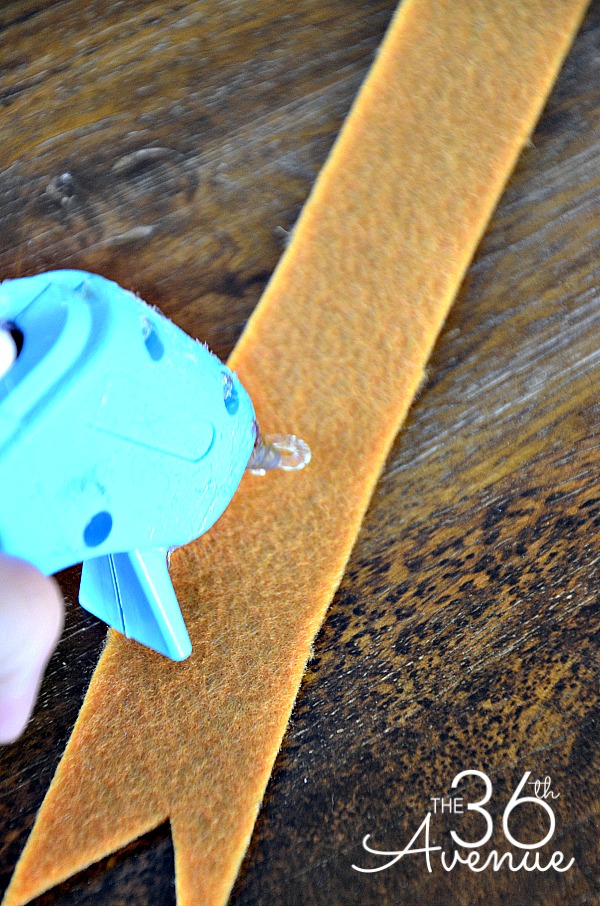
Then add a little bit of hot glue to one side of the strip and fold it again matching the ends.
Press to stick both sides together.
{ Don’t put the glue too close to the middle. You want to leave enough space to thread the twine }
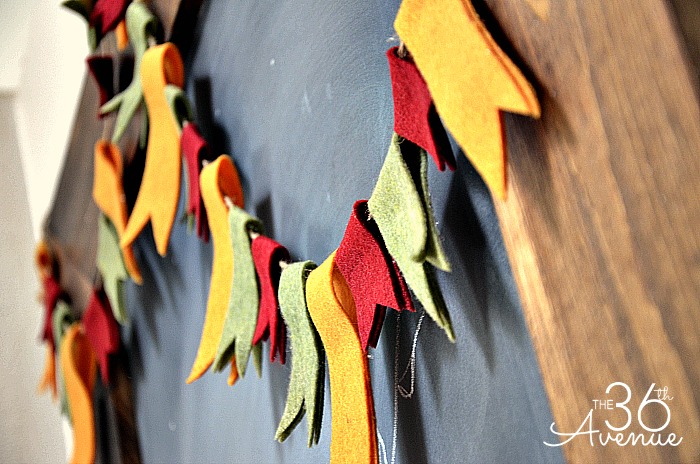
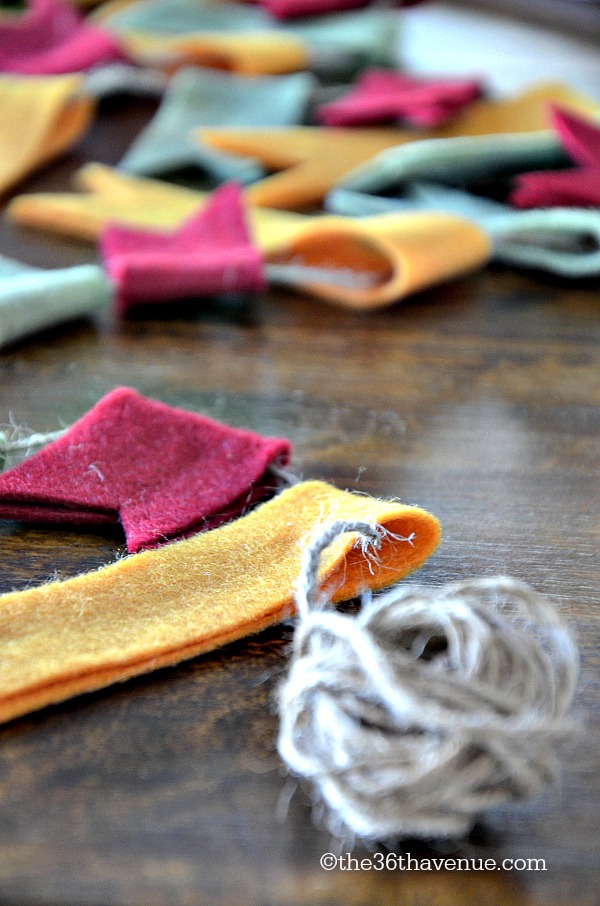
Assemble the Banner
Now that you have your ribbons ready it is time to thread the twine to make the banner!
You are done!
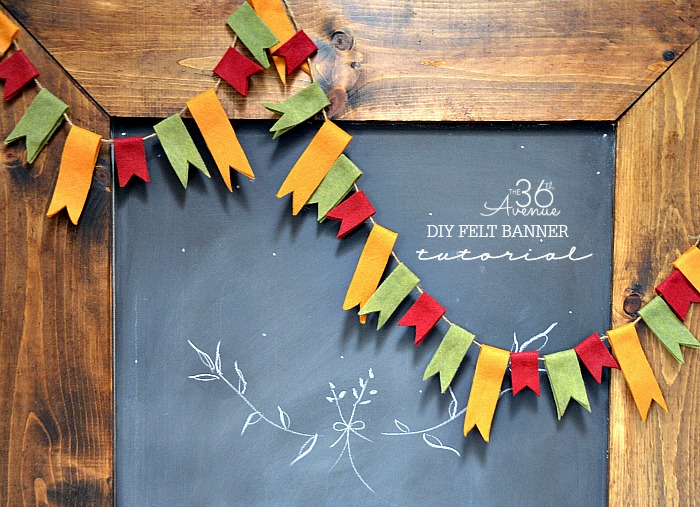
Quick, easy and simply adorable!
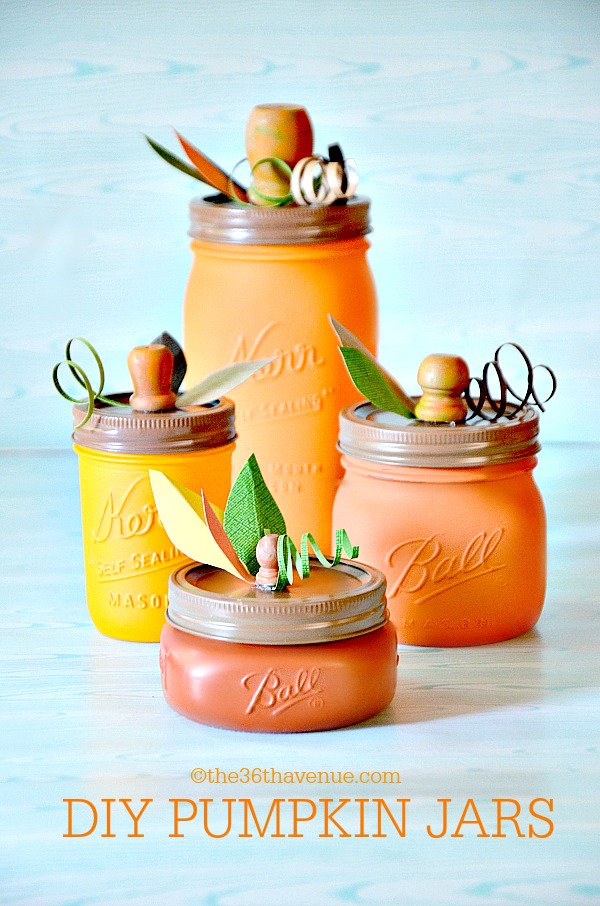
Now, we have a few other Fall Craft Tutorials that I believe you’ll love!


Thank you so much for visiting with me.
Besos
Desirée

So super cute and yet so easy!! I love the fall colors! Thanks for the tutorial 🙂
Cute