
Spring Time always inspires me to do Home Improvement Projects.
Today I am sharing some affordable ways to decorate your home without breaking the bank.
For the last two weeks I’ve been working on my office or Craft Room area.
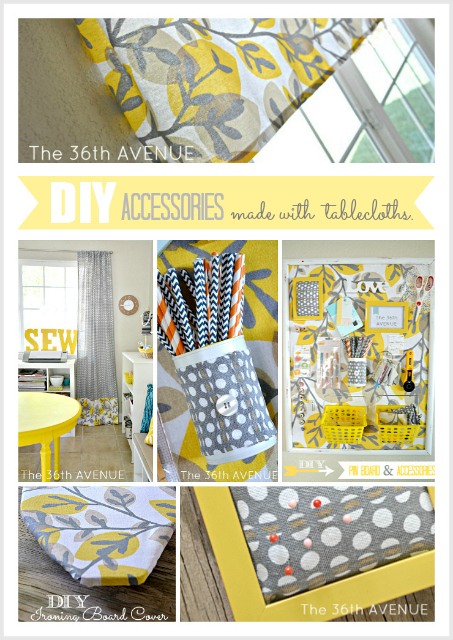
All the items I’m sharing today were done with two rectangle tablecloths that I found at Target.
As soon as I saw these patterns I knew they belonged in my Craft Room.
1
Make your own curtains.
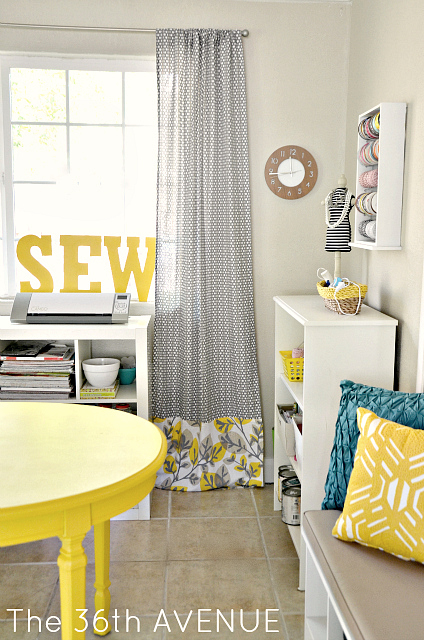
To make two panels I simply folded and cut the length of the tablecloth in half.
Because they were shorter than I wanted I cut two pieces from the second tablecloth and sewed them to the bottom of each panel.
They were so easy to do and I love the look of the two fabrics together.
2
Make a Valance
With the second tablecloth I also made a valance for the other window.

Under this window is my Photo Area and no, I am not showing it yet.
The thing is that in order to take pretty pictures I need as much natural light as possible coming in from every angle.
A cute valance was the perfect compromise.
For this one I cut the entire length of the tablecloth and folded the top side to make the pocket for the curtain rod.
The best part about using the tablecloth is that most of the seams were done for me.
That’s what I call clever and easy sewing!
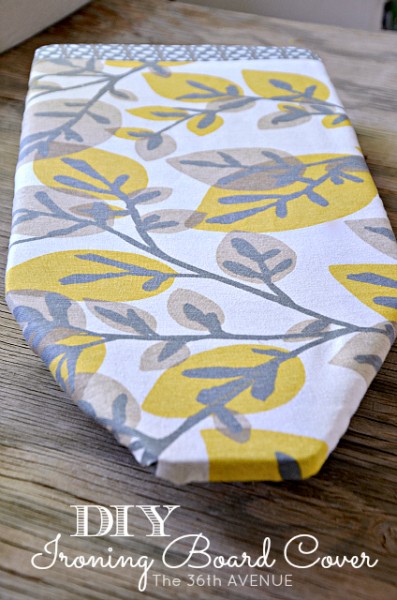
3
After the curtains I still had enough fabric to make a few more projects.
To make the Ironing Board Cover I had to put the two fabrics together in order to have enough material.
I love how happy it looks.
You can click here to see a tutorial of how to make an ironing board cover.
4
DIY Cork Pin Board and Accessories.
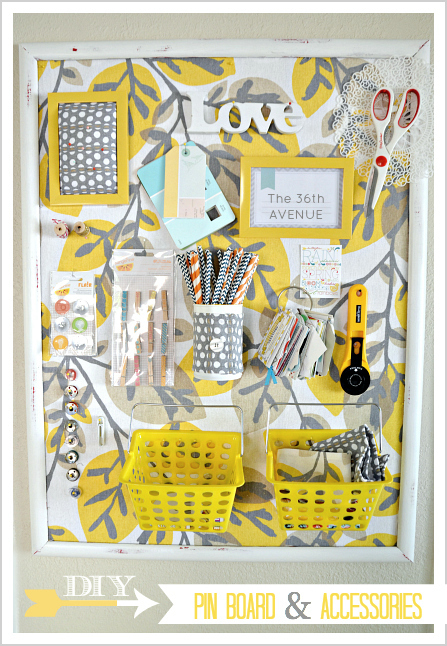
I think it is crazy that all of these projects came from just two tablecloths.
You can click here to get the tutorial of how to cover a cork board with fabric.
However I am going to share really quickly a few of the DIY accessories…
Can Pen Holders
I used leftover pieces of material to wrap the cans with fabric.
I glued the fabric to the can using a high heat glue gun.
Please do not burn yourself… trust me it hurts like crazy!
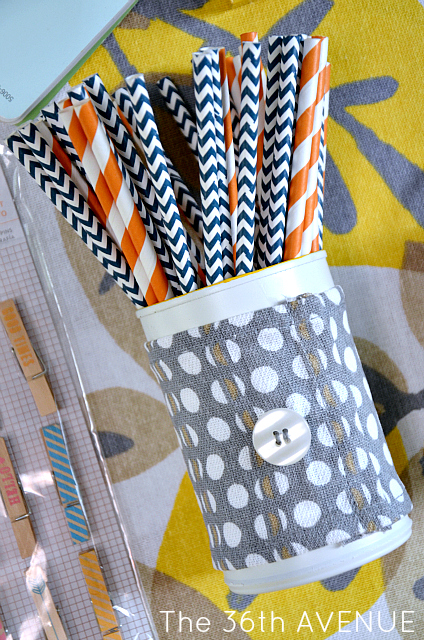
You can click here to see the tutorial of how to change the look of a simple soup can with spray paint
and how to make it a floating can.
DIY Pin Cushion
This is such a two minute project.
Cut a piece of fabric about two inches bigger than the back of the frame.
Make sure that both the fabric and the frame are facing down and
place the fabric on top of the frame {without the glass}.
Stuff a small amount of wadding on top of the fabric, where the opening in the frame is.
{ More wadding you use more puffy the pin cushion will look }
Put the back of the frame in place and pull gently the excess fabric until you are
happy with the look of your pin cushion.
Then trim the excess fabric from the back…
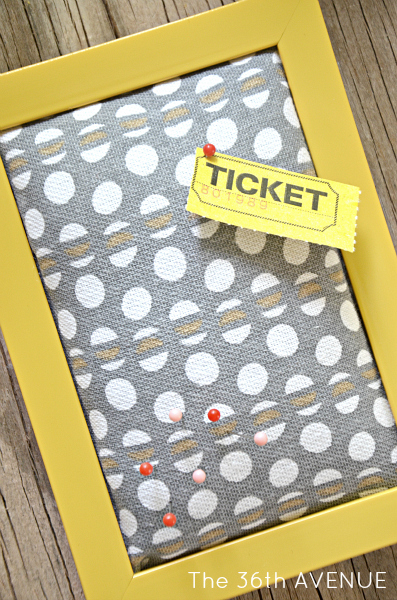
You are all done!
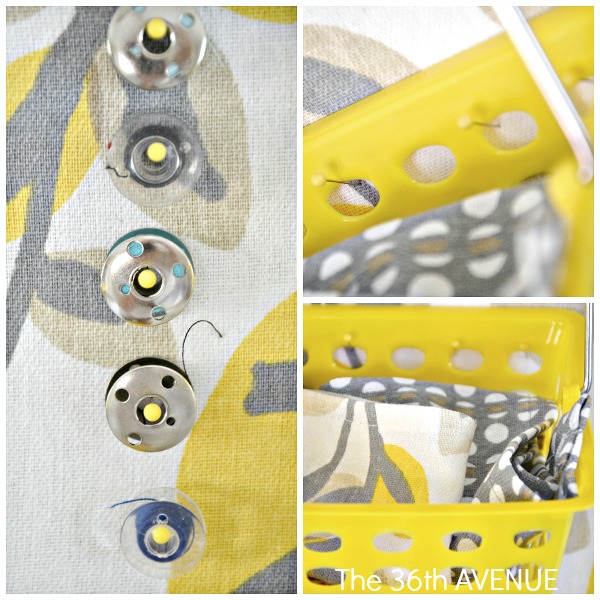
I chose to hang mine on my Cork Pin Board.
You can use tacks or pins to keep everything in place.
I found the little plastic baskets over at my local Dollar Tree, they are perfect for small nicknacks.
I can’t wait to show you the rest of the room.
I hope my UPS friend shows up today and surprises me with a package that is holding the last piece of this puzzle.
Well, that’s all for today but I’ll be back with the full reveal.
See you later my sweet friends!
Besos
Desiree

Did you also make the Pillows in this photo? I’m loving the yellow pillow and would like to know how I can get this fabric!
I love this Desiree…….did I miss the whole reveal, I’m not finding it?
I love all of these ideas. I better start catching up on my sewing skills. Love the curtains!
gorgeous colors and what a wonderful light bright space – thank you for sharing these wonderful little projects that come together to create a fab new total space!!
Hola amiga!! I dont know how I missed this post! It looks fantabulous!! And all from a couple Target tablecloths!! Wow! You are definitely the Target Queen!! 😉
So super cute! Life to the full! Melissa
I love this and am in the process of creating my craft room in the same colors. I was wondering what color of yellow paint you used. I am looking for a mustard type color and thought this might be it.
Thanks!
Janice