
Hi there!
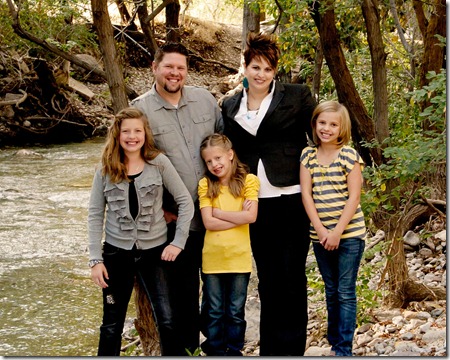
My name is Tausha and I am sharing today with you my DIY Back To School Pencil Wreath.
I am a mom x3 (all girls) and wife to a fantastic man who fully supports, most of the time, my need to redo, redecorate and shop the thrift stores on a weekly basis.
I blog over at Sassy Style Redesign.com
I like to talk about my love ofany painting of any kind.
I am so excited to be playing with Desi today! I have the privilege of knowing Desi in blog world and in real life! I feel like we were separated at birth. So, I am thrilled to share my love of Creating, DIY-ing and trying to be awesome with you today!
School starts here in T minus 21 days. Not that I am counting or anything. I love my kids, but I really, really love back to school. I love having a schedule and a daily dinnertime routine. You know the commercial with the guy pushing the shopping cart down the aisle dancing and throwing supplies into his cart? All the while-“It’s the most wonderful time of the year” is playing in the background. Yea-that is so me…
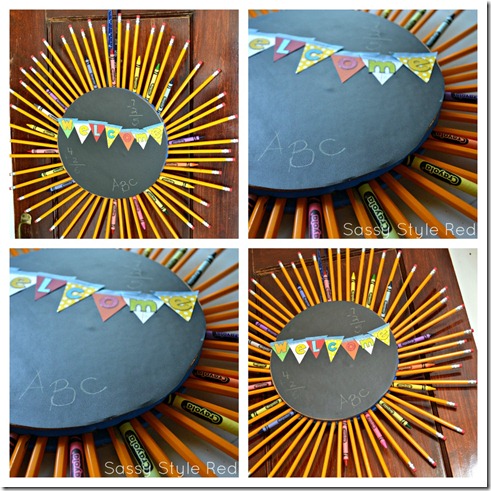
I had cruised pinterst looking for some back to school wreath ideas. There were a few ideas that I liked. So, I combined those, and added a twist and came up with my own version. It’s cheap and totally easy. My two favorite words when it comes to crafting!
You need to gather your supplies.
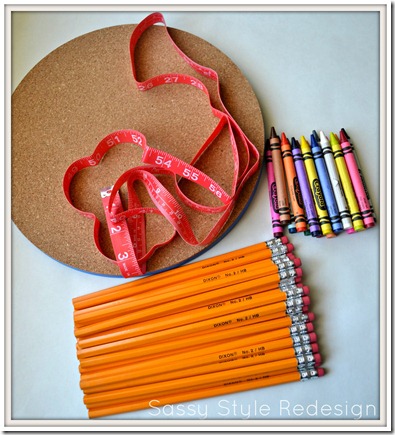
I hit up my local Wal-mart for the pencils and crayons. The prices right now totally rock! I picked up the measuring tape and cork boards at Joanne’s. The measuring tape was a $1 and the cork boards were $2.99 each. Warning….when you go to look for the cork boards-they are in the kids section. I searched and searched. You could also use Ikea cork trivets.
They are a little bit smaller, but would do the job.
I used around 60 pencils and 1 box of crayons.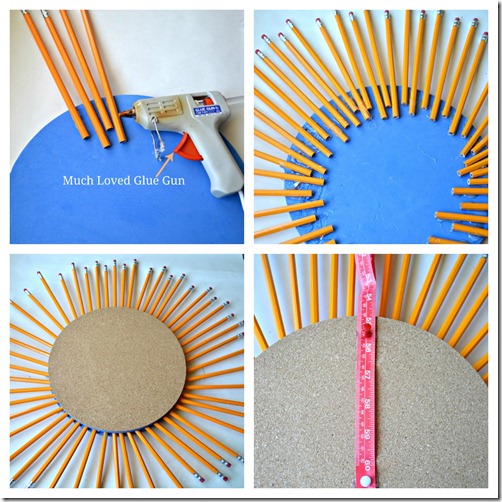

I used my trusty glue gun to put this together. TIP-Make sure that the glue gun that you use is high heat. If it’s low temp, nothing will really stick that well.

Directions:
Start gluing the pencils on the underside of the cork board. I varied the heights as I went along. Mine is far from perfect, so if you want perfect, you will probably want to make an x in the middle first and go from there. I was not this smart and didn’t figure out that little diddy until I wasn’t finished.
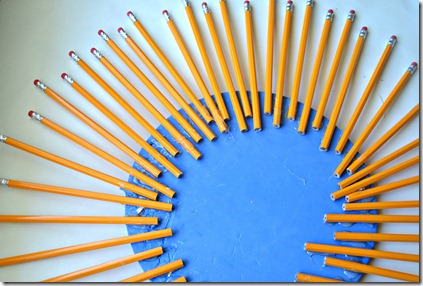

Once all of the pencils are glued on, you will want to glue your 2nd cork circle to the top. Again, I just used my glue gun.
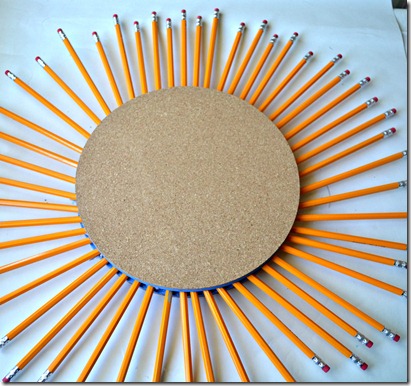

After I glued the cork on, I flipped it over and made a measuring tape hanging thing. I cut the tape to the size that I wanted and then glued it on. I also added 2 push pins, just to make sure everything was secure. You could also use thumbtacks. I didn’t have any, so I used what I had.
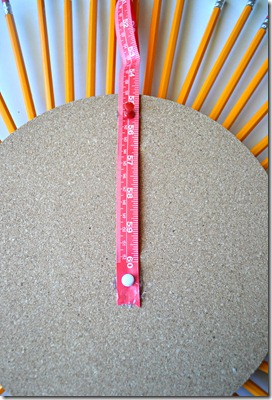

Now it was time to add the crayons. I just randomly stuck them in between the pencils. It was a tight enough fit that I didn’t need to glue them.
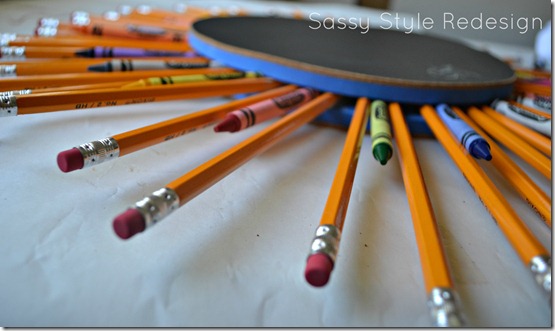

The crayons were added after everything was glued because I thought it needed something else. This is kind of how I craft. I don’t always think everything through the first time. If you know that you want to add the crayons-you could do this step BEFORE you glue the cork top on.
FYI-if you live in Utah, or any other extremely hot place, the crayons will probably melt. So, consider this when you are designing your wreath. Because of the heat issue, I am planning on hanging it inside. Because I have a little nit of a hoarding furniture problem, I do happen to have a old, elevator door as decoration in my home. This will be the wreaths new home.
(pics of this in a minute)
Next Step
Add the chalkboard vinyl to the center. I didn’t love the cork board center. I felt like it needed a little something. Yes, this could have something to do with the fact that I love to embelish…but I digress.
I found the Chalkboard Vinyl at Vinyloutlet.net They carry all kinds and colors of vinyl. They should be your vinyl go to source. I promise, you will be happy that you visited.
I traced a circle, pulled the back off the vinyl and applied.
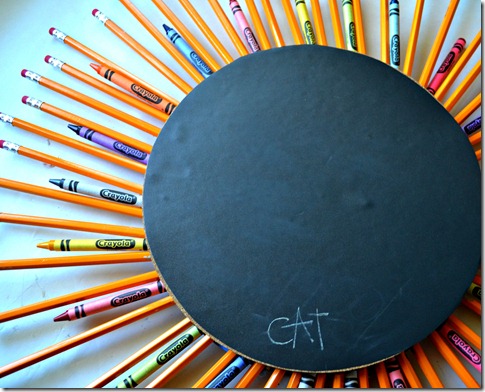

Voila!
Remember how I told you I have a problem with not leaving things alone. Well, I couldn’t leave the center alone…just yet. It needed a little love, so I added a simple “Welcome” banner made out of scrapbook paper, washi tape and letter stickers.
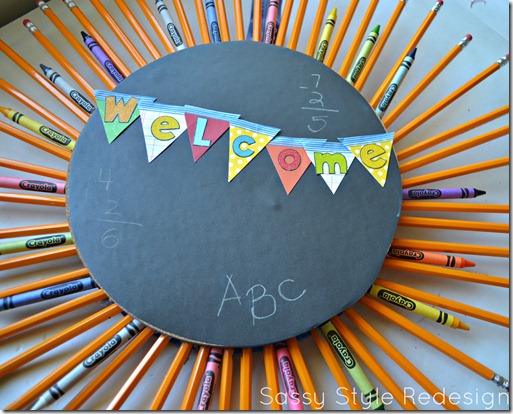

I drew a little bit of “school graffiti” on the chalkboard and I was done!
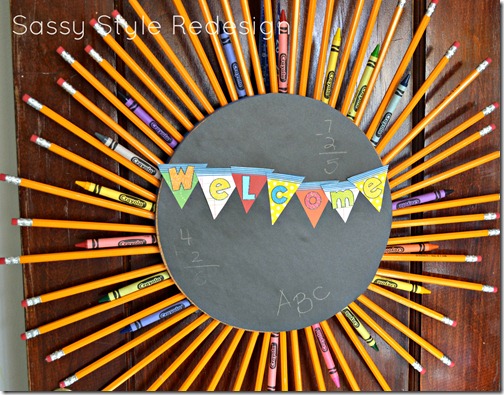

I am loving the finished project! It is definitely helping all of my family get into the Back to School mood!

This is my old elevator door that I have. I love it! I so don’t have room for it and I should probably get rid of it, but one never knows when she will need a random door to hang a wreath on. Am I right?
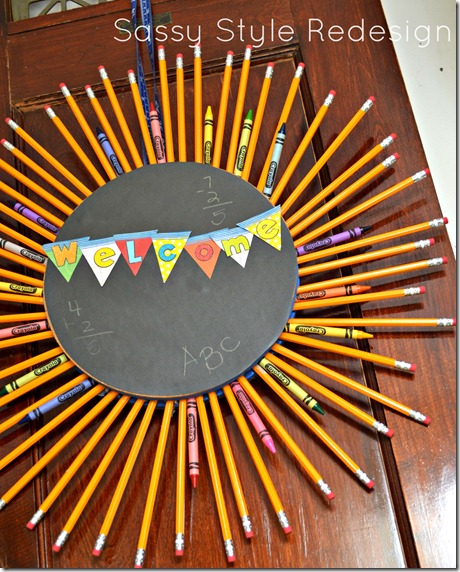

I hope that I have inspired you to get in the “Back to School” mood and create your own pencil wreath!
Happy Creating!

This is great!
I love Tausha dearly and I’m so happy that she came to visit with us today.
I want to invite you all to visit her awesome blog, Sassy Style Redesign
and see first hand her love of decorating EVERY space in her house!
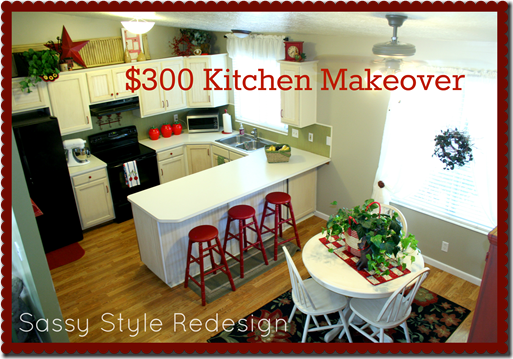
and see first hand her love of decorating EVERY space in her house!

Also while visiting there admire her new
DIY Locker Accessories and check out her step by step tutorial.
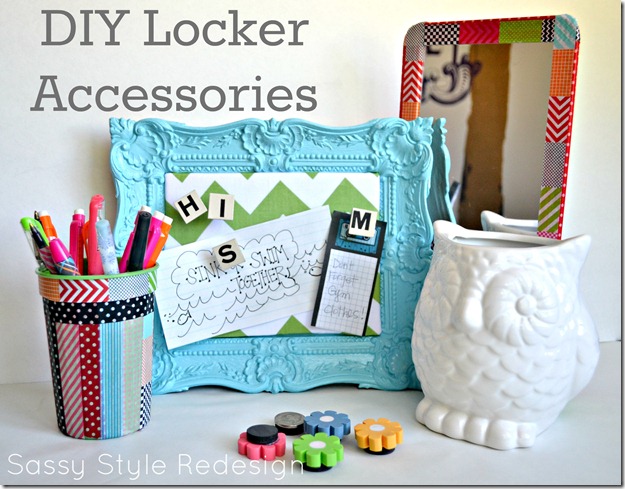
Tausha is so much fun… You are going to love her and her blog!
One more thing!
To link up to this week’s party click HERE.
Happy Wednesday!
Besos
Desirée
I hope you stay in touch and Subscribe to The 36th Avenue via Readers.


Hi Desiree! Thank you so much for hosting this party! The pencil wreath and the back-to-school lunch are both fabulous! Hope are you having a great week! Angie xo
Hi Desiree!
It’s my first time linking up…thank you so much for hosting! 🙂
Krista @ mk inspired
Thanks so much for hosting! Have a great week!
Thanks for hosting Desiree. We are getting ready for back to school here too, love the wreath!
What a cute wreath! Thanks for hosting Desiree!
WhoooHoooo, I love to party! Thanks for being such a lovely hostess 🙂
Thanks for hosting the linkup – Hope you are having a great week!
I better head to Staples and dance down the isles sooner rather than later because I see a rush on pencils coming soon.
~Bliss~