
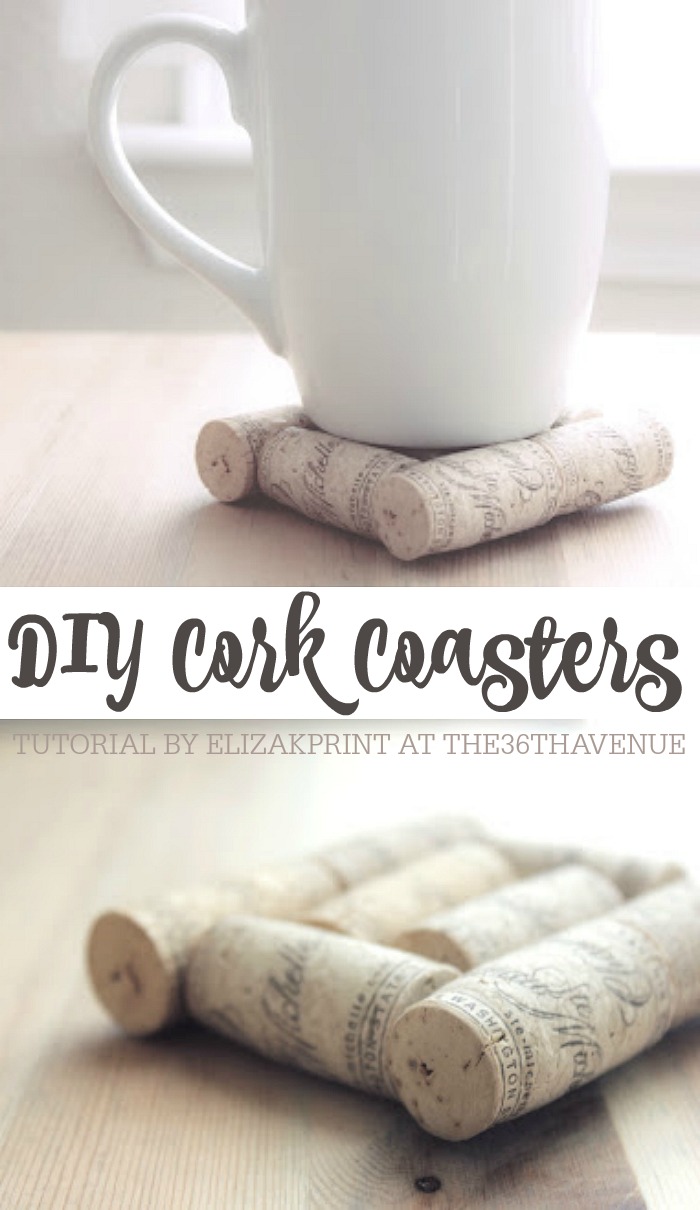
How to make beautiful and durable DIY Cork Coasters using materials you may already have in your own home!
Hello 36th Avenue readers!
This is Eliza from Eliza K Prints, a blog where I share DIY’s, tutorials, and fun garden projects. I’m so excited to be here today to share a fun and quick tutorial using all recycled materials! Here it is!
Cork Caster Tutorial
First, assemble your materials. It took me almost a year to save this much cork!

Next, assemble your cork into the following shape.
Make sure each cork is touching on all sides.
Cork is not the easiest material to glue, so the more surfaces the glue can adhere to, the better.

After you’ve decided on your layout, begin gluing using the glue pattern below.
Make sure you are working on a surface that you don’t care too much about
and that you have a layer of protection between the project and your furniture!

Allow the glue to dry and make sure to follow the directions on the packaging.
I used crazy glue but any strong glue would work well.
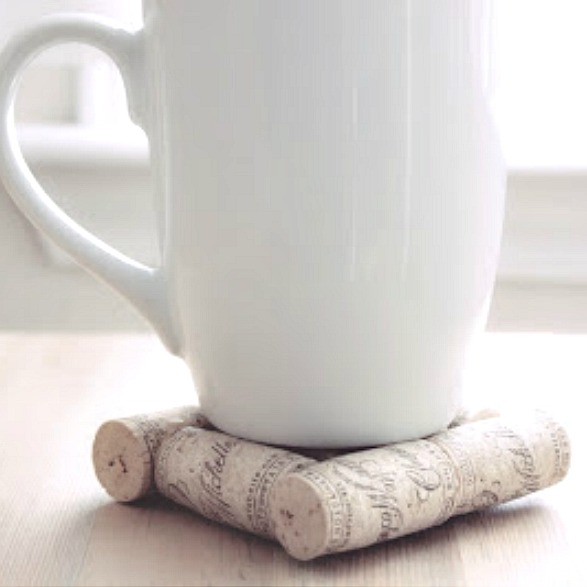
When all is said and done you should have a coaster that looks something like this:


I love this project too and I think it would make a great gift!
Eliza’s blog is full of great ideas.
One of my favorites are these DIY Tin Can Planters.

And this amazing DIY Orange Candle… I love it!

Stop by Eliza’s blog Eliza K Prints and follow her also on
Also check out her etsy shop!
Thank you Eliza for visiting with us and sharing this fun project.
Have a great day Everyone!
Besos
Desirée

Cool Idea! Love the results!
Very cute! Have a great weekend 🙂
love the look on these! very natural and rustic!
Love the post although it gave me a different idea. I will be saving my corks to make hot pads for the table. They will make a nice thick pad that will totally protect a wood table.
That sounds like an awesome idea! Cork is so versatile:)
That is a great idea!
Thanks so much for letting me guest post today! I’m so glad I found the 36th Avenue. Its one of my faves:)
Love,
Eliza
Eliza, I love your project. Thank you so much for visiting with us.
How come I don’t receive full length emails anymore? It seems like it changed over the past couple of weeks. (Love the coasters!!)
Kathryn, let me take a look and see what is going on.
Nice post 🙂 Just added Eliza K Prints to my reading list :3