
©the36thavenue.com DO NOT COPY, SAVE, OR PASTE THIS COLLAGE IMAGE.
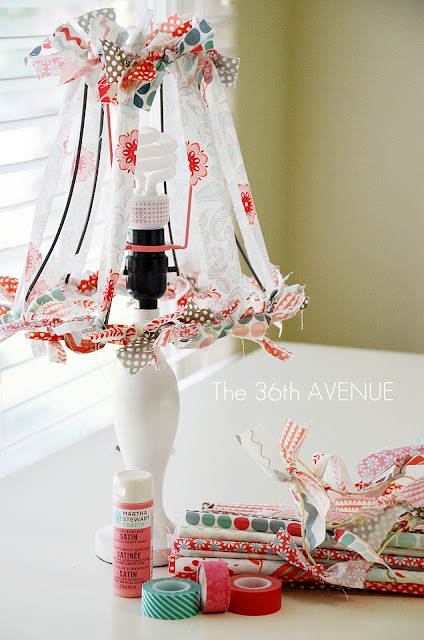
As I’ve been working on the accessories for my girl’s room, more and more I love the fabrics that I chose for it. My scrap lampshade is the first project that I am showing you with those super cute fabrics!!

©the36thavenue.com DO NOT COPY, SAVE, OR PASTE THIS COLLAGE IMAGE.
I am in love with this lamp… it makes me happy!
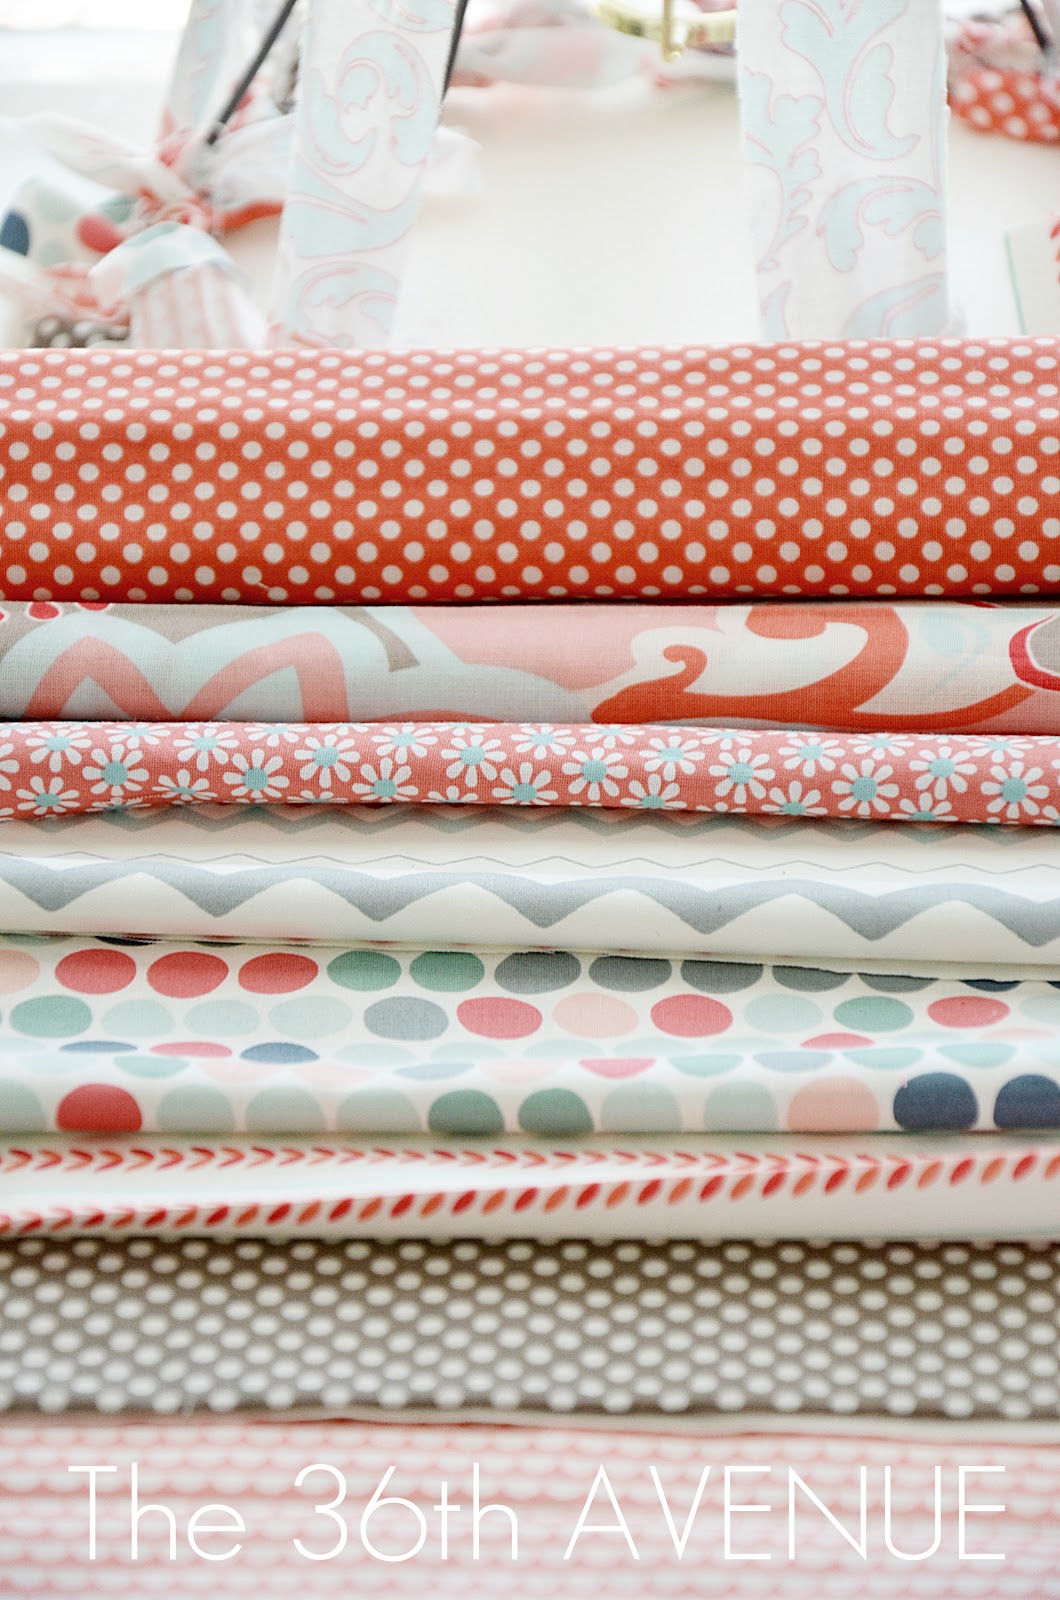
Most of the fabrics came from the fabulous Verona Collection by Riley Blake Designs.
These fabrics were the inspiration for the entire space.
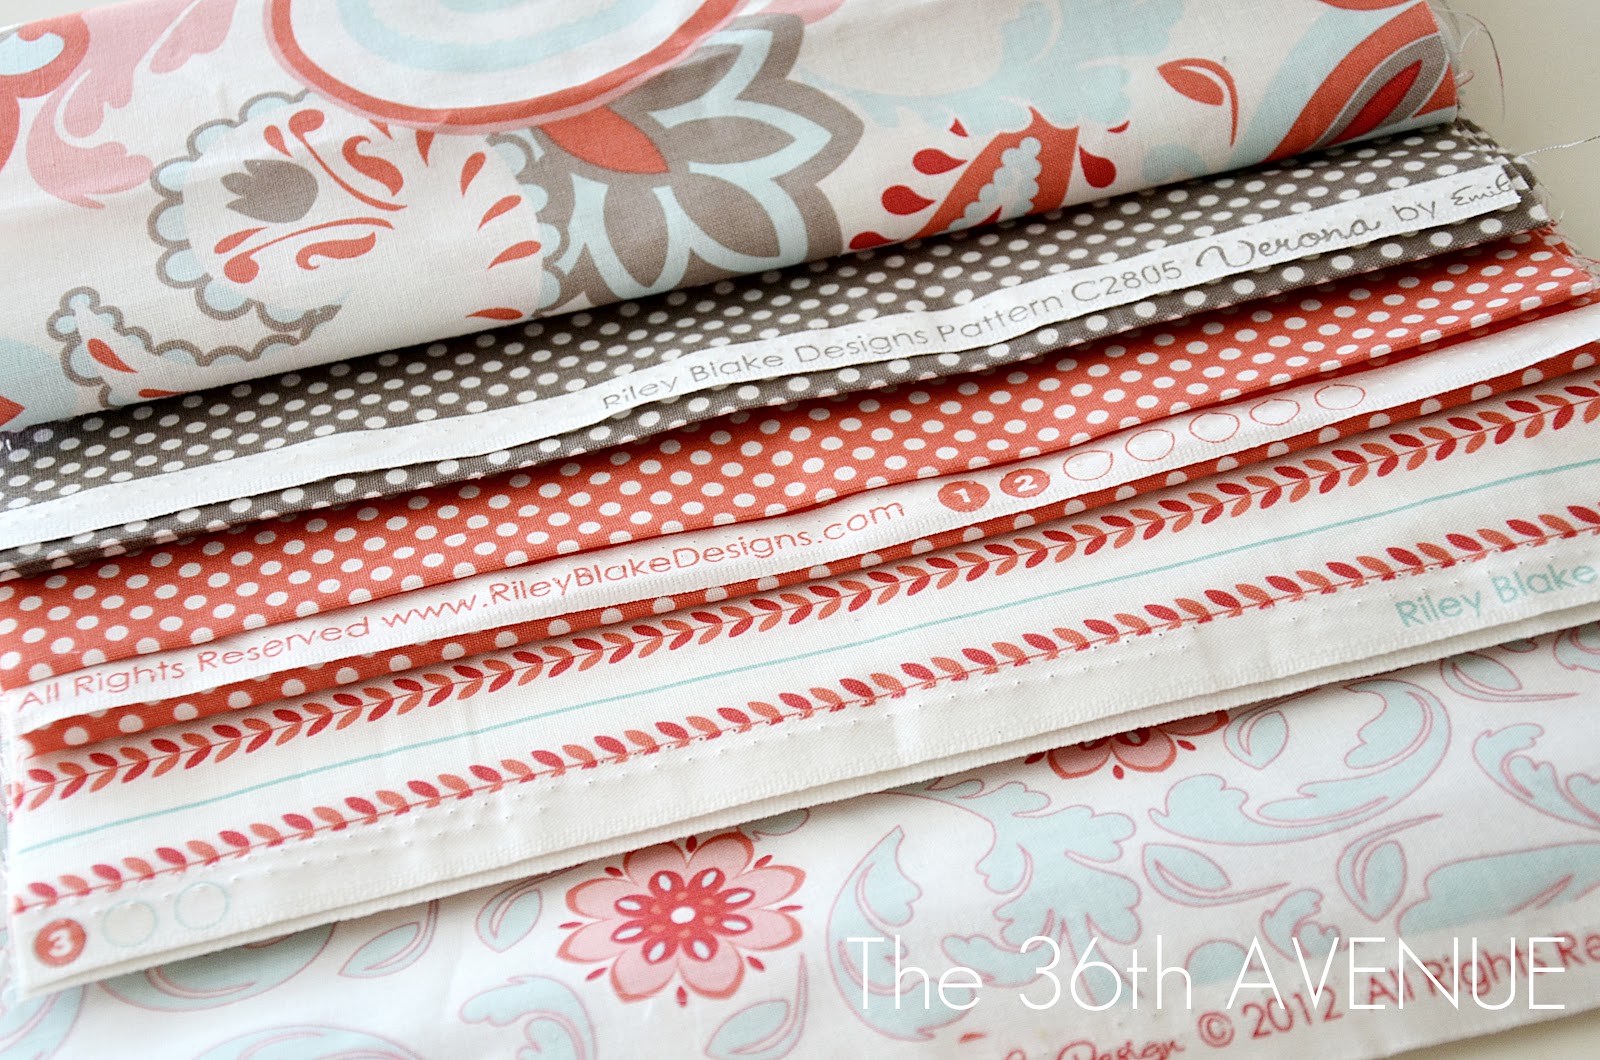
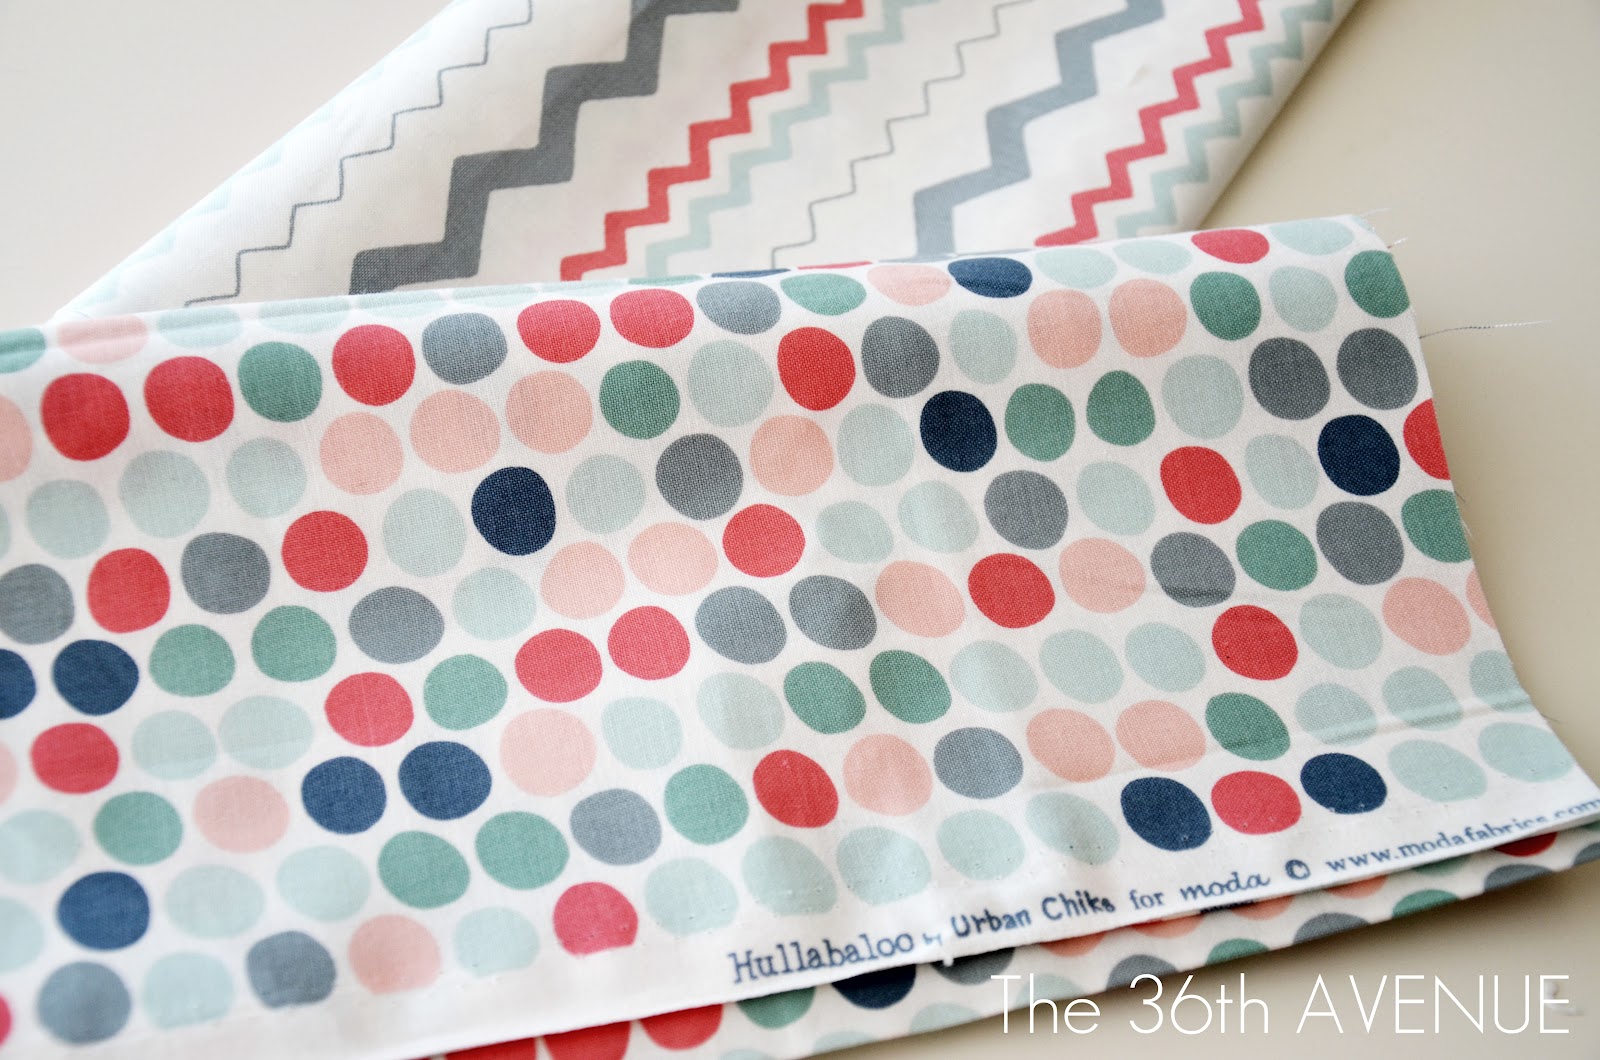
I wanted to add some more patterns with a modern twist.
These other fabrics from the Hullabaloo Collection by Urban Chiks for Moda were perfect!
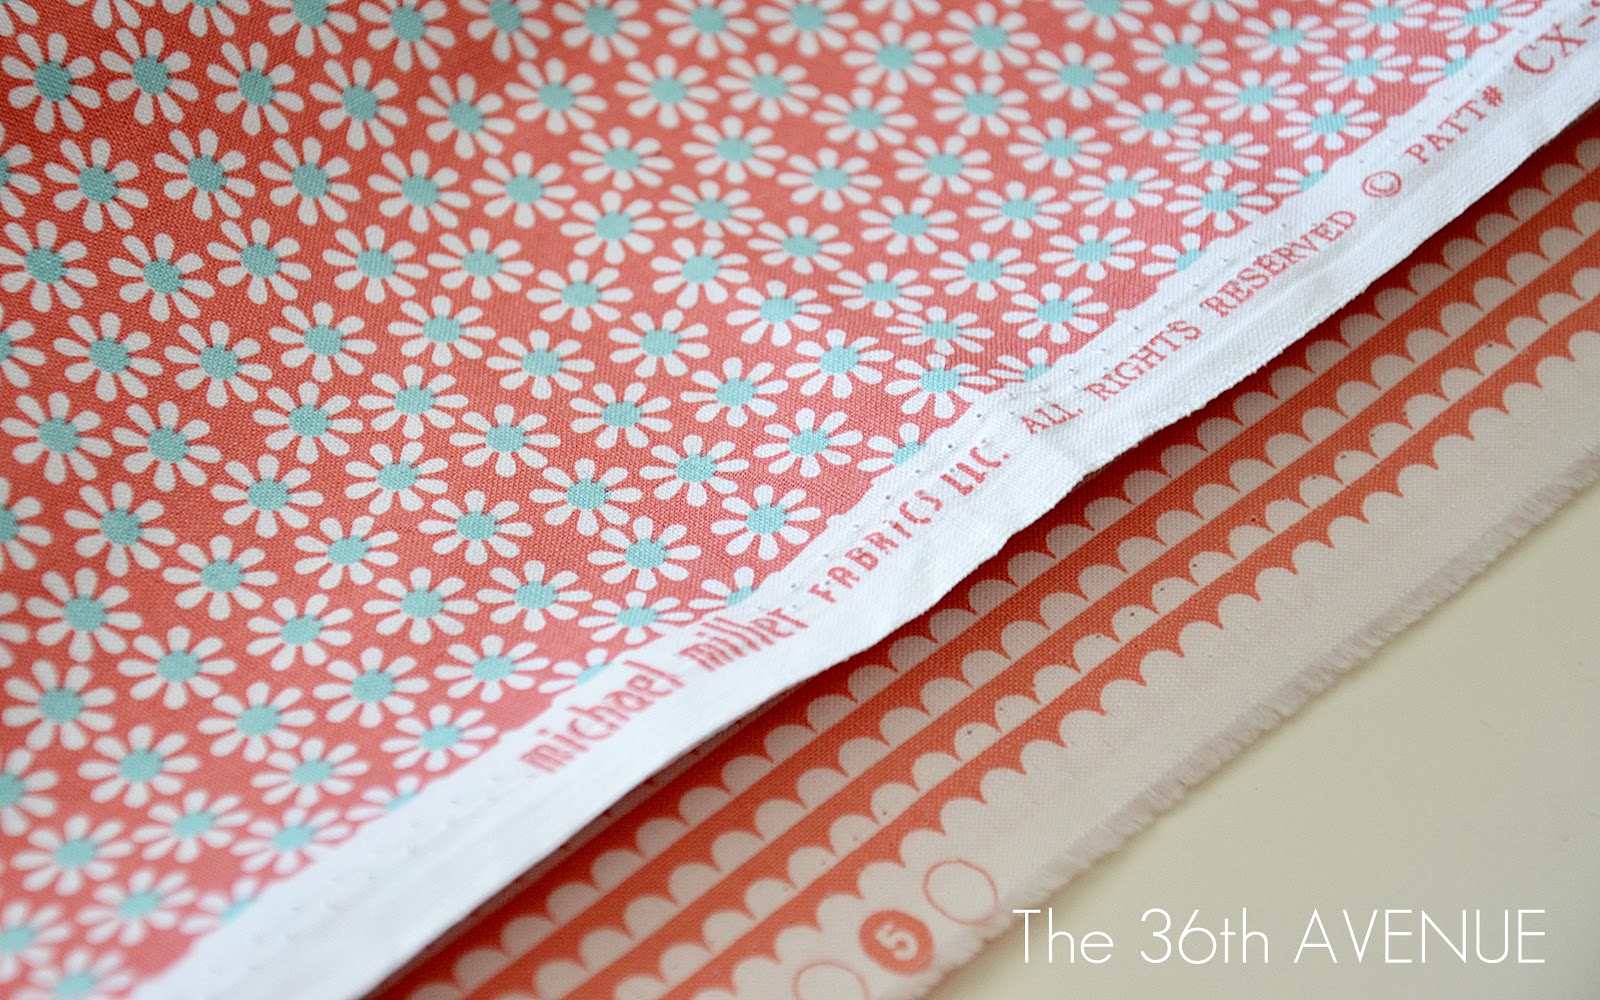
These last two by Michael Miller had the beautiful coral tones that add brightness to the space.
By the way white daisies are my favorite flowers!
I purchased all of my fabrics over at one of my local fabric stores.
OK… back to the Fabric Scraps Lampshade!

Let’s share a tutorial… shall we?
MATERIALS
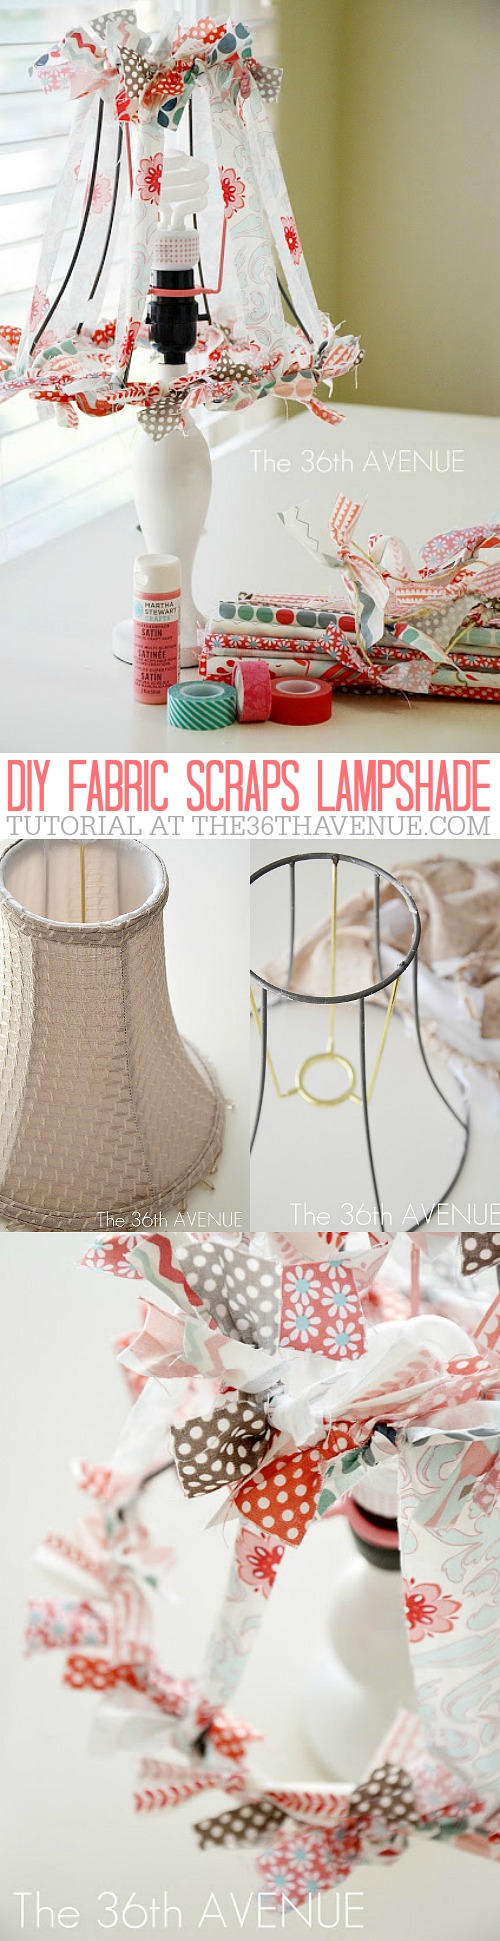
I used fabric, Washi tape, paint and of course a brush and scissors.
TUTORIAL
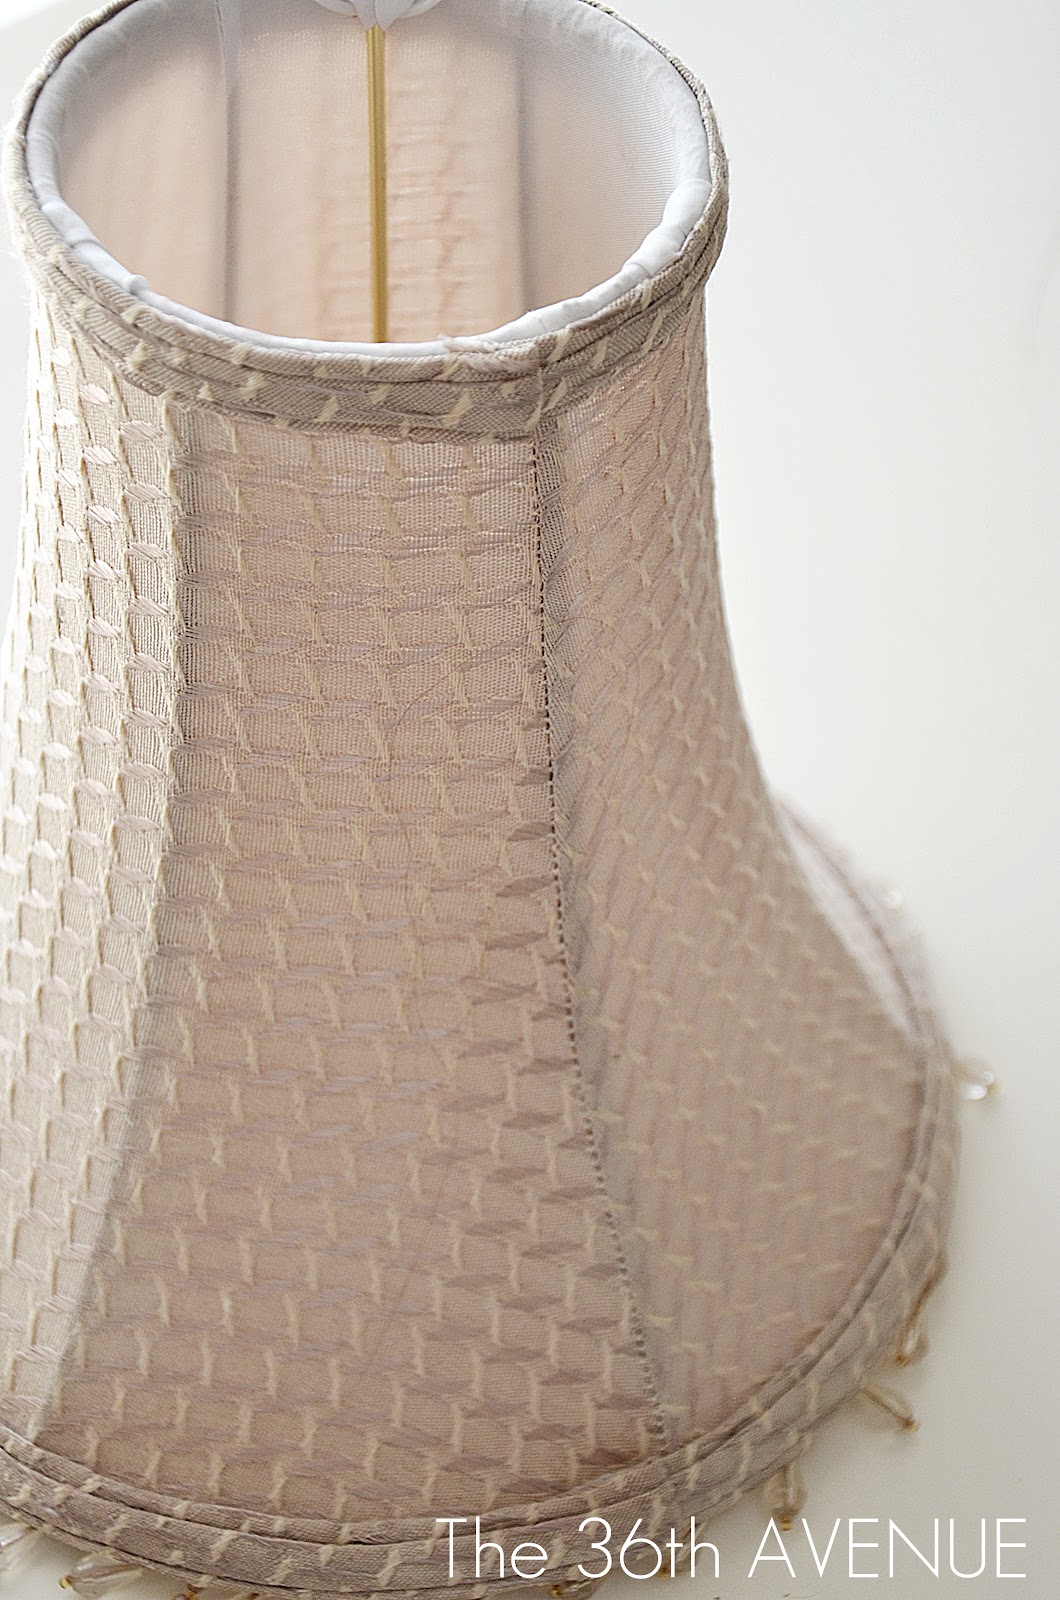
1
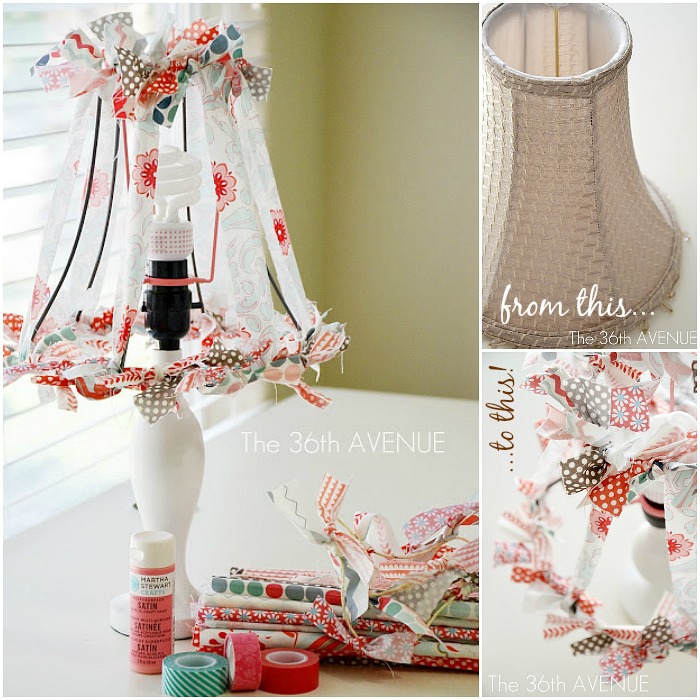
The first thing you’ll need is a lampshade.
The point of a project like this is to be thrifty… an old shade would be perfect.
I bought mine back when we were living in Oregon, for $1 at our local Thrift Store.
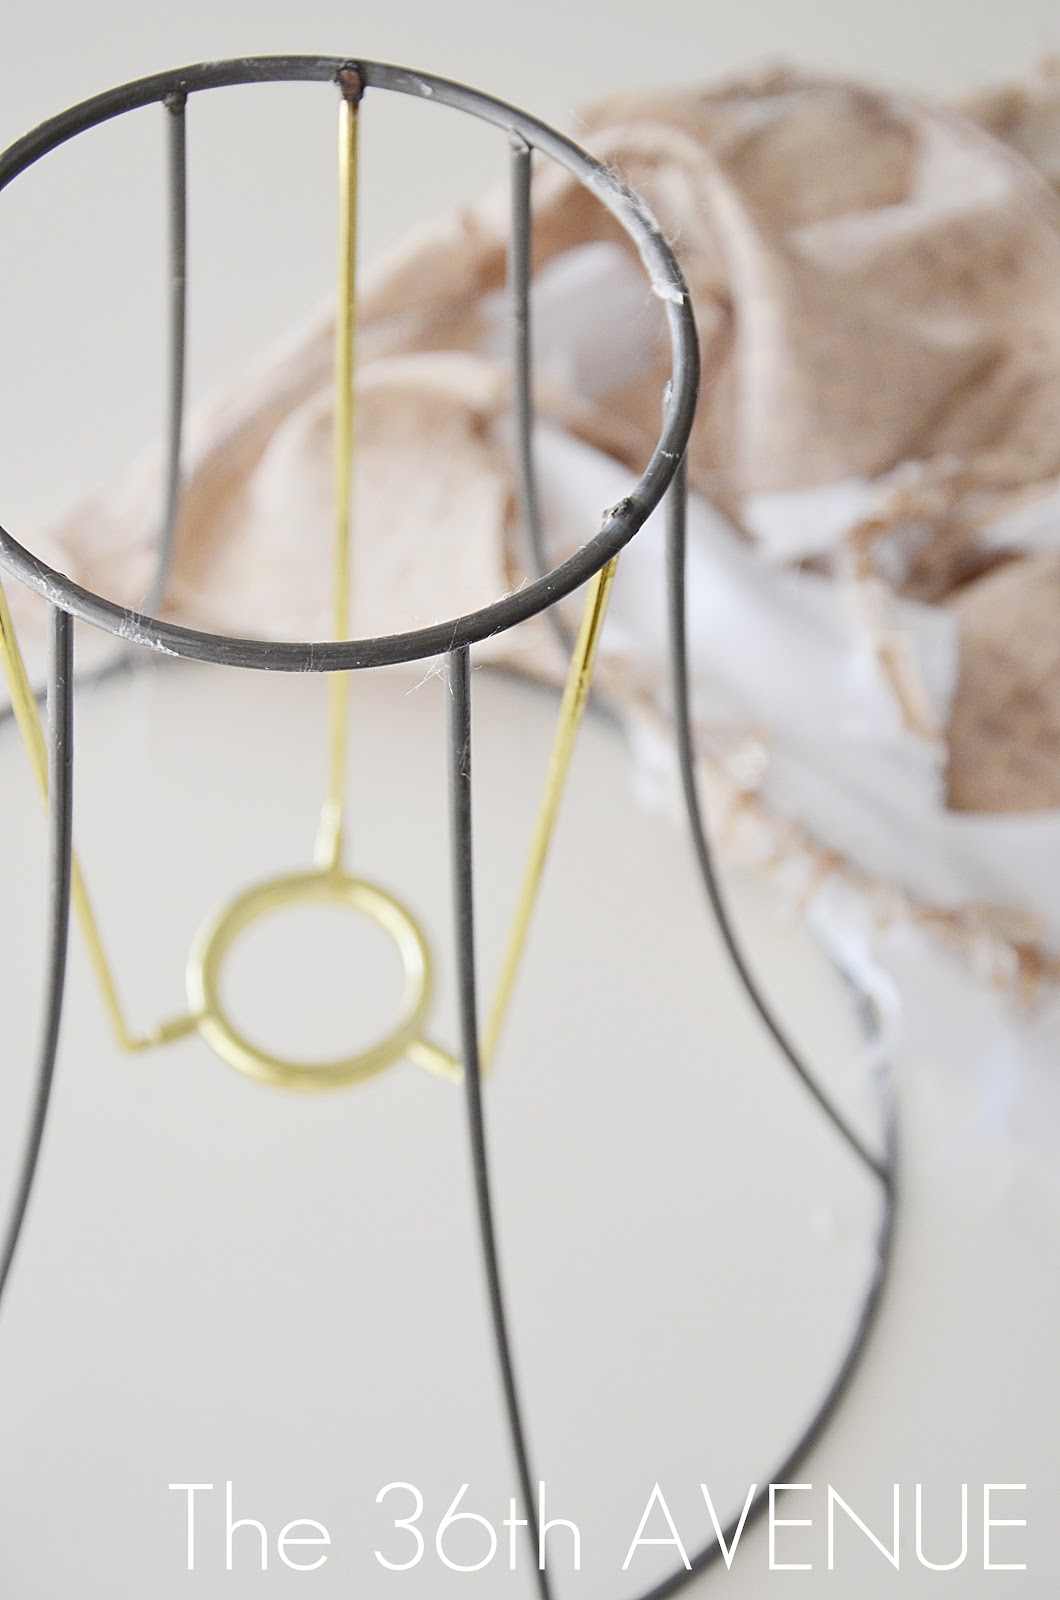
Please, promise me that you won’t cut your precious hands.
I used an exacto knife to help me remove the original fabric.
You want to take all the fabric out!
2
I didn’t like the gold color inside of the lampshade’s frame so I painted it with this
delicious Flamingo Pink by Martha Stewart.
I love this color and the paint quality is excellent!

3
After the paint dried it was time to have fun!
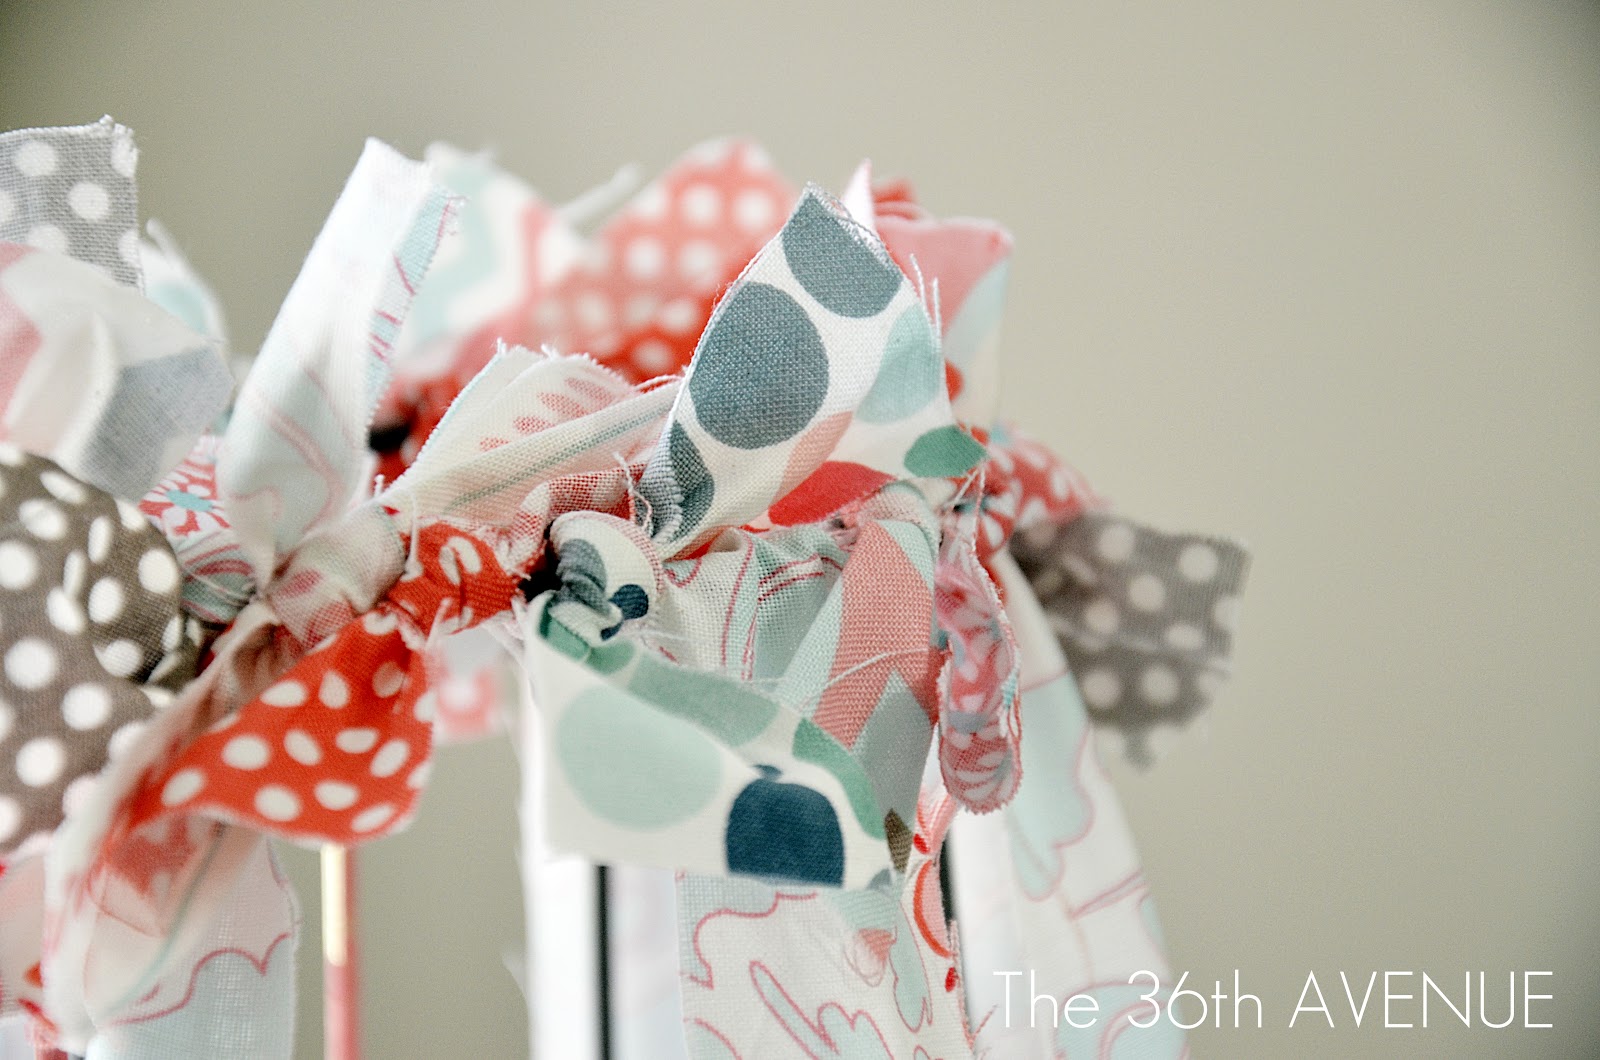
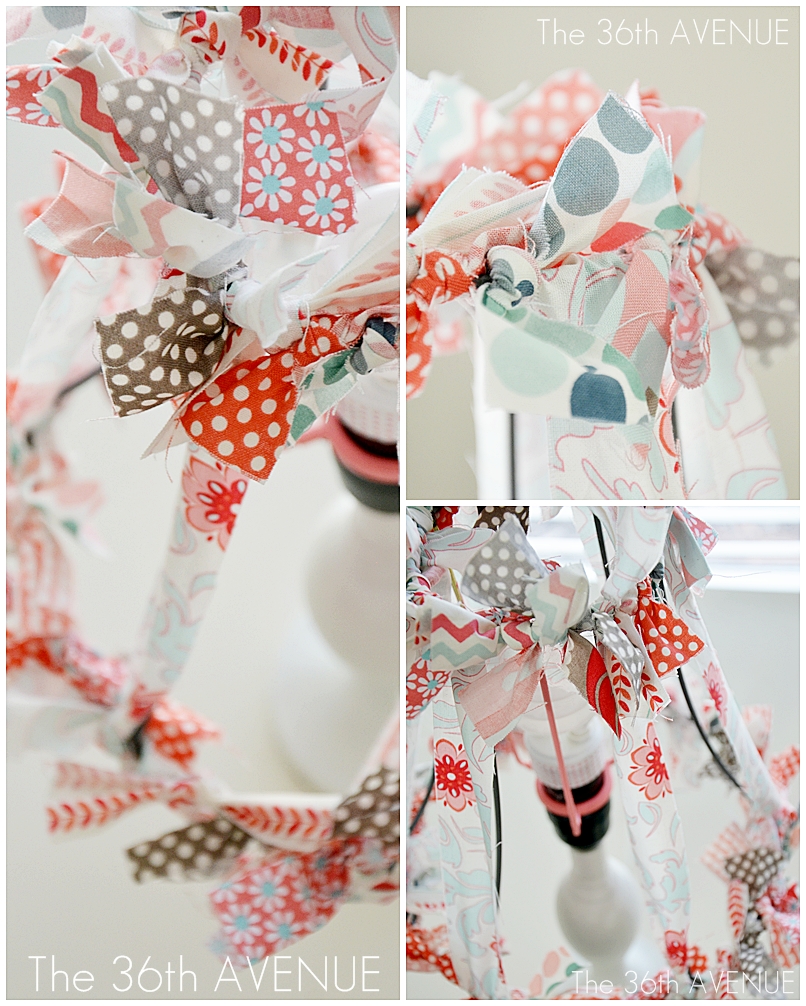
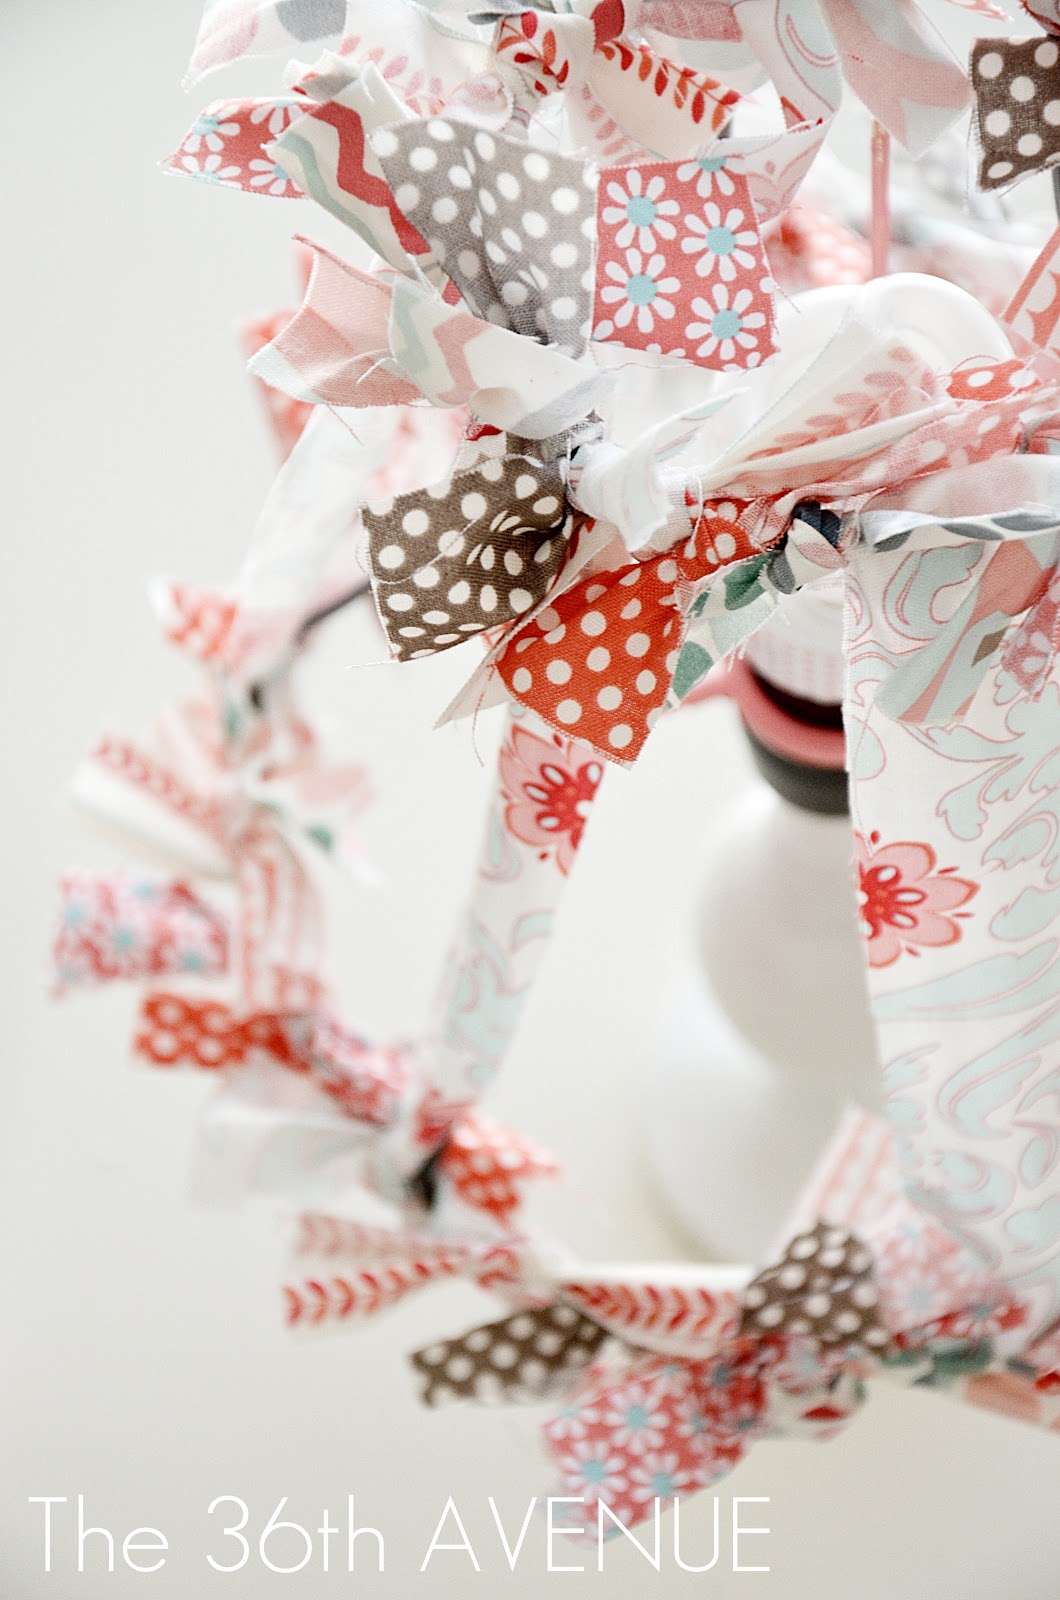
I cut strips of fabric of about 1.5 x 4.5 inches and I tied them around the top ring of the lampshade.
Play with the fabric so the pretty side of it faces you.
4
The vertical strips of fabric are going to be longer.
The length will depend on the size of your lampshade.
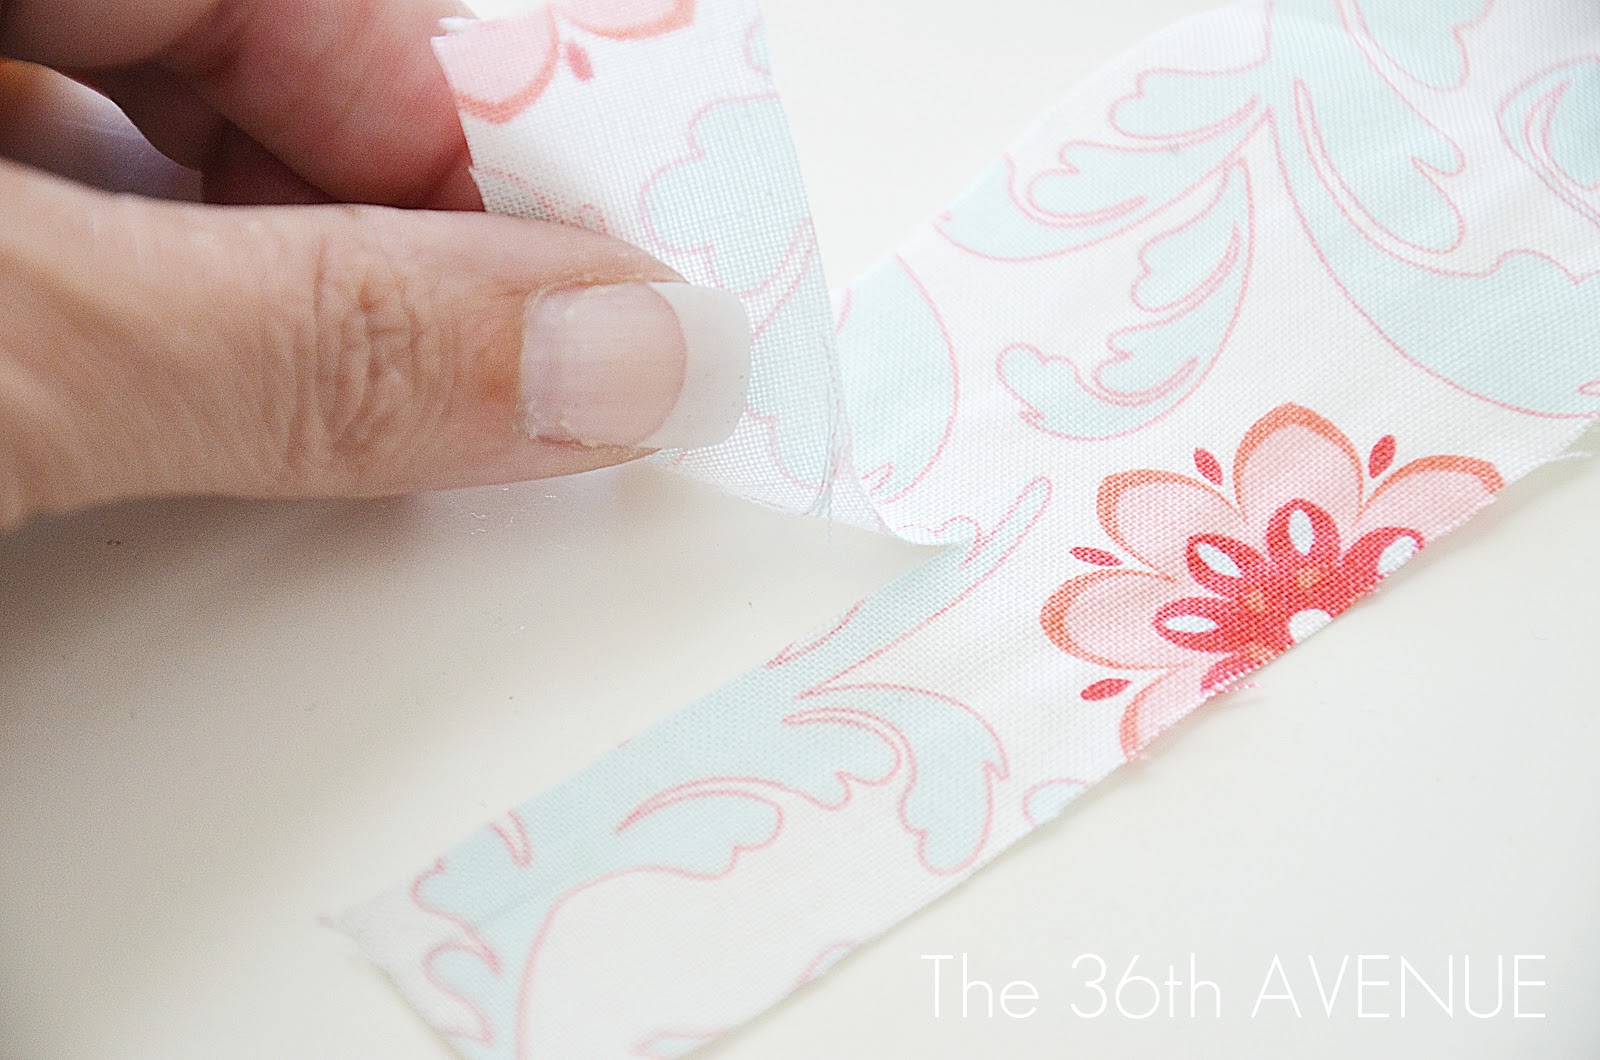
Make the strips about 3 inches longer than your lampshade, this will give you room to tie the knot
comfortably. Using scissors cut and split the ends of each strip in two, just like this…
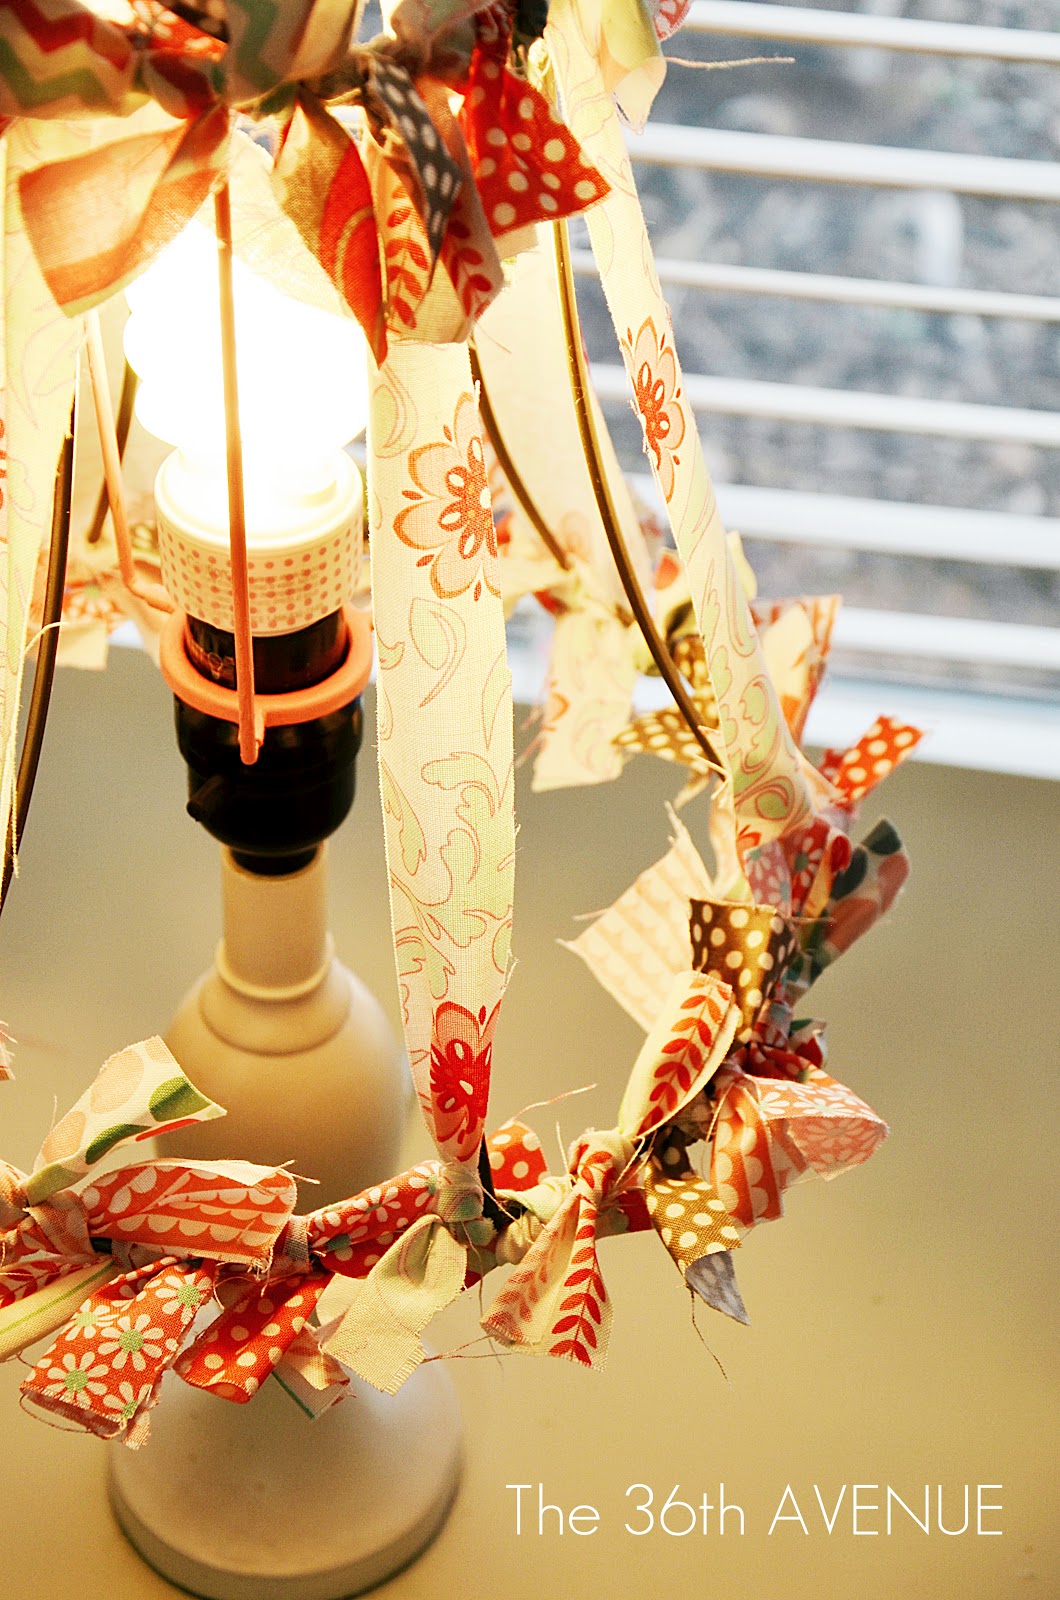
Then place the fabric on your lamp shade and tie the split ends under the ring
and then flip the strip of fabric over.
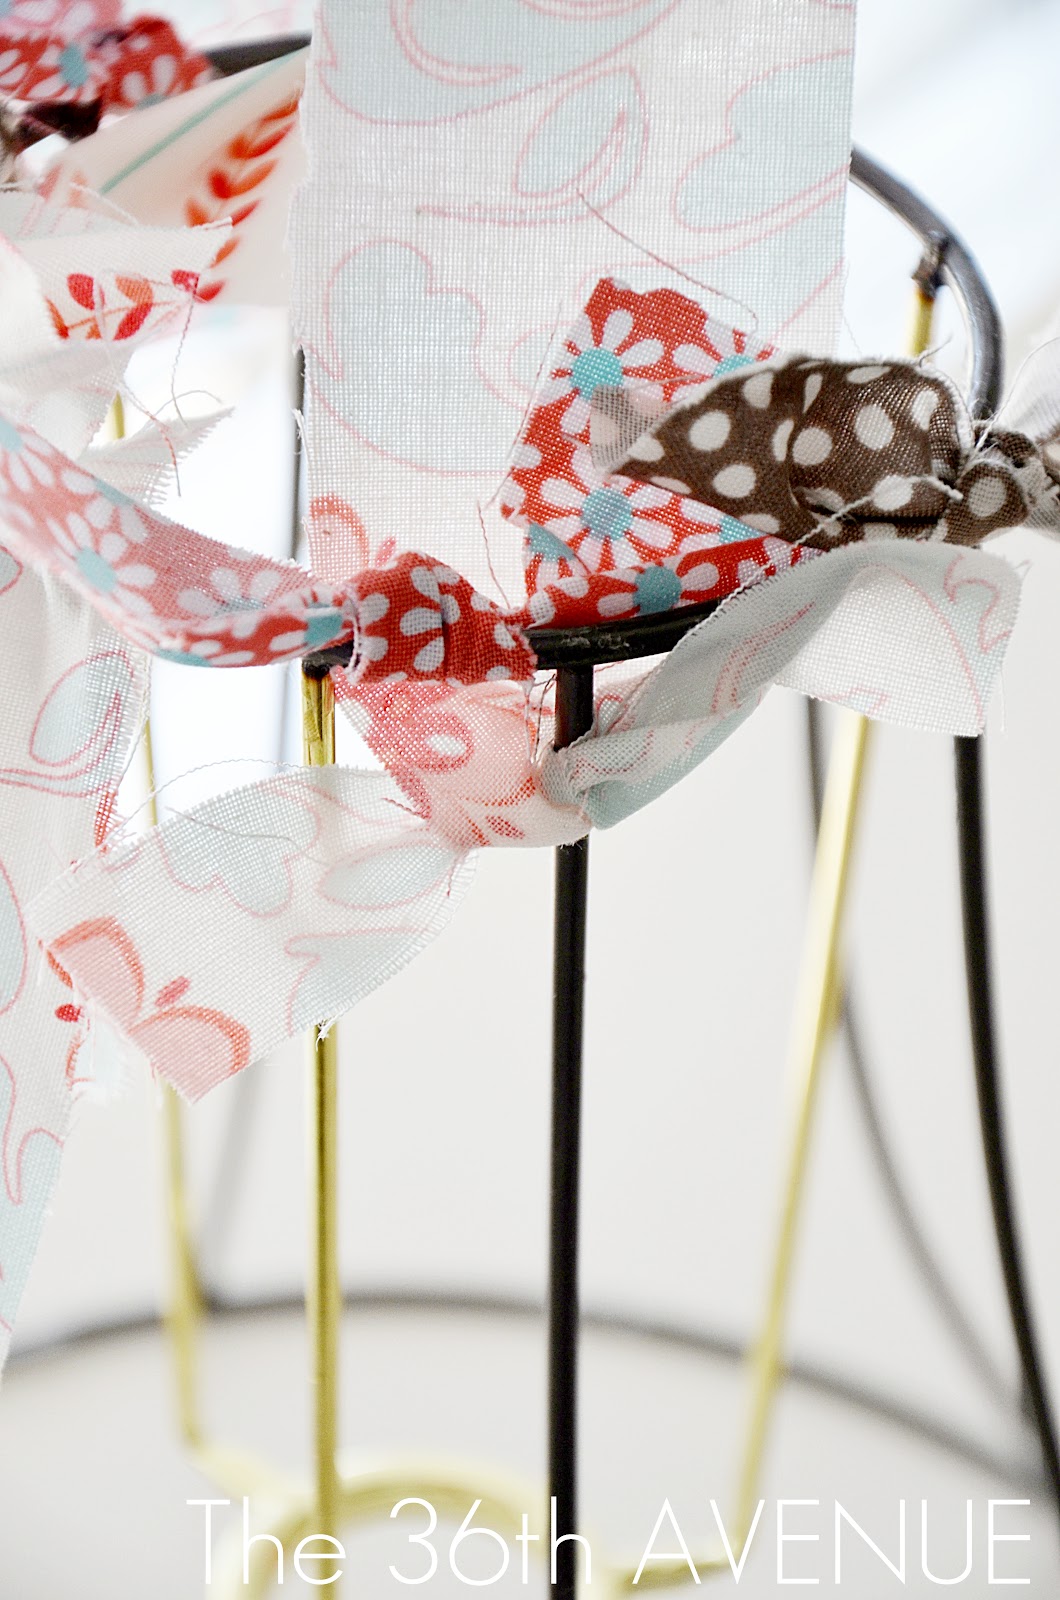
Do the same at the bottom.
Repeat the process on top of each vertical piece of metal.
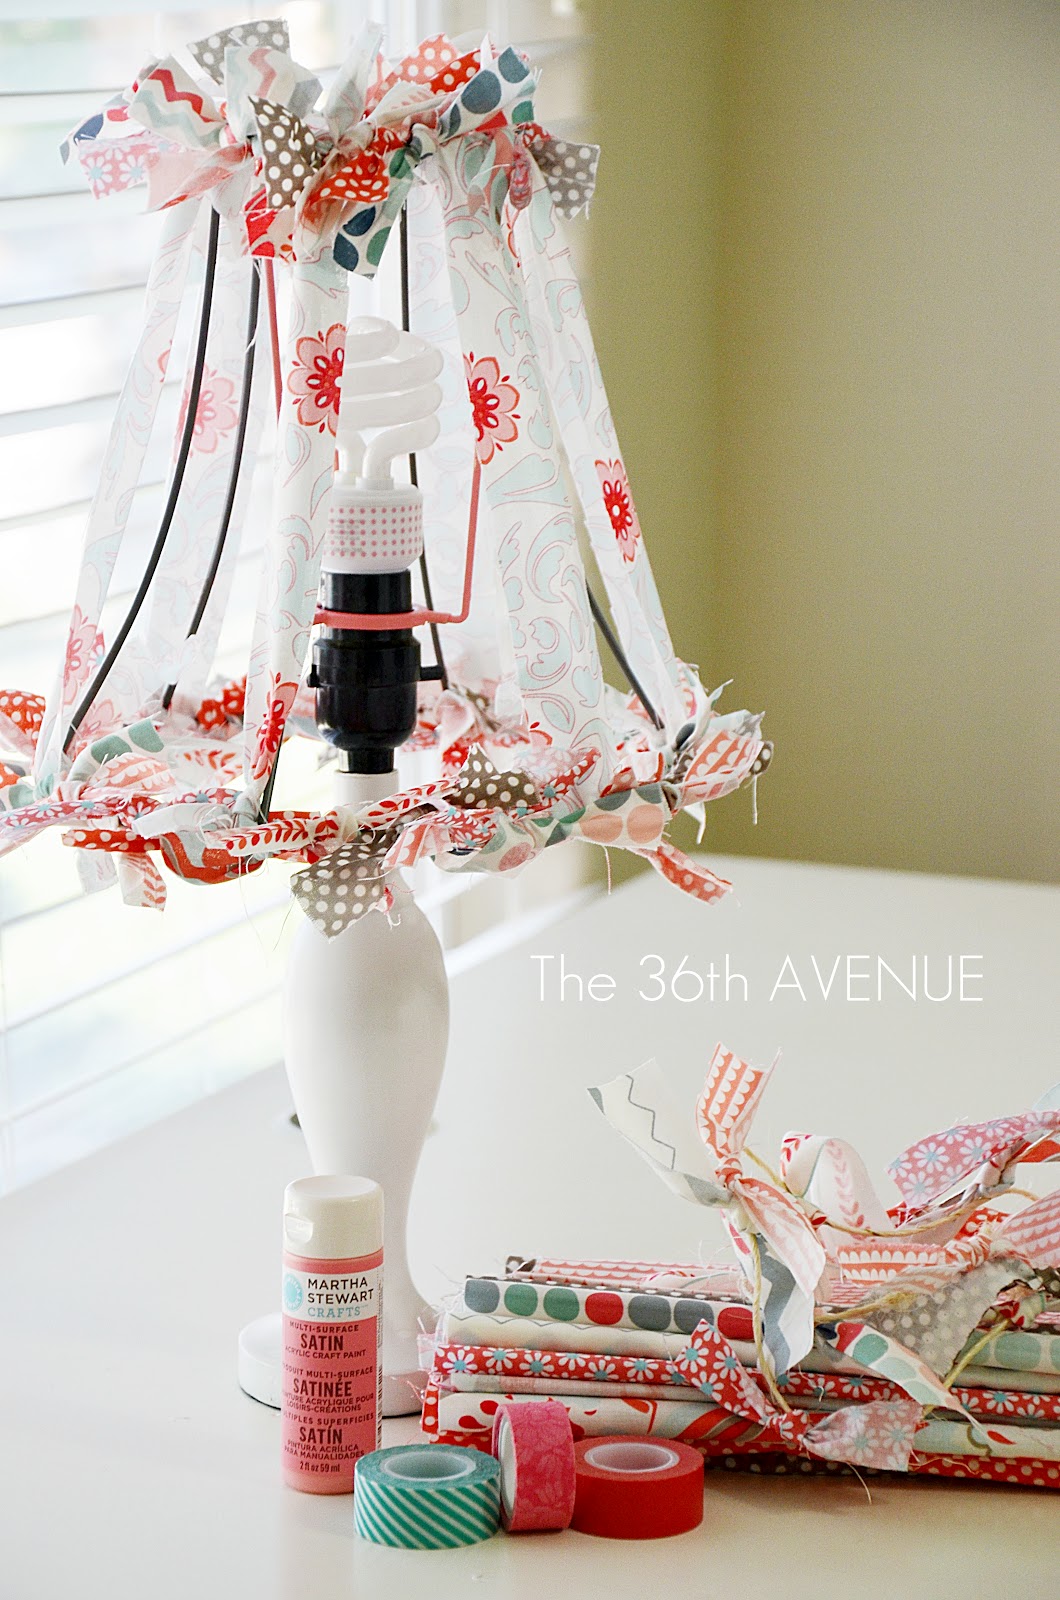
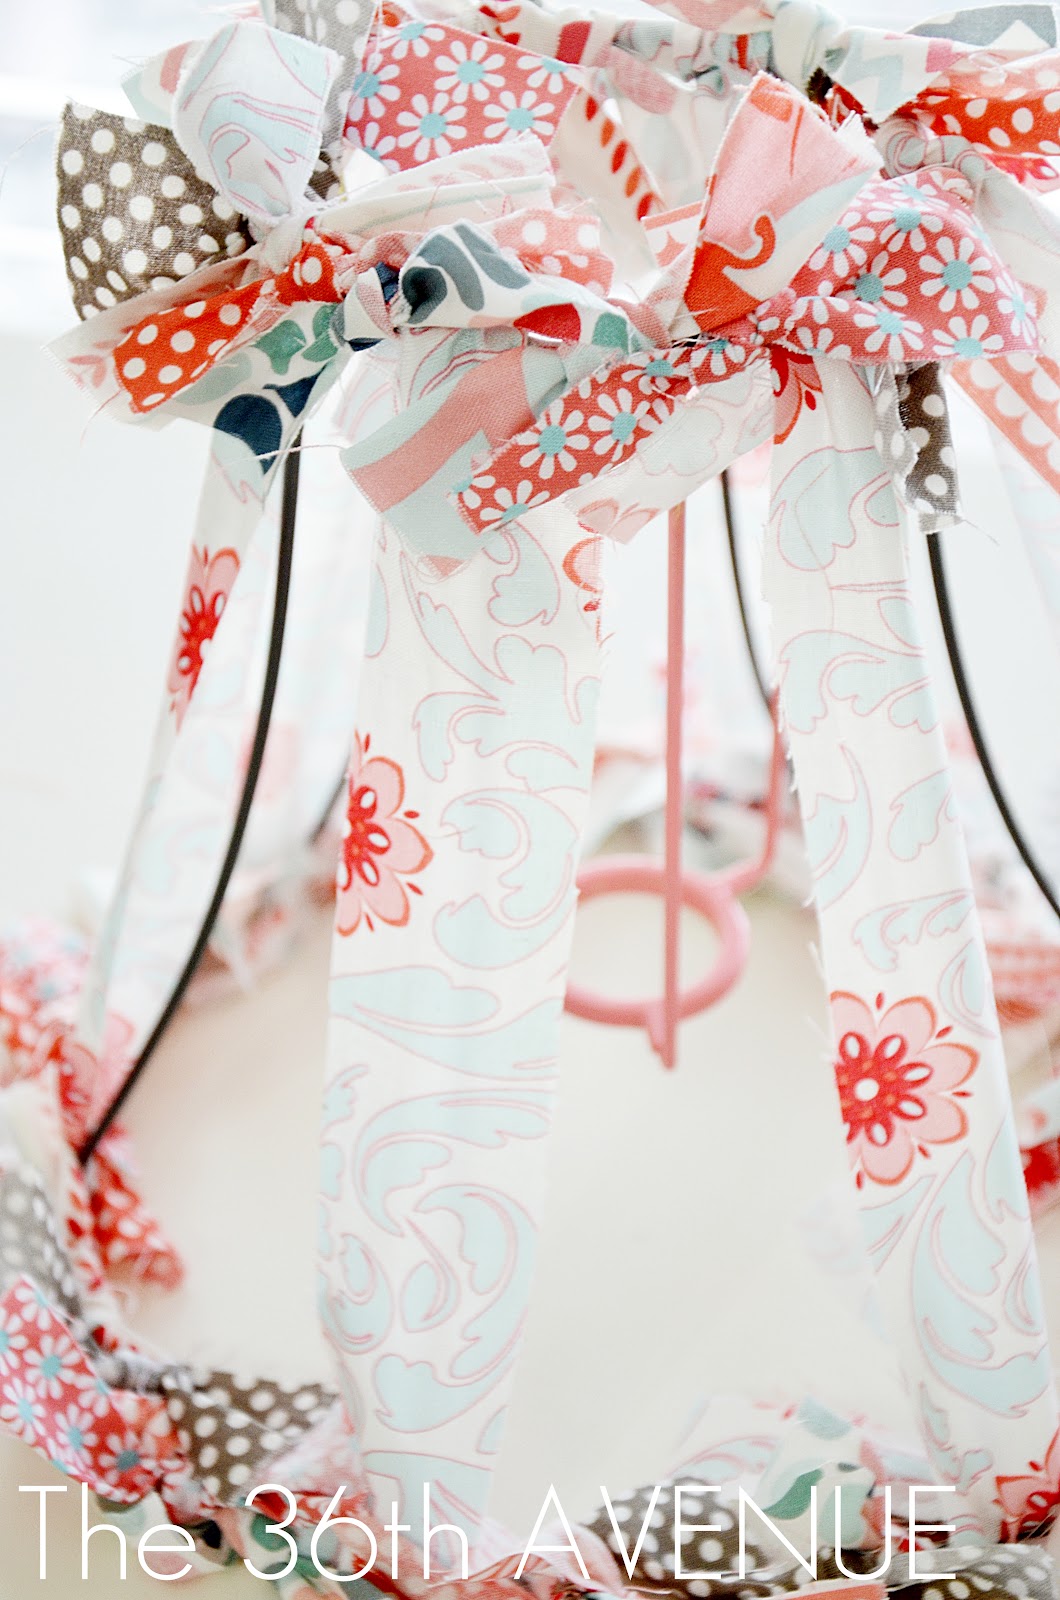
By the end your shade will look like this!
Do you like it?
5
If you are new here you should know I’m a freak!
{ You should also know that it is contagious }
I could add the light bulb and be happy with it but as I always say
” The details are what really makes the ordinary EXTRAORDINARY! “
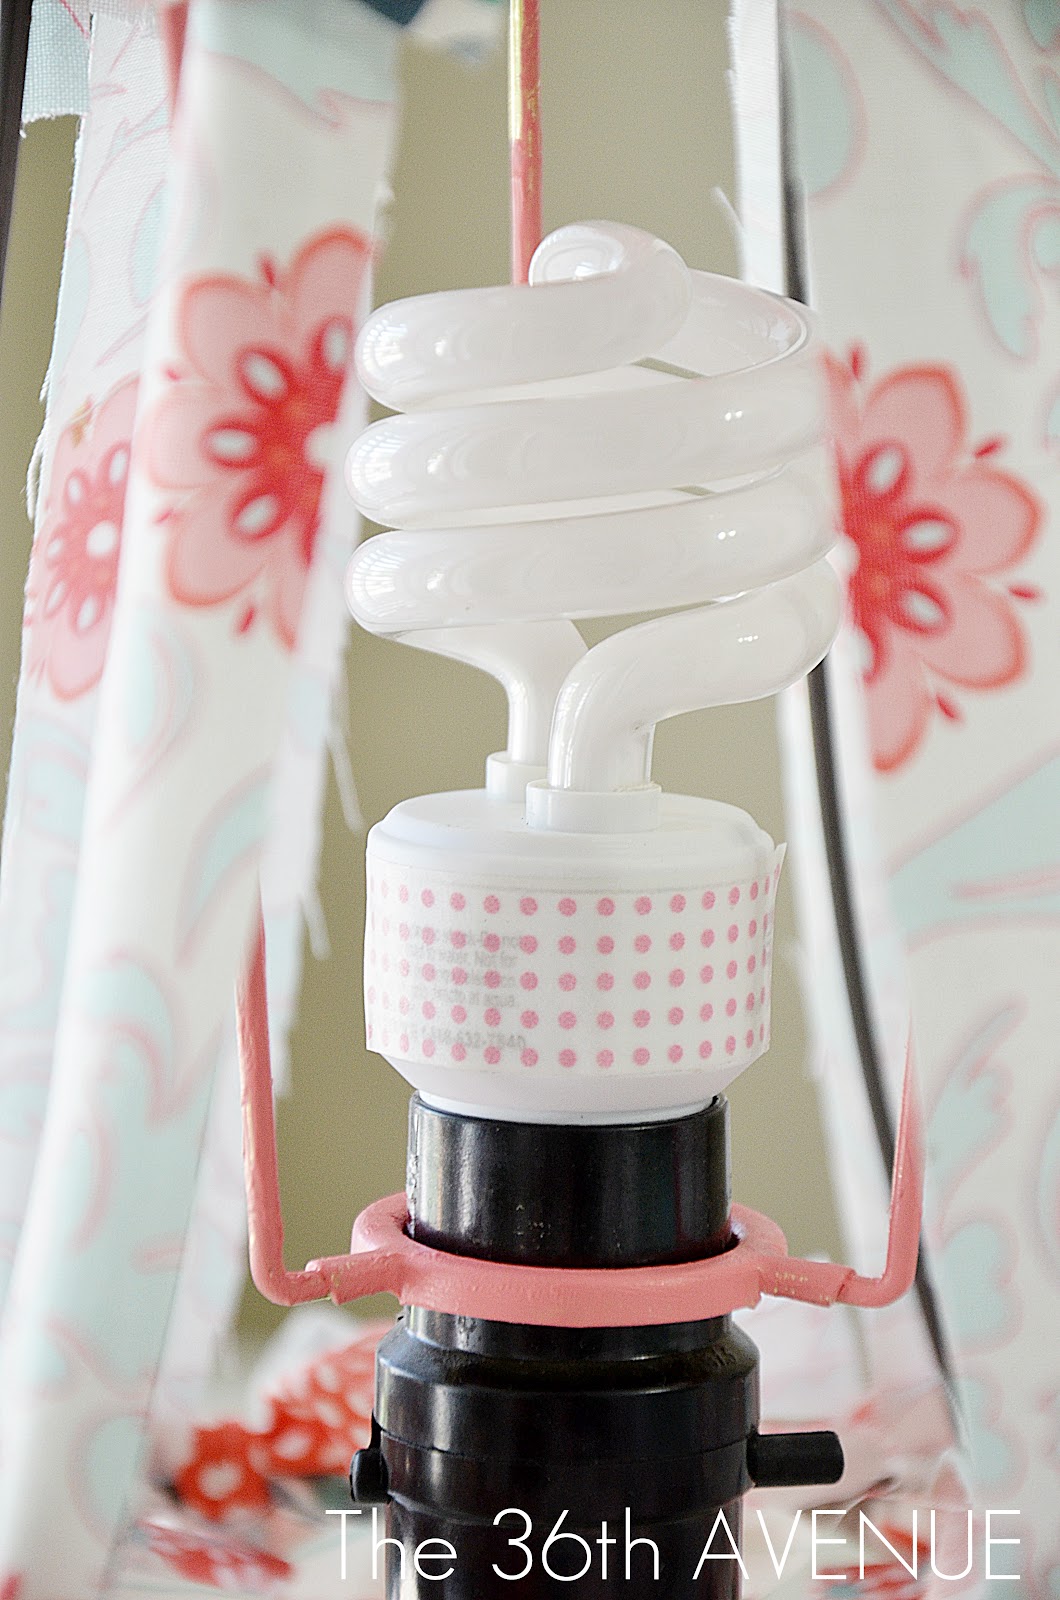
I used some Washi Tape to spice up the light bulb.
Cute… huh!

NOTE: I am using a low heat light bulb for this lamp…
Safety always comes first!
Here you can see it at night…
So there you have it… Make a bunch of knots.
©the36thavenue.com DO NOT COPY, SAVE, OR PASTE THIS COLLAGE IMAGE.
Use those pretty fabrics that you already have…
…and create something that lights up your own world.
So fun!
©the36thavenue.com DO NOT COPY, SAVE, OR PASTE THIS COLLAGE IMAGE.
Talking about fun, it is Friday my friends and
the weekend is almost here… let’s enjoy it!
Besos!
Desirée
If you are new to my blog I want to welcome you!
I hope you stay in touch with me and Subscribe to The 36th Avenue via Readers.

Hi Desiree,
What a cute project! I love it so much that I decided to feature it in our roundup of lampshade crafts! Check it out here: http://www.favecraftsblog.com/lampshade-upcycle/
Have a great day!
Wow, super cute and I love the idea of not using a “regular” lampshade. Love your projects, inspiration and your kind words you share on your blog. Just thought you should know you are appreciated. Thank you 🙂 Tanya
Tanya, I want you to know that you are appreciated as well… your comment made my day.
Thank you so much for visiting with me… Have a wonderful week my love!
Just discovered your blog via Postively Splendid. This is a great tutorial. I’m working on one using burlap for a friend; but your post has given me even more ideas for it. Thank you for sharing. I’m going to take a cruise around your previous posts now and I’ll definitely be back for more! Great blog!
Thank you for stopping by and welcome to The 36th Avenue!
This is so nice! We’re so glad you linked up to our “Strut Your Stuff Saturday.” Thanks for coming and we hope you’ll be back. -The Sisters
That is sooo adorable! I’ve made some lampshade “skeleton” cloches before, so we’re on the same wavelength!
That looks GORGEOUS! We would love for you to come share it at our weekly link party and enter to win a $50 gift card to Mikarose Clothing!
http://www.sixsistersstuff.com/2012/05/strut-your-stuff-saturday-link-party_11.html
Love,
The Sisters
Thank you Sisters!
I just visited your blog and linked it up to your party…
Thank you ladies for the invite… Have a great week!
Oh wow! That is so cool! Different, eye-catching and beautiful!
Thanks for linking to a Round Tuit!
Hope you have a fabulous week!
Jill @ Creating my way to Success
http://www.jembellish.blogspot.com/
Wow! Thanks for the kind comments about my fabric collection, “Verona”! I appreciate you choosing to use my fabric for such a darling project! ~Emily
Emily I will add your name and link to your site on my post. I am wondering if Emily Taylor Design and Riley Blake Designs is the same thing. Should I put by Emily Taylor for Riley Blake Designs? Let me know… I LOVE your fabrics!