
It seems like it was yesterday when it was me the one giving and receiving
those precious friendship necklaces from my little friends at school.
My Anni this year doesn’t just have one but two really good special friends.
She wanted to make something special for them and this is what we came up with…

Please DO NOT Copy and Paste this image ©The36thAvenue
What I love about working with Shrink Film is that you can make custom charms in just minutes.
It is easy to use, affordable and you can create pretty much any shape you want.

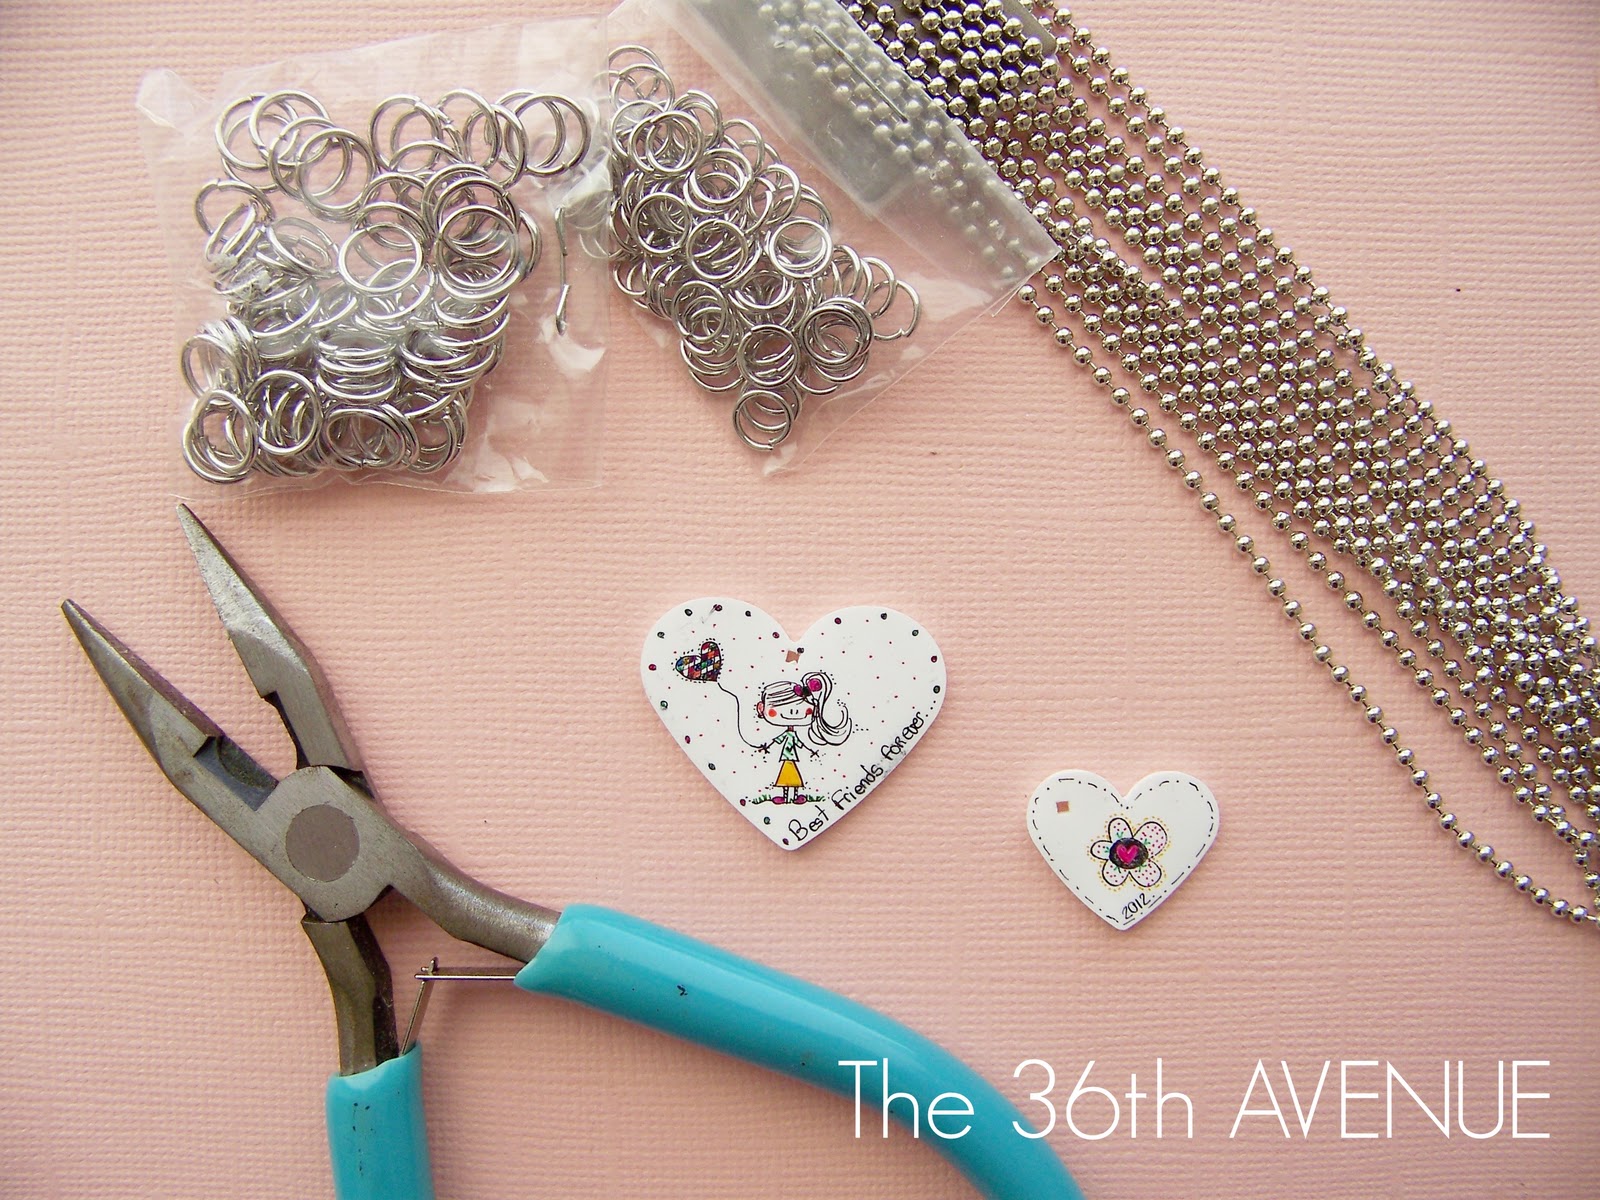
This is basically what you’ll need:
1. White Shrink Film
{ You can find it over at your local Craft Stores }
2. Sharpies
3. Punch Holder
4. Stamps { Optional }

* Before you start making your own charms please read the instructions on the back of your Shrink Film package
since the baking time may be different depending of the brand you purchase.
TUTORIAL
1
First cut or punch out the shape of your charms.
When you do this keep in mind that after you bake your charms they will shrink 50% its size.
{ This is a LOT }
I used two different sizes of hearts for our charms.

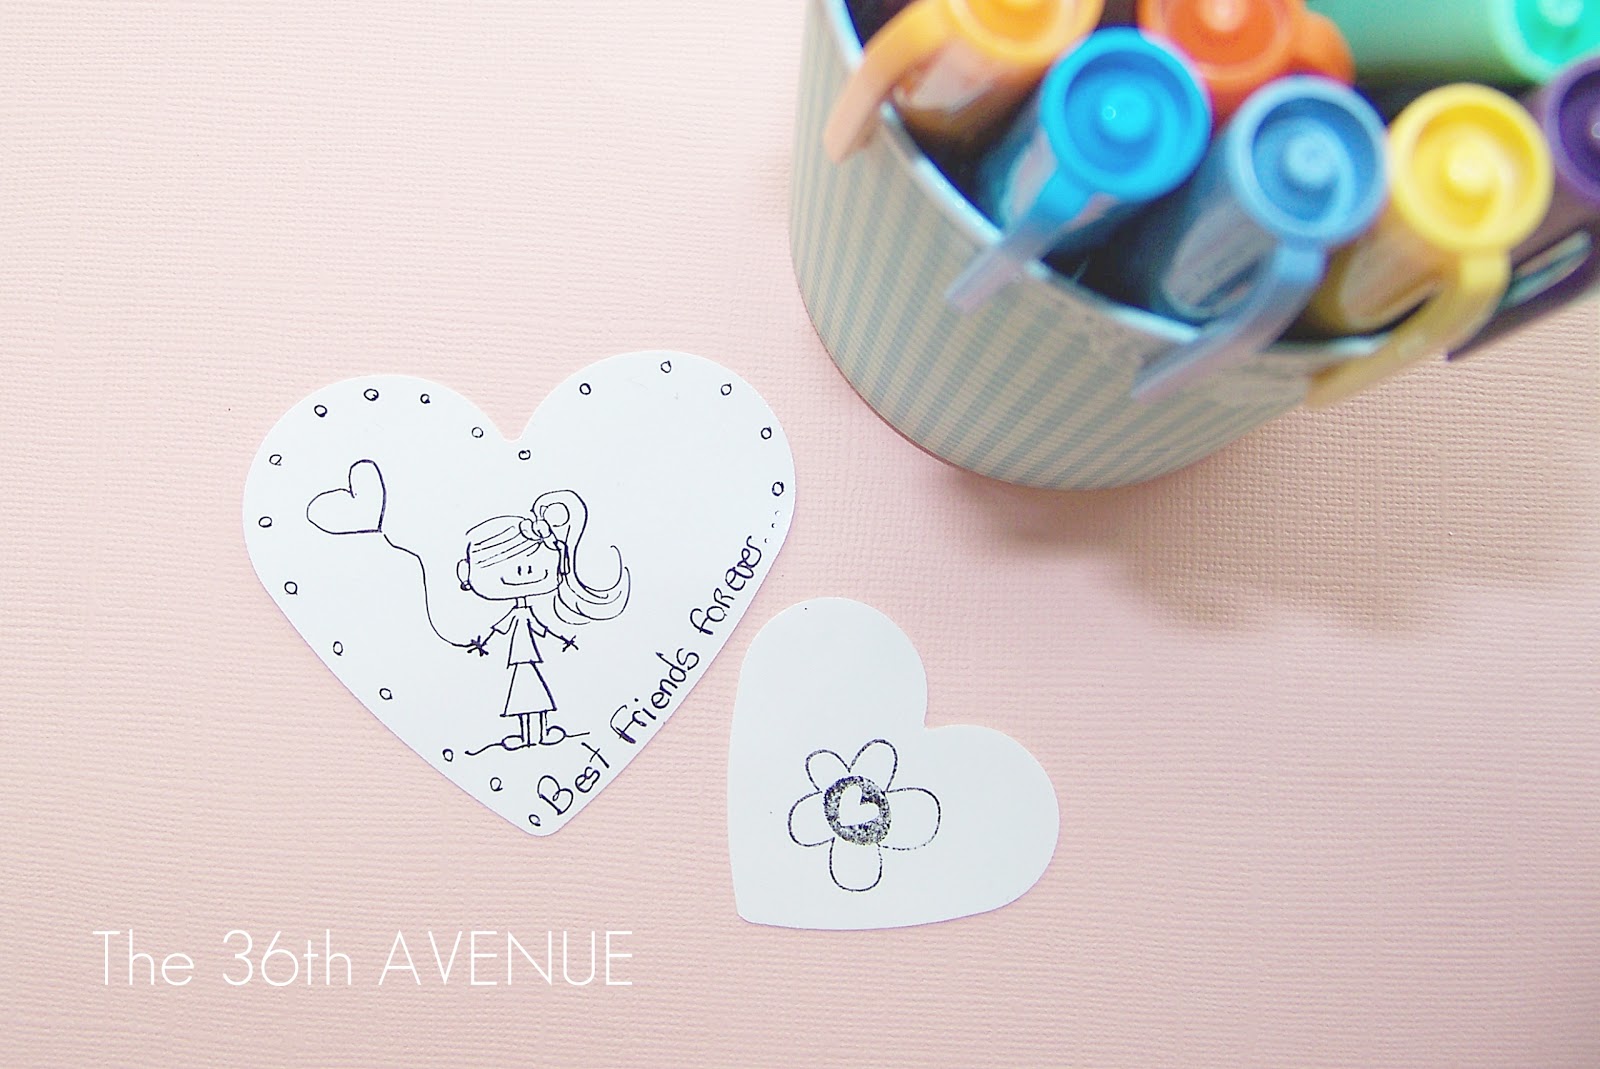
2
The next step is to decorate your charms.
I used sharpies to draw a little girl on it.
If you don’t feel confident about drying your images you can use a stamp,
just make sure you let the ink dry completely before touching the charm.
{ You can even purchase Ink Jet Shrink Film and print your images from your computer }
3
After you draw and color your designs, punch the holes so you can hang your charm later on.
So CUTE!

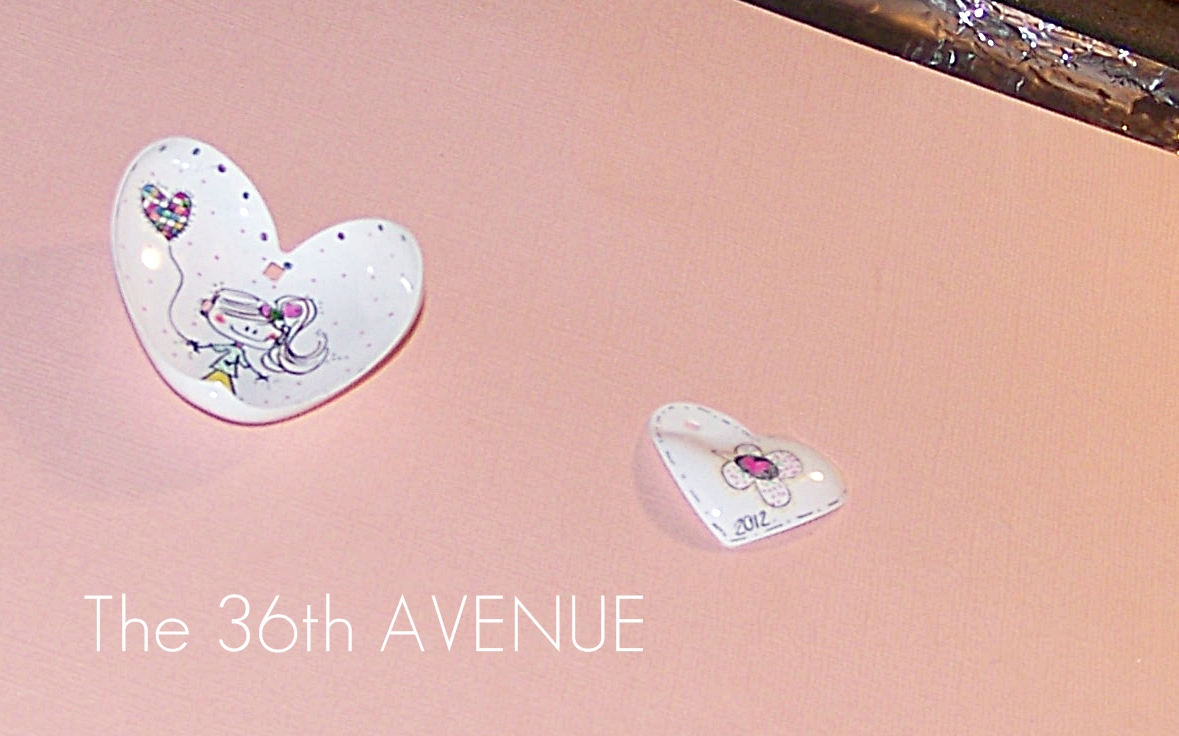
4
The next step is when the magic happens.
{ This is the time to read the instructions }
Place your charm on top of a piece of card-stock on a cookie sheet
and bake them for two minutes or so in a 350º oven.
Don’t panic when you see your charm start twisting and making weird shapes,
this will be part of the shrinking process.
{ Sorry this picture is not clear but I wanted you to see what I am talking about }
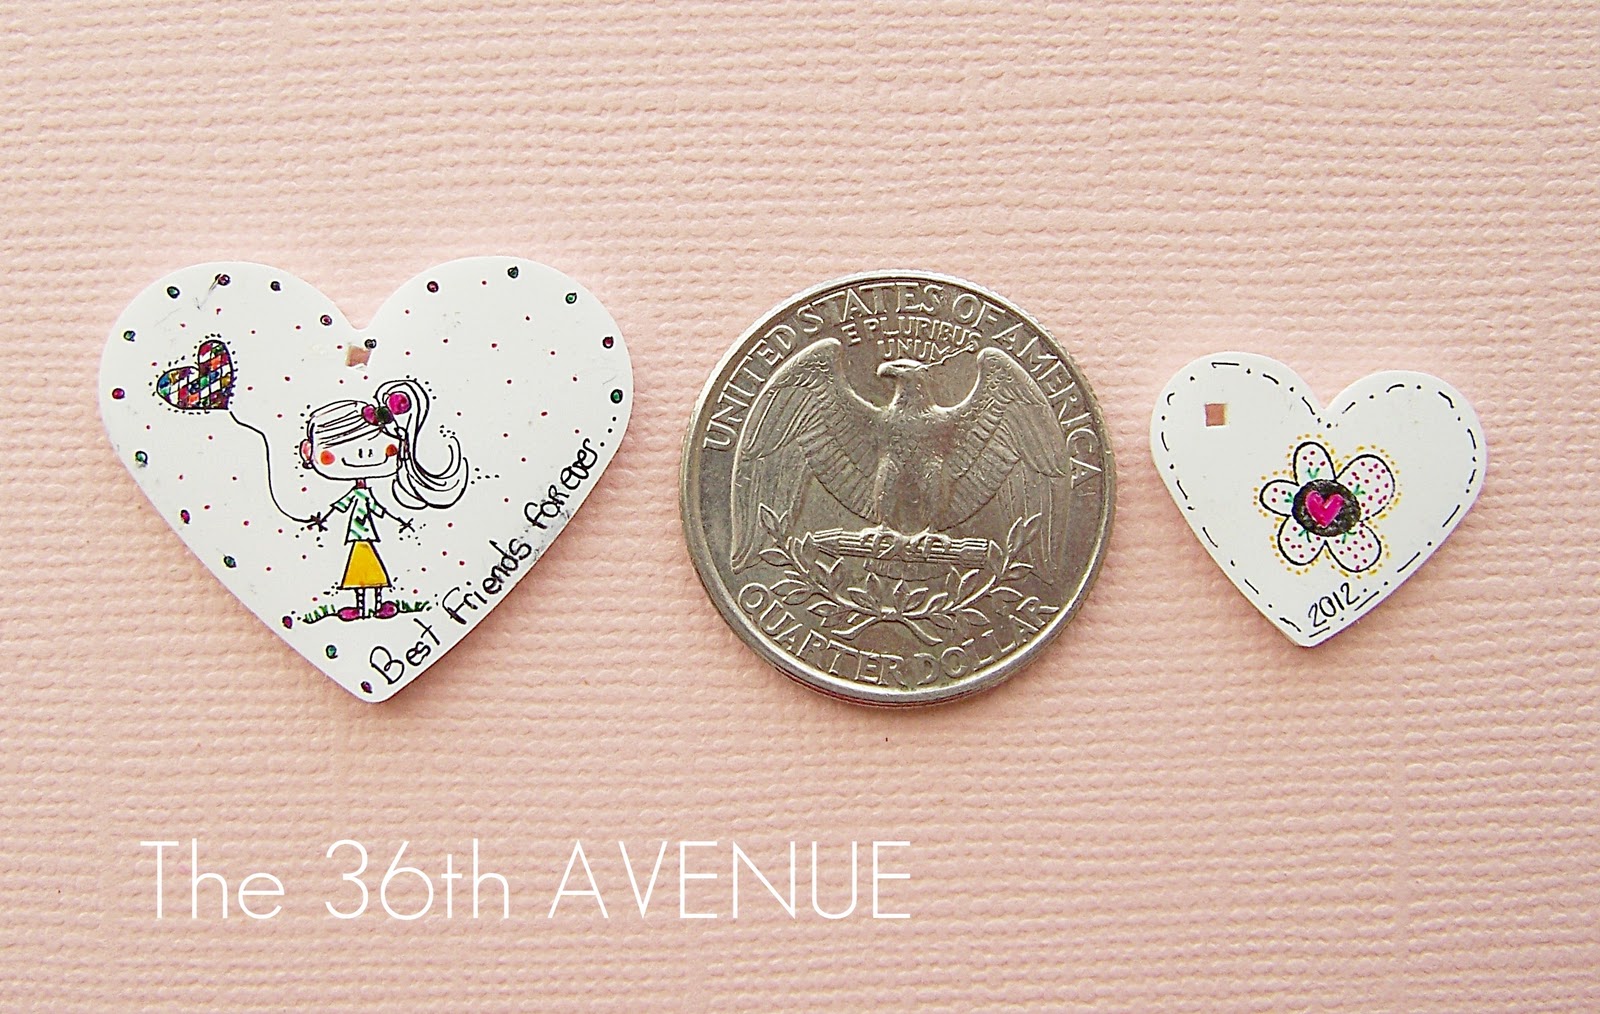
As soon as the charms get back to their original shape pull them out of the oven.
These are the sizes before they went in…

And this is how they looked after they came out…
A lot smaller, hard to the touch and the colors are more vibrant.
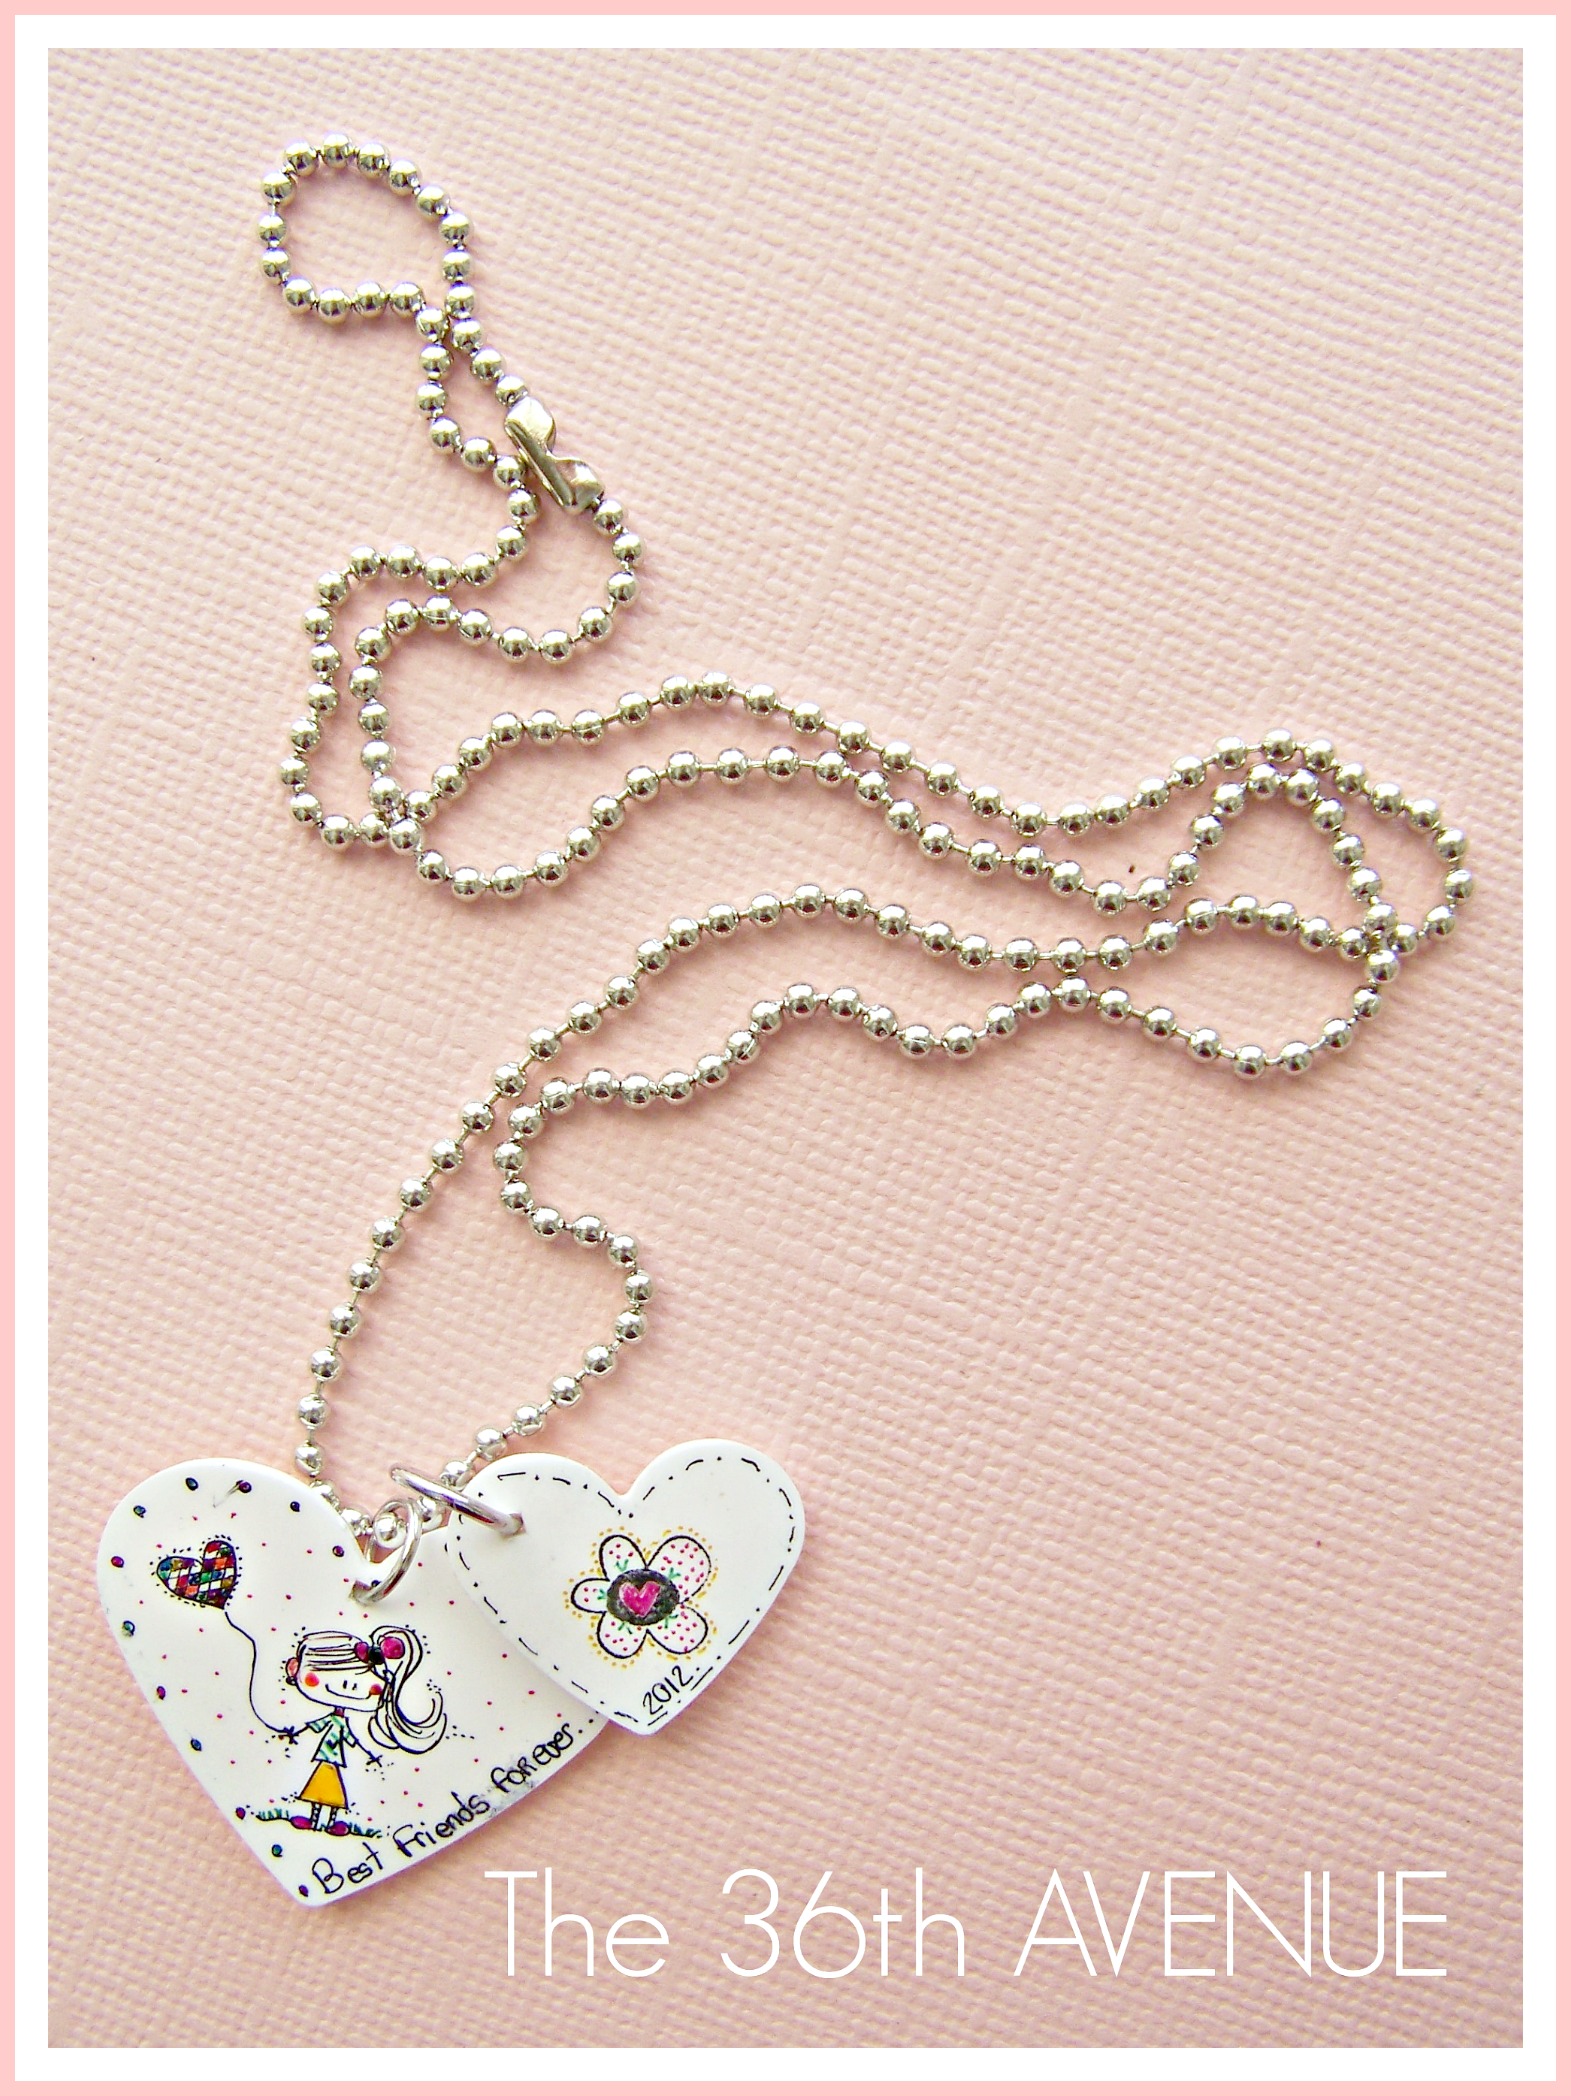
5
Add your chain.
{ I bought all of my chain materials at Wal-Mart }
Guess what?
We are done!

So Sweet…

We had so much fun making them and I am sure my Anni will have even more fun giving them away.

I really love this!!! I am thinking about going to the store today and get the supplies needed. My step daughter (7 years old) is coming to hang out this weekend and her daddy has to work and my house consist of 4 boys and 1 girl on the weekends. My husband has 1 girl and 1 boy and I have 3 boys lol. But any-who, she feels left out because she is the only girl and everything here is boy stuff. So I been trying to find things to do with her, ya know girly stuff. (I was a tom boy, that’s y god gave me 3 boys lol.)
Heather,
Check this one out too… I think she would love to make paper bead bracelets. You can see the tutorial here: http://www.the36thavenue.com/2011/06/my-annis-paper-beads-and-bracelet.html
Have fun ladies!
HI! I love this idea, but I was wondering if you ever had a problem with the ink not drying? I purchased the plastic that you can run through your ink jet printer. The “dinks” came out so cute but the ink didn’t dry even over night. Any suggestions??? I am hoping to figure something so that I can get started on some Christmas gifts….. Thanks for your time I greatly appreciate your help!
Jenn
Jenn,
I have never used that type. I know that for me the sharpies work perfectly. Hmmm… I don’t know what to tell you girl.
I’ve used the printable paper before and I think I had the same problem with the ink because I put it in backwards. I’ve had great experiences with it so it is possible to print them and the ink will dry. I have a photo printer with ink that is supposed to be waterproof, so maybe it’s the type of ink you have. (I have had several inkjet printers and one was a little older and wasn’t waterproof and the ink would simply dissolve on contact with any water. I thought it was the type of ink I used in it, until I switched to the advanced paper and it was much better. So I’d experiment as much as you can with the Shrinky printable paper.)
Dani, thank you so much for sharing this comment. I know it will help a lot of people. You are awesome!
Love this idea, thank you so much for sharing!!! I had a little trouble getting the shrink film to flatten out after it shrunk. I had one in there for almost 10 minutes waiting for it to flatten out. Any suggestions?
I loved this!!! But I’m from in Brazil, and here no exist (sorry for my english :/ )! So cute this draw…
I wanted to let you know that I featured this on my “What I Bookmarked This Week” post today- stop by and see and maybe grab a button.
I love this – my daughter is having a few girls sleepover tonight for her birthday – I think this would be a lot of fun for them. Im glad I found this!
Danielle,
They will love it! We make them all the time.
Have a wonderful weekend!
What size punches did you use? This is so cute!
Angela,
I’m not sure… the largest one that they sell and the next size down.
I hope this helps :I
Love this!
Natasha xx
http://www.serenityyou.blogspot.com
I’m so excited to make these at my daughter birthday party with her friends. I better give it a go first, since I’m not the sharpest tool in the shed!
They are really easy to make. If you have any questions while working on it let me know.