
Hello Beauties !
I get to share with you during the party a little project that I had the pleasure to share earlier over at my sweet friend
Tasha’s blog Creation Corner.
I love visiting your blogs… and I love having you Bloggers over here.
{ Always feel free to send me and email if you would like to be an EXTRAORDINARY guest here at The 36th Avenue! }
It is so much FUN!
This project was inspired by some fabric pumpkins that I made for our
Thanksgiving Table back on November…
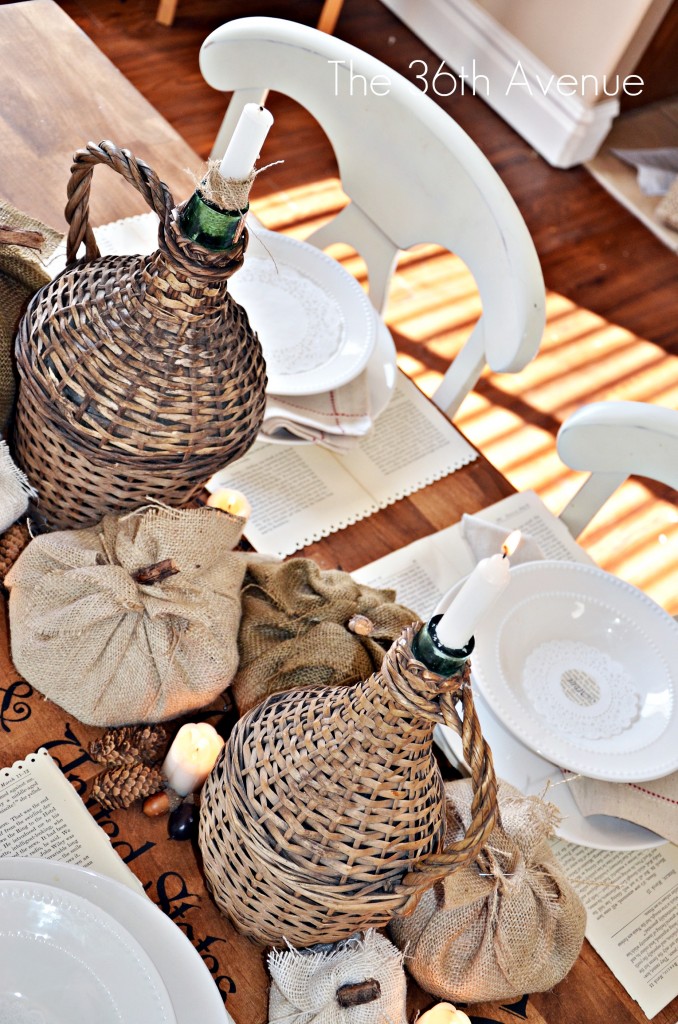
Looking at them I thought what would happen if I turned them around ?
This is what would happened!
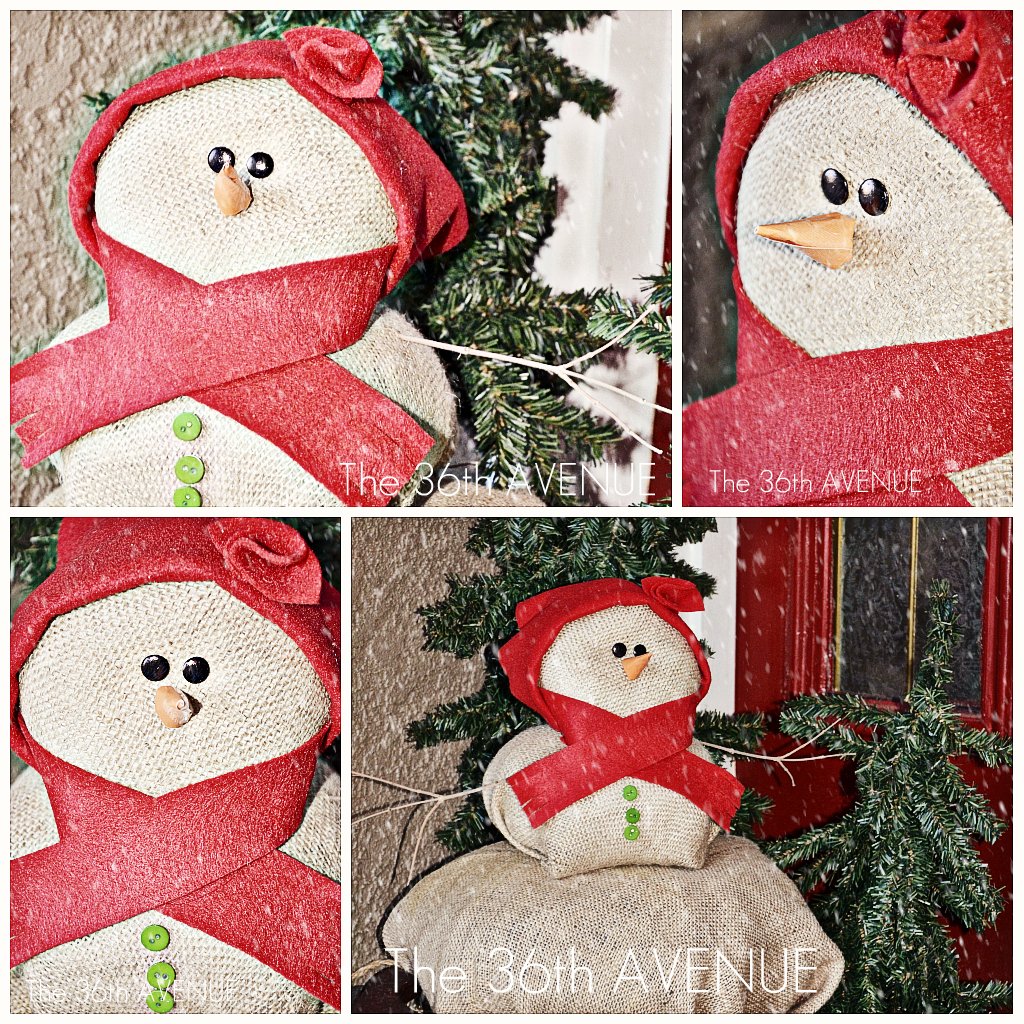
Is she cute or what?!
…Here is the tutorial.
FIRST
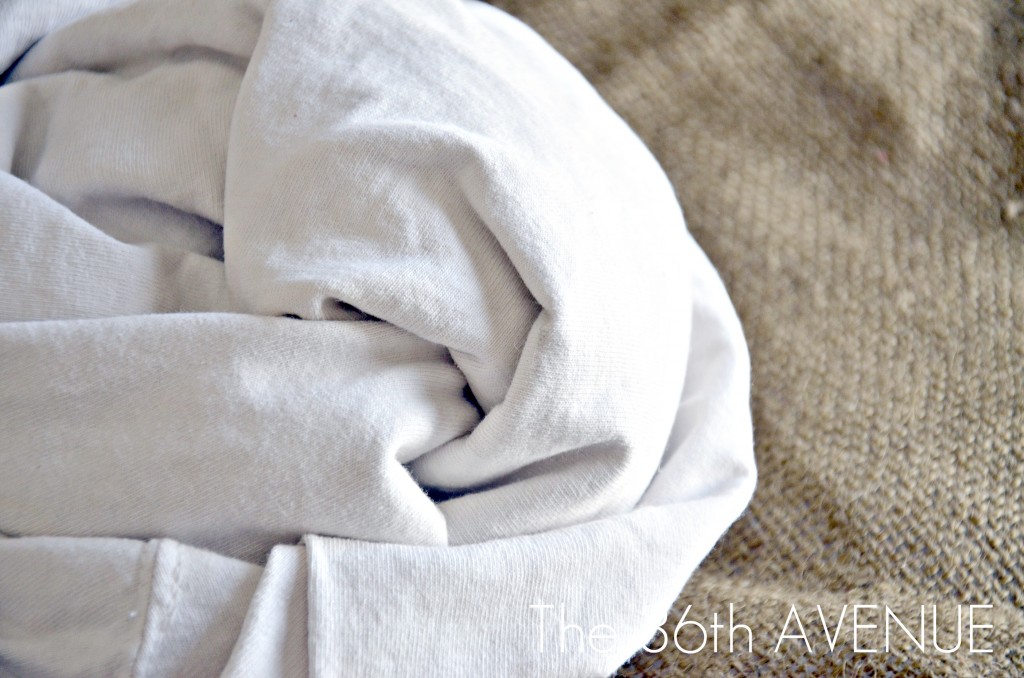
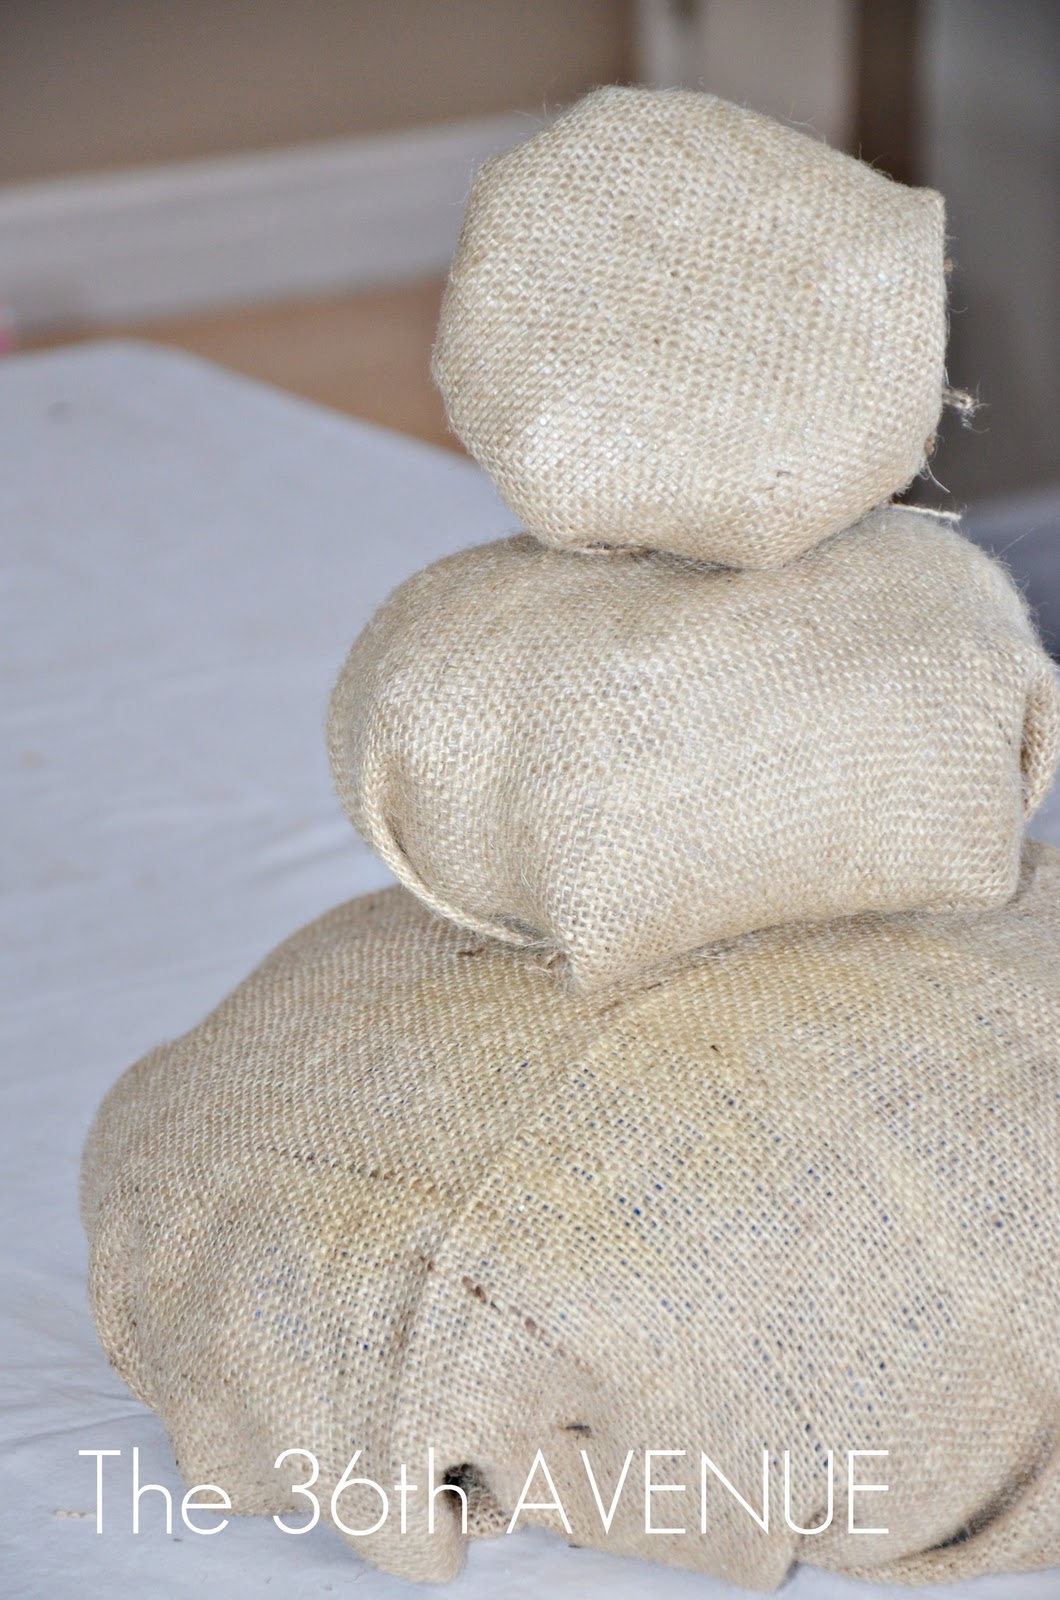
Place a towel in the center of your fabric. The size of the towel and fabric will determine how big the base of your snow mama will be.
SECOND
Secure the fabric with a bunch of pins.
{ I didn’t do any sewing on this project since I wanted to take it apart and reuse the burlap after Christmas}

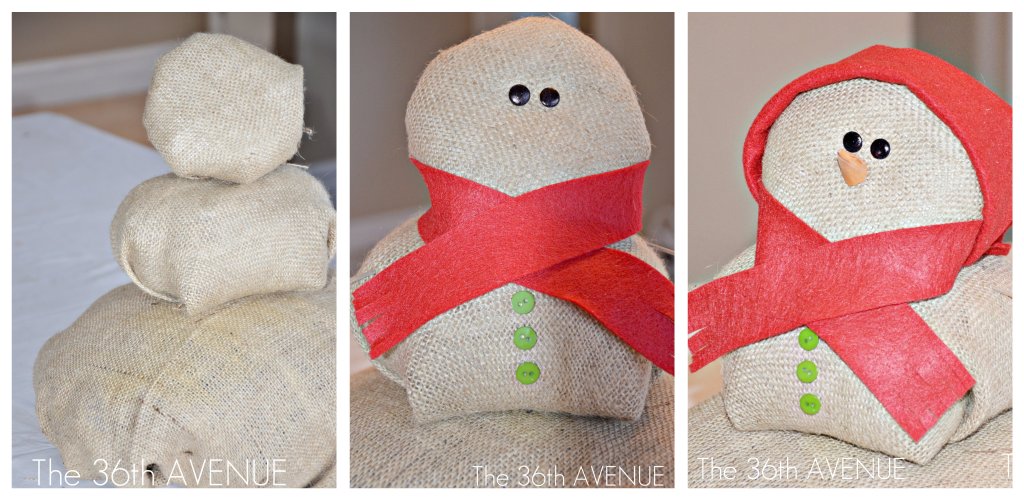
Repeat this process three times. Making each burlap ball smaller as shown in the picture.
THIRD
Next thing I did was dress her up… every girl needs some accessories 😉
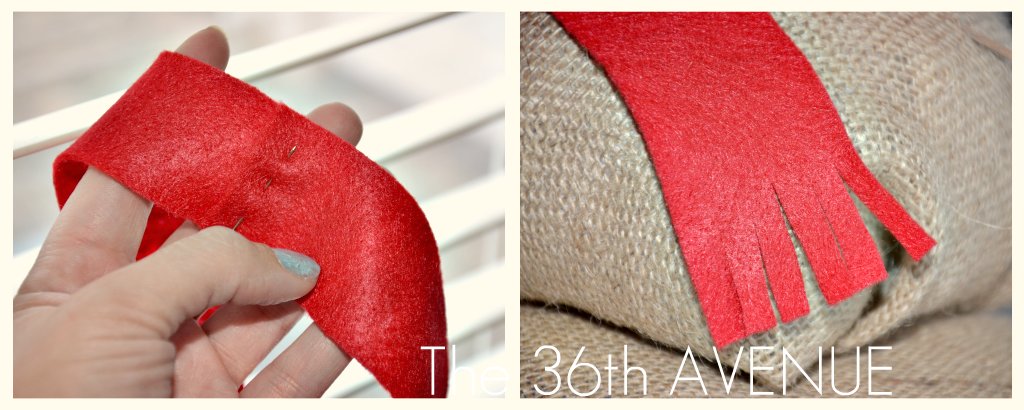
For the scarf I cut two strips of felt and pinned them together to make them one piece.
I pinned it into place and then I cut the ends to make them look like a real scarf.
FOURTH
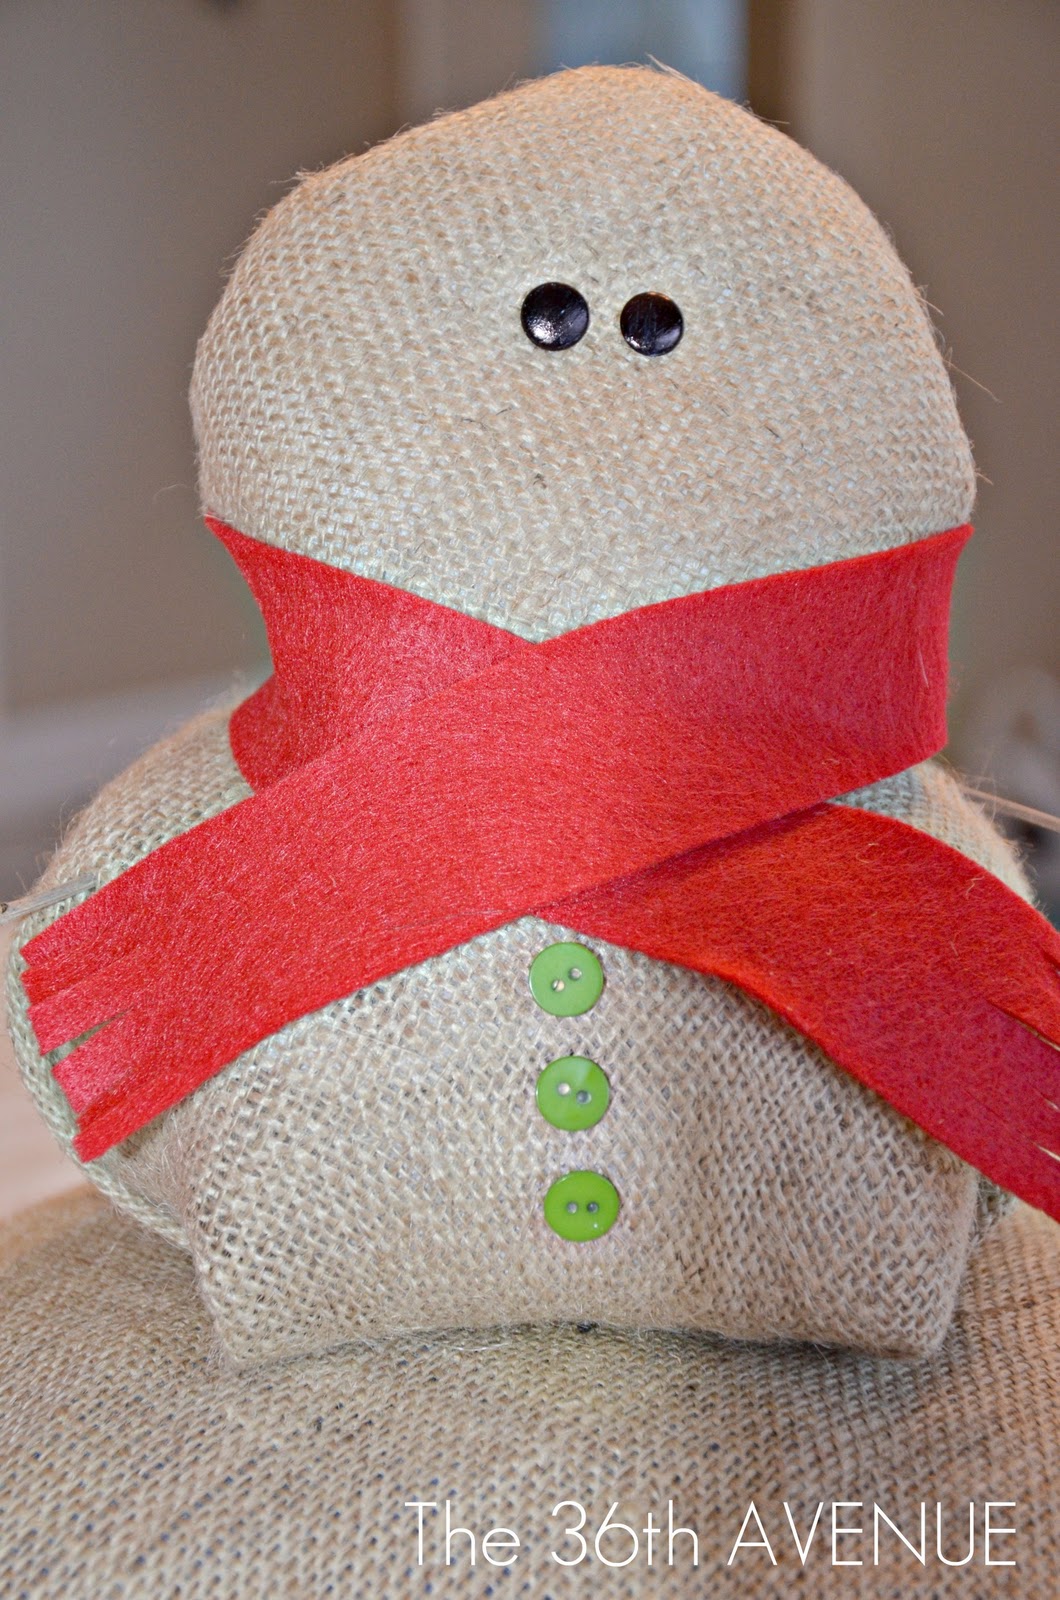
I didn’t want to sew the buttons, so I hot glued them to tacks and pinned them in place.

FIFTH
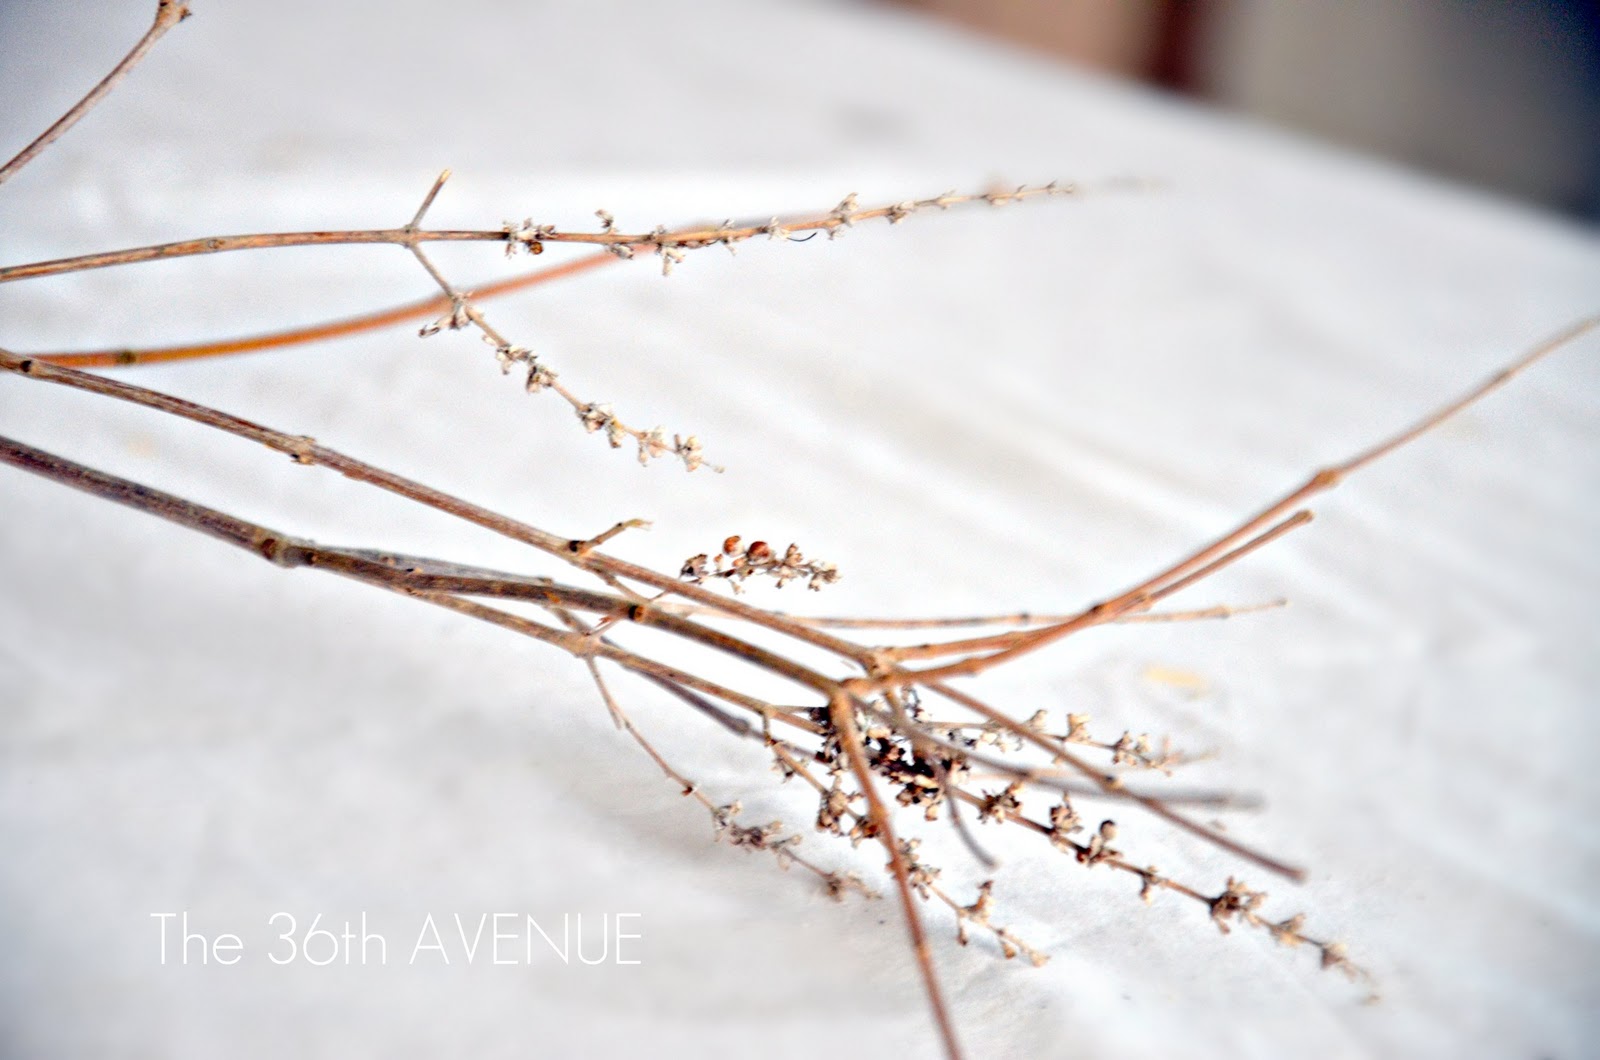
To make the arms all I did was to take two sticks from the backyard and again place them.
At this point she looked like this…

SIXTH
For the eyes I colored with a black sharpie two tacks.
You know what to do… pin them in place.

She is starting to look adorable!
SEVENTH
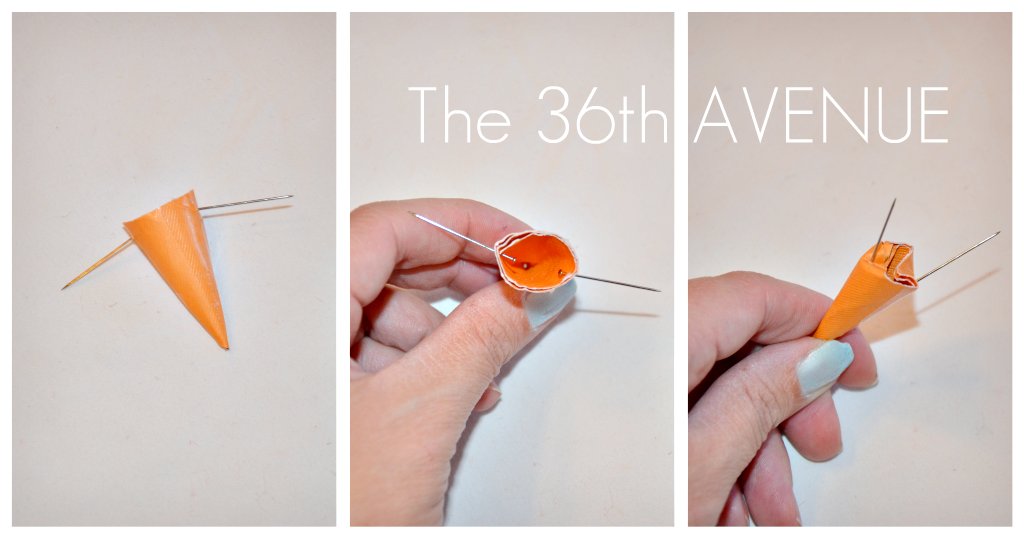
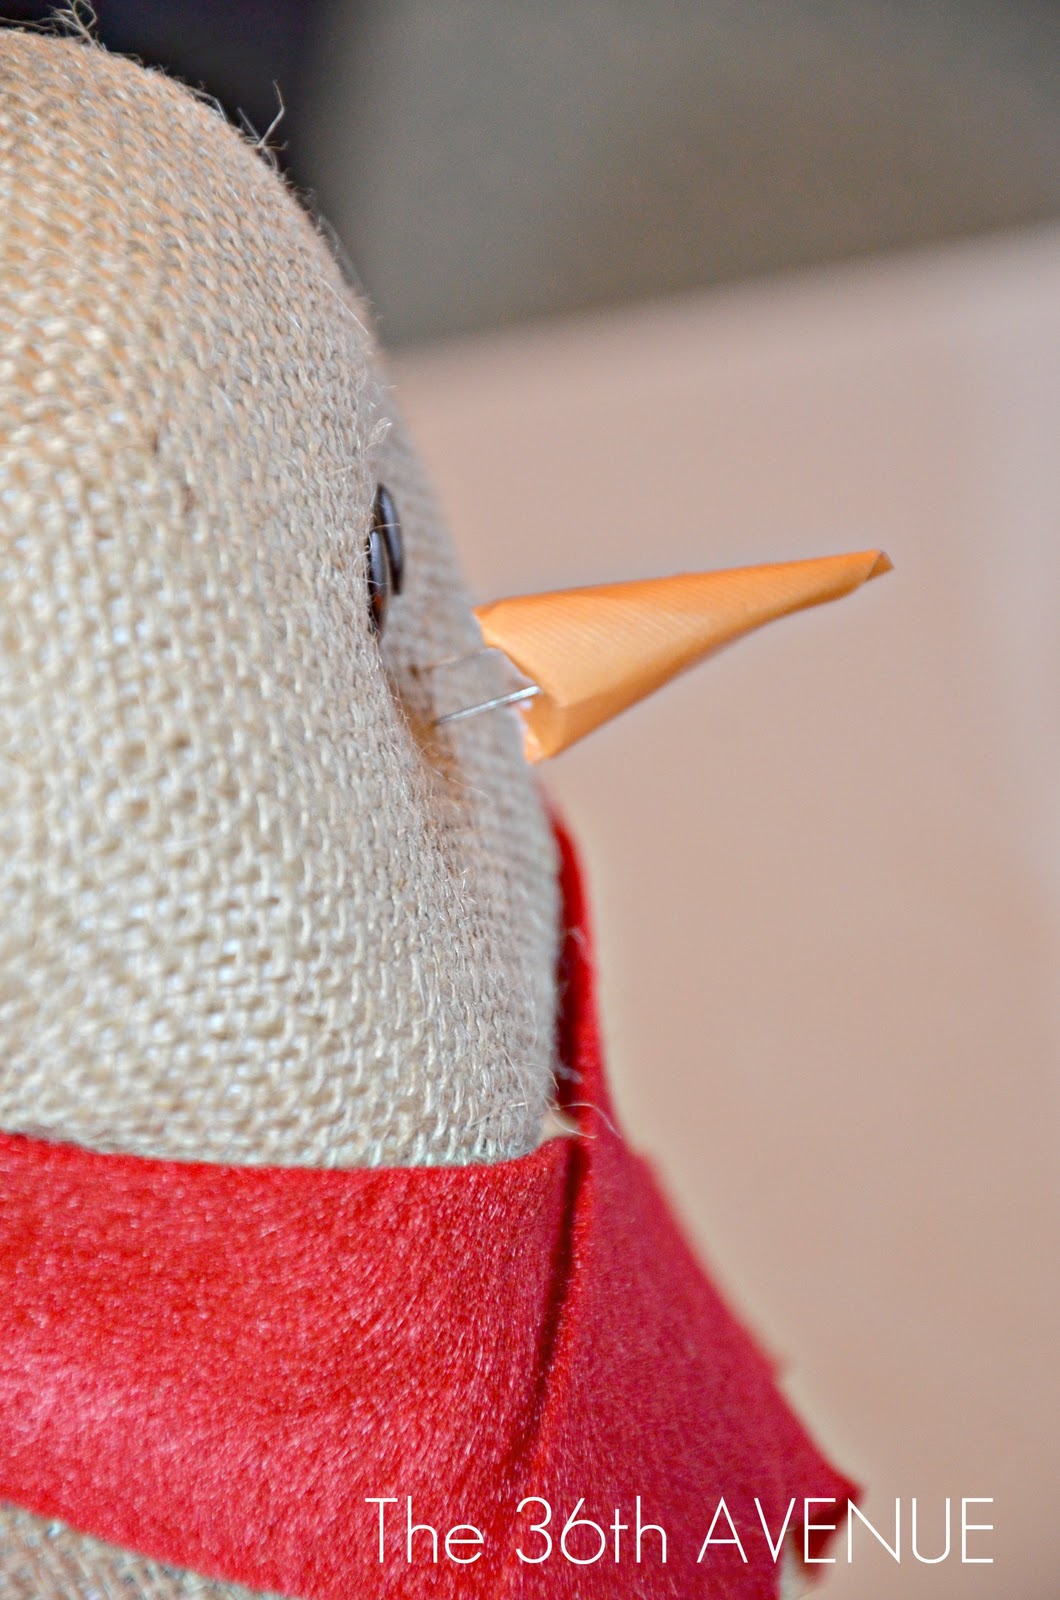
For the nose I just made a cone rolling some card stock.
I inserted a pin in each side from the inside out and then I bent the ends in as shown in the third picture.
Pin it!
EIGHTH
It is cold outside so I folded a piece of felt and pinned it to her head as you would do with a bandana…
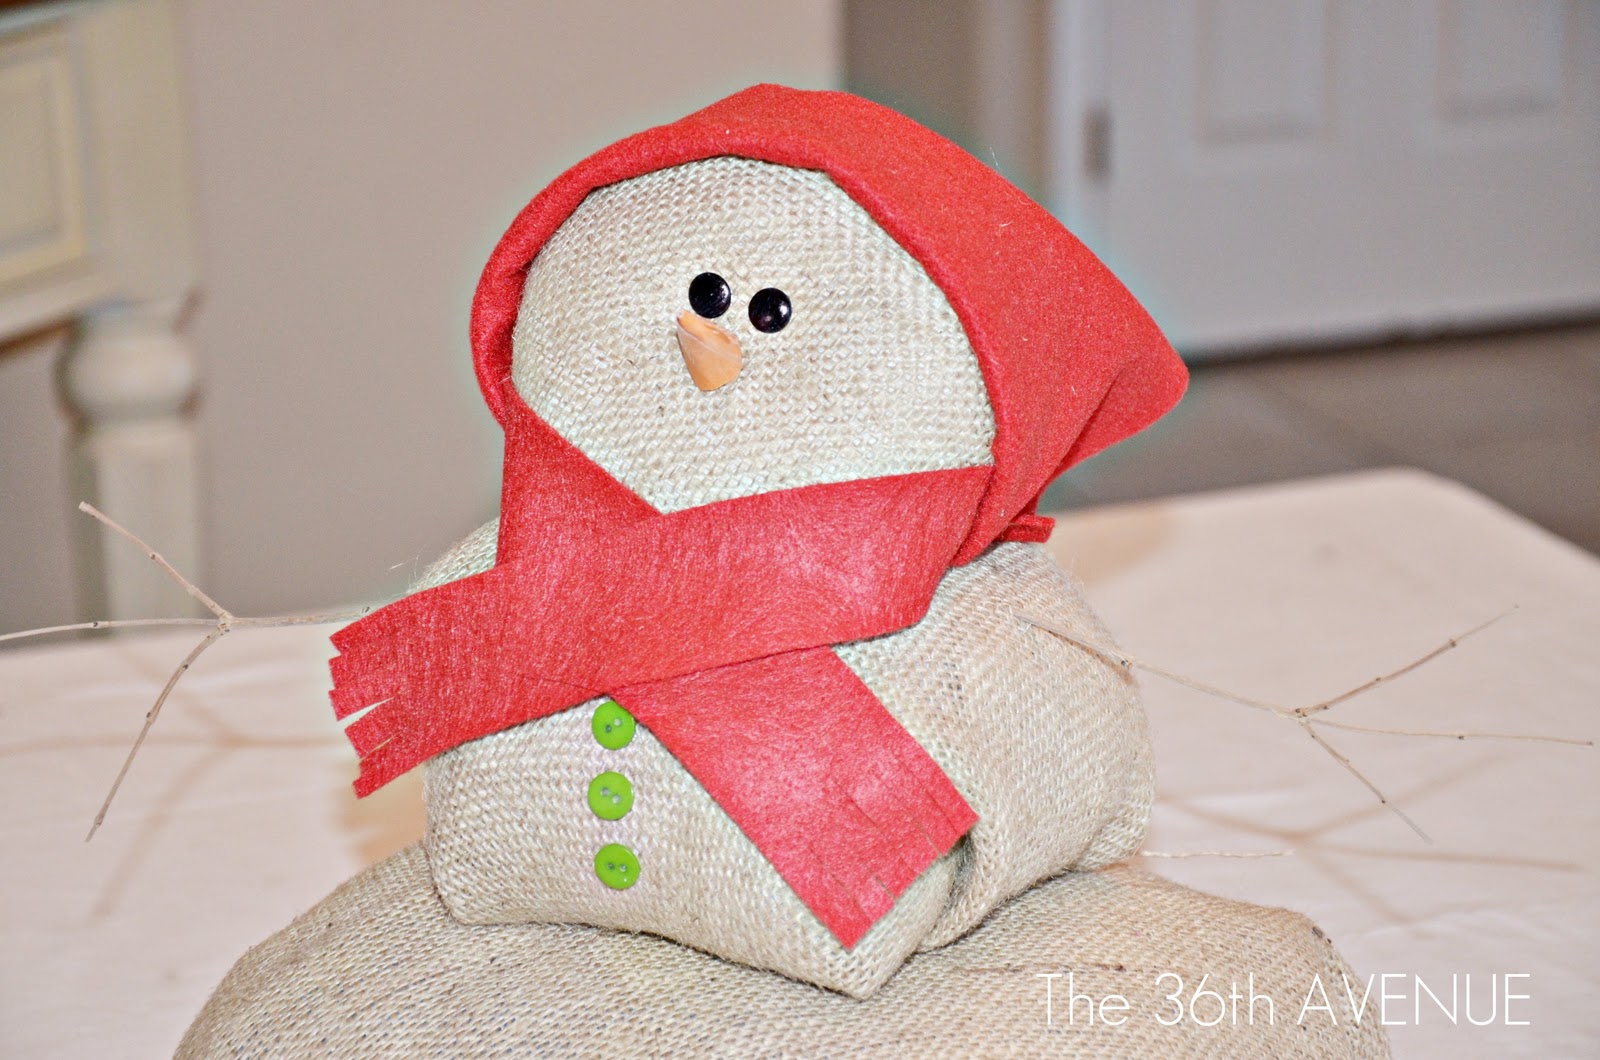
…and I added a little flower. Our girl was done!
We decided to put her right outside of our front door…

…All I have left to say is…
Let it snow… let it snow… let it snow…!
Besos!
Desirée
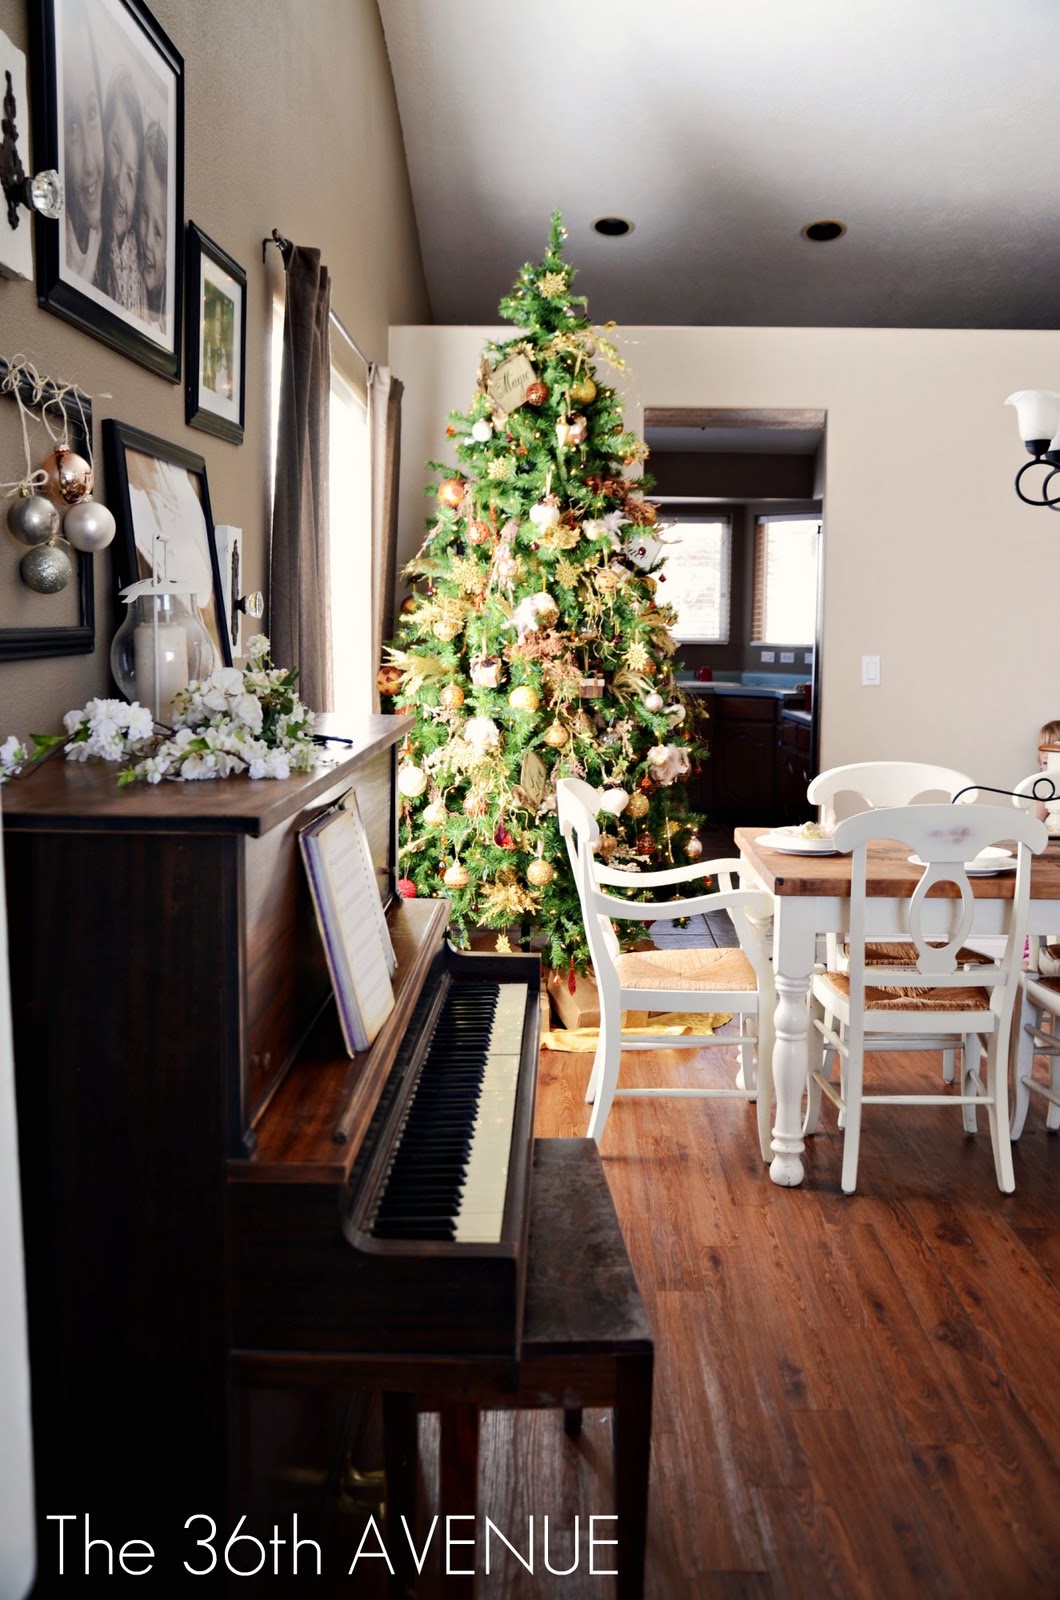
Christmas Time Is Here!
Click HERE to visit my Home!
…………………..
Now it is your turn!
You know what to do…
If YOU made it share it!
IF YOU DIDN’T MAKE it DON’T SHARE it!
-SHOPS OR GIVEAWAYS WILL BE DELETED-
PLEASE CLICK HERE to Button up and let others know that they can party here!

Have fun and inspire me to create a new STICKER 😉
Thanks for hosting. I love this fun colorful party and your happy stickers!
Thanks so much for hosting! I love your snow mama! 🙂
Thanks for hosting! I love that burlap snowman!
Thanks for hosting a fun party! I’m linking up with my Mudroom Style Entry at #213 and a fun lattice wreath. Have I told you lately how much I love your decorating style? I love your rooms. LOVE. They are so calm and welcoming! Have a great day,
Sherry
Sherry… good to have you at the party!
Thank you for leaving such a sweet comment my love!
oh my goodness, that is so stinking cute. i LOVE decorated with snowmen, and you are really getting double duty out of those. thanks for hosting, too.
WOW! Thank you so much for all of your comments!
…♥
I love your snow mama! What a great idea and a great way to transform an existing project 🙂 Thanks for hosting!
So adorable! I have a little bench outside my front door that needed something …. I will be making one today!
Thanks for hosting Desiree! Have a great day!
It’s another awesome day-and it’s one day closer to Christmas! I was able to link up my DIY Vintage Aluminum wreath-which is cheap & easy to do. I hope you enjoy it. Thanks for hosting the party once more!