
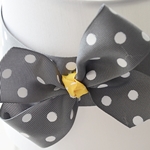
I have three girls that have for a mother a girly girl.
What does this mean?
I love bows and they do too.

You’ll be surprise of how easy it is to make a bow.
Let me show you.
MATERIALS
15” of ribbon for the main bow.
2” of ribbon for the bow’s knot.
Glue gun, scissors and small elastic bands.
TUTORIAL
1
The size of the ribbon will determine how big your bow will be.
I like to use a 15” long piece of ribbon.
The first thing you are going to do is to place the ribbon upside down on top of a table .
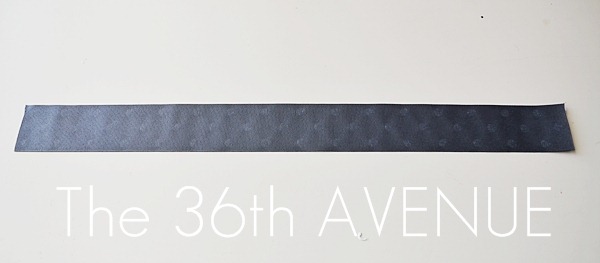
2
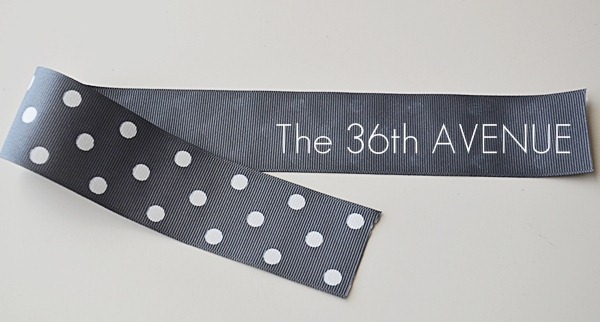
Bring the top left corner down, as it’s showed on the picture.
3
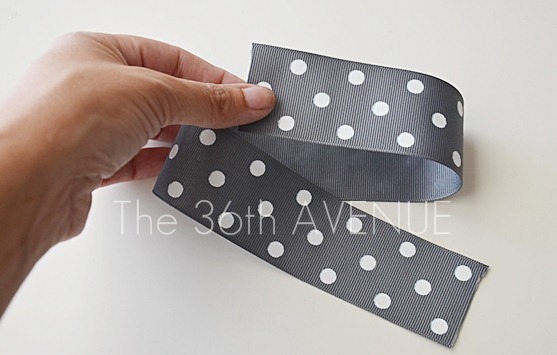
Then bring the bottom right corner up.
4
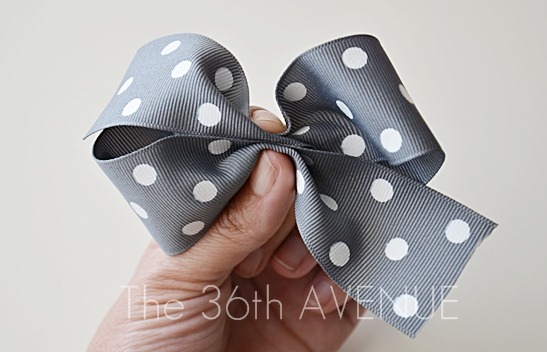
Press the ribbon together, holding the middle and making the shape of a bow.
5
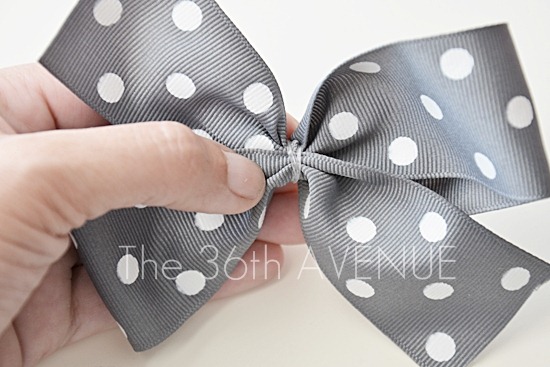
Hold the bow together placing an elastic band in the middle.
After it is secured you can adjust the bow making sure it looks just right.
6
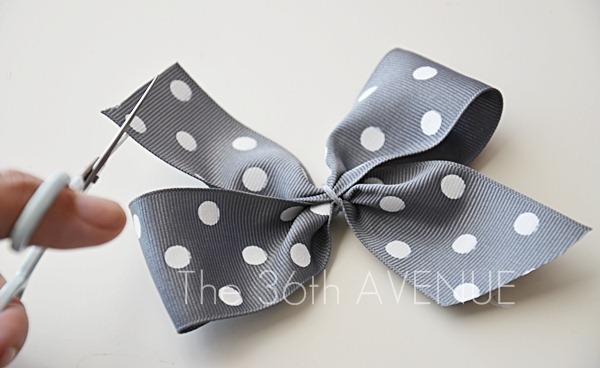
With the help of a pair of scissors trim the ends to your like.
7
Now it is time to finish it!
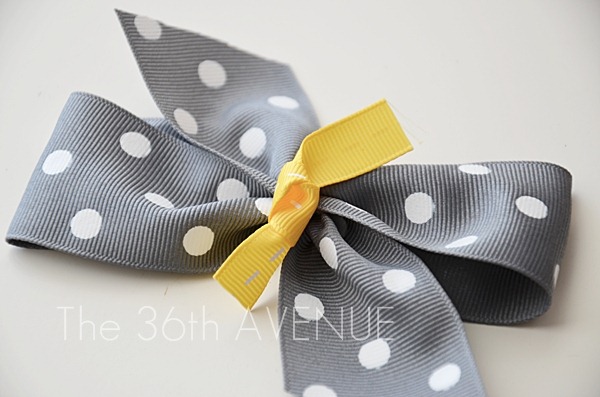
Use a 2” piece of ribbon and loosely make a knot with it.
This would be placed in the middle of the bow to cover the elastic band.
8
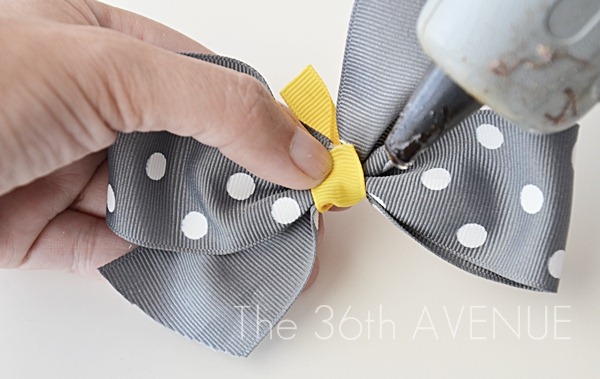
Keeping the small piece of ribbon in place turn the bow around.
Add a little bit of hot glue to the back of it.
Make sure the glue won’t touch the elastic band.
Watch your fingers, please don’t get burned!
9
Fold the other side of the ribbon on top of the hot glue.
Press it together to make sure it holds.
Then cut the excess ribbon.
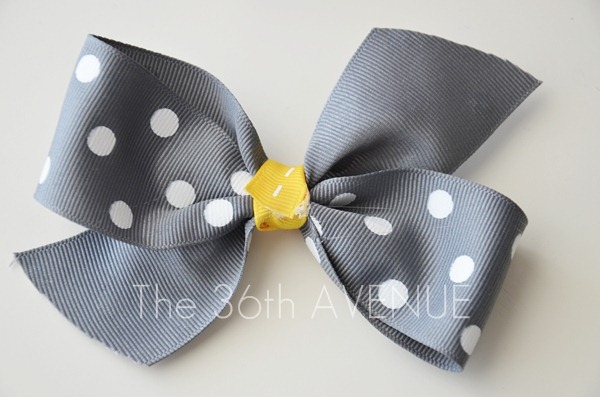
Turn it around… You are done!
You can add a hair clip on the back of it to decorate headbands or just embellish your hair.
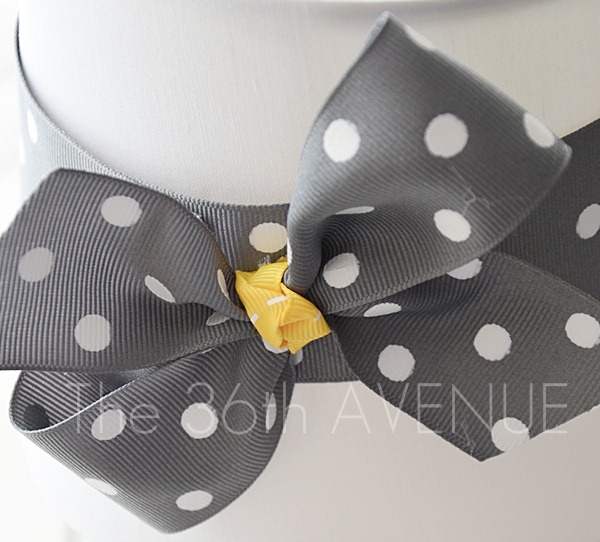
Wasn’t that easy?
I will be back tomorrow showing you what I’m using this particular bow for.
A fun project is coming up!
Happy Monday!
Besos
Desirée
Sooo glad I found this! I’m going to buy ribbon in every color possible to make a ton of these for my daughter for school! They wear uniforms, so her hair bows are really the only way to liven up an outfit! Thank you! 🙂
I make a bunch at the beginning of the school year… They are adorable!
wow… It was easy to make… Thanx Desiree… 🙂
You are welcome… Thank you so much for stopping by!
Yey I been trying to learn how to make cute bows for my girls with no success so excited to give it a try it looks super easy thank you! Love your tutorials! I’m from Monterrey Mexico! And I am glad to know a little bit of English so I can read your tutorials thanks for sharing it ! Love your recipes too!
Gaby, bienvenida a The 36th AVENUE.
Tu ingles es estupendo. Yo soy una española viviendo en Los Estados Unidos, asi que cuando quieras hablamos español.
Gracias por tu comentario y por pasarte for aqui.
Besos!
This was so easy…. No sewing… Love it…. Thanks
You are very welcome Kristie!
Such an easy way to make bows. I have always struggled! One silly question what are the elastic bands? Like tiny rubber bands? Sorry I am a bow newbie. 🙂
Sherri, yes they are the tiny rubber bands.
Have a Merry Christmas!
Thanks for the tutorial! I had never thought of using little elastics, that is so much smarter than just gluing it at that point or even sewing it, because you can readjust much easier to make sure it turns out right! So clever! 🙂 I cant wait for my ribbons to come in so i can start creating! 🙂
So I’m back to say that I just made one. And it was SO easy and SO quick! Maybe ten minutes? And that was with digging out my ribbon. Thanks again!
Jenna, after you don’t have to follow the directions you will make them in about four minutes. They are awesome.
great tutorial! I make the same bow but in a different way 🙂
I’m so grateful for this tutorial! I was just thinking that it was time for me to figure out how to make those big bows for my little girl. Thank you!
You are welcome… Have fun making your own!