

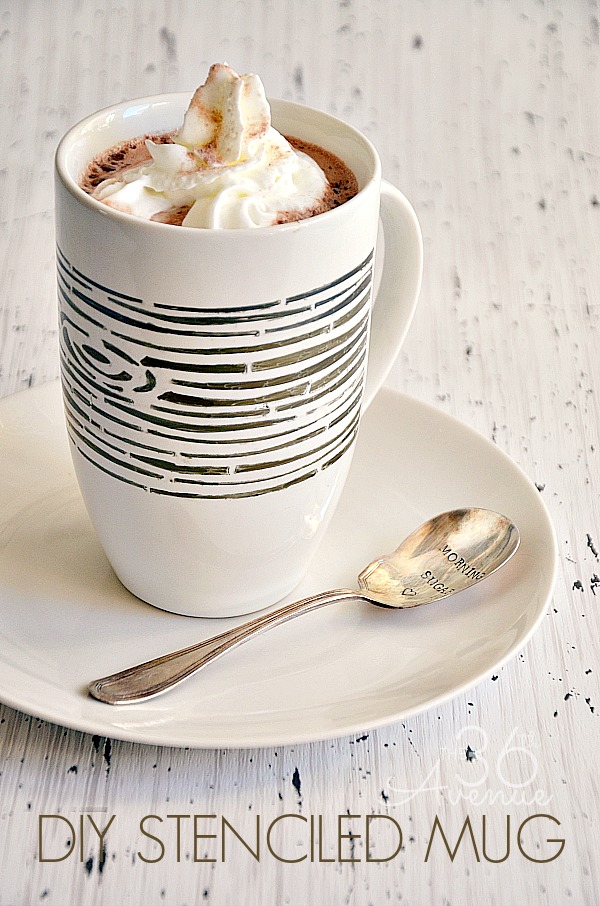
Hi friends! Today I am sharing how to make a permanent marker mug using a marker and this awesome stencil from the new stencil line by my girl Amy from Mod Podge Rocks. This is such an easy diy project and I am loving the modern wood grain look… Check it out!
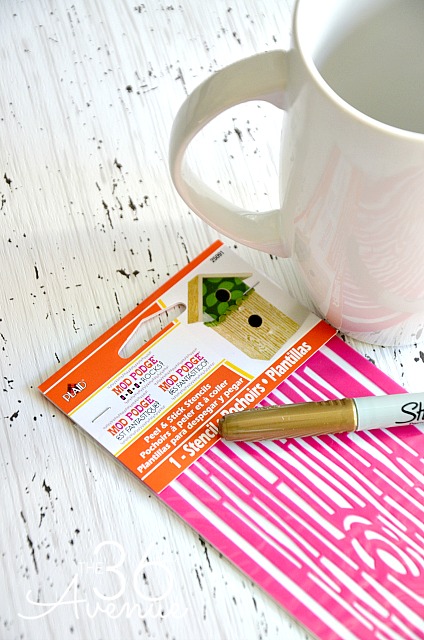
MATERIALS
Mug
Mod Podge ® Rocks! Peel & Stick Stencils – Wood Grain
Permanent Marker
TUTORIAL
1
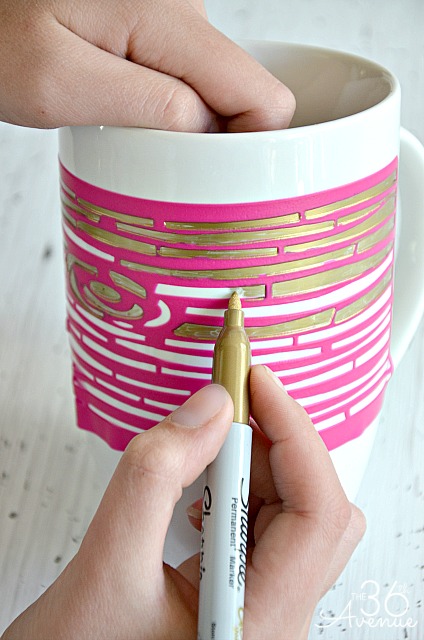
The first thing you want to do is place the wood grain stencil on top of the mug.
The stencil will stick to the surface so you don’t have to hold it… How awesome is that?

2
The second step is as easy as coloring inside the lines with your permanent marker.
I used a metallic gold color for mine.
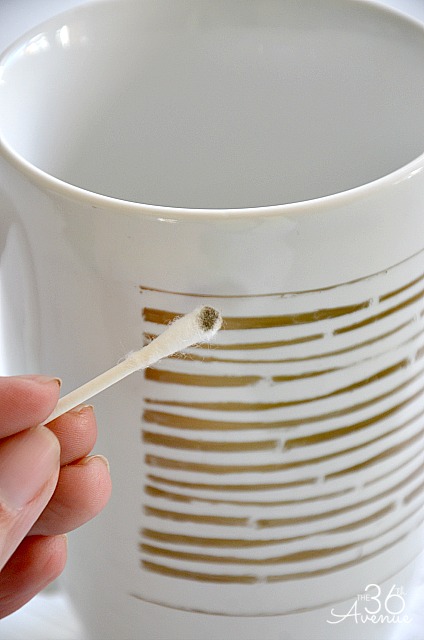
3
If you make a mistake dip a Q-tip in alcohol and gently erase the areas that you don’t like.
4
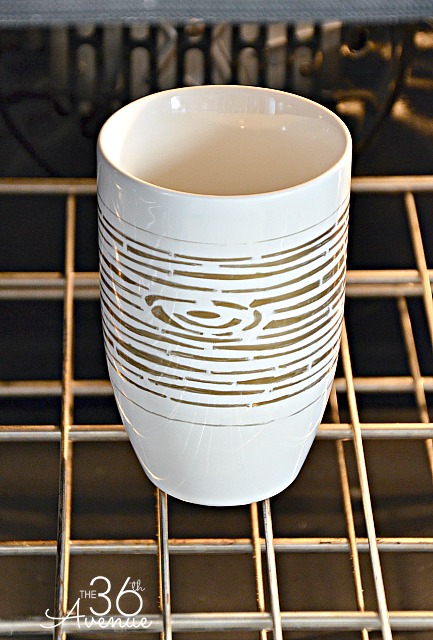
When you are happy with the look it is time to bake the design so becomes permanent.
Place the mug inside of the unheated oven and heat it to 400˚.
After the oven reaches 400˚ bake for an additional 30 minutes.
Turn off the oven and let the mug cool down inside until it reaches room temperature.
This will prevent the mug from cracking due to rapid changes of temperature.
You are done! I love the wood design!

This was such an easy and quick project. You should give it a try!
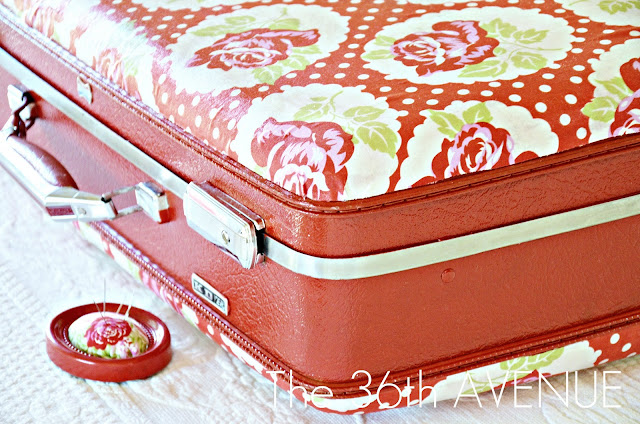
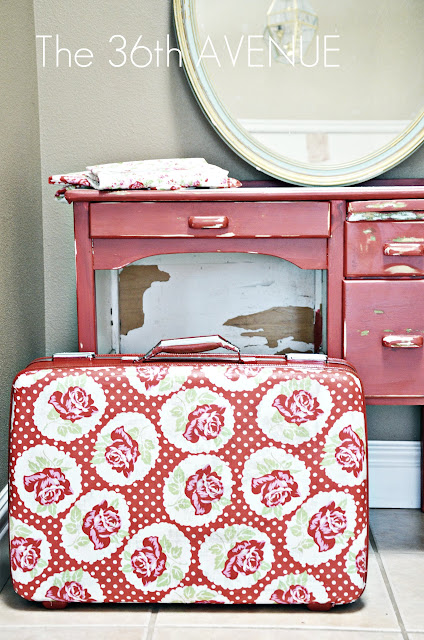
If you like this project you may want to also check out HERE how to give a suitcase a new look.
I had so much fun during this DIY Decoupage Suitcase Makeover!

thanks can I do this in microwave?
Great use of that stencil.
Love the mug! So cute and easy! Great job
Thank you so much Summer!
I was going through the spreadsheet looking to see what people had done with the stencils and saw this…not sure how I missed it when you posted it! I love the idea! (I’ve always wanted to try the mugs like this…maybe I’ll use my key stencils and give it a try!)
– Brooke –
okay this is so awesome. i love how the marker color changed a little after baking!