

Halloween Decorations don’t have to be expensive. DIY Halloween Crafts are so fun to make and today I’m sharing how to make a Halloween Village in minutes for ten dollar! I love this!

©the36thavenue.com DO NOT COPY, SAVE, OR PASTE THIS COLLAGE IMAGE!
You gotta to love the Dollar Store!
Where else can you get a Halloween Village for $10?
Check out ours… My kids love it!

TUTORIAL
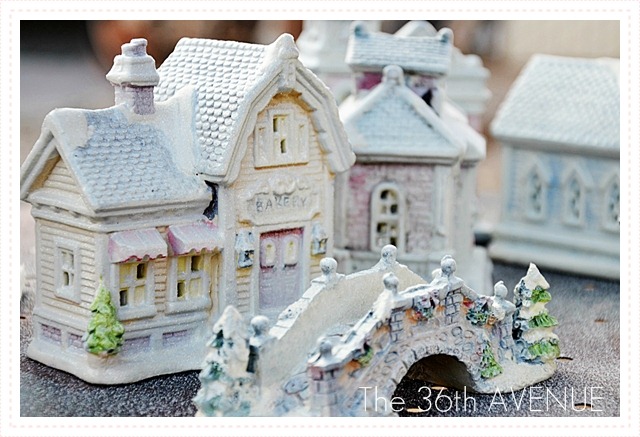
At the Dollar Store they now have their Christmas houses, trees and little ceramic figurines.
Get as many as you want to be part of your village.

We chose the people that could look a bit suspicious.
The man caring a bag on his back, the people burying something.
Eek… so spooky!

The first thing you want to do is to spray paint everything in black.
The faces of the figurines are scary as they are so we put some play dough on top of them to protect them from the paint.

After, it was time to turn the village dark.
Spray paint everything, the houses, the trees, the people.
Don’t worry about painting it perfectly.

To give the houses and the figurines some dimension I used Glitter Gloss Enamels.

I didn’t paint the entire houses with the enamel, just a little bit here and there to highlight the roofs
and the frames of the doors and windows… the same with the figurines, just a few highlights.
Look at the people, they don’t look so sweet anymore.
Boo Waa Haaaa Haaa Haaa!

At this point all we had to do was to display the Village.
Make it look realistic, use boxes and candle holders to make different levels.

Add fake spider webs to give the effect of fog and lights to create shadows.
We even added some glue dots to the plastic bats we found also at the Dollar Store.
{ They were bat rings, just cut the backs off of them}
So? Are you going to make your own?
So spooky!

Last year I did something similar for Christmas.
I gave a Dollar Store Christmas Village a makeover.
I loved how they turned out. So pretty.
You can see the tutorial for our DIY Christmas Village here.
Don’t you love Halloween?

We do!
Besos!
Desirée

These are AWESOME! I’m definitely going to try this!
This is amazing! So fun and festive and of course very spooky. I hope you will link this up to my Wickedly Creative Halloween Ideas Party if you haven’t already.
http://www.itsybitsypaperblog.com/2012/09/2012-wickedly-creative-halloween-ideas.html
Hello, save me a ton of money! You’re brilliant! You better believe I’m headed to the dollar store today!
Stacia@http://feathersandsunshine.blogspot.com
Good for you gir! Have fun!
Awesome. Absolutely love this idea!
Thank you so much!
Thank you so much for this idea! Love it … my houses are drying 😉
Really? I love that!
Have a wonderful weekend!
Thanks for the tip, I just started mine today. I bought and spray painted 5 of these tiny little houses and the transformation is incredible! Black spray paint just adds a touch of creepy to any object, even a ceramic bookshop. >:)
How awesome! I am so glad you gave it a try.
So amazing!! You are a creative genius!! Can’t wait to tackle this little project.
I got me some Christmas houses that will soon be spooky houses. ~~Grin~~ Did you actually say you got these at the Dollar Tree or at a Dollar store? I got mine at a Dollar Store (the one with yellow & black sign) for a dollar each also. Cant wait to get painting on them… its all in a stash ready & waiting. 🙂 Thanks for sharing this & all your creative ideas.
Robin, they are from The Dollar Tree. My kids call it The Dollar Store.
LOOOOOOOOOOOOOOVE this!!! I have a few spooky houses that I’ve purchased from Target and Pier 1 in the past, but I love the idea of more!
Creative Genius!!! If I didn’t have to wait for my kids school bus, I would be at the dollar store right now! Did you use a flat or glossy black paint? My kids are off school on Friday, so I think this will be our project. I am going to stock up so I can make your Christmas Village too. Thank you for the inspiration (and the savings)!!!