
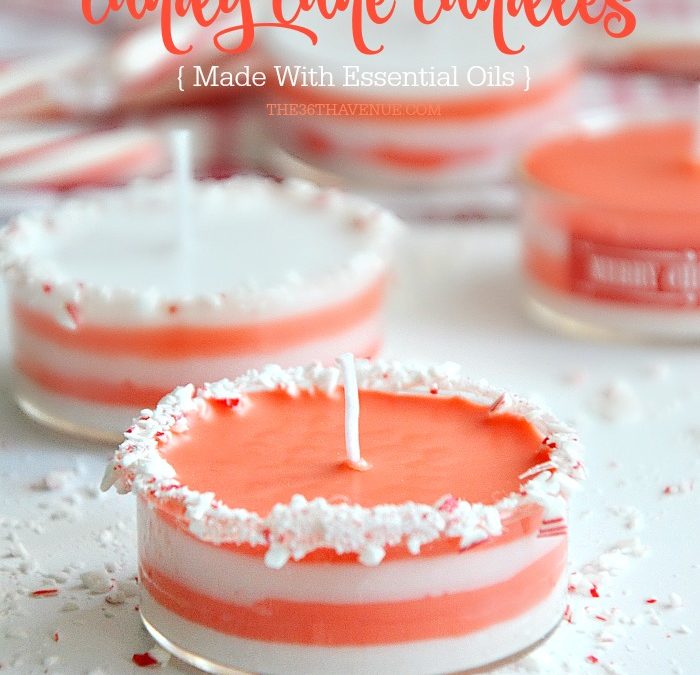
Homemade candles are fun to make and fun to give! You may be surprised at how easy it is to make a candle using wax and essential oils . My favorite part about this project is that you can do it in the comfort of your own kitchen and it smells delicious. Today I’m going to show you how to make these cute Candy Cane Candles using peppermint essential oil, soy wax, and real candy canes. These homemade candles make the best handmade gifts and they are perfect for the Holiday Season!

After making these I decided I may have to keep them for myself and make another batch for my friends and family!
Can you see yourself relaxing while taking a bath under the delicious smell of peppermint? A girl can always dream… Right?
Ready for the tutorial? Here we go!
MATERIALS
My favorite Young Living Peppermint Essential Oil – Find It HERE
Soy Candle Wax – Find It HERE
Candle Wicks – Find It HERE
Red Candle Dye – Find HERE
Candle Molds – Find HERE
Wax Pouring Pot – Find It HERE
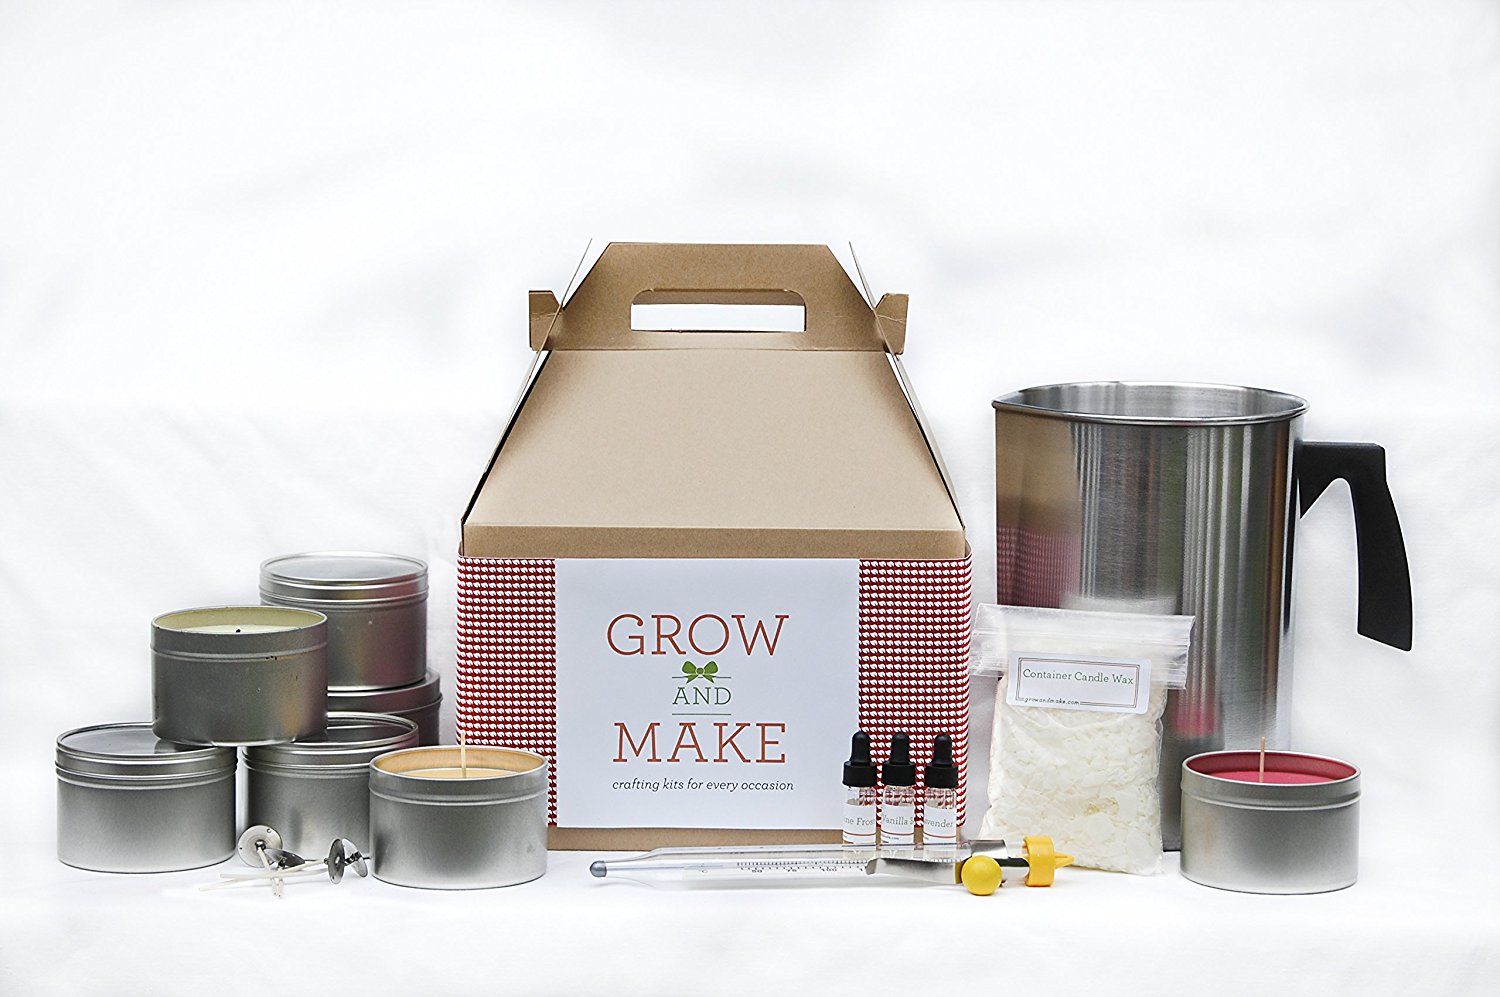
Or you can also ask Santa for this cute DIY Candle Kit HERE!
HOW TO MAKE A CANDLE
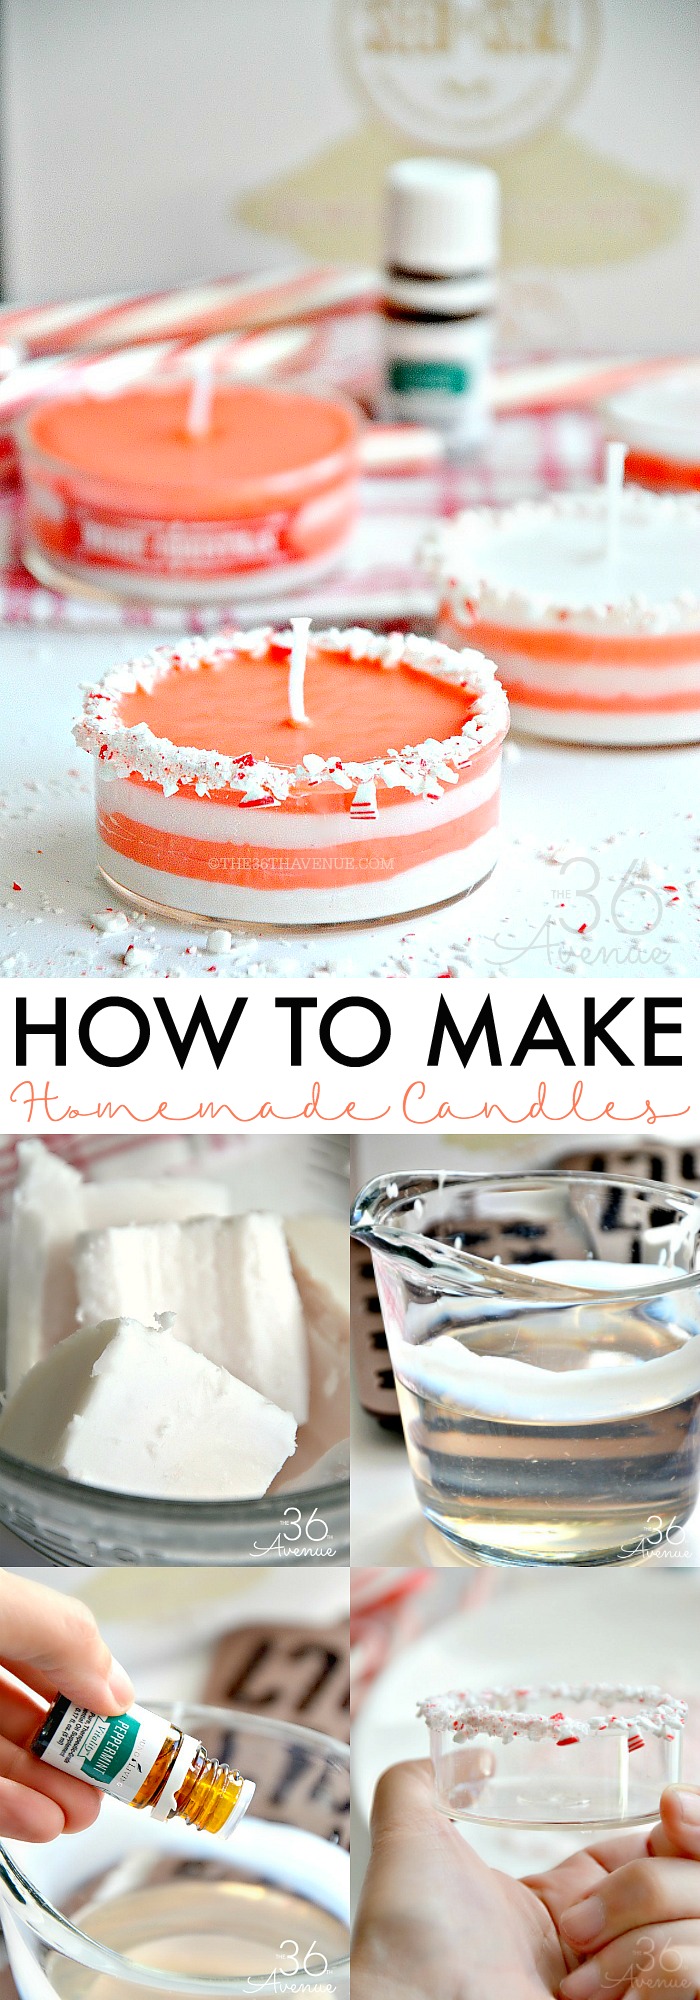
1
Melting the Wax & Glueing the Wick
The first thing we are going to do is melt the wax! Most waxes you buy for candle-making will come in pellet form, making it much easier to work with, and much quicker to melt. If it does come in a block use a sharp knife to chop it into smaller chunks, just like I did! I like to work with a half pound of wax at a time. This amount will give you about 8oz. of liquid wax.

Make sure to read and follow the melting instructions for the wax your purchase. I like to melt mine in the microwave for smaller candles like the ones I made for this post and use the stove top for larger candles. While the wax is melting, we are going to adhere the wick to the container. If the wicks you purchase don’t have a sticker you can use super glue to adhere the wick to the container. Let it sit for just a couple minutes until the glue dries, it’ll be stuck solid to the bottom!

2
Oil & Dye
Now that the wax is melted we are going to add the Peppermint Essential Oil.
Make sure to click HERE to take advantage of our Black Friday Special… You are going to love these oils!

I like to use five to eight drops of oil for every cup of melted wax. Keep in mind that each wax is different and requires different amounts per pound of wax, so follow the instructions that come with it. Add as much coloring as you want to achieve the color you are looking for! Use a popsicle stick to mix the melted wax, oil, and dye together!

3
Pouring the Wax
To decorate my containers I crushed a candy cane in tiny small pieces.
To decorate your container simply coat the rim with hot glue and then dip the rim into the crushed candy cane pieces.
Adorable and festive!

Now it’s time to make the candles! I recommend to pour your wax into the candle molds or containers when it is around 130-140 degrees. Don’t forget to keep a constant light hold on the wick so that it stays in the center of the container. Slowly pour the melted wax into the containers. If you are going to use more than one color for your candles make sure you let each layer dry before you add a new one. When the wax is completely dry you’ll want to trim it down to just about 1/4″!

You are done my friend!

Don’t forget your supplies!
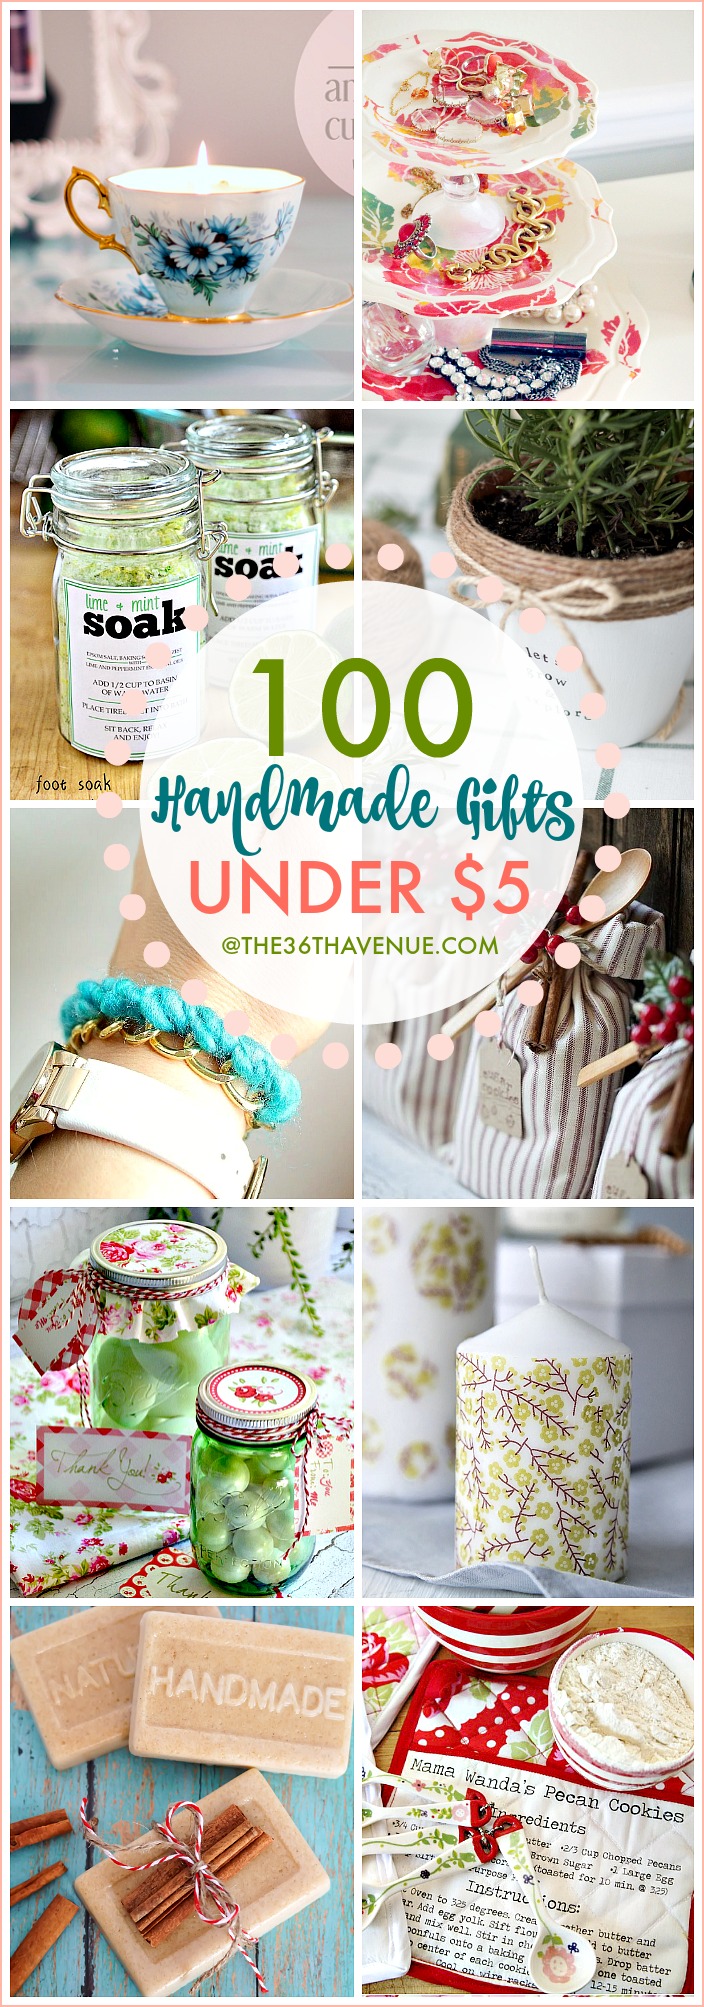
Here are some other Handmade Gift ideas that I love!
100 Handmade Gifts Under $5 HERE
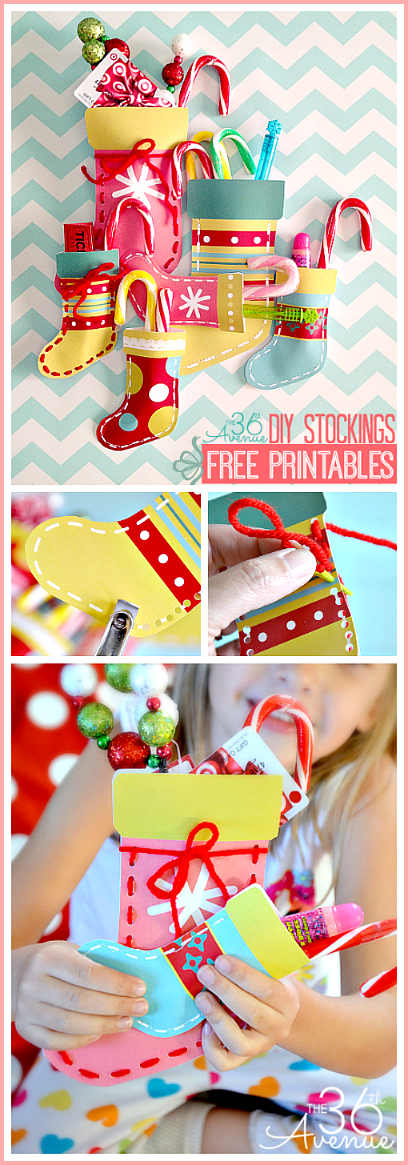
Christmas Stocking Printables HERE
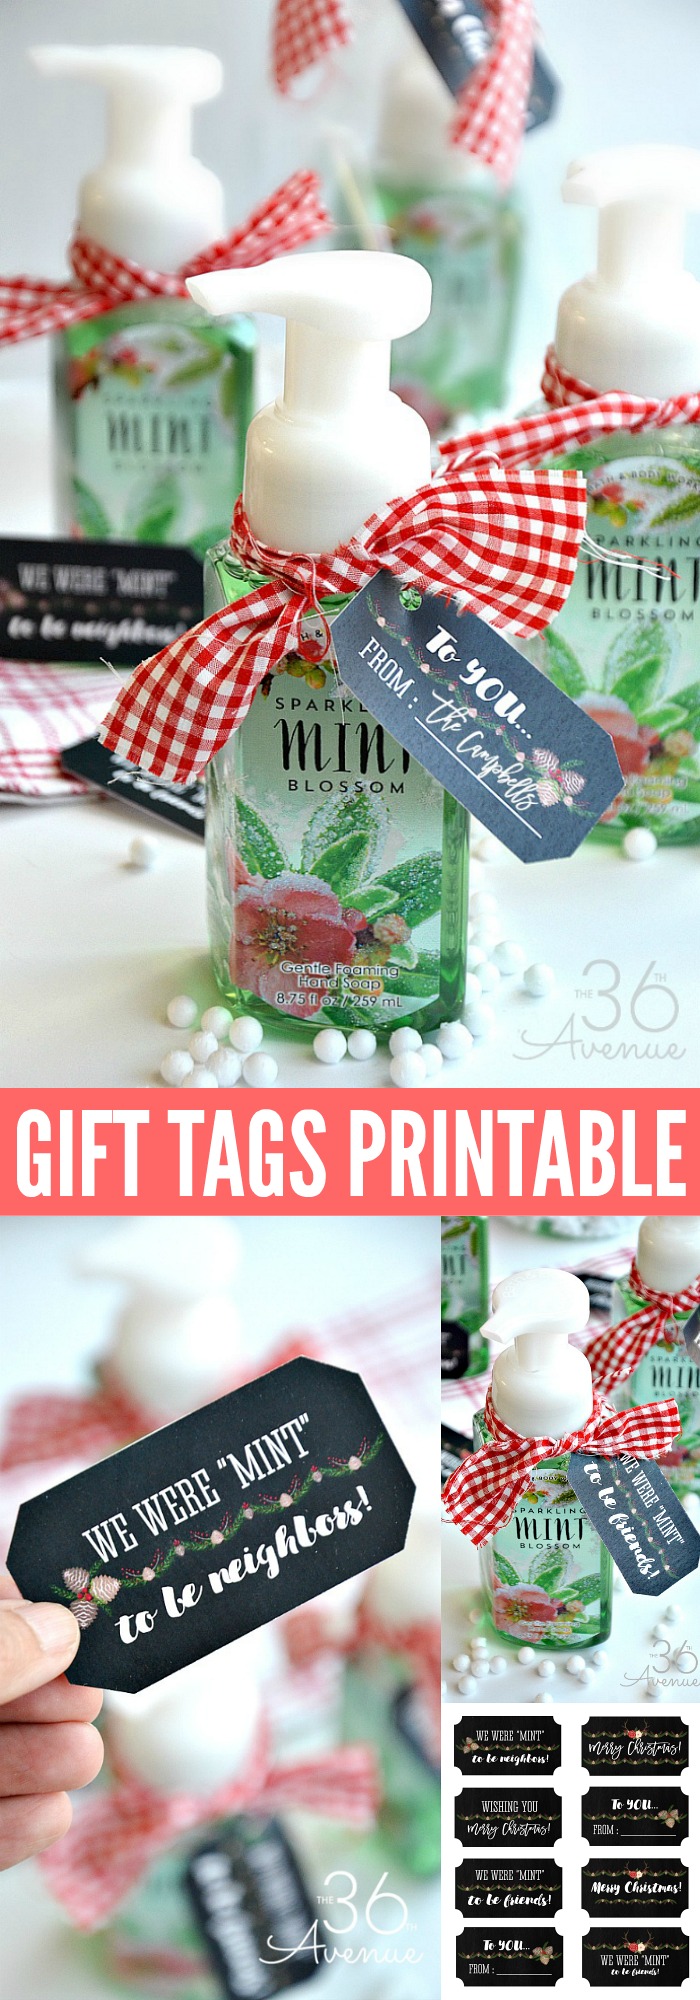
Mint Hand Soup & Free Printable Gift Idea HERE
Thank you so much for stopping by today!
Wishing you all a Merry Christmas!
XO
Desirée
{This post contains affiliate links. Read more about it here}

I love how they turned out. Great tutorial, thanks