
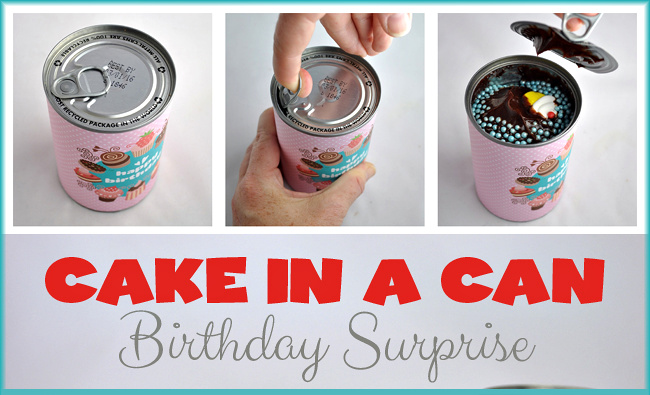
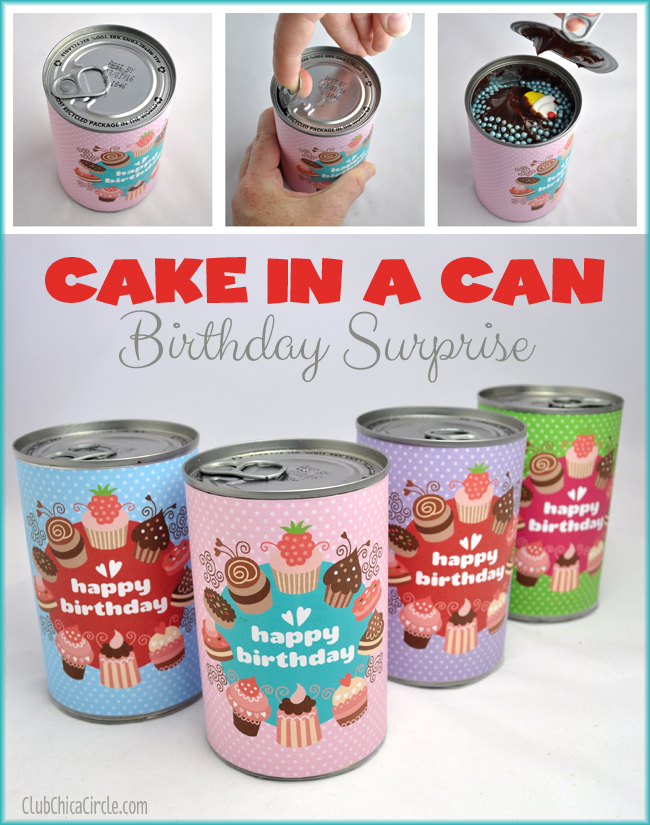
Cake in a Can – Step by step tutorial of how to make a cake in a can. This is the perfect homemade dessert to celebrate your next kid’s birthday!
Hello all! I’m so excited to be here! I’m Pauline, the crafty maven from Club ChicaCircle, and I can’t wait to share my “Cake in a Can tutorial” with all of you. So, the question I have for you is: “How to take a can of fruit and turn it into a yummy frosted cupcake in a pop-top can surprise?” It’s not magic, I swear, just a little bit of craftiness.
I recently surprised my niece with a surprise birthday can for her birthday. Because of school, we are never able to celebrate with her in person. Last year I sent her and her brothers each a “birthday in a box” filled with everything they would need to have their own mini-party celebration. This year, I mailed a birthday cake surprise…. in a can!
If you have never tried to bake a cake in a can, it’s actually easier than you think. I’ve seen it done on Pinterest before, but I wanted to send the whole can with the cake surprise inside.
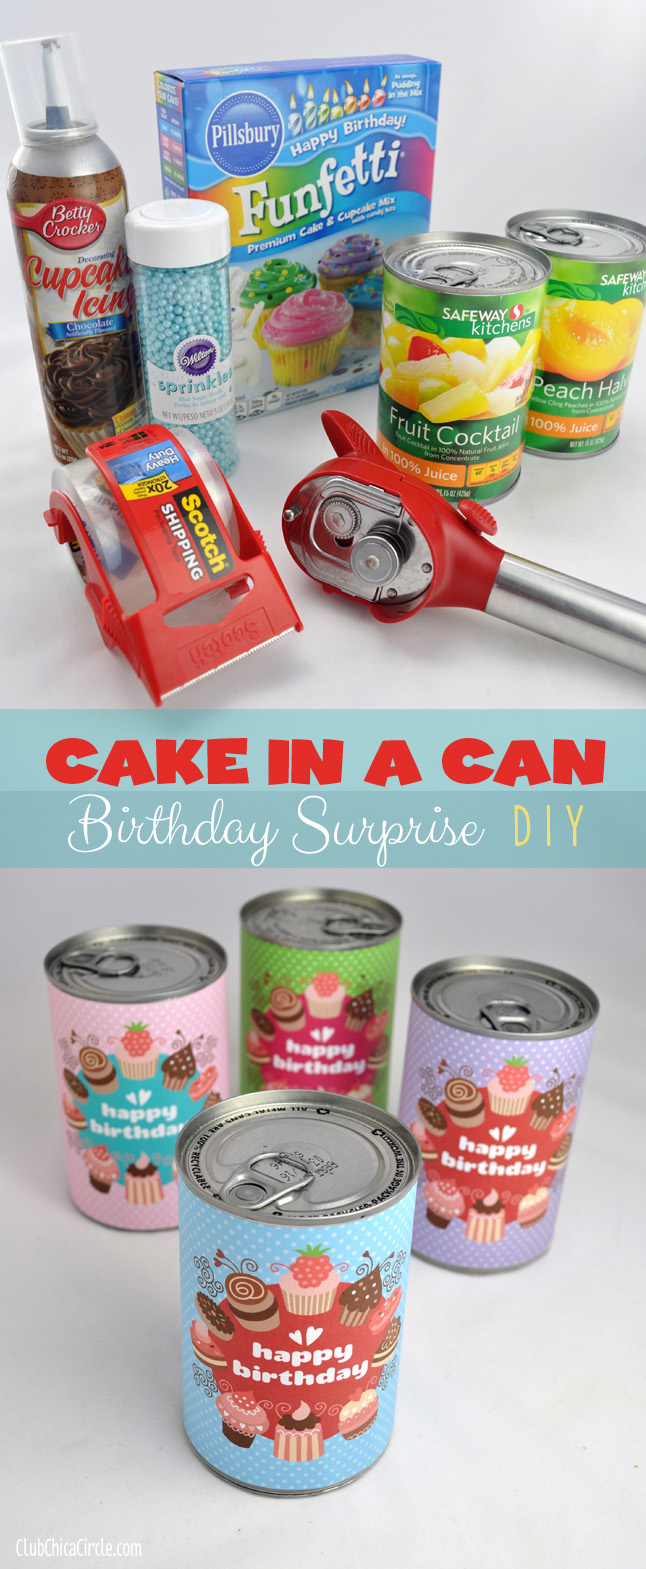
First, you will need to start with a can that has a pop-top already. Secondly, use a safety can opener that doesn’t leave a sharp edge. This is the exact can opener I used, but I know you can find it in different brands as well. The trick is that it safely and easily removes lids creating a smooth edge that is suitable for resealing with a plastic lid. For our purposes, it is perfect for resealing the bottom of the can to create the surprise.
Canned fruit with a pop-top is a good choice to start with. I used 15 oz cans of peaches and fruit cocktail. After I emptied the fruit and saved it to pack in my daughter’s lunches, I cleaned and dried out the cans to prepare for baking in.
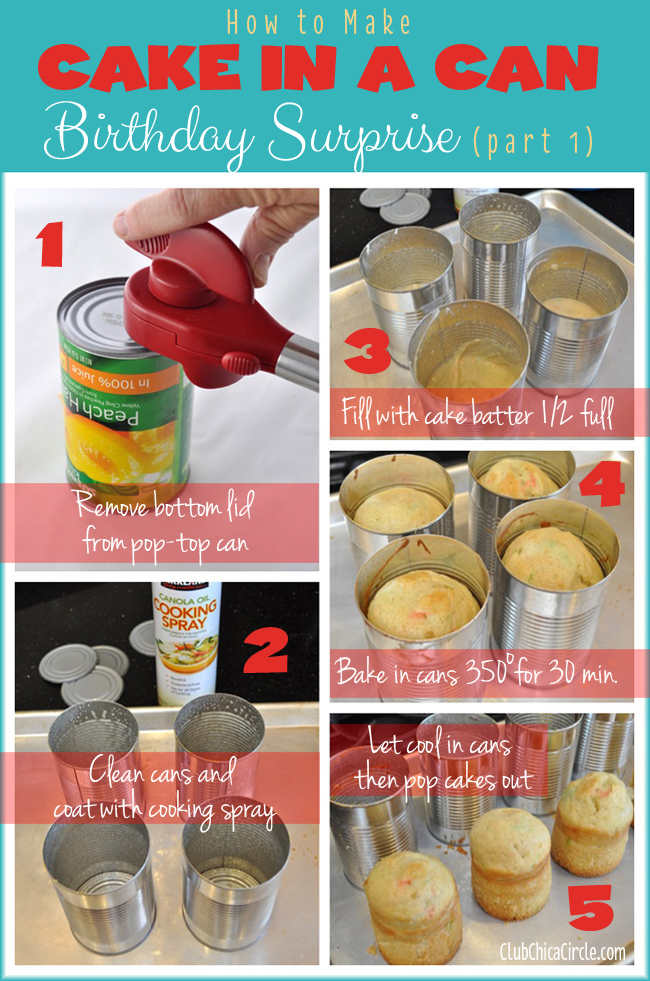
Here is the surprise trick: remove the lid from the BOTTOM of the can, leaving the pop-top intact. Don’t forget and save the bottom lids!
NOTE: Remember before you bake anything inside of a can to make sure that the metal is safe to bake in.
Look for food manufactures that don’t use BPA lined cans for this type of project.
You can always bake a cake in a 9×13 pan and use a clean can to cut the cakes.
After the cans were clean and dry, with bottom lids set aside, I made sure to coat them with cooking spray.
I mixed up some Funfetti cake mix and filled the cans about 1/2 full. I baked them in a 350-degree oven for about 30 minutes, or until golden brown.
Before popping them out of each can, I let them cool slightly first. You can use a knife if necessary around the edges to loosen, and then pop them out to cool completely.
Now for the crafty part. I cleaned and dried out the cans again before assembling my birthday cake surprises.
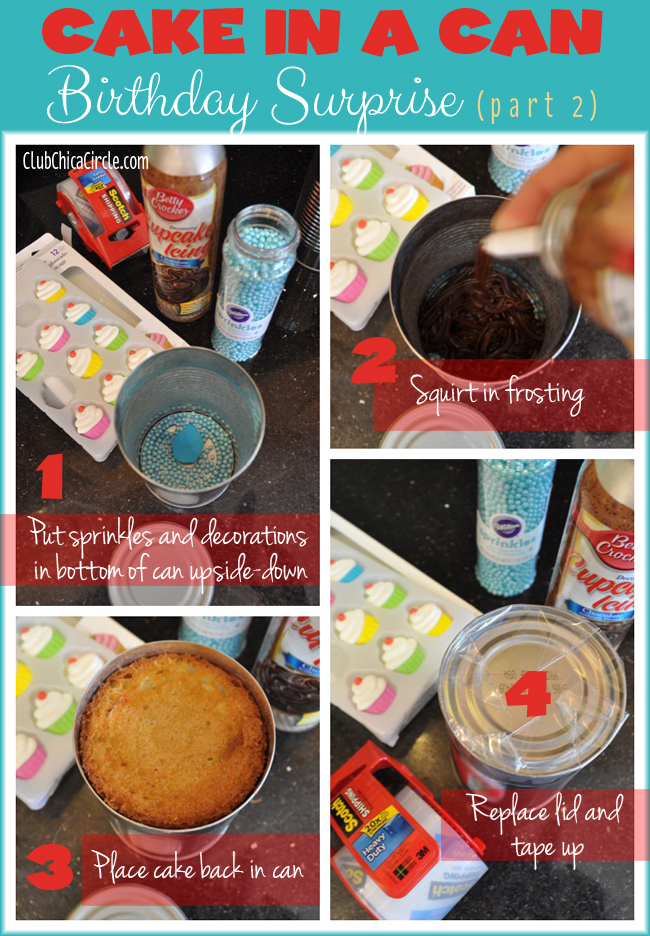
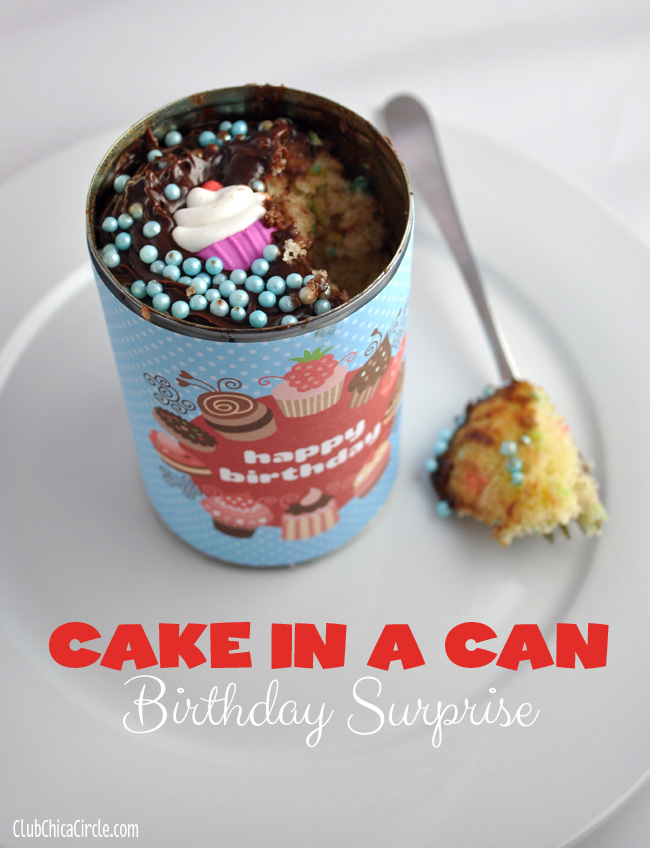
I put colored sprinkles and sugar cupcake candy decorations (upside-down) on the bottom of the can. Note: I put the cupcake candy decoration upside-down so that it would be at the top of my can when opened.
Then I squirted in chocolate icing on top of the cupcake decorations at the bottom of the can. I used just enough to cover the decorations and fill the bottom of the can.
Then I placed the cooled cake back into the can.
Finally, I placed the lid back on and used clear packing tape to secure. Because I was putting food back into the can, I didn’t want to use glue to reattach the lid. I felt that the tape option was safer.
Time for wrapping it all up and completing the birthday surprise. I created four different free printable birthday labels to wrap the cans in.
Download and print your own copies here:
Free Printable Cake in a Can Happy Birthday Labels

Print and cut out the labels and wrap them around the finished cake cans. I used pretty washi tape to secure, but clear tape would work too. Then, deliver or mail to someone for a sweet birthday surprise. All they need to do is pop the top and enjoy the cake!
Surprise!
I mailed one off to my niece and told her I wanted to watch her while she opened her surprise on Facetime. Her facial expression was priceless! She thought I had sent her a can of beans!
When she popped the top, she was pleasantly surprised and gobbled the cake right up!
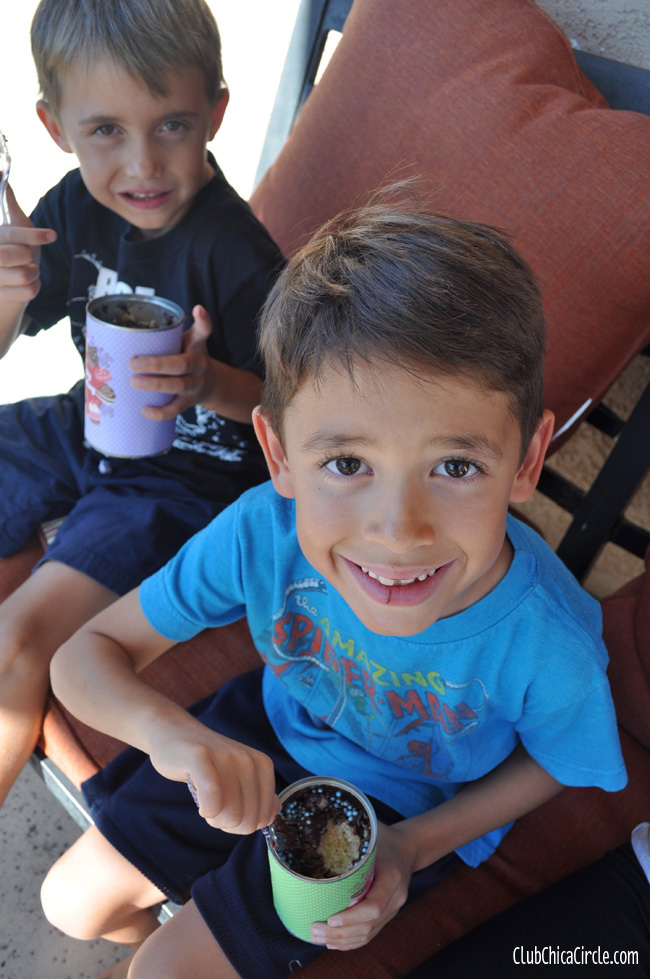
I tested out the cupcake-in-a-can surprise on my tween and two of our neighbor friends.
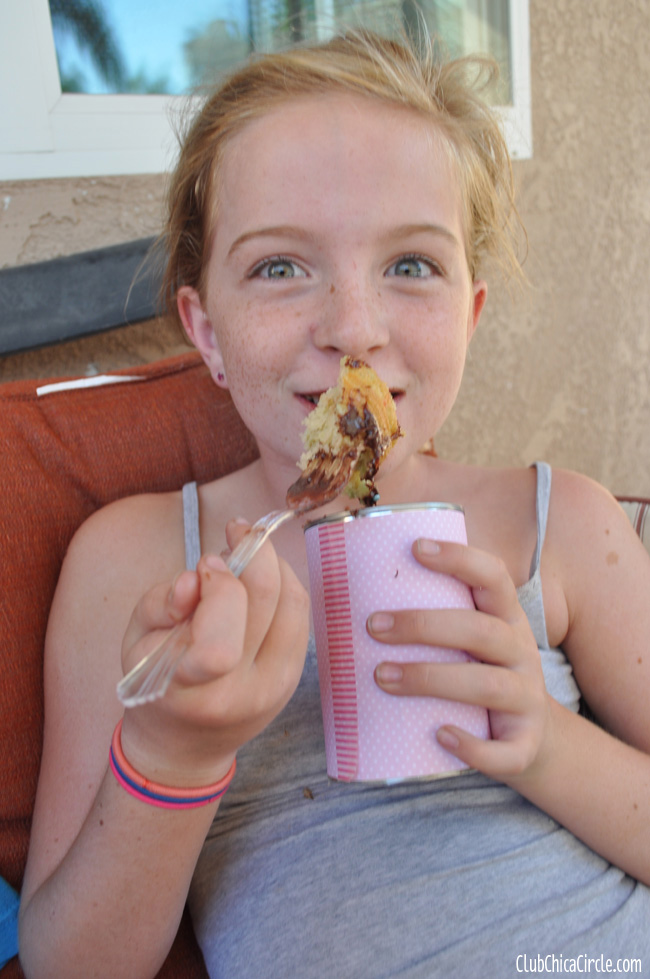
I gave them each a can and a fork and the result was a two-thumbs up!
This was such a fun birthday surprise to make and to send! Clean-up was so easy too. Once they were done with the cake, I just needed to recycle the can.
Try out this yummy birthday surprise craft on someone special. So easy to transport and enjoy!
Speaking of a twist on a sweet treat for a gift, check out this Cupcake Onesies Gift Idea, perfect for a baby shower.

Take care of any leftover Halloween candy in these cute upcycled owl jars.
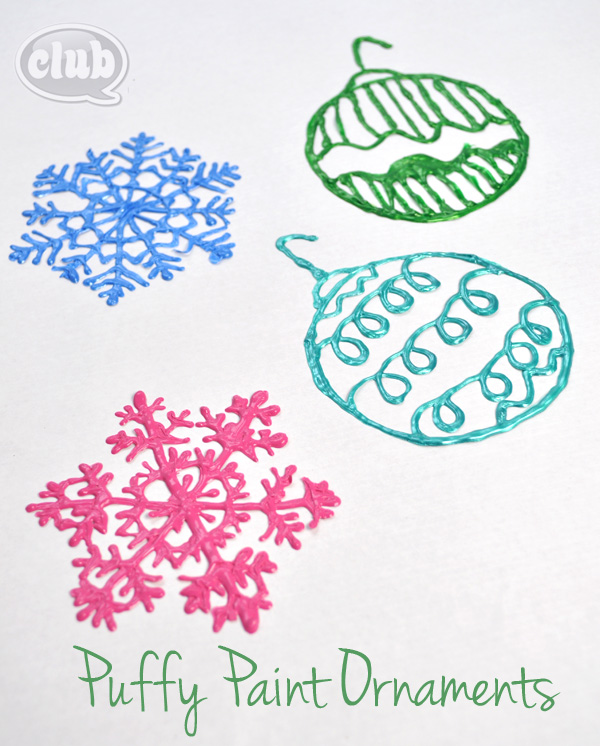
And for the holidays, make your own puffy paint window cling ornaments.
Thanks so much, Desiree for letting me be your special guest today! Come visit me at Club ChicaCircle where I love to make homemade gifts, share cute printables, and blog about my crafty escapades!
![]()
Have a great day everyone!
Pauline and Desirée

I made 24 of these and secretly brought them along on a hike to surprise one of our hikers for their birthday. It was a wonderful memory made as his family didn’t celebrate his birthday well that year. Also, I’m planning on bringing these to celebrate our son’s 25th birthday on a mountain top in Washington State. Thank you for this awesome idea!!
Yay!!! I’m so glad you like it!
XO
I love this idea!! I’m making a couple cakes for my sister. I’m also using bigger cans to send her donuts and cookies☺️
How fun!
very cool thank you for sharing it with us
Thank you for visiting with us!
I’m assuming you mailed these. I am wondering about heat. I live in Florida and want to mail some to my dad in IA. We still have temperatures in the 90s. What about the frosting?
I am not able to open the printable birthday cake in a can labels. It might be user error, but Adobe says there is no file at
http://club.chicacircle.com/wp-content/uploads/2013/09/Free-Printable-Cake-in-a-Can-Happy-Birthday-Labels.pdf
I was wondering if it’s still available.
Thanks … love this B-day cake idea BTW!!!
I just tried and it’s opening for me… You may want to try from a different computer.
Thank you so much for stopping by!
Love this idea! I’m definitely going to try it for my nieces on their next birthday! One question, when mailing do you package it in a special way?
Hi Kristen,
I would ask my local shipping company since they all have different policies.
Have fun making them!