
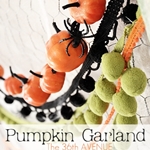
Have you decorated for Halloween yet? I am showing you today how to make a super cute, inexpensive and easy garland, to motivate you all to start decorating for this fun coming season.
MATERIALS

Ribbon.
Screw Driver.
Bobby Pin.
Acrylic Black Paint and brush.
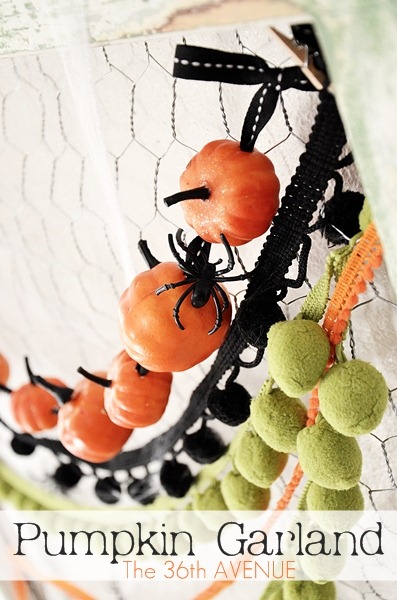
Small Pumpkins.
{I found these little ones at my local Wal-Mart and the box came with 10 small pumpkins.
Perfect amount for this project. }
TUTORIAL
1
The first thing you want to do is paint the stems of the pumpkins.
If you want to change the ribbon and use the same pumpkins for Thanksgiving then don’t even worry about painting them.

You can even get creative.
Add polka dots, stripes… Have fun with it.
2
After they dry you are ready to make the holes in each pumpkin.
Because these are foam pumpkins the screw driver will go right through it with not much effort.

3
Now it is time to thread the ribbon through the holes.
I used a bobby pin to help me hold the ribbon and make this step easier.
Keep in mind the order that you want the pumpkins in.

Before you know you are going to be done.

4
The last thing I did was to tie a bow at each end.
It looks cute and you can use the loop of the bow to hang your garland.

You are done my friend.
Hang it and enjoy it!
I used my garland to decorate an old window that it is in my kitchen.

I had the chance to previously share this tutorial over at Tatertots & Jello.
Have you seen all of the Halloween fun that Jen is having over there?
Check out her kitchen decor and her adorable Halloween Ghost Wreath Tutorial.

Before you go make sure to take a final look at our old wooden window frame here.
I love the little polka dot witch on the free printable.

Cute!
Thank you all for visiting with me today!
Besos.
Desirée

Halloween is my favorite holiday to decorate for! I love the idea of your pumpkin garland:) I’m pinning this for later.Security Testing
So clever! I’m looking for ideas for next year, and this one is great!
I’ve had this pinned for awhile, and now I’m sharing it in a 13 for Halloween: Decor roundup on my blog tomorrow, with one pic and a link back to this post. So charming! Thanks for your creative inspiration : )
Thank you so much Jaimee!
Love the pom pom fringe mixed with the pumpkin garland!
Thank you Jenna for your comments and for stopping by!
Halloween is my favorite holiday to decorate for! I love the idea of your pumpkin garland:) I’m pinning this for later!!!! Thanks for sharing!
I am going to put this on my to do list! So Cute. Dianntha ps..i am leaving mine out for Thanksgiving too!
Love the garland and I love your picture grouping it with the pom pom garland too. Thanks for the tute 🙂
Super cute!! Love the pom poms!!
that IS super easy! and I love the look!