


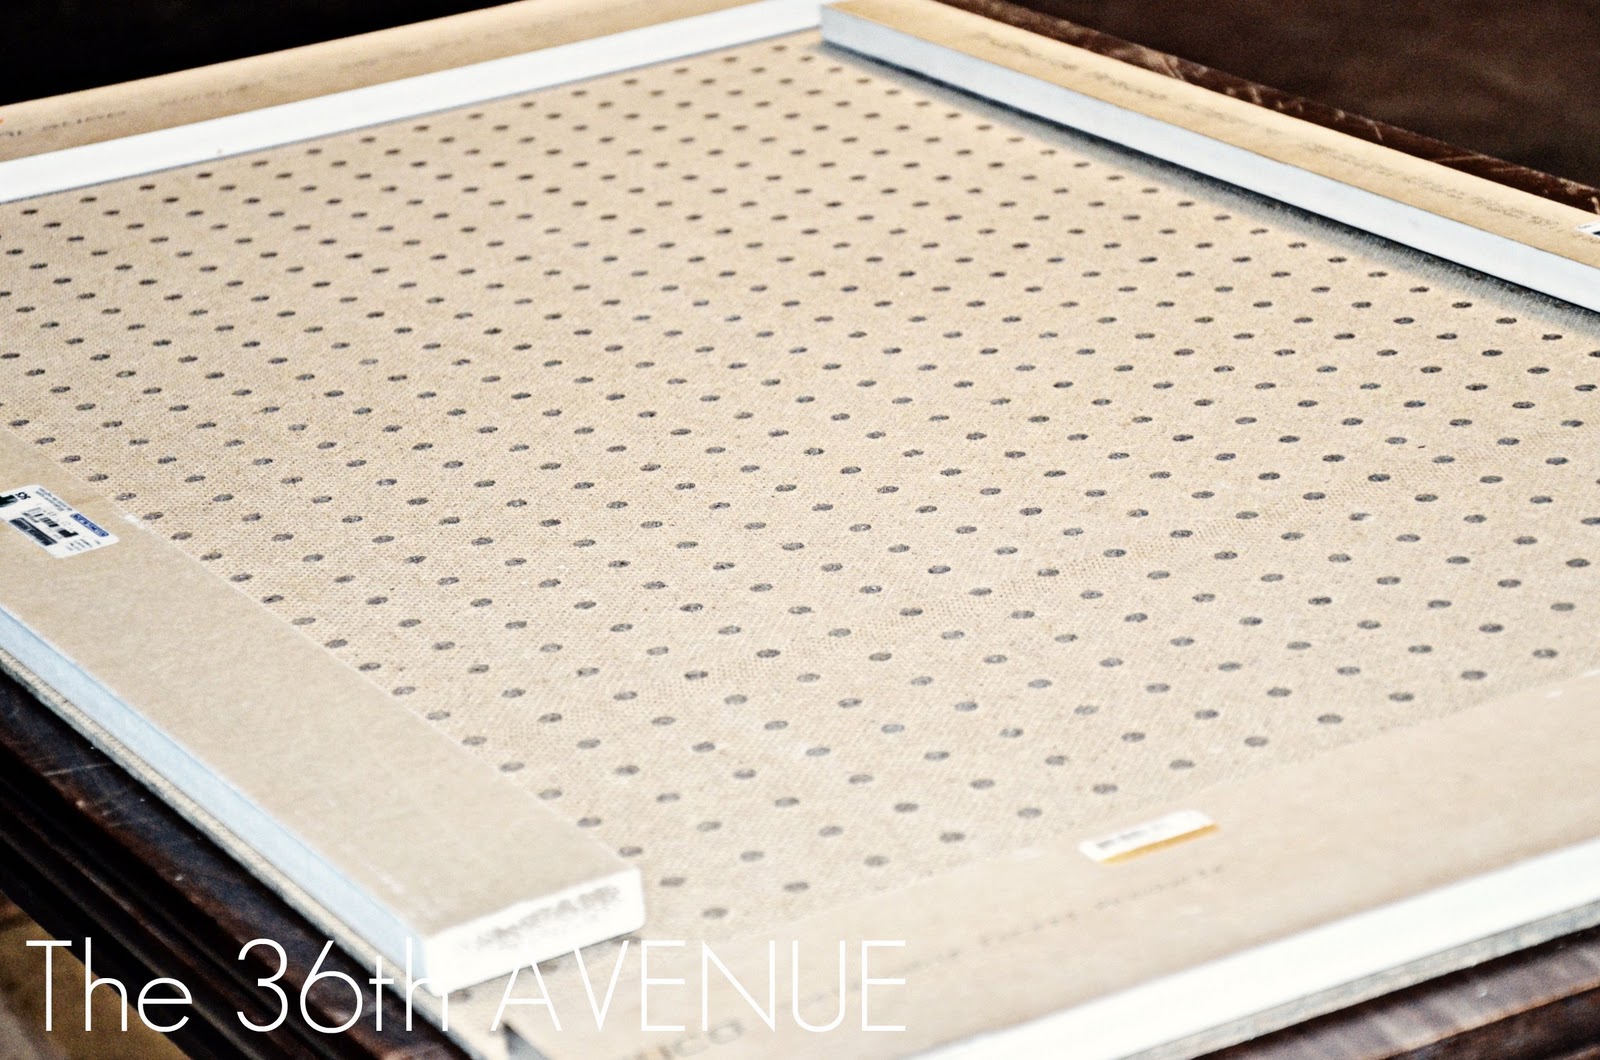
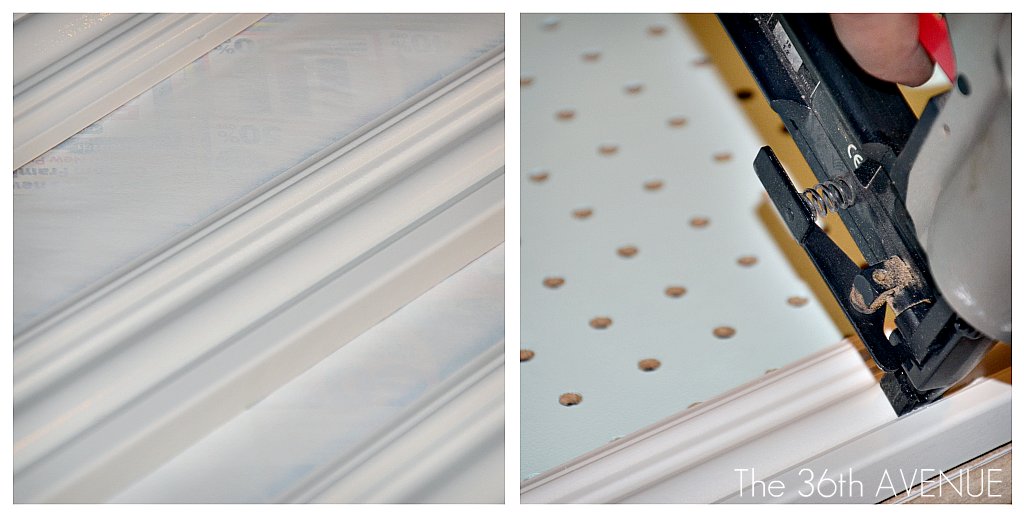
After the backboards are ready all you have to do is attach them to the peg board. I used a nail gun but if you don’t have one I am sure you can screw them together.
{ Check out my hands… there is a working woman for you 😉 }

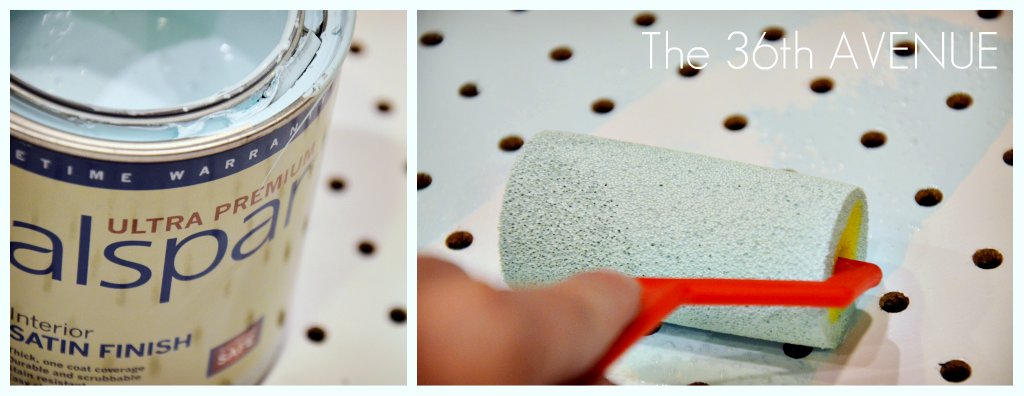
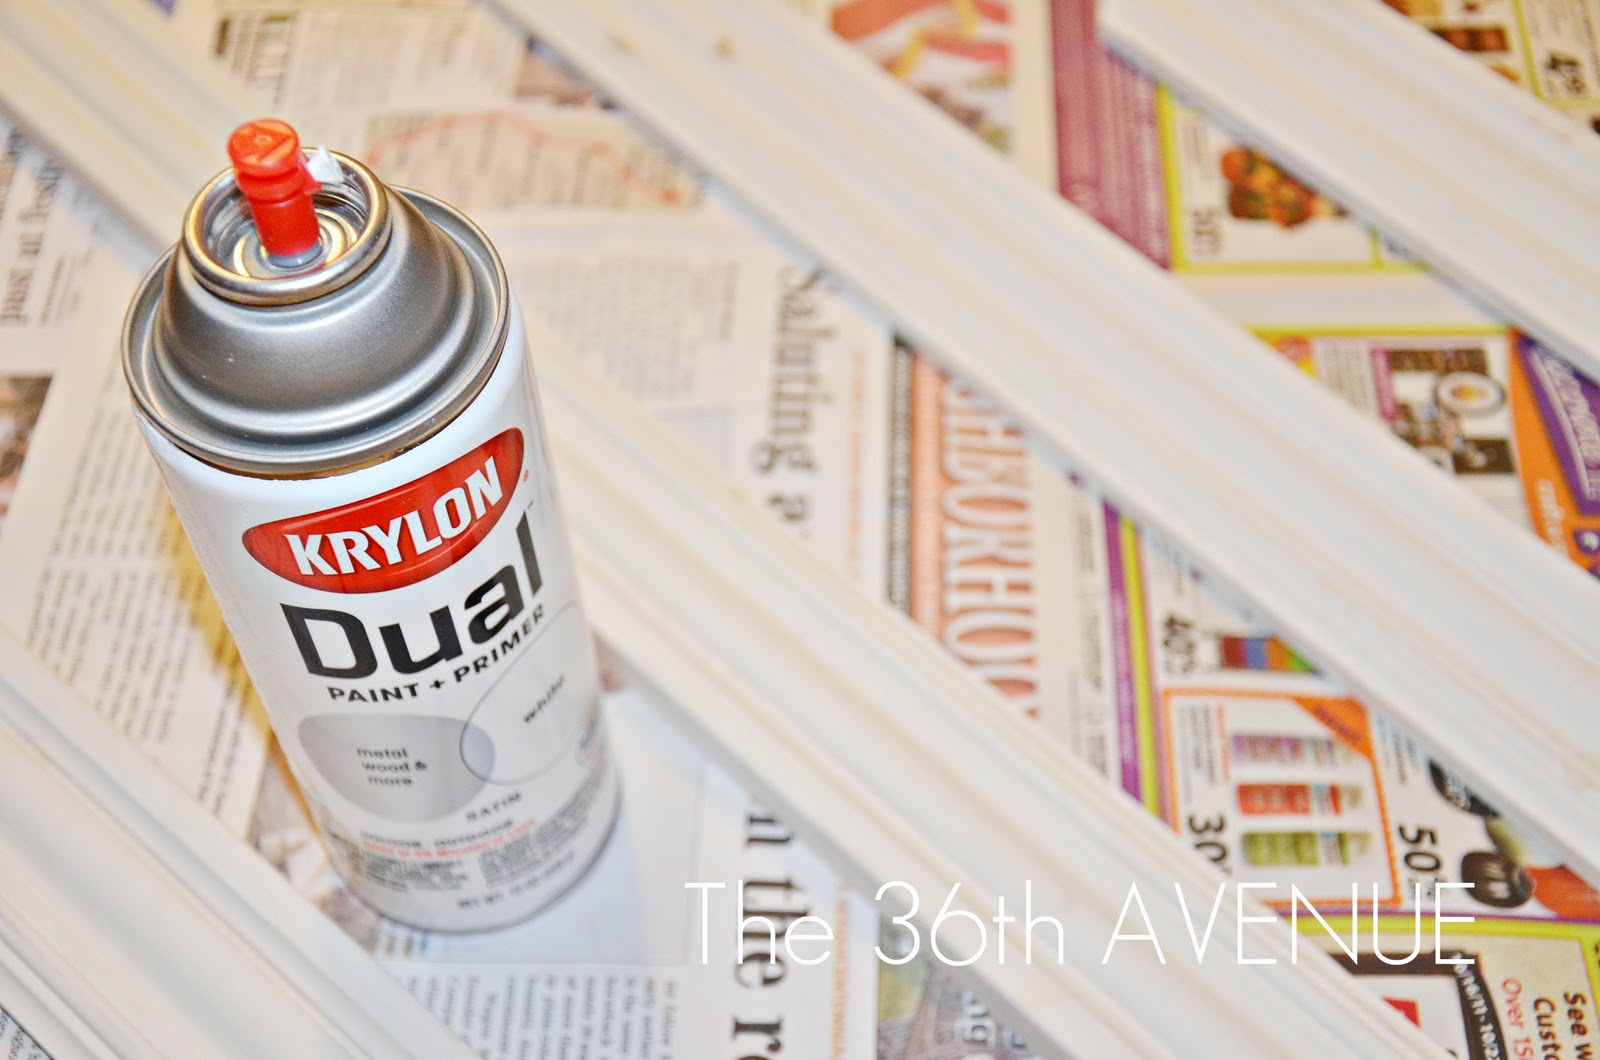
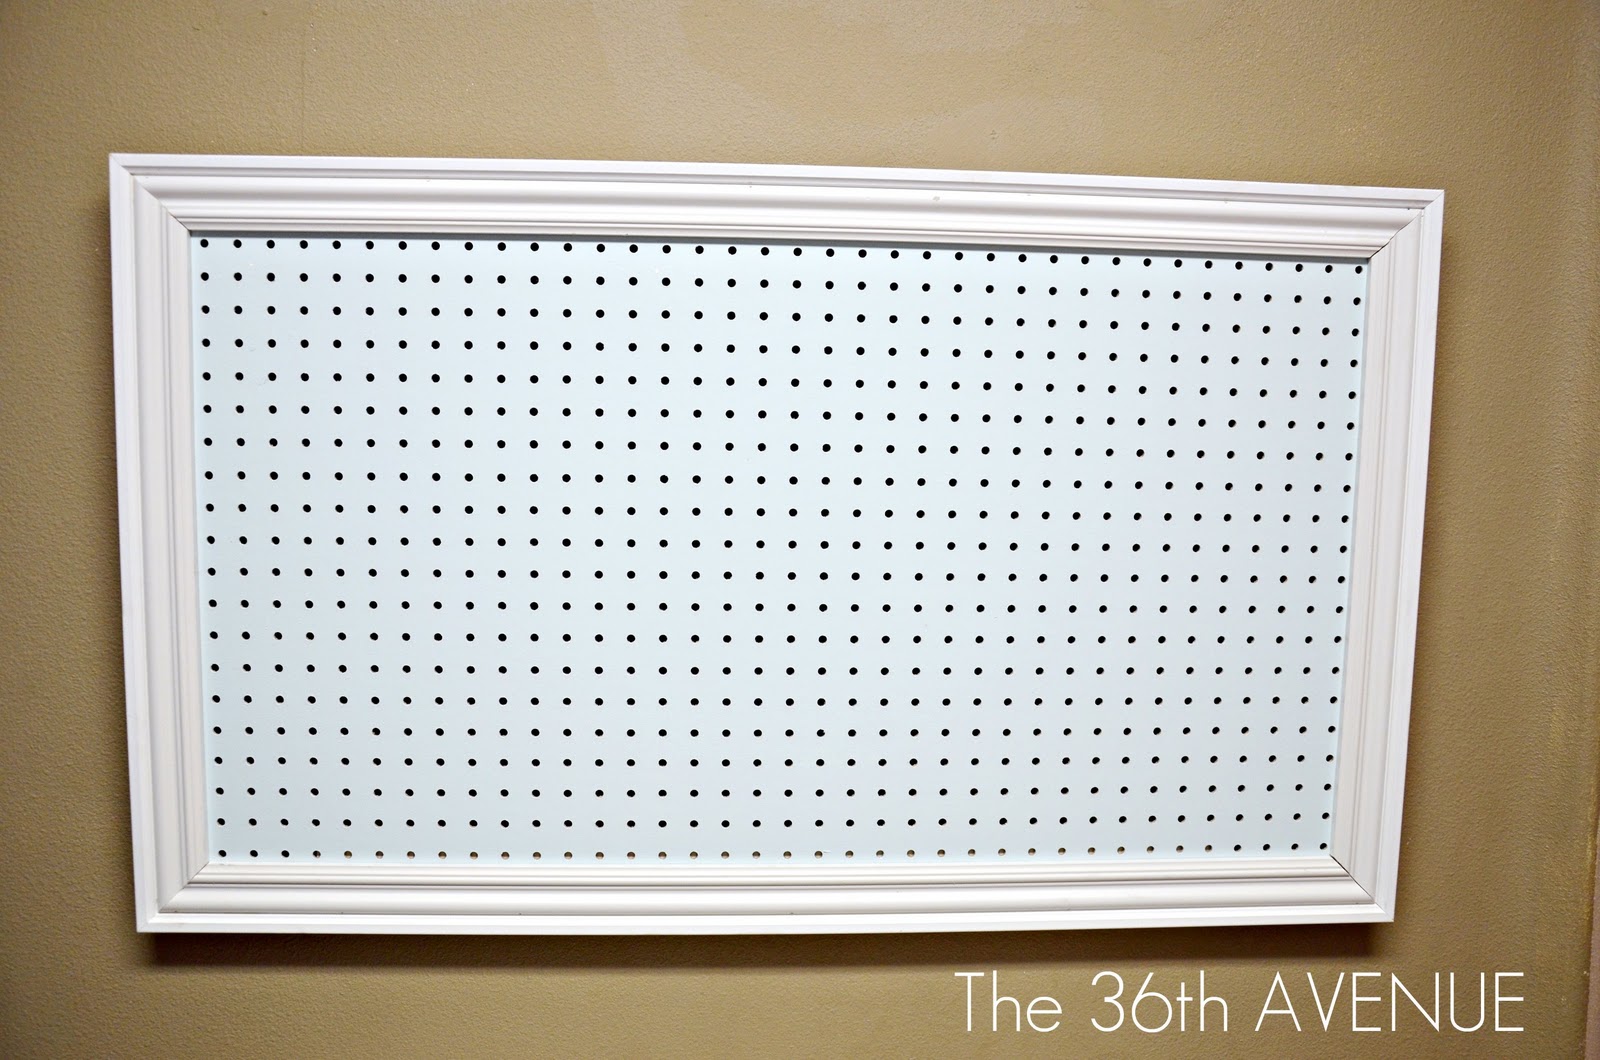
.The next thing I did was paint the board. I chose a really soft powder blue… it is a really light turquoise… it should be called perfection. The name however is Sea Air { 5006-9A } and it is made by Valspar, you can find it at the Home Depot.
.
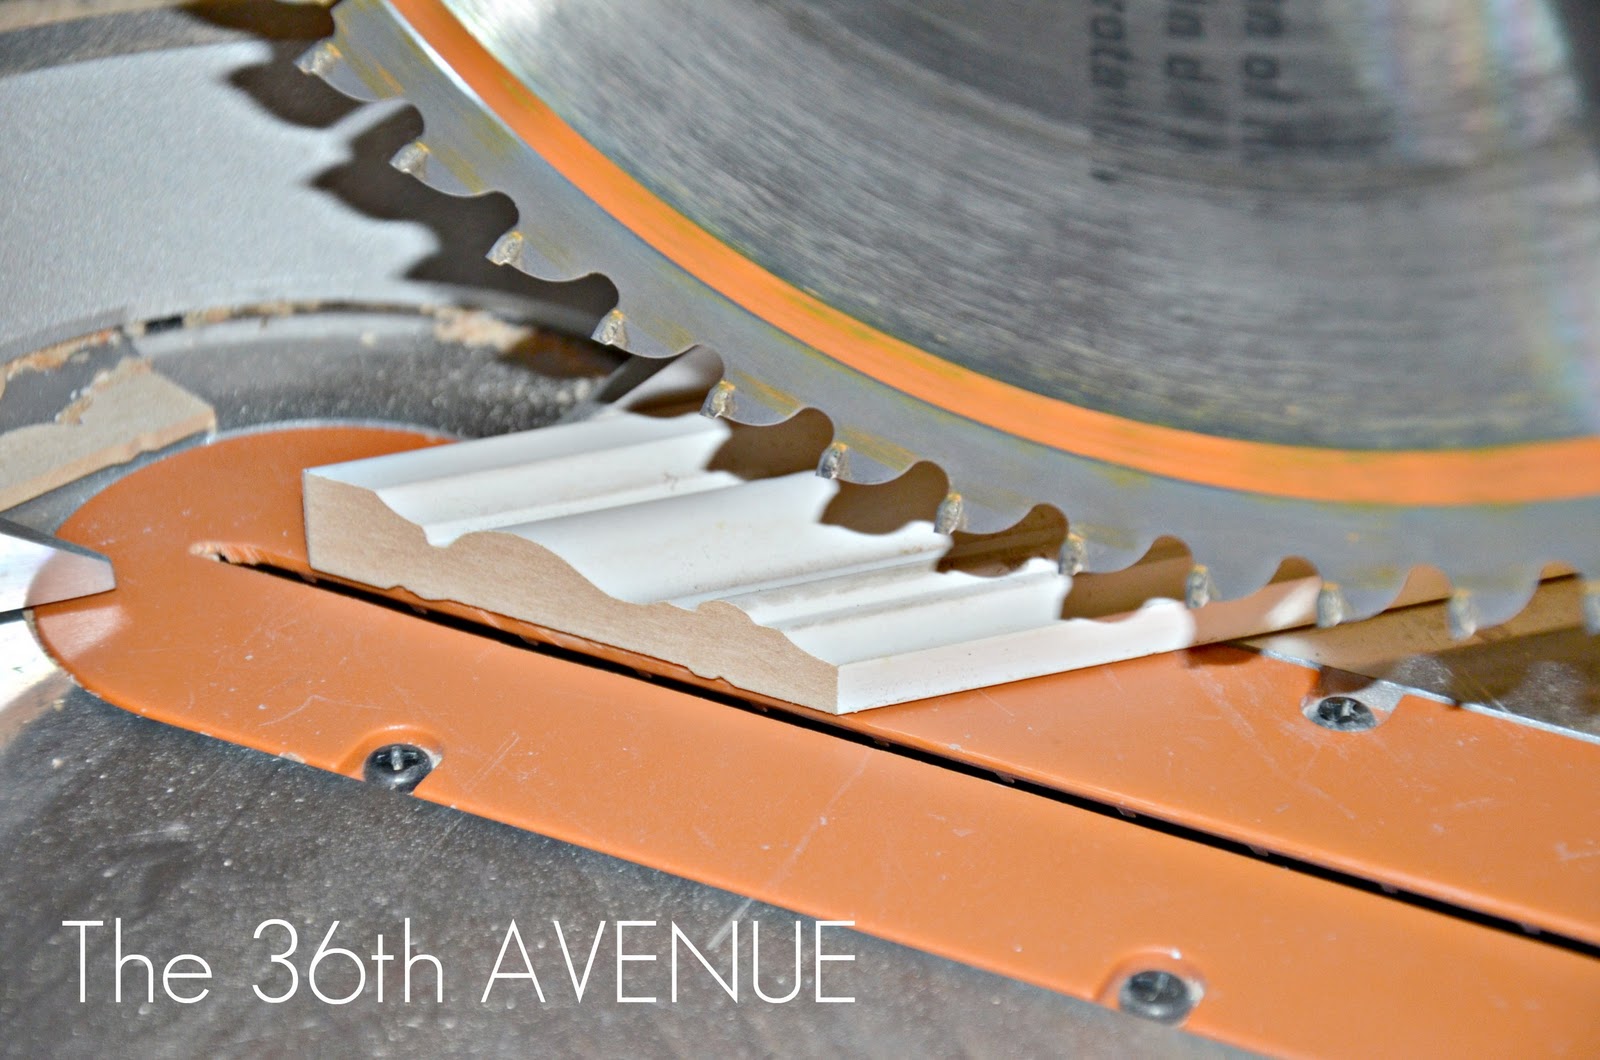
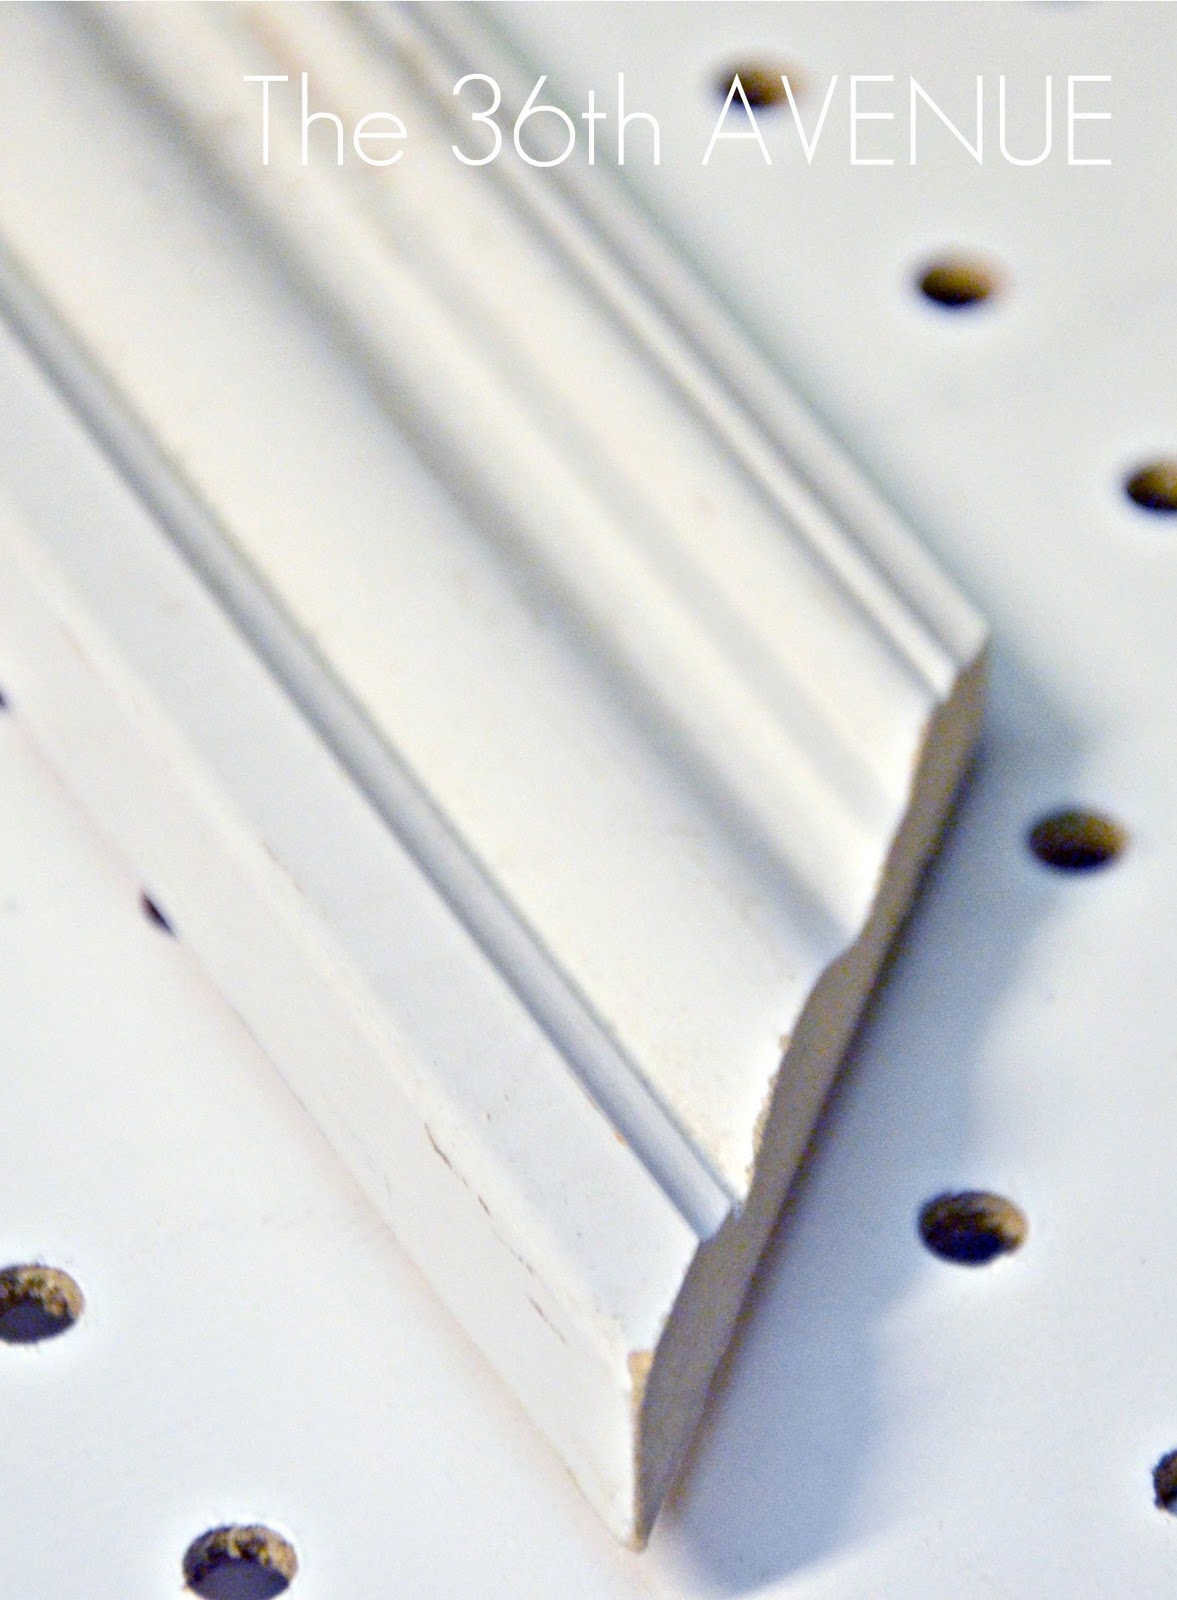
The angle has to be 45 degrees.
.
THE ACCESSORIES
Now let the FUN begin!
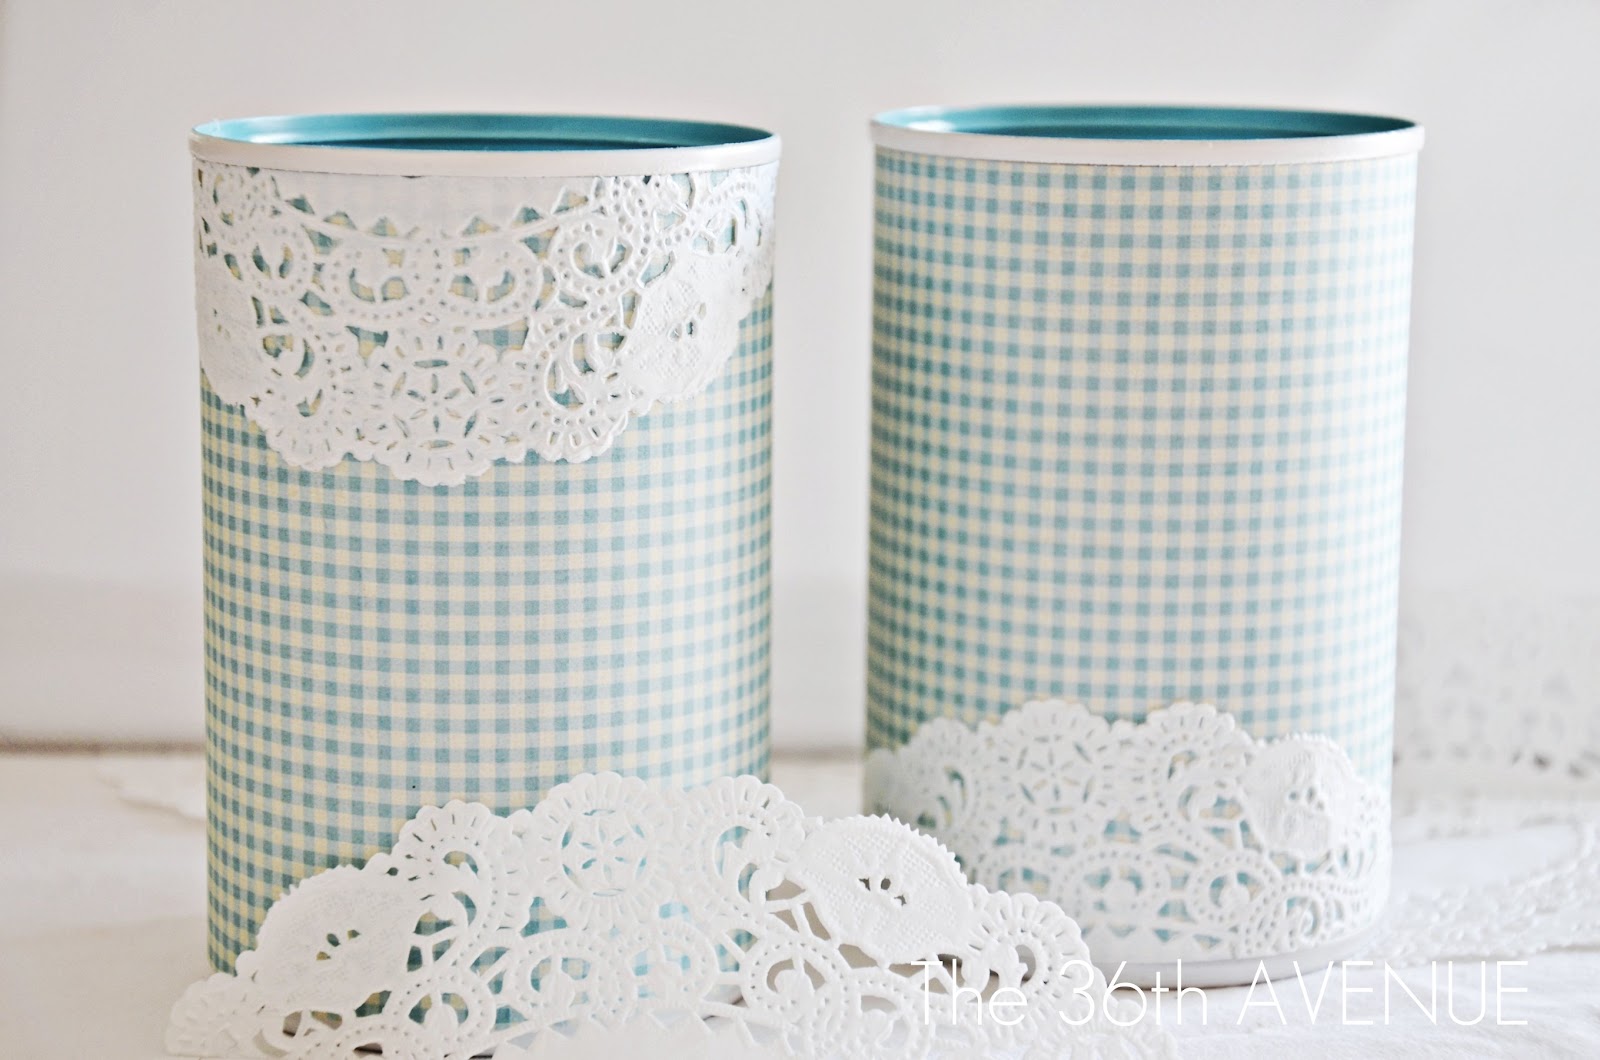
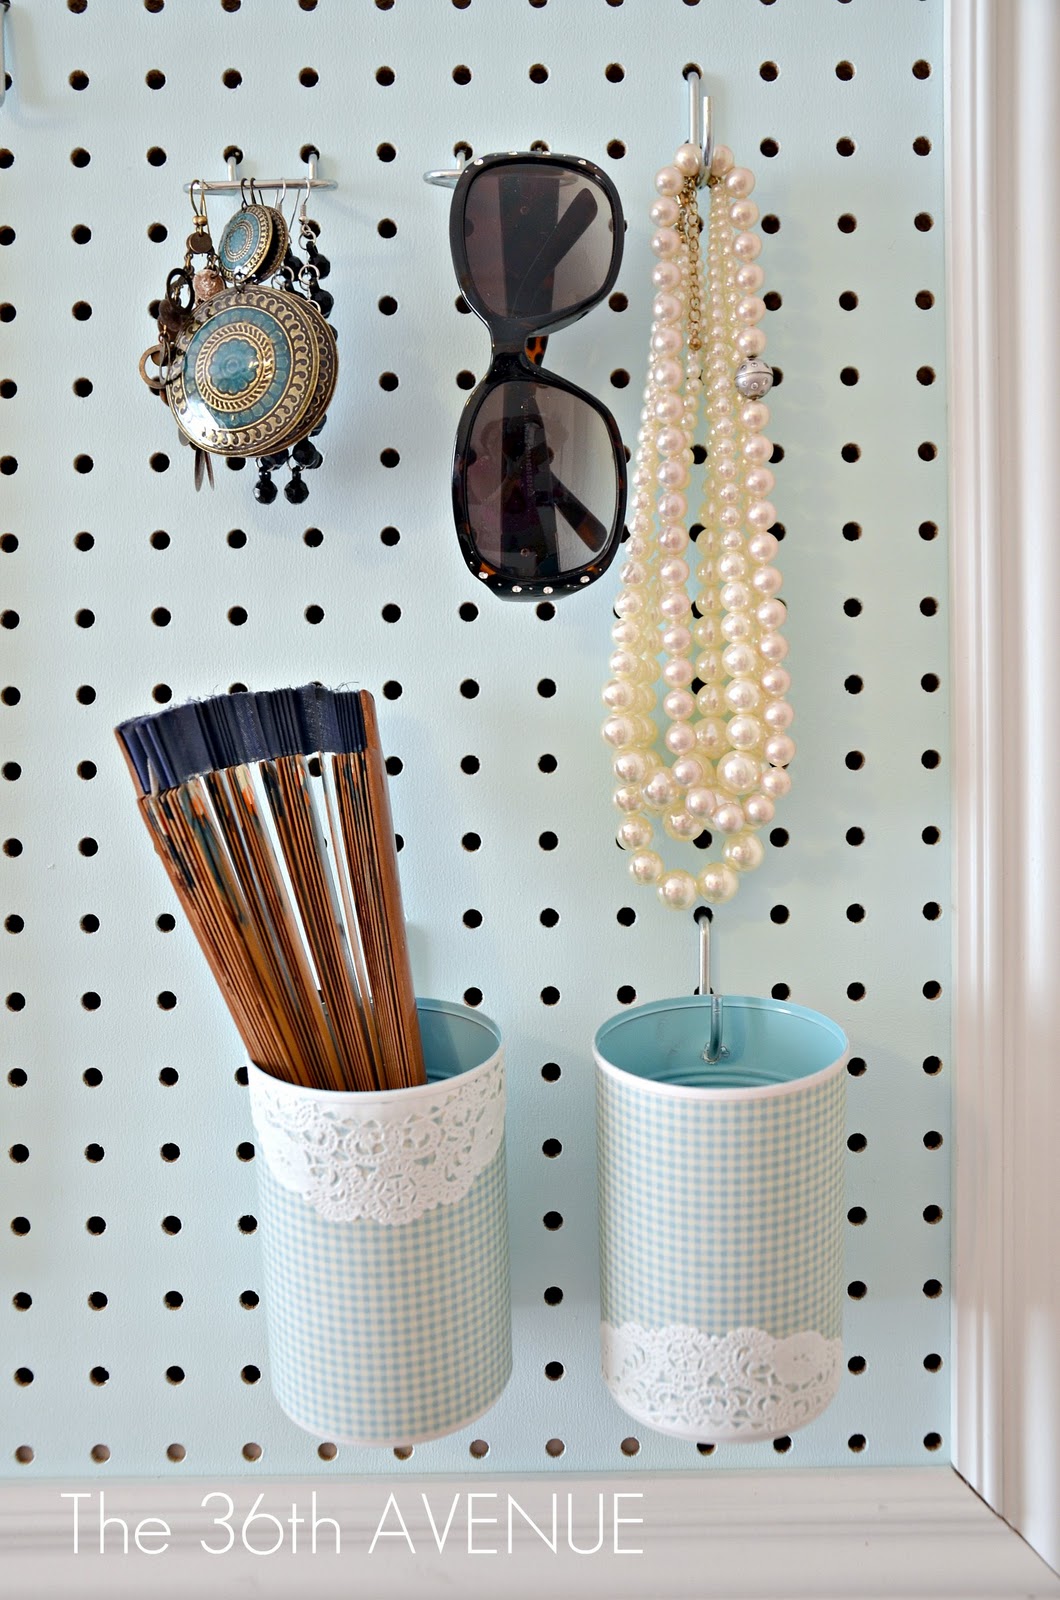
.SOUP CANS
The first thing I made were my sweet little cans for storage…
You remember them… I poked some holes towards the top of them so I could hang them…
Click here for the TUTORIAL.
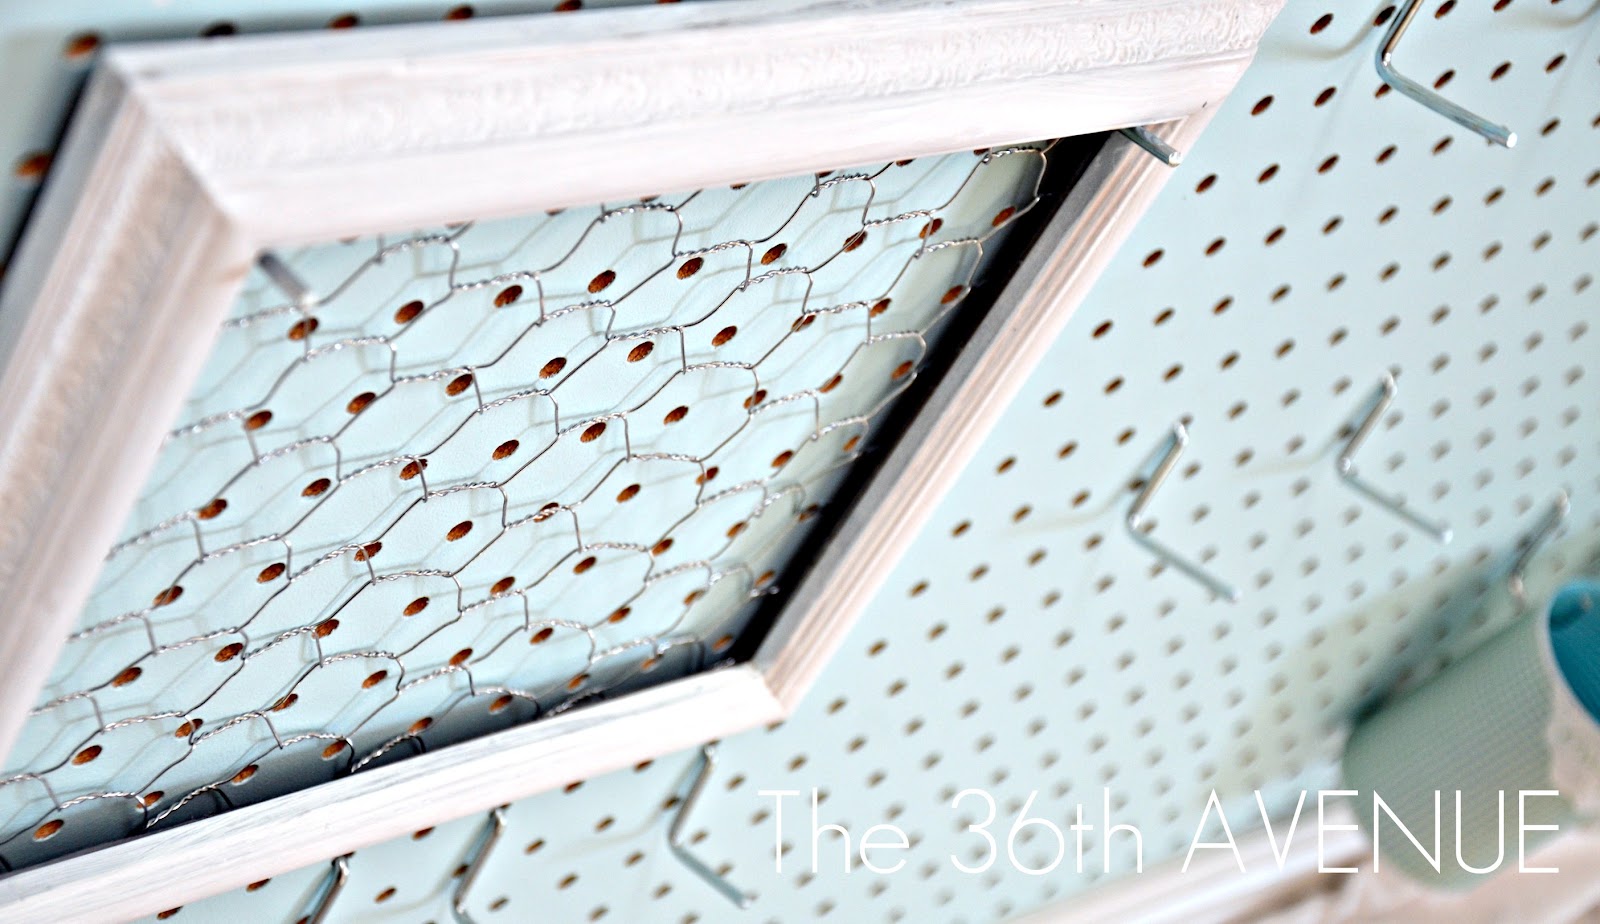
Chicken Wire FRAME
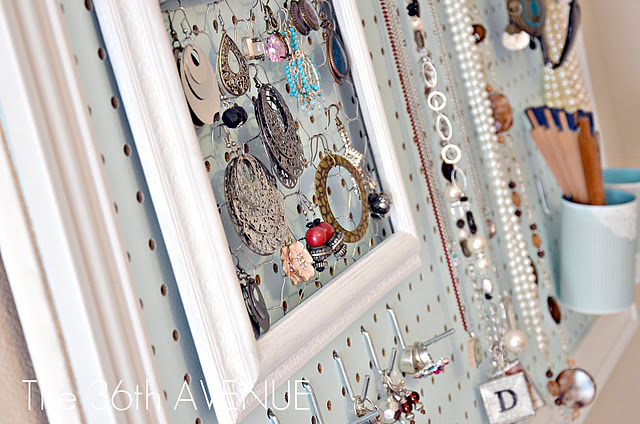
For my earrings I transformed an old frame into a storage unit. This is SO easy to make:
1. Paint your frame.
2.Cut your wire { it is SHARP} with some pliers. Find Chicken Wire HERE
3. Attach it to the back of the frame nailing down some tacks.
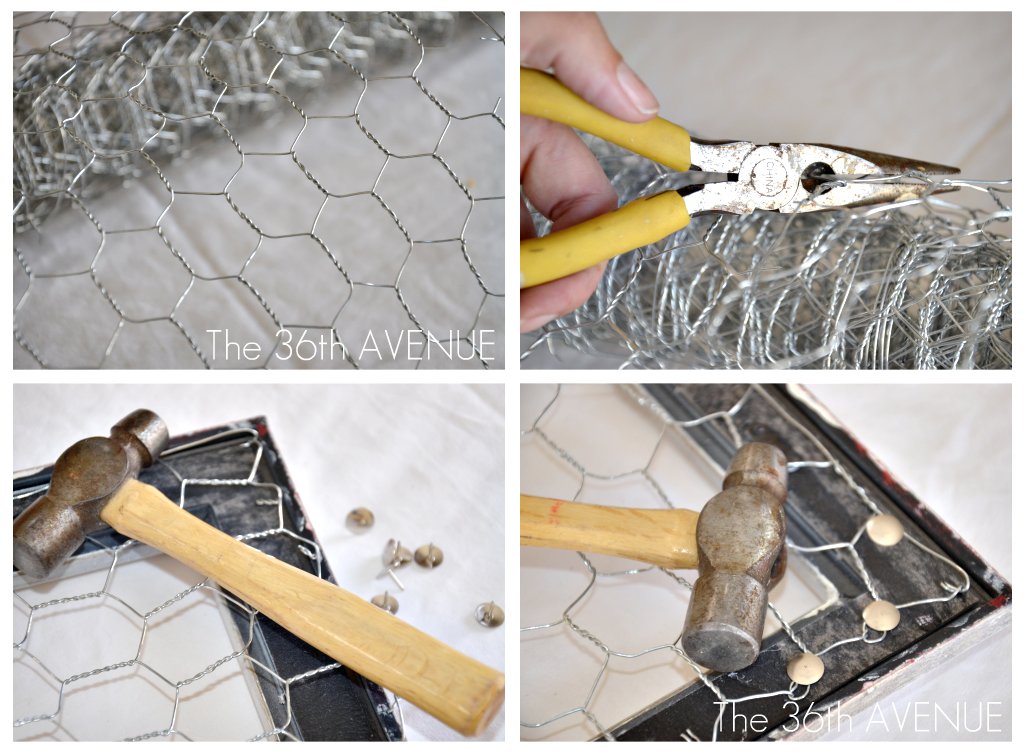
You are done!
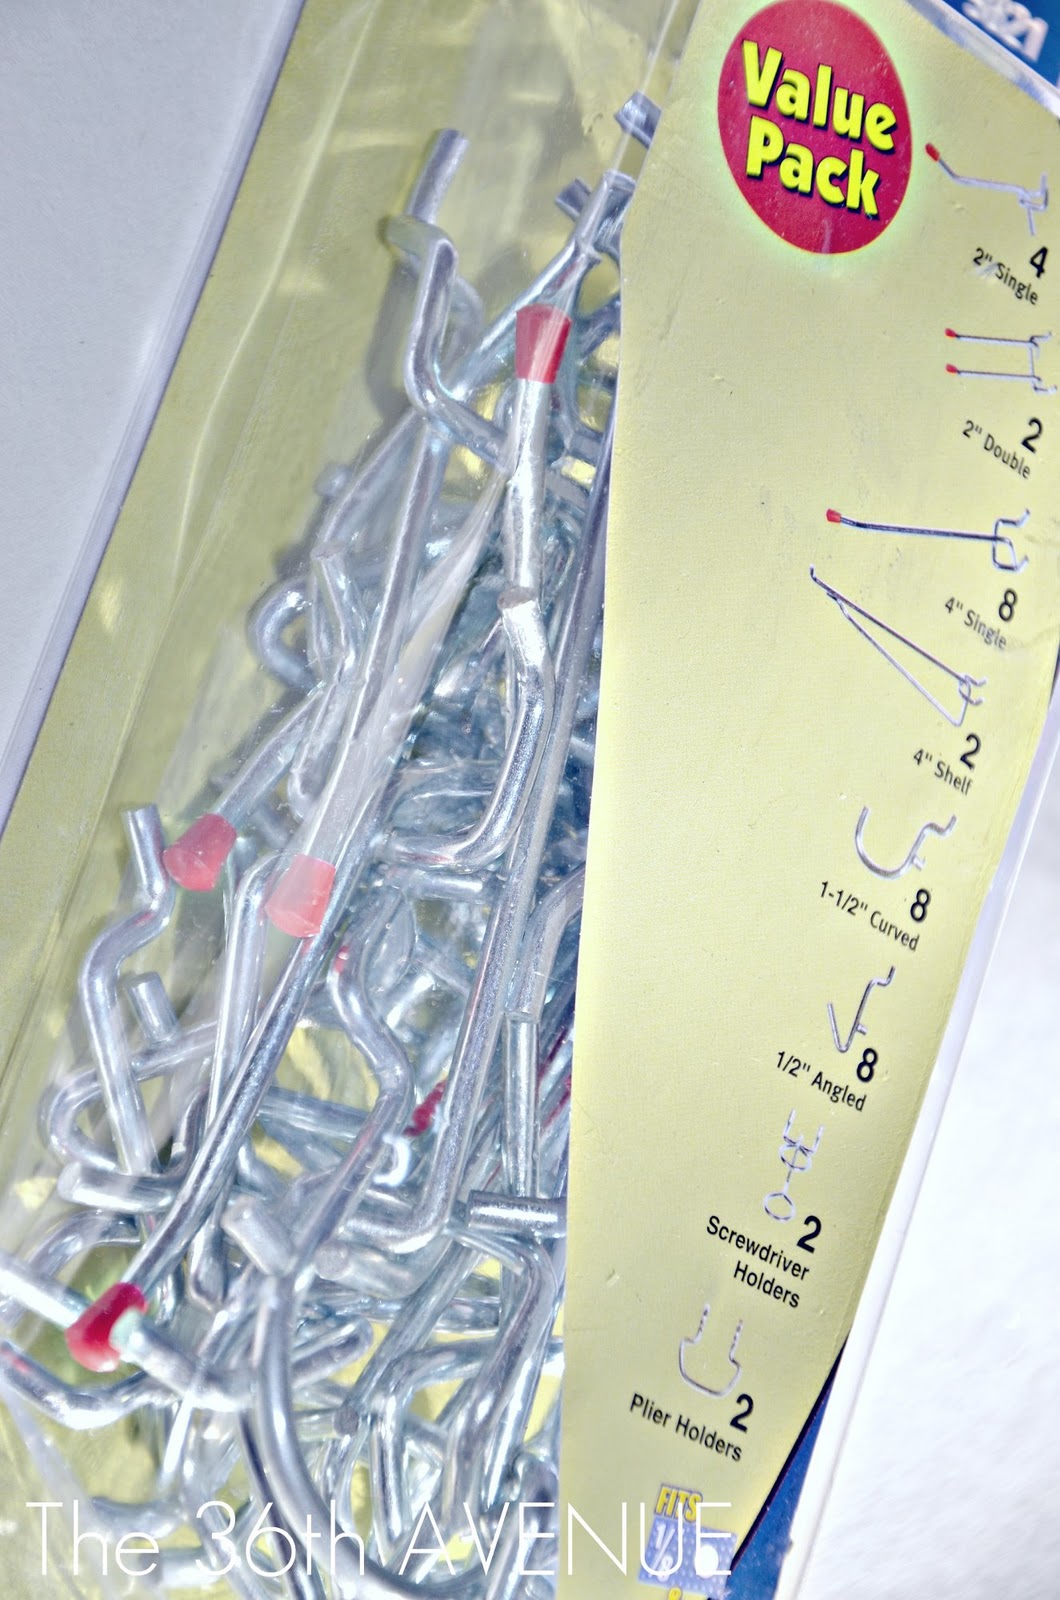
The Hooks
You can find them pegboard hooks HERE.
.The Bracelet Holder
This is actually an old cup holder that I found at my local Thrift Store for $2… Not bad!
A little paint did the job and it works like a charm!

.
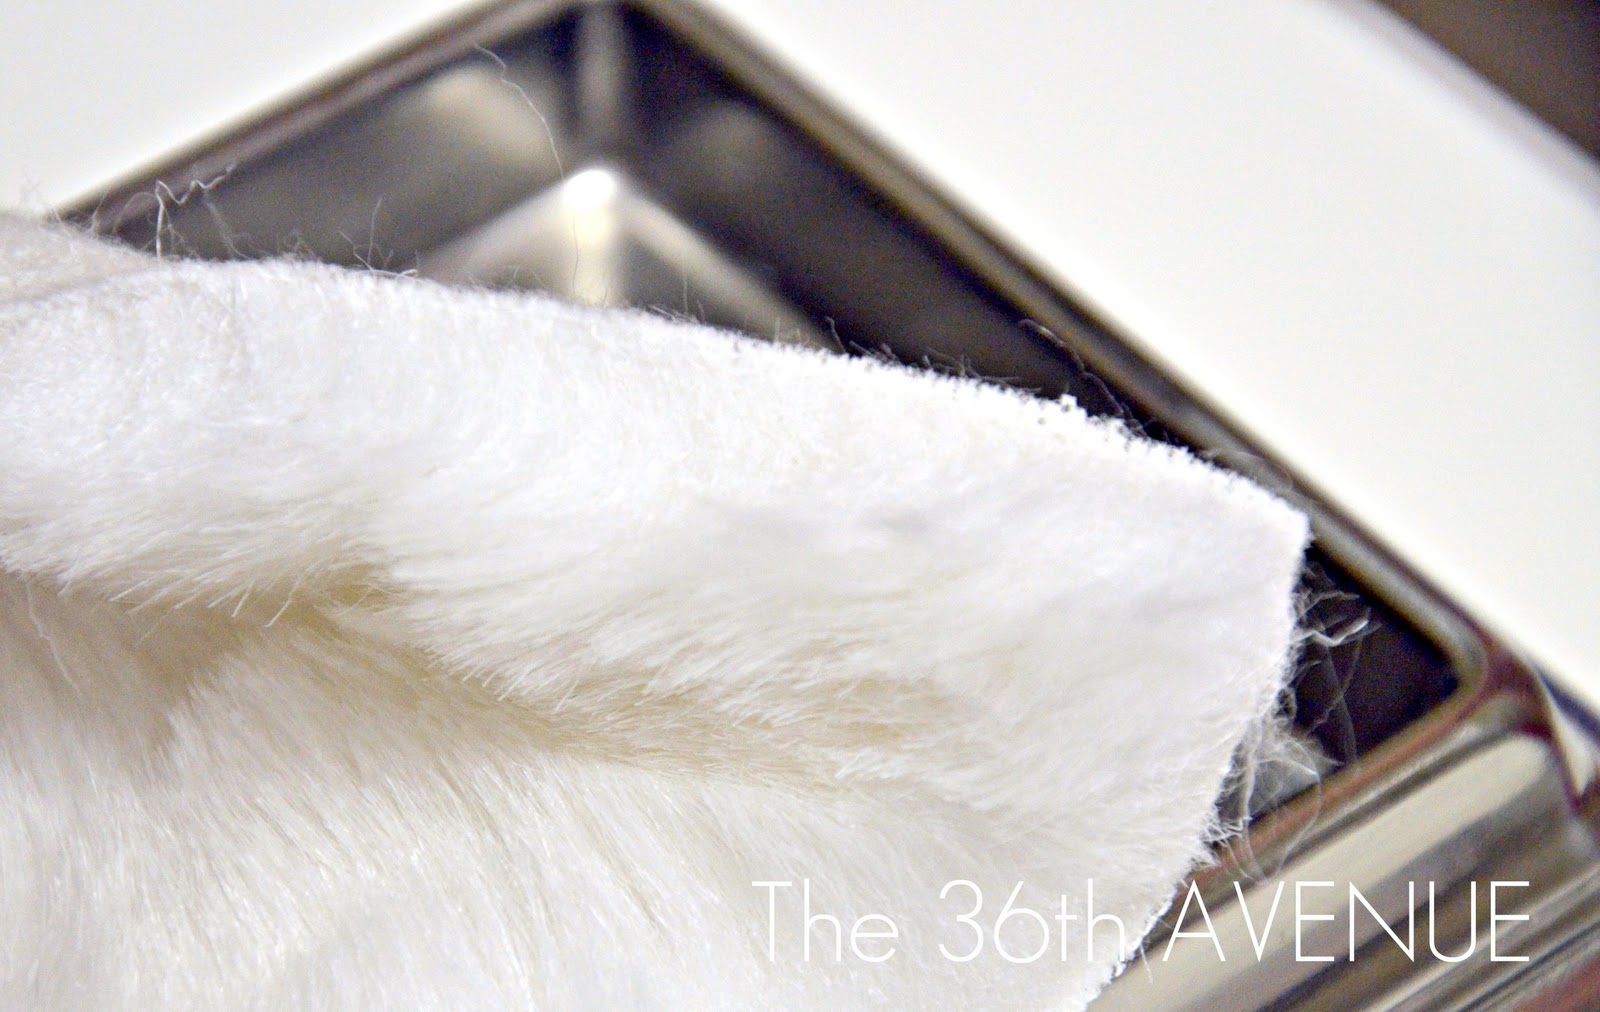
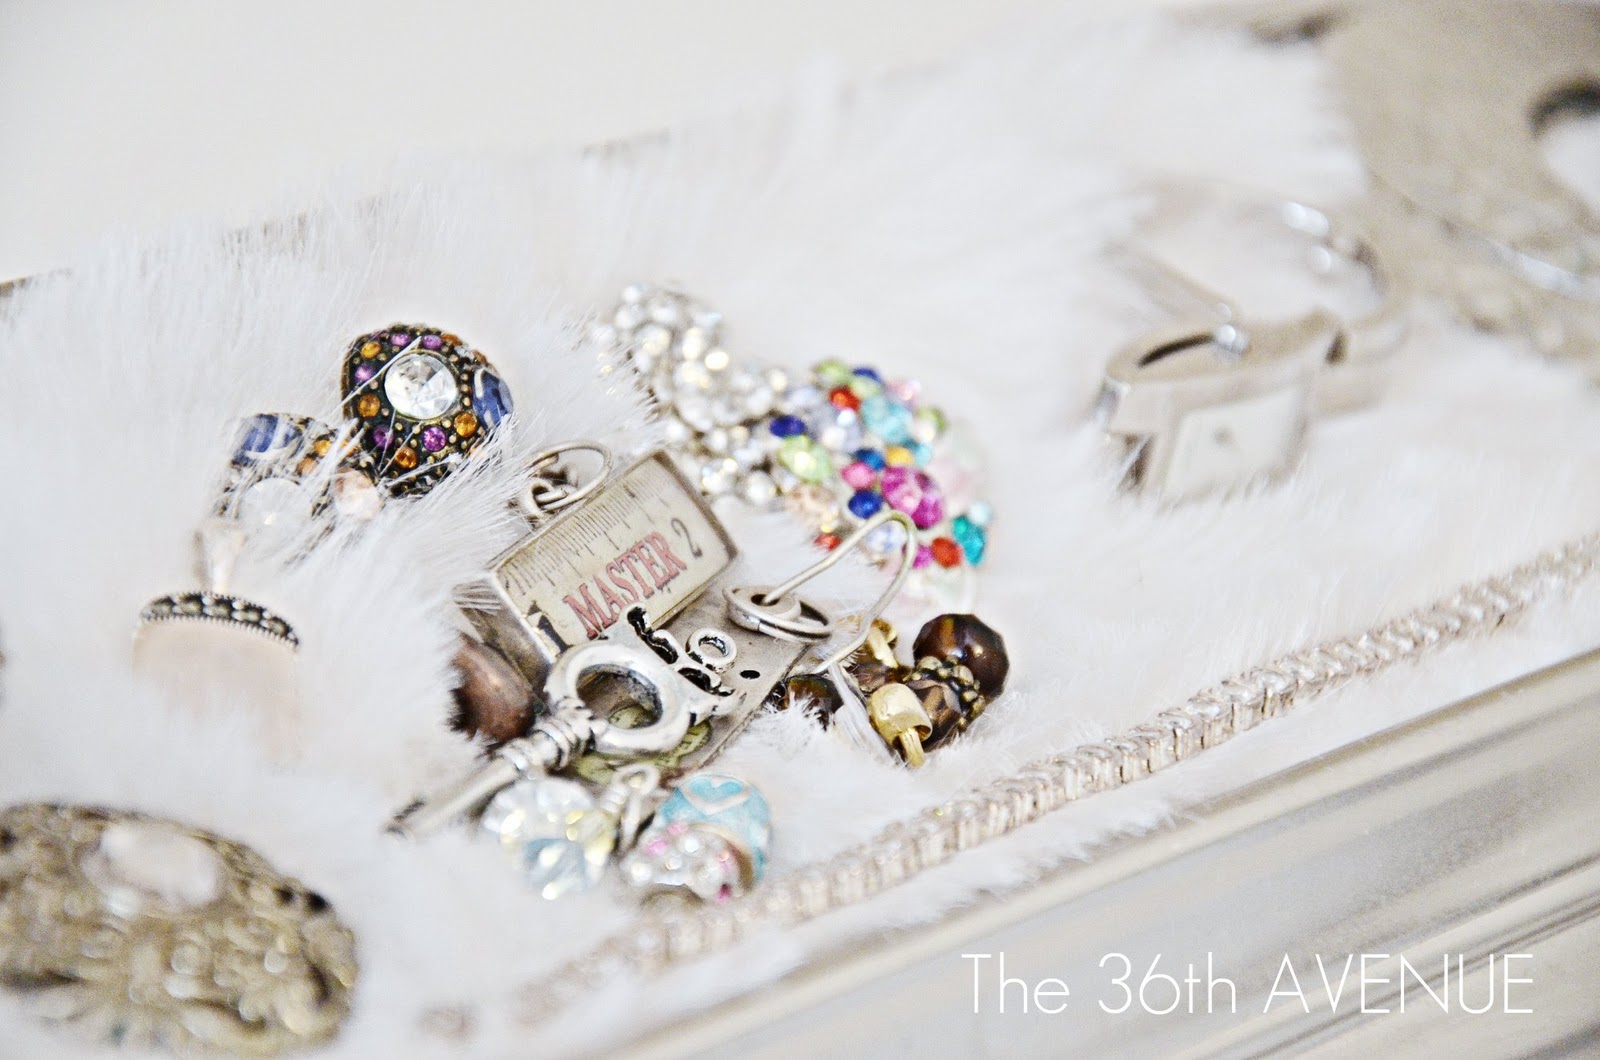
The Tray
I have had this small “whatever you want to call it” for some time. I added some fur on top to make it soft and protect the jewelry that wasn’t meant to be hung.
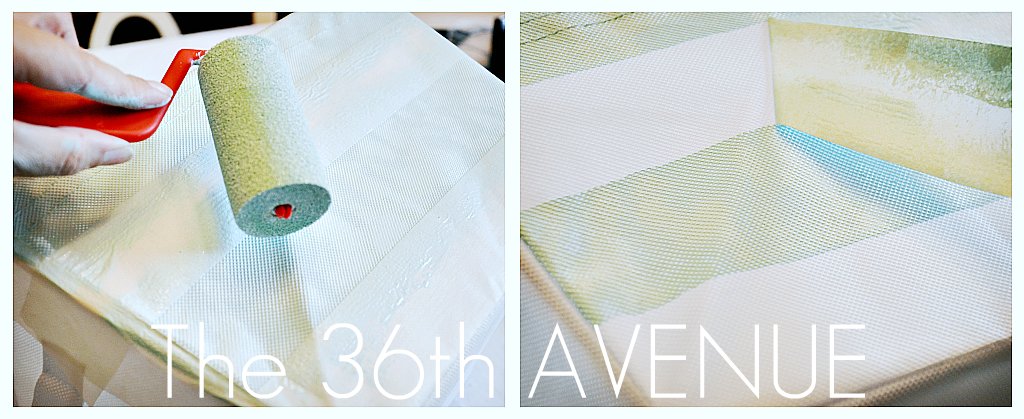
The Baskets
I just got these linen baskets at Wal-Mart also.
To bring some interest I painted some stripes on them.
Now they carry all of my belts and scarves.
THE TRANSFORMATION
At this point I was ready to put it all together and start hanging my little treasures…
{ don’t dare to call it junk }
.
The earrings.

.
The rings.

.
The necklaces.

.
And even the sunglasses and my Spanish fans have a place!
Pretty AMAZING what a woman has to do some times to show HOW MUCH SHE LOVES HER HUSBAND. Oh, the sacrifices!
Here are some other DIY Projects that you may love!
Click HERE

DIY Cleaning Closet HERE

Click HERE

See you later!
XO
Desiree
