

I was fortunate to visit Tatertots & Jello a few weeks ago and share my first Halloween Project of the Season with Jen’s fantastic readers…
If you missed it here it is again!
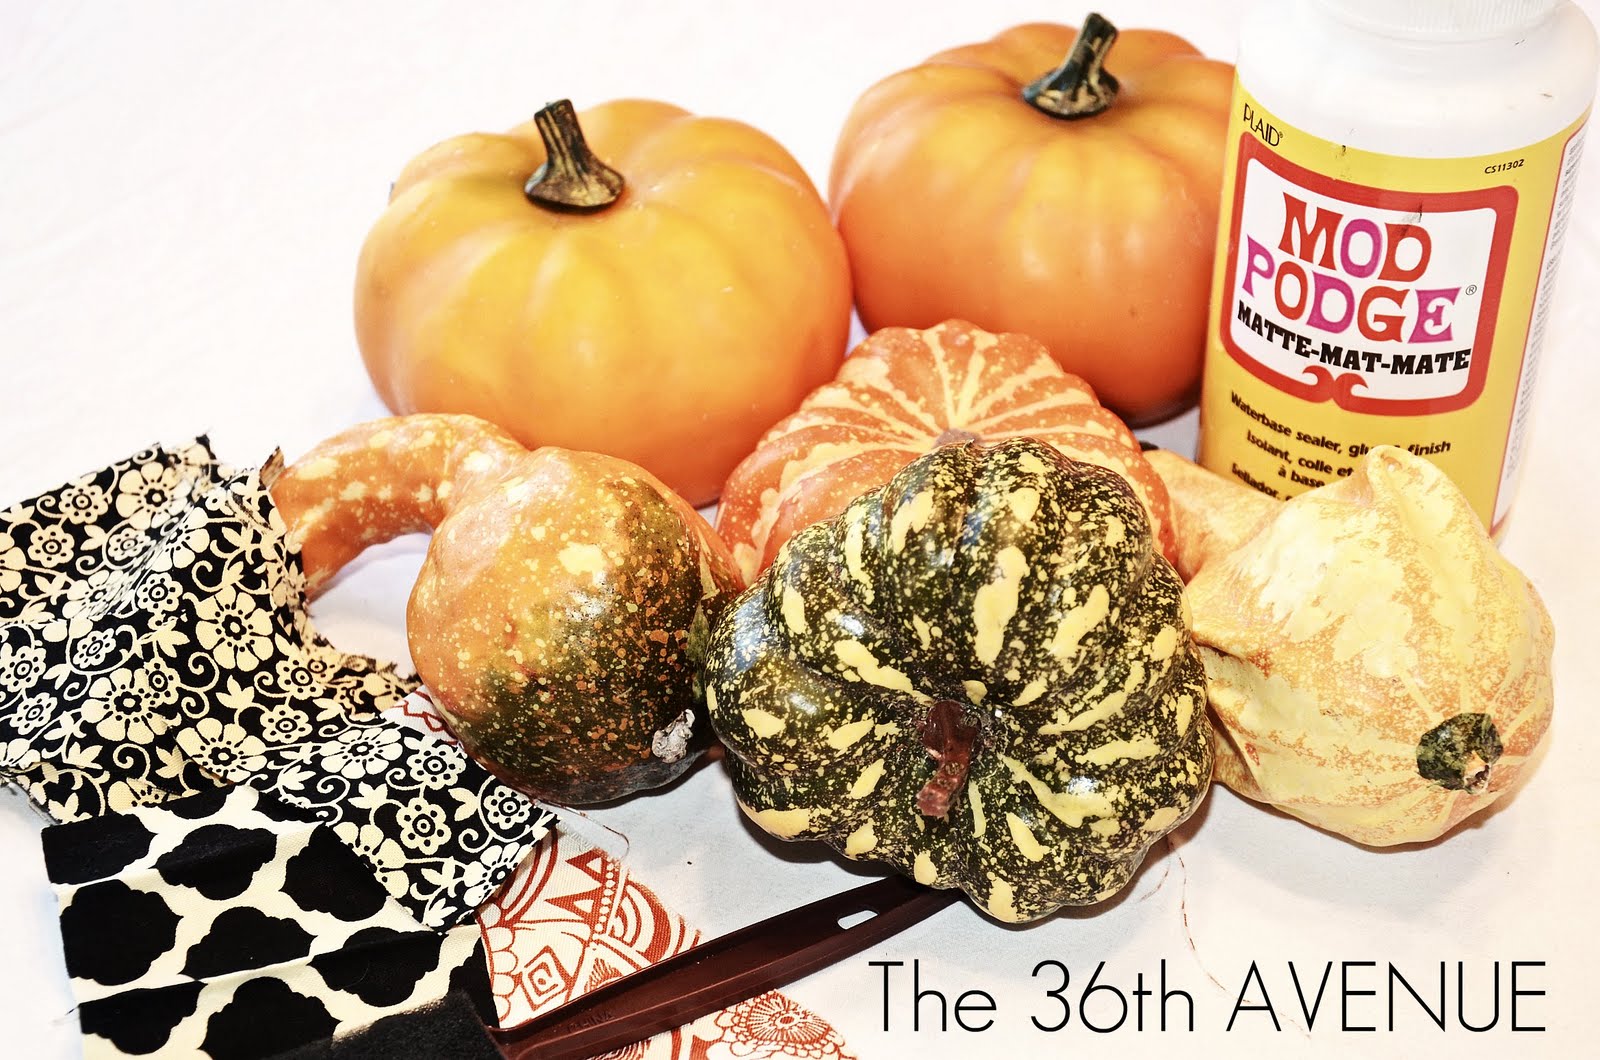
For this project you’ll need:
Old foam or plastic pumpkins, leftover fabric,
Mod Podge, brushes and regular Acrylic Craft Paint…
1st:
Remove the pumpkin stems..

2nd:
Cut a bunch of strips of fabric.
{the length will depend on the size of your pumpkins}
I cut the ends of mine in an arrow shape, it was a LOT easier to work with them this way…

3rd: Let the mess begin…
Apply an even coat of Mod Podge to the section of the pumpkin you are working on.
Start gluing the strips one by one on the surface of the pumpkin overlapping them until
you cover the entire area… After apply one more coat on top of your “fabric pumpkin” If you have never worked with Mod Podge before
DON’T PANIC… it will dry CLEAR.

…I decided to paint the stems in a butter cream color.
Don’t worry about doing this perfectly, it looks better to let the old finish come through. I wasn’t joking when I said messy…

While some of the pumpkins dry I decided to paint the reminder of them the same
color as the stems…

and I added some dark stain mixed with glaze to antique them a little bit…

4th:
After wiping off the excess stain with a damp cloth, it was
Time to HOT glue the stems back!

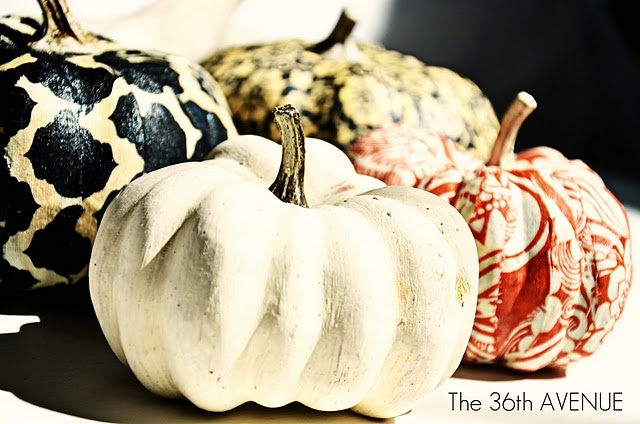
I think… we are done! Are you ready to see them?
Here they are….

a closer look…

If you ever wonder where the fabric came from…
allow me to show you the pillows that I made to go with the entire look..

I can’t wait for the end of the month to dress up my entire home…
I love Halloween!

Hi,
I just came across your modge podge pumpkins and thought they were great! I’m an intern at Instructables.com, the largest project-sharing site with well over 75k projects all submitted by our users. I see that you also post your projects on Facebook, twitter, google plus, etc and I just know our community would love to see your projects.
I also wanted to give you a shout out and let you know about our Halloween Decorations Contest that’s going on right now! We’re giving away some great prizes including an iPad 2 and Panasonic Lumix SZ7 14.1 MP Digital Camera. Also, 2 grand prize winners from all of our Halloween contests will get a choice of a MacBook Pro or Laser Cutter!
Please let me know if you decide to post your project, I would be happy to feature it on our site and help get it noticed among our over 13 million visitors.
Please let me know if you have any questions.
Hope to hear from you soon!
Cheers!
Michelle
[email protected]
I have to know where or how did you make these pillows!!! Skulls are mine and my fiance’s thing we have them all over our house and our wedding cake topper is a Mr. & Mrs. Skull… I need this can you please help!!! By the way love love your site and your Pinterest which is my new obsession for my wedding. I love being crafty and I know I can make everything now!!!! 🙂
Megan
Megan,
I sell the stencil here is the link…
http://www.the36thavenue.com/2012/01/new-year-new-space.html
Thank you so much for showing us how to make these darling pumpkins. My friend and I spent the afternoon making these today and they turned out adorable! Look so cute in a basket on my entry table—thanks for sharing your talented ideas!
You are adorable… You should share a picture on my FB page I would love to see them!
love the pumpkins they turned out so cute!
These are gorgeous, well done.Loving those pillows too.
WOW…. super idea. You have a zillion projects for me to make. I better get started.
Beautifully done! Cutting the fabric in strips like that makes for very neat, tidy, gorgeous pumpkins =)