

Can you believe it, 2013 is here!

Creating a Handmade Calendar is the first thing I look forward to when the year is new.
Easy to use templates are what I create and calendars are no exception. I like to make things simple, don’t you?

I made this photo calendar as gift for my mom; displaying photos I took for my parent’s Holiday card.
I think she’s really going to enjoy looking back at how tiny my nieces were at the turn of the year.
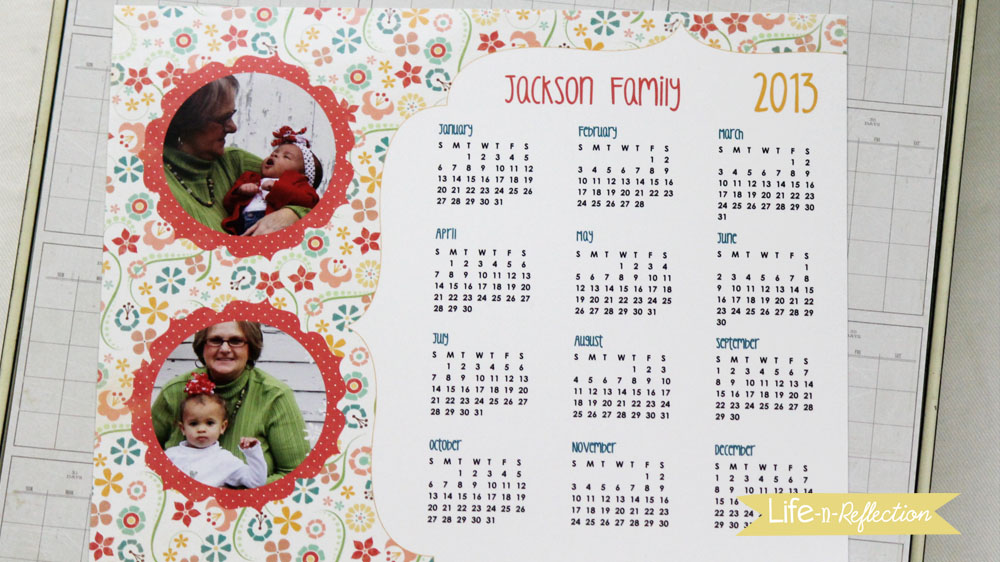
DIY PHOTO CALENDAR
- Select your base or frame – I choose a large square frame and removed the glass
- I glued scrapbook paper to the cardboard in the frame – I love that it has mini calendars on it
- Prepare your photos – I clipped my photos into the Melon Berry Calendar Templates in Photoshop – watch this easy Video Tutorial to try it yourself
- Print your calendar and add to the base – I printed the 8×10 template on photo paper
- Optional: embellish your calendar – If your paper-crafter you may enjoy adding ribbon, brads, or glitter

P.S. Happy New Year!
Her blog is full of inspiring ideas like this one!
I love this DIY Card!

Follow along!
Happy New Year!

So happy sharing at The 36th Ave again. Here’s to a fresh start – Happy New Year Everyone!