
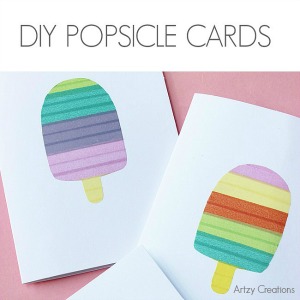
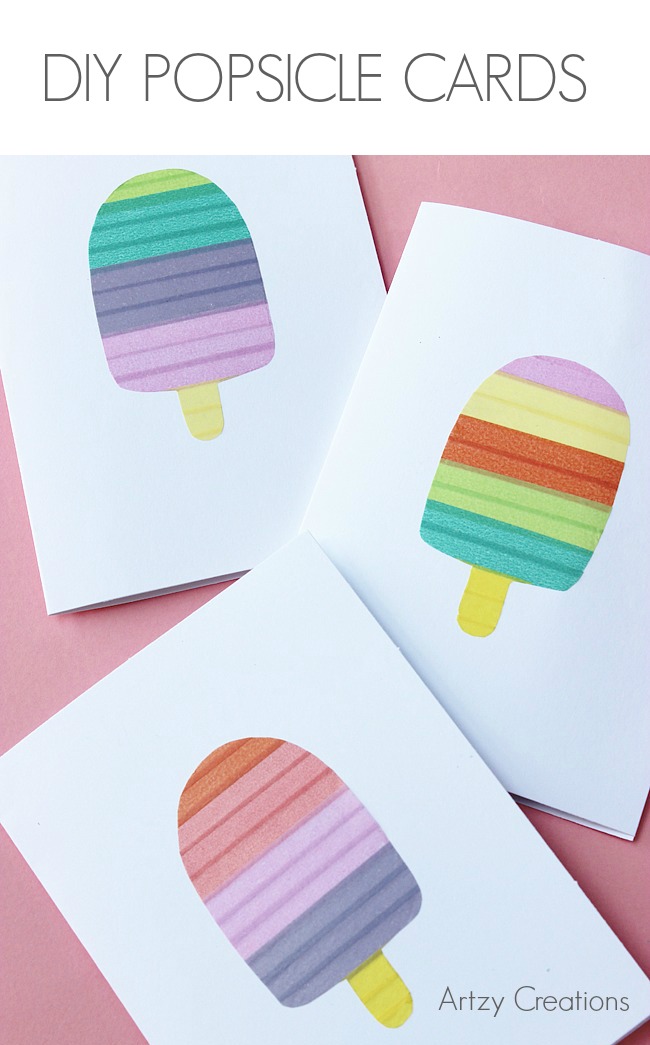
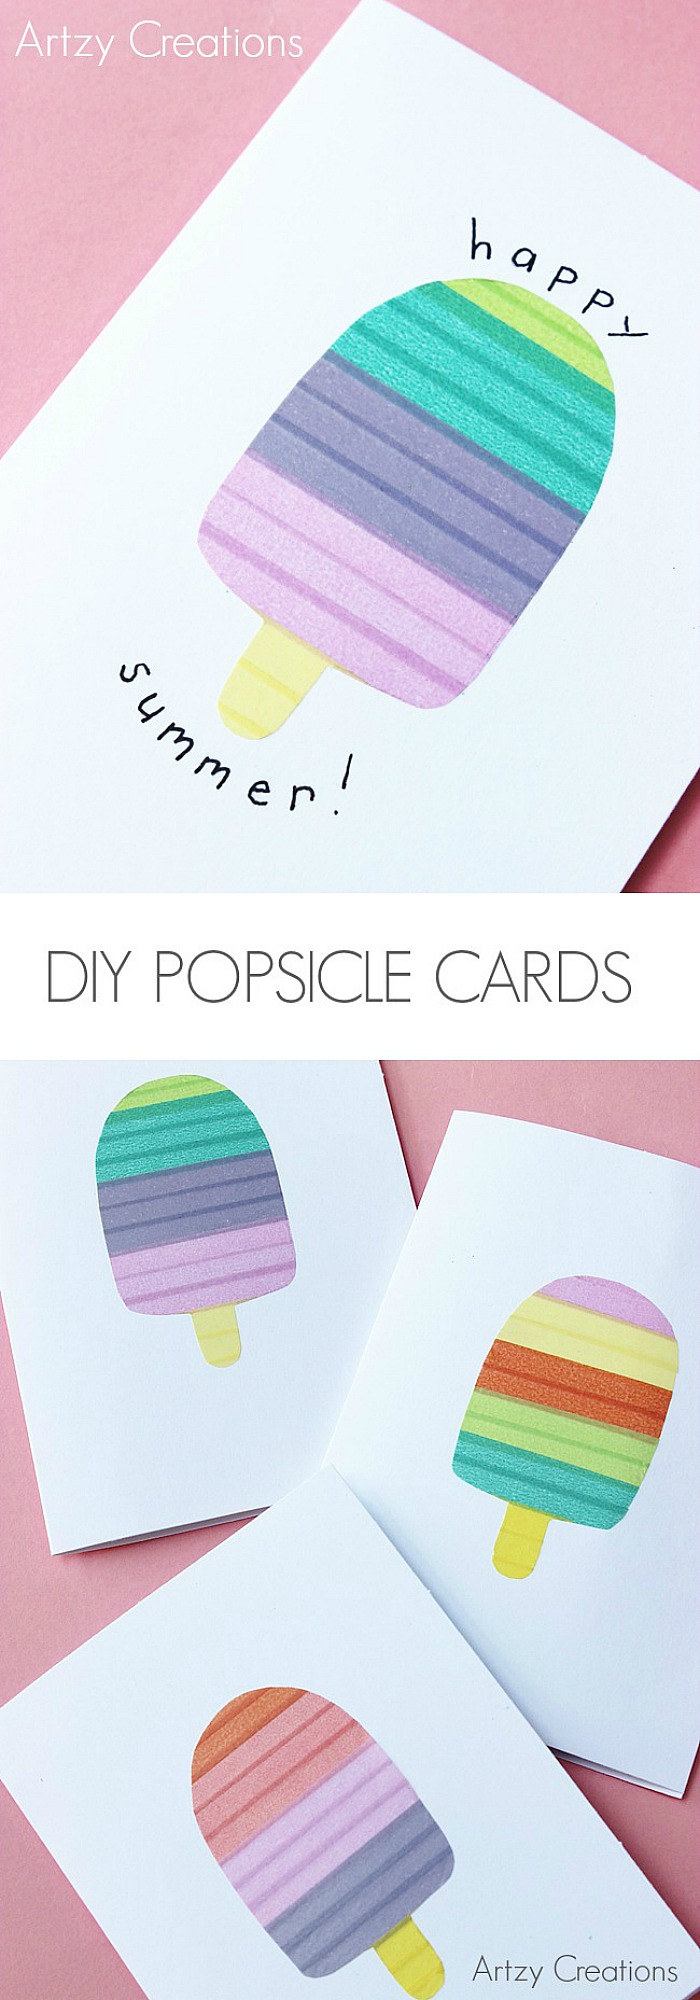
Hi to all of The 36th Avenue fans! I’m Melanie Artz with Artzy Creations. Today’s craft is a super cute and simple DIY Washi Tape Popsicle Card. I’ve included a Free Template to make creating them super easy. You can personalize these for any summer occasion like pool parties, summer birthdays, thank you cards, or just because they’re fun!
I love this time of year. It’s all about summer BBQ parties and lots of outdoor fun. I think everyone can relate to having fond summer memories that include cool & refreshing popsicles. Summer just wouldn’t be complete without them.
If you haven’t tried Washi tape before, it’s a Japanese paper tape that you can find in almost any craft store. I must warn you though… because of all of the cute colors and patterns that you can find, and the endless things that you can make with Washi tape, it can be very addicting.

Supplies Needed:
- Plain Cards or Cardstock
- Various colors of Washi Tape (I used the really thin Washi Tape for this project.)
- Wax Paper
- Pencil
- Scissors
- Transfer Paper (Paper that you would normally use for Cricut or Silhouette Projects)
- Popsicle Template (Download Here)
- Anything that works as a squeegee
Step 1: Cut out the popsicle template.

Step 2: Tear off a piece of wax paper. Place the popsicle template underneath the wax paper. Use a little piece of washi tape to help hold it in place. Cut or tear the washi tape pieces long enough to cover the Popsicle template that is under your wax paper. Lay the pieces of Washi tape down on top of the pattern & slightly overlap each piece of Washi tape as you go. Repeat this process until you have covered the entire pattern.
Step 3: Take your squeegee and carefully run it over the Washi tape. This will help adhere the Washi tape to the wax paper so it doesn’t come off in pieces. Remove the popsicle pattern from underneath the wax paper.

Step 4: Place the pattern on top of the Washi tape and trace around the pattern with a pencil, or just cut it out using the template as your guide. Once you’ve finished cutting out your Popsicle, you’ll have the washitape on front and the wax paper on the back.
Step 5: Cut a piece of transfer paper large enough to cover the entire cutout. Remove the transfer paper backing. Lay the transfer paper on top of the cutout and rub your hand or squeegee over it. Place your cutout pattern on your paper to get an idea of where the center should be. Peel the wax paper off of the back and stick your popsicle in place.


That’s it! So fun and simple. The best part is you can personalize them any way you’d like. I love how cute they turned out. These definitely scream summer.

A BIG thank you to Desiree for having me today!
I will be back next month to share with you another cute and easy craft.
I hope you make lots of fun summer memories…
If you like this project, check out these other fun projects too:


…and don’t forget the popsicles!


You can follow Artzy Creations on
