

Really?!
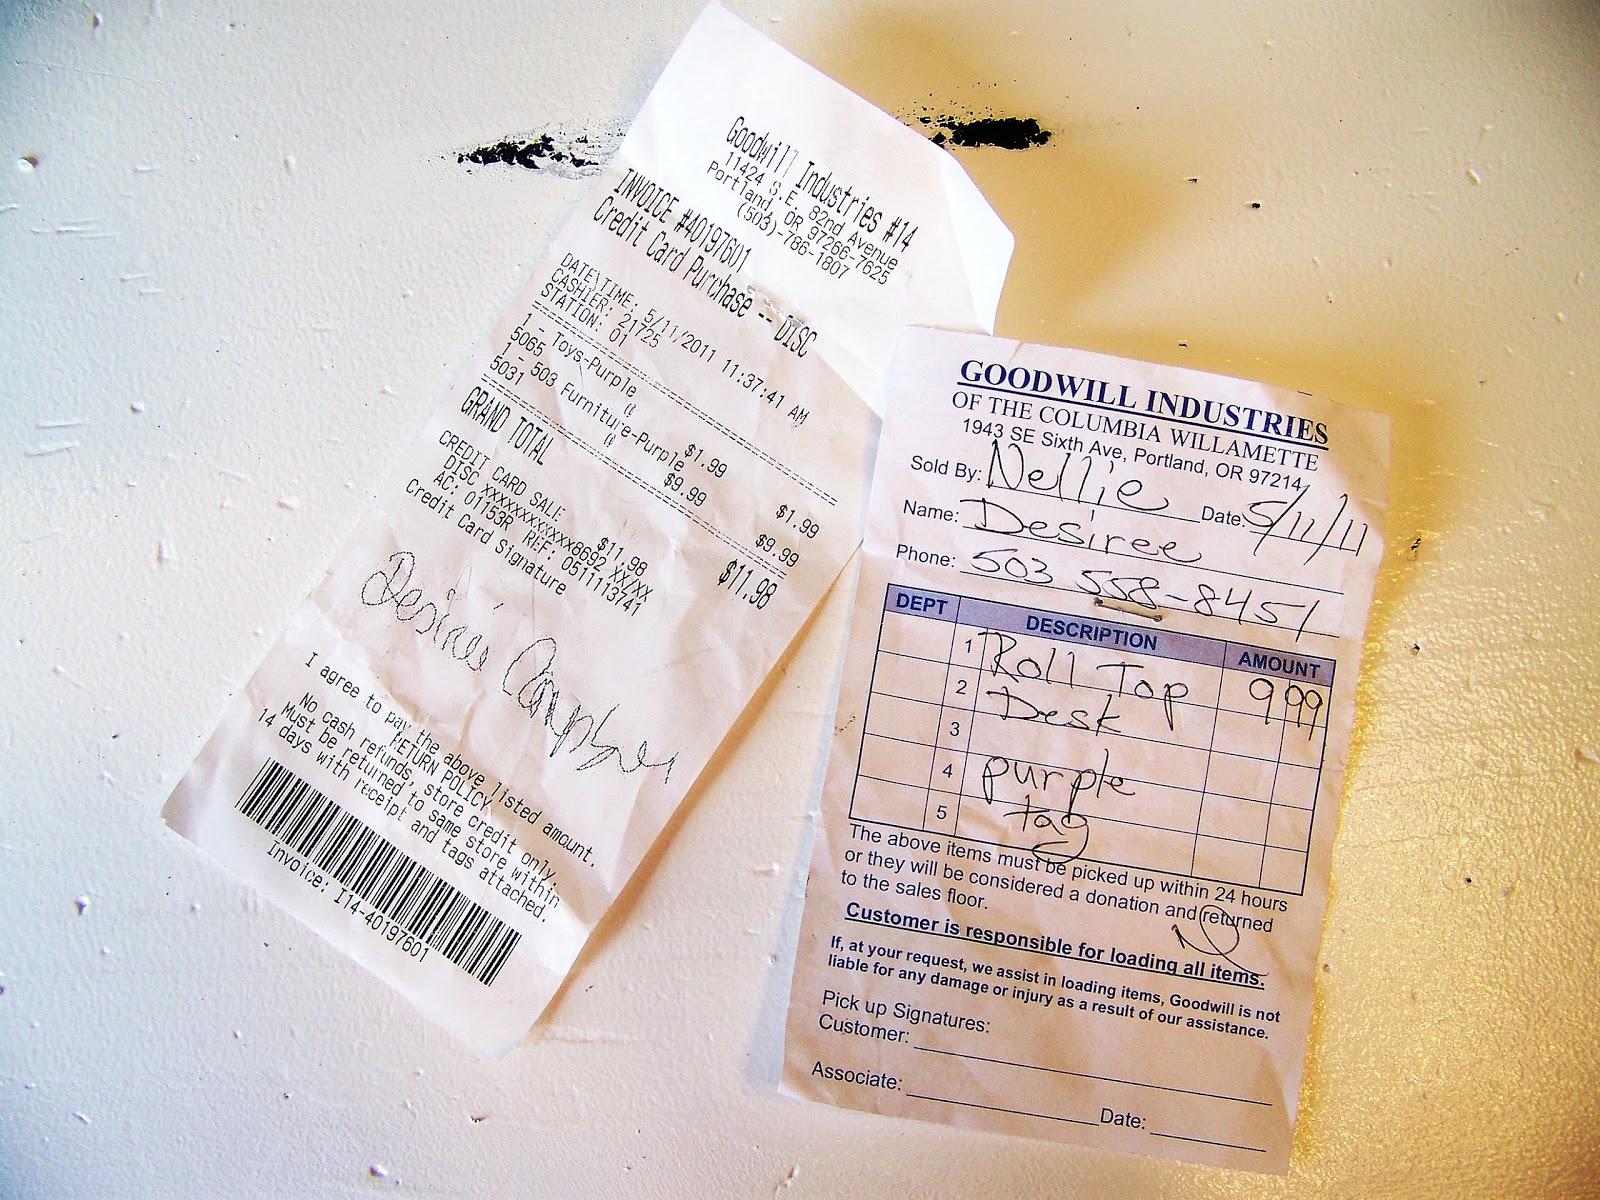
$9.99?!
I have made some good deals during the years but I have to tell you that I have NEVER bought such a beautiful piece of furniture for such an
amazing price before.
but today I am way too excited…
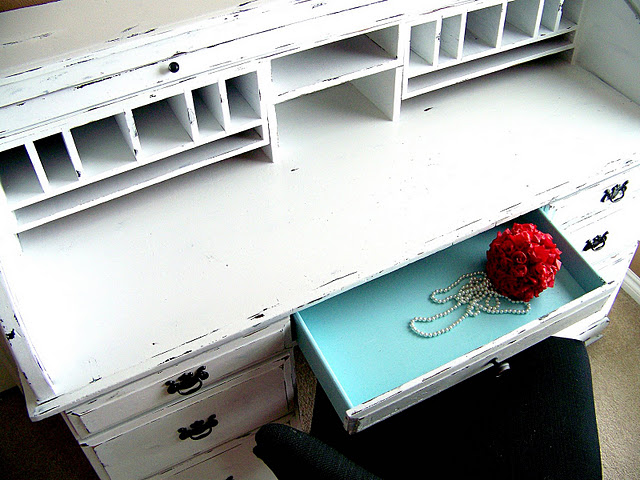
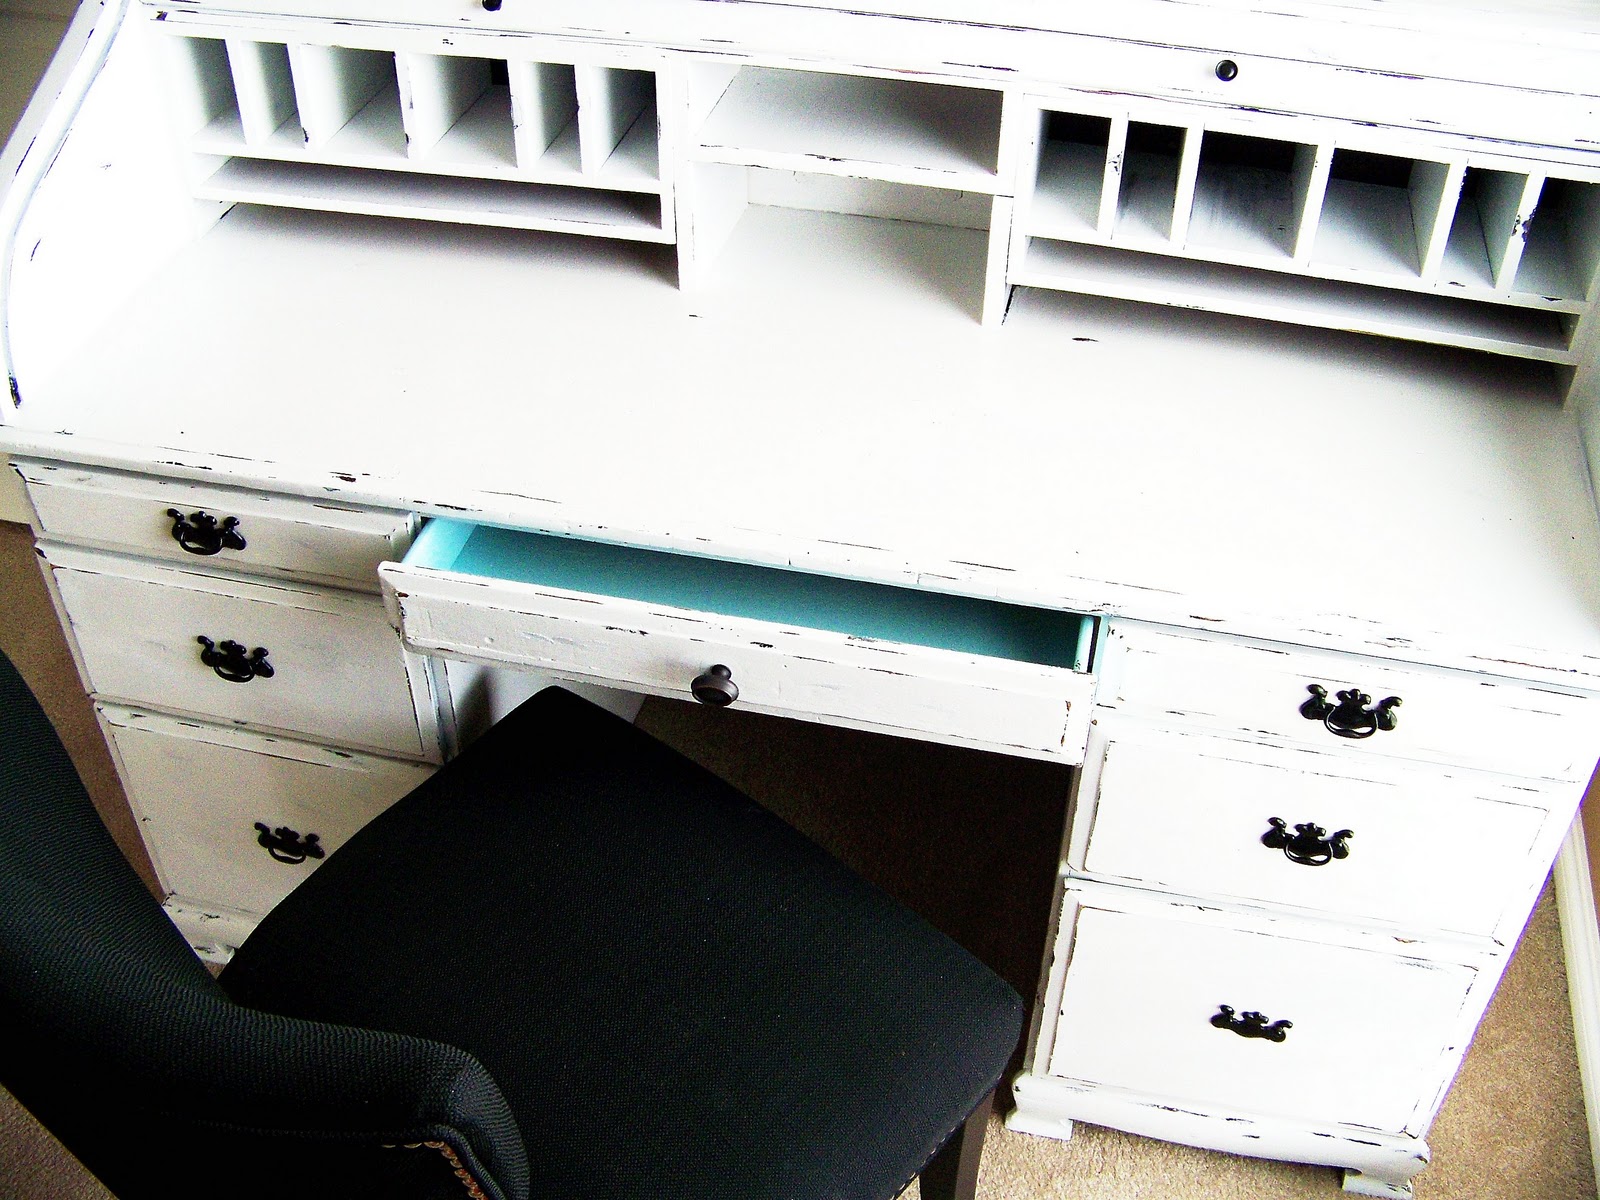
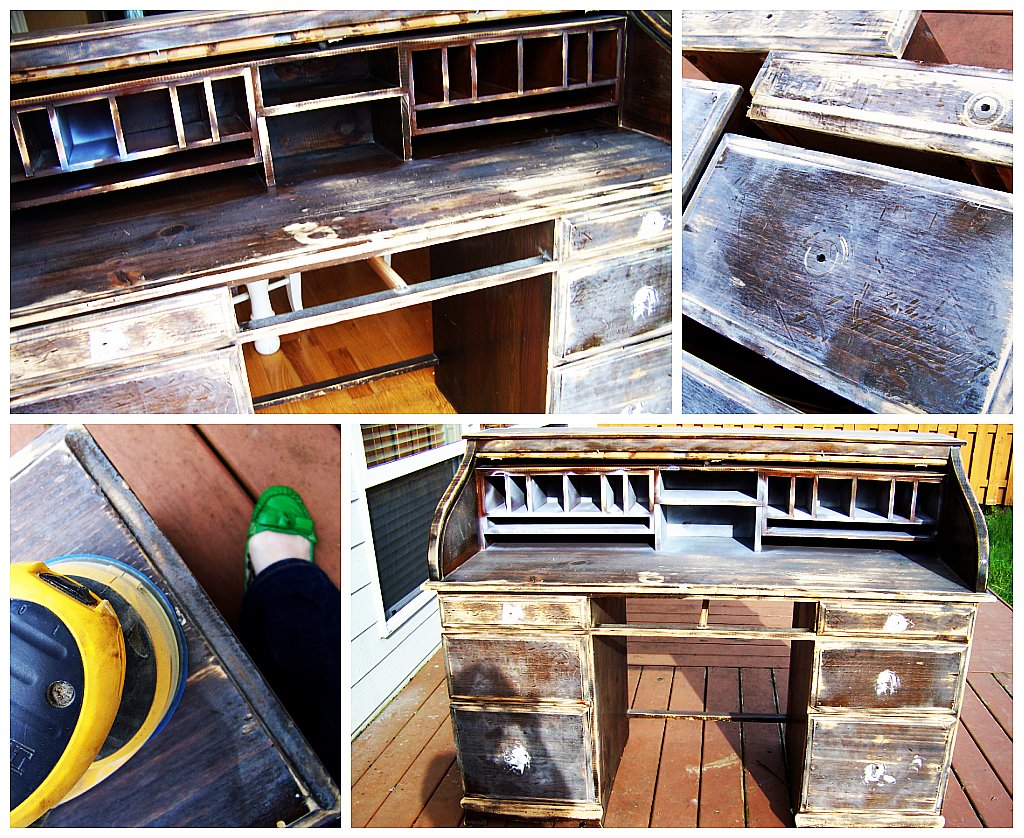
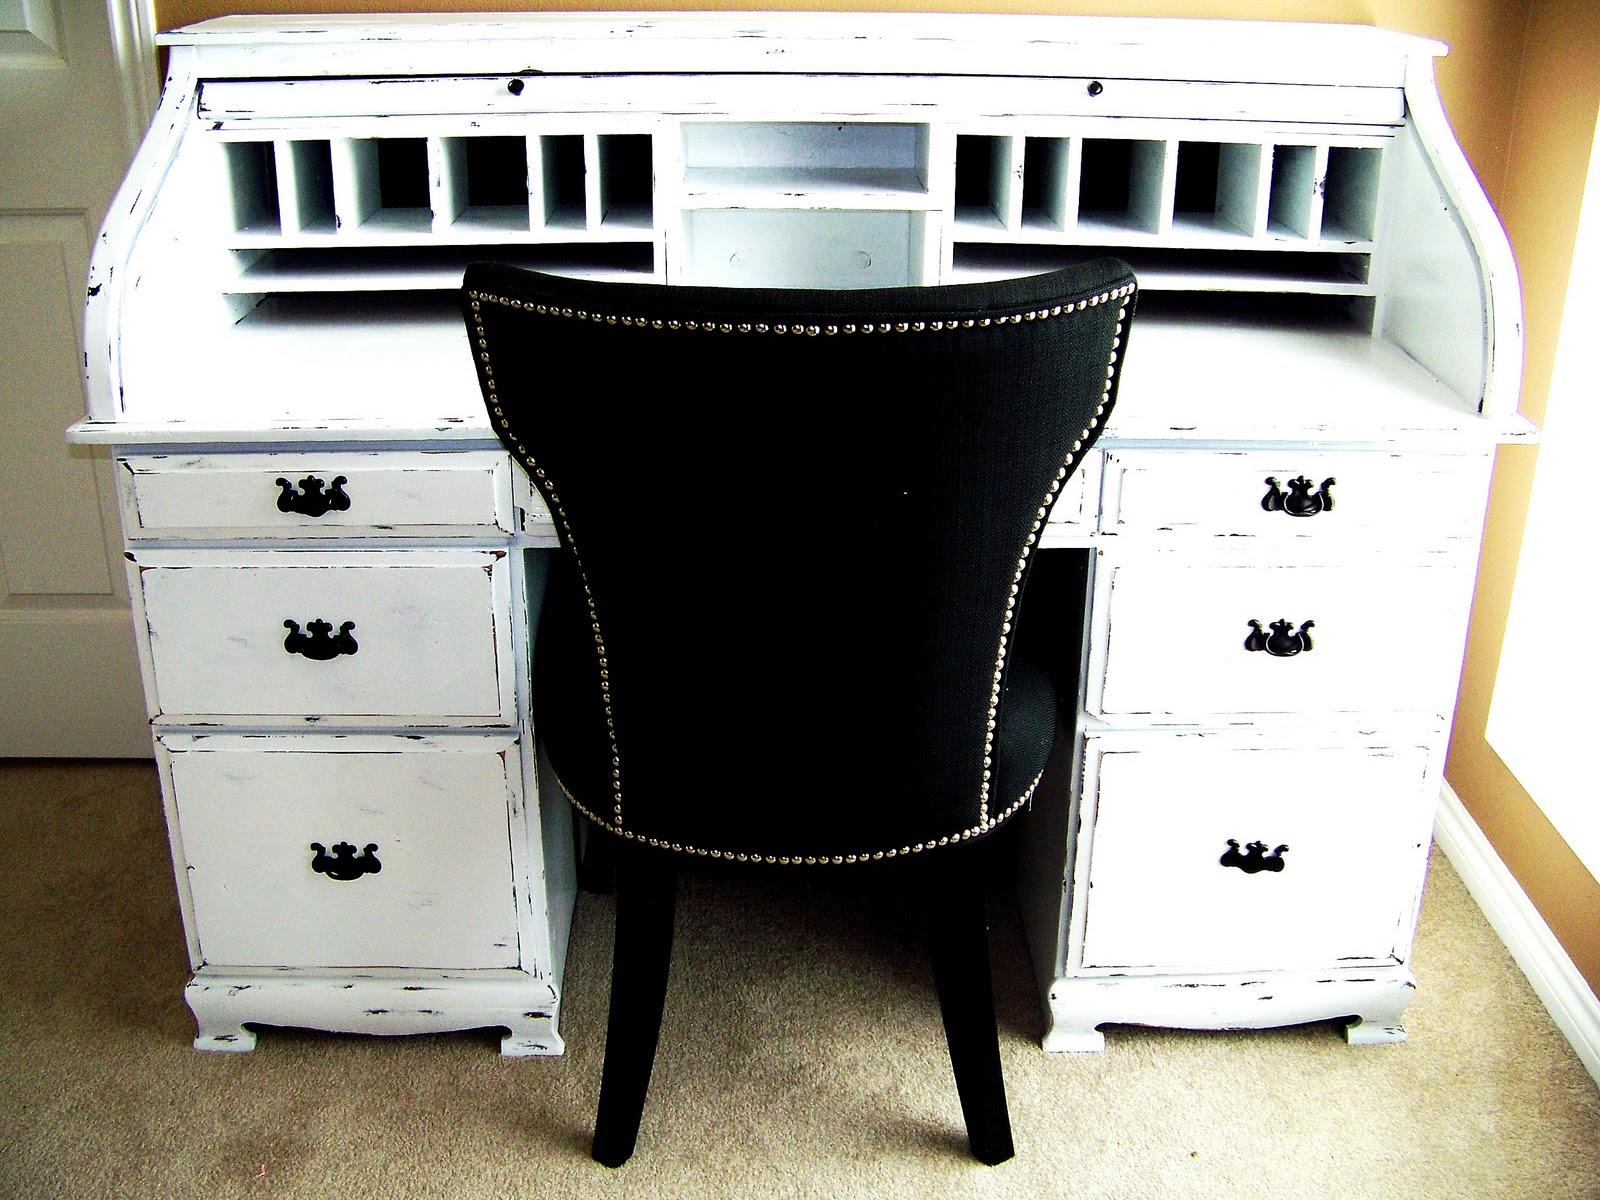
so allow me to show you the picture of my new “old desk”.
I worked on this desk on and off during the course of three days;
here are some of the things I did and learned in the process…

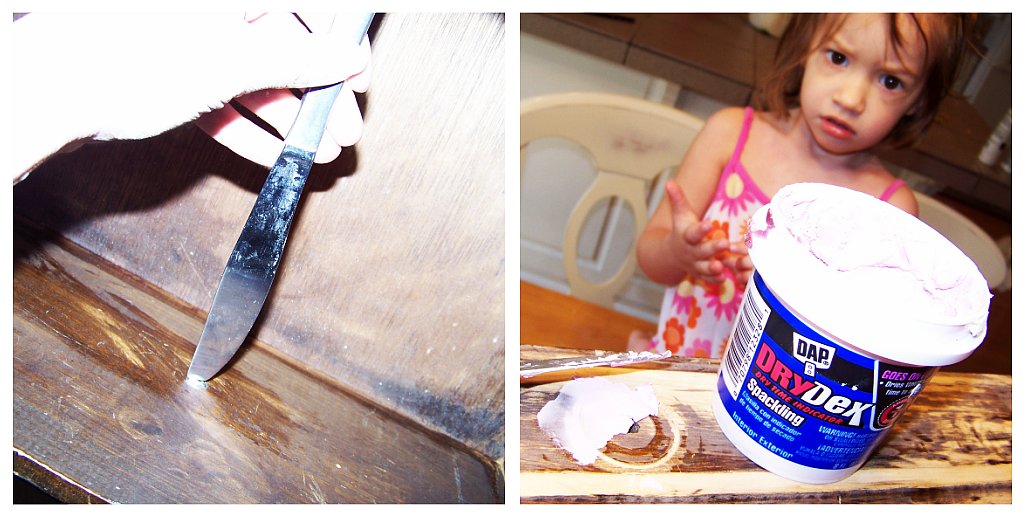
1. I Cleaned the desk, I removed the hardware and filled the holes.
{My baby girl thought that the DryDex was yogurt…you can see the disappointment on her face when I told her
” Mimi, you can’t eat that!”
2. I sanded it:
{Most of the times in order to restore and see true beauty we need to clean up and get rid of some old “unwanted” layers.
If you are wondering
What’s up with the green shoe?
I thought that you may want to see my foot, perhaps you are tired of seeing my hands ;)}
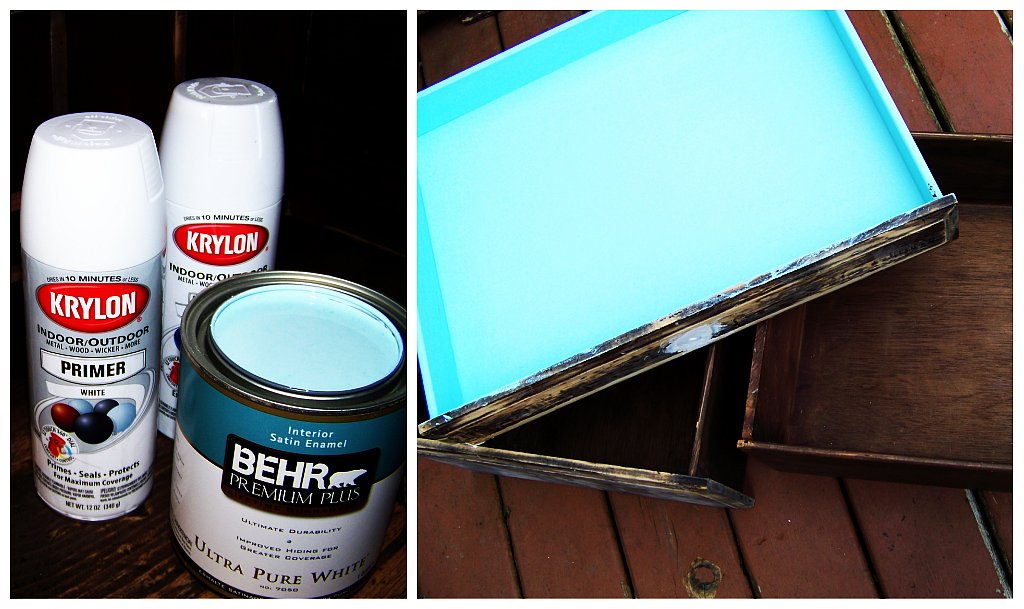
3. I painted the inside of the drawers turquoise:
{ We need to look deeper to see what is inside!}
4. I took a break!
Anything looks better after Hot Chocolate…

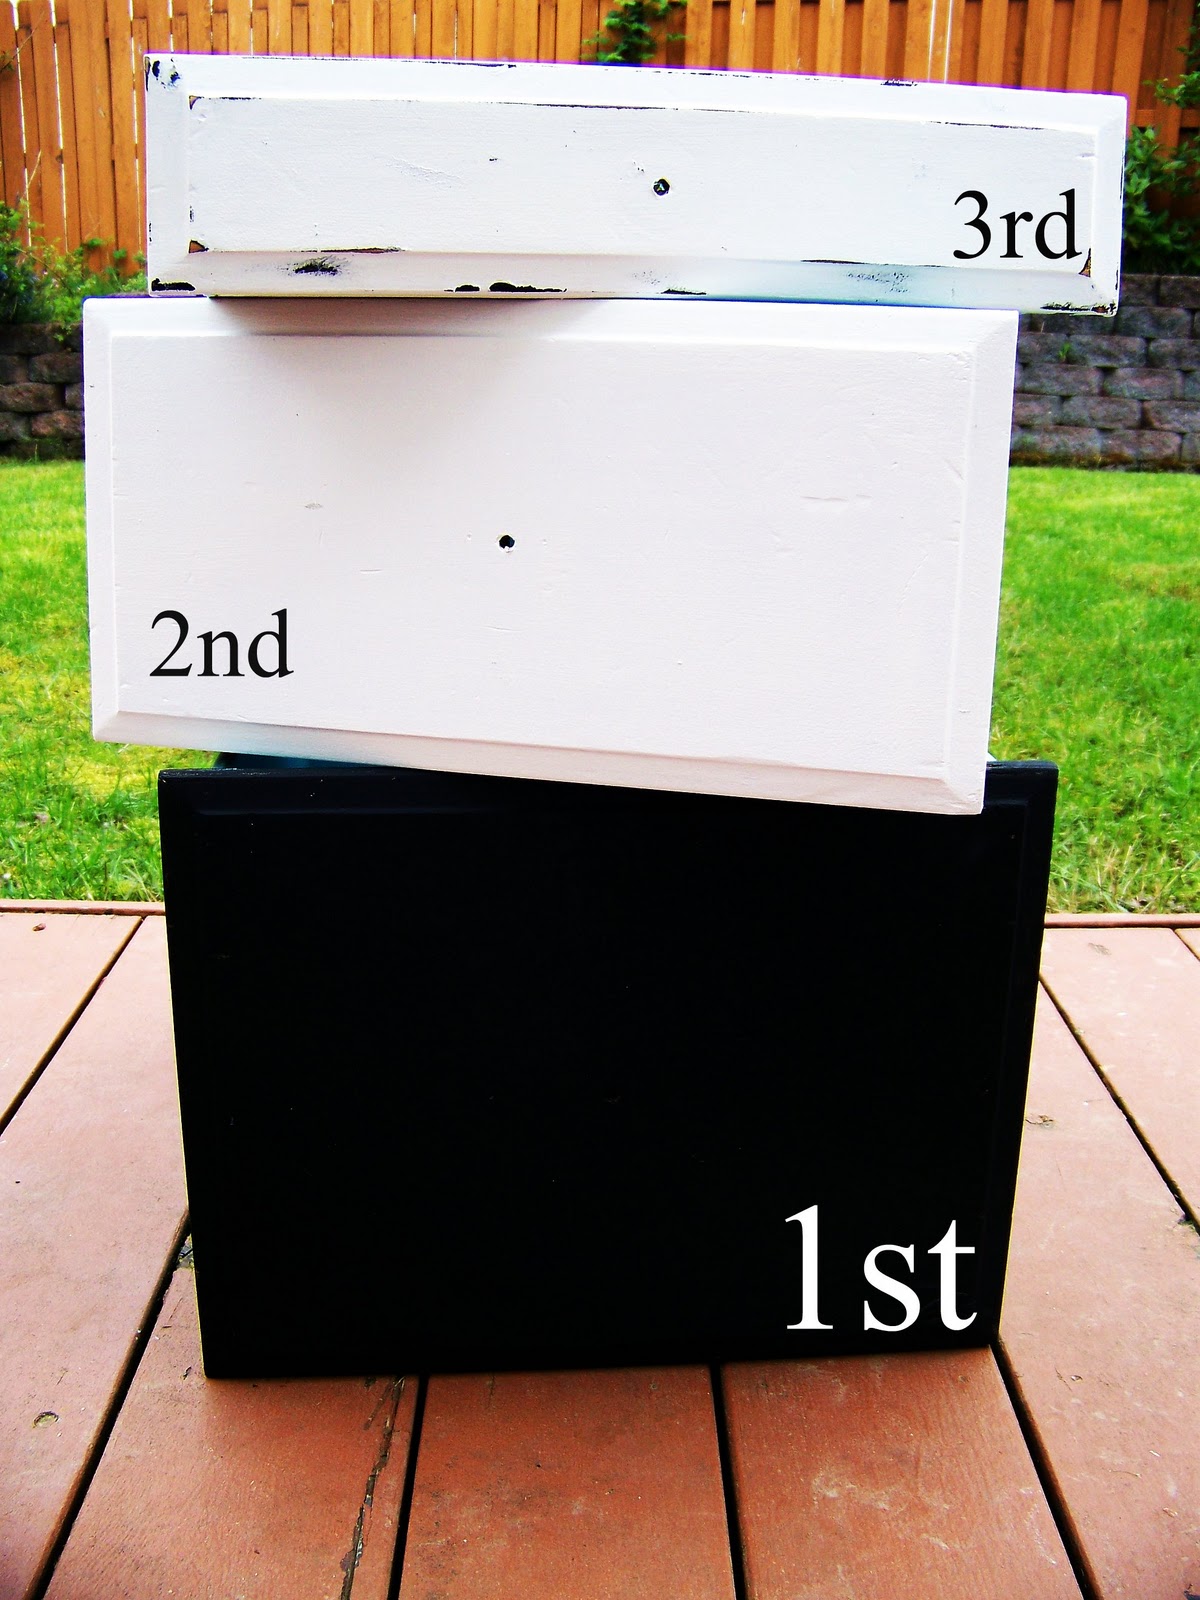
5. I painted the entire desk white I mean BLACK:
{At times things need to get darker before…}


{…they get lighter and brighter.}
6. I painted the entire desk white:
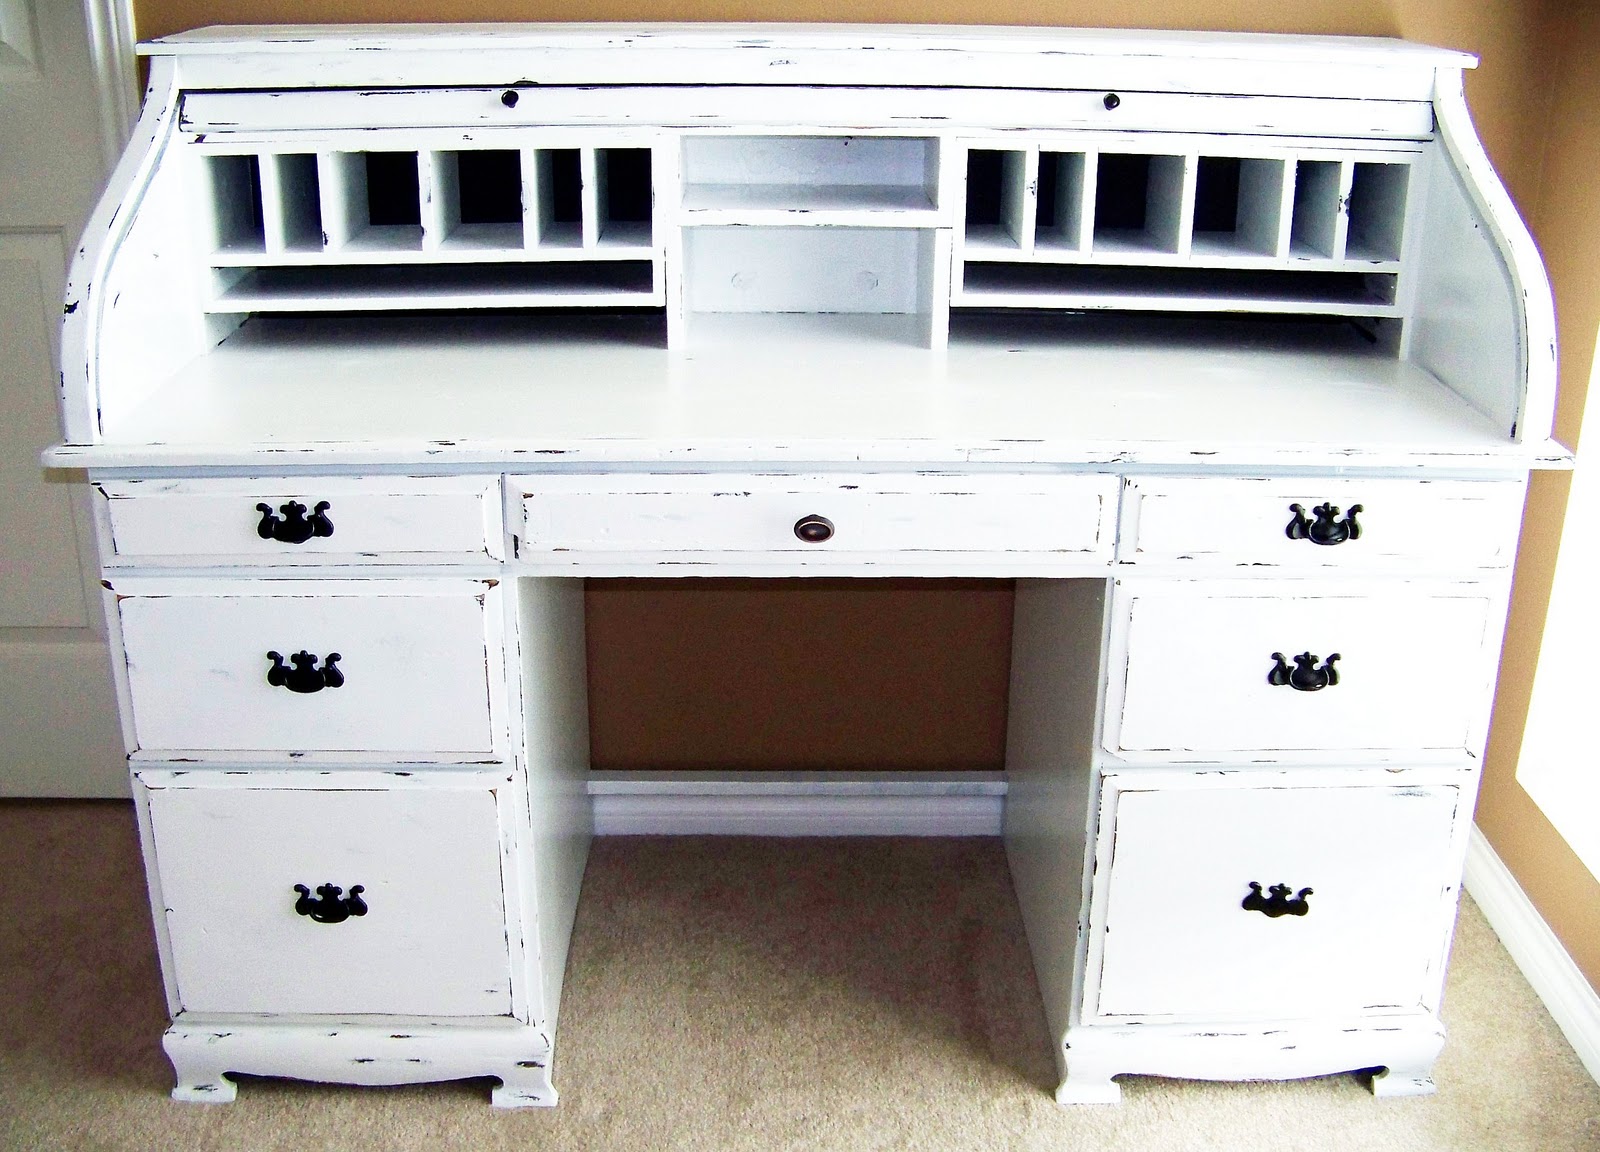
7. I antiqued the desk:
I used one simple tool to achieve this look:
my good friend the electric sander.
The amount of pressure determined how deep into the layers of paint I went.


7. I repainted and reinstalled the hardware.

I loved working on this desk.
I found myself often thinking about the similarities the desk has with life in general. As I was sanding the edges a small thought crossed my mind and I felt a sense of gratitude for all the “layers” and experiences that I’ve had in my own life. All those layers at the end of the day are
what have made us who we are today…
Don’t you think?

In the end for me it is as simple as this…
Price and value are NOT the same thing.
Sometimes appearance can blind us and take away from the true worth of things as a moment…, people, or of something as simple as an old desk.

The End!
![]()
PS: I am so excited my desk is one of the 10 TOP Projects at the diy CLUB 🙂


What did you use at the very end to seal all the paint in? Some sort of a polyacrylic? Just curious- thanks!
I didn’t use anything, just the regular paint.
Tengo un escritorio igual en roble. De momento me da pena pintarlo (entre otras cosas porque me costó 200 veces lo q el de la foto), pero, ¿cómo consigues pintar los apartaditos de la parte de arriba? ¿Los desmontas? ¿Spraypaint? ¿?
Gracias,
CRIS
Los pinte a mano usando una brocha. Esa fue sin duda alguna la parta mas dificil.
Hello, I love this project it´s so nice. I´m from Spain and I´ll follow all your posts.
Débora,
De qué parte de España mi niña? Yo soy Canaria!
Hello. I love this project. It´s a great idea.
The score of the century! It looks amazing! 🙂
Where on earth did you get that beautiful chair from? The only ones I can find like that cost…well way too much!
I found the chair over at Home Goods years ago.
I have this exact same desk! My grandpa was a truck driver for a moving company and acquired the desk at some point in time. I absolutely love it, but it was so scratched up and out-dated. Thank you for the inspiration do redo mine with my own taste!
I have never been so lucky as to find a desk at that price. You did a great job, but I don’t care for the distressed look on anything. I like my stuff looking new.
Truly, truly lovely!
http://www.bluebirdandtheboy.blogspot.com
Truly, truly lovely!
http://www.bluebirdandtheboy.blogspot.com