

Months ago I shared this Dry Clay Pendant over at Design Dazzle.
With so many of us having Spring Break, Birthday Parties and even Showers coming up I thought to share with you again this simple craft that you, your kids and friends can make in just a few minutes!
Kids love making them, and they are the perfect little handmade gift for grandma,
friends and perhaps teachers.
Trust me… I have four kids!

TUTORIAL
1
Make a ball with your hands…
{ This is air dry clay you can purchase it at your Craft Stores or even Wal-Mart }

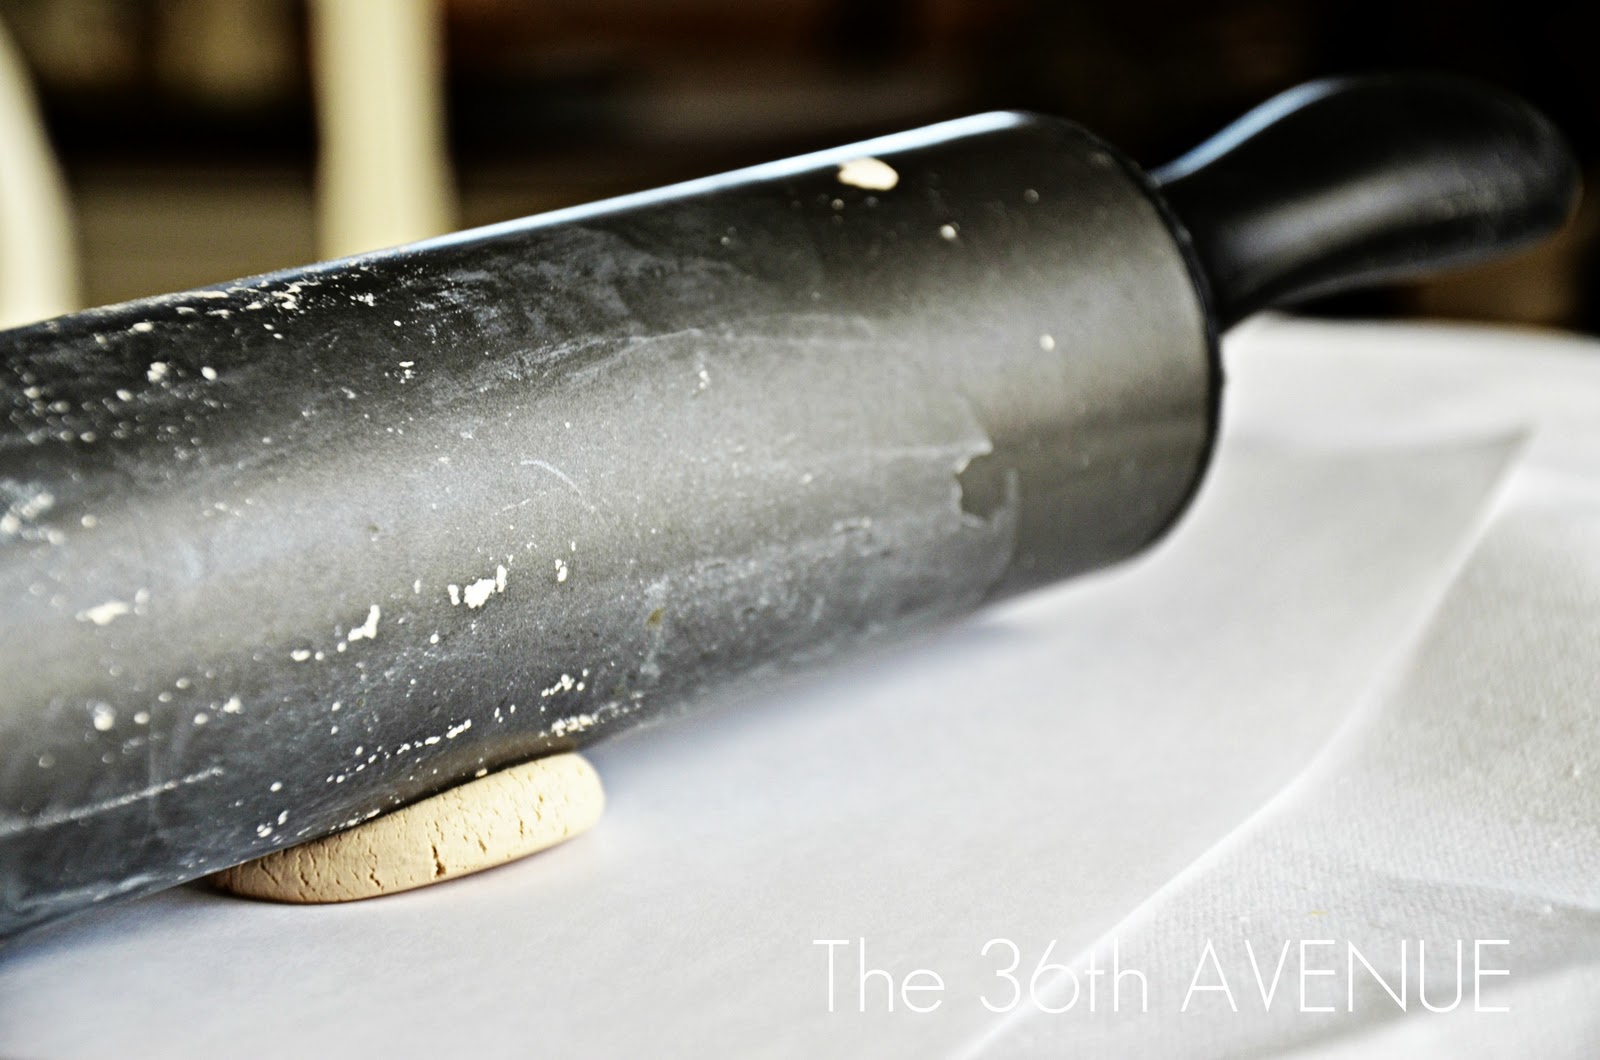
2
After make it flat with the help of a roller or just squish it with the bottom of a cup.
I made mine about a 1/4″.
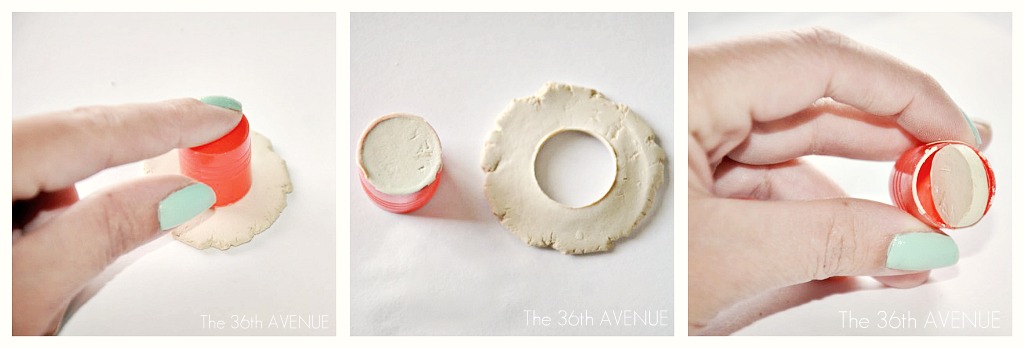
3
Use the lid of glue stick as a punch holder to make a perfect circle.
Just remove the EXTRA clay and press softly the side of the clay to have it come out of the lid…
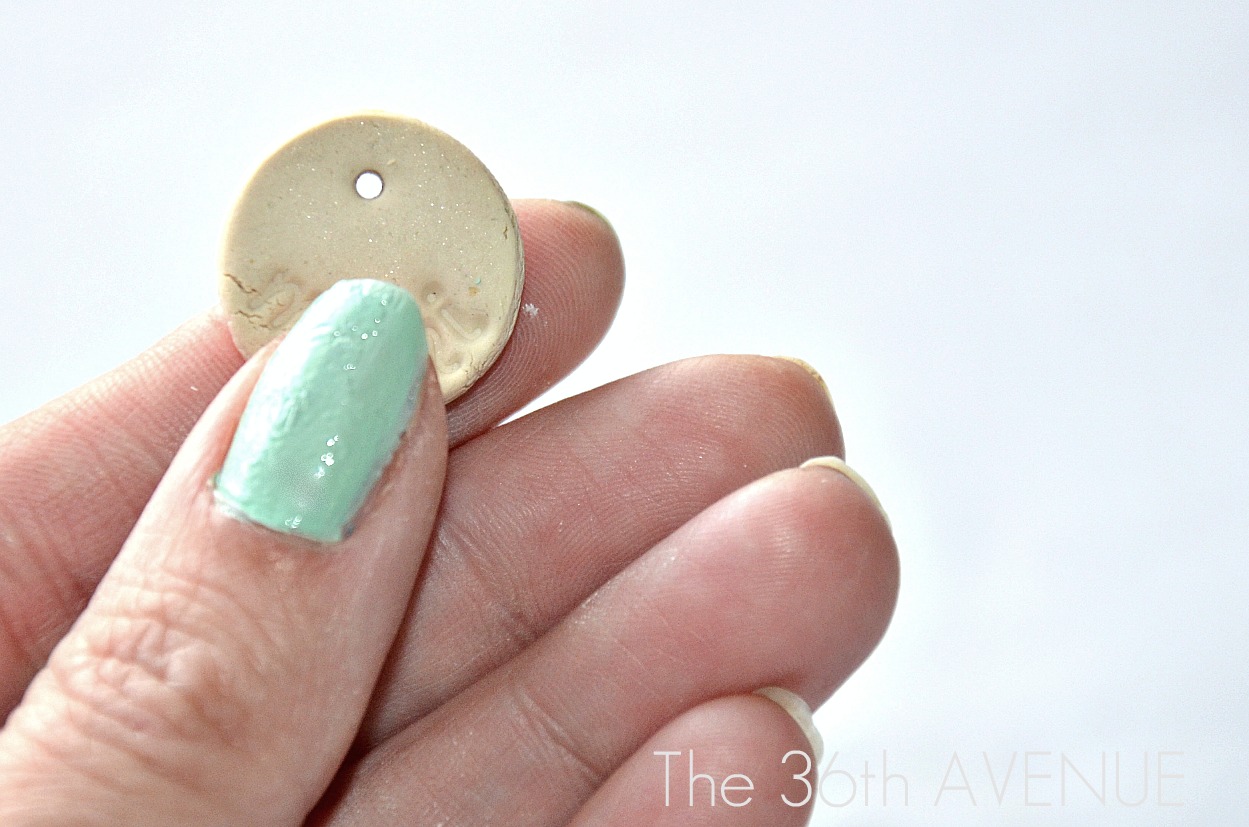
4
Stamp It!
Use any type of letter stamps.
I found mine at the Scrapbooking aisle at Wal-Mart for just a dollar.

5
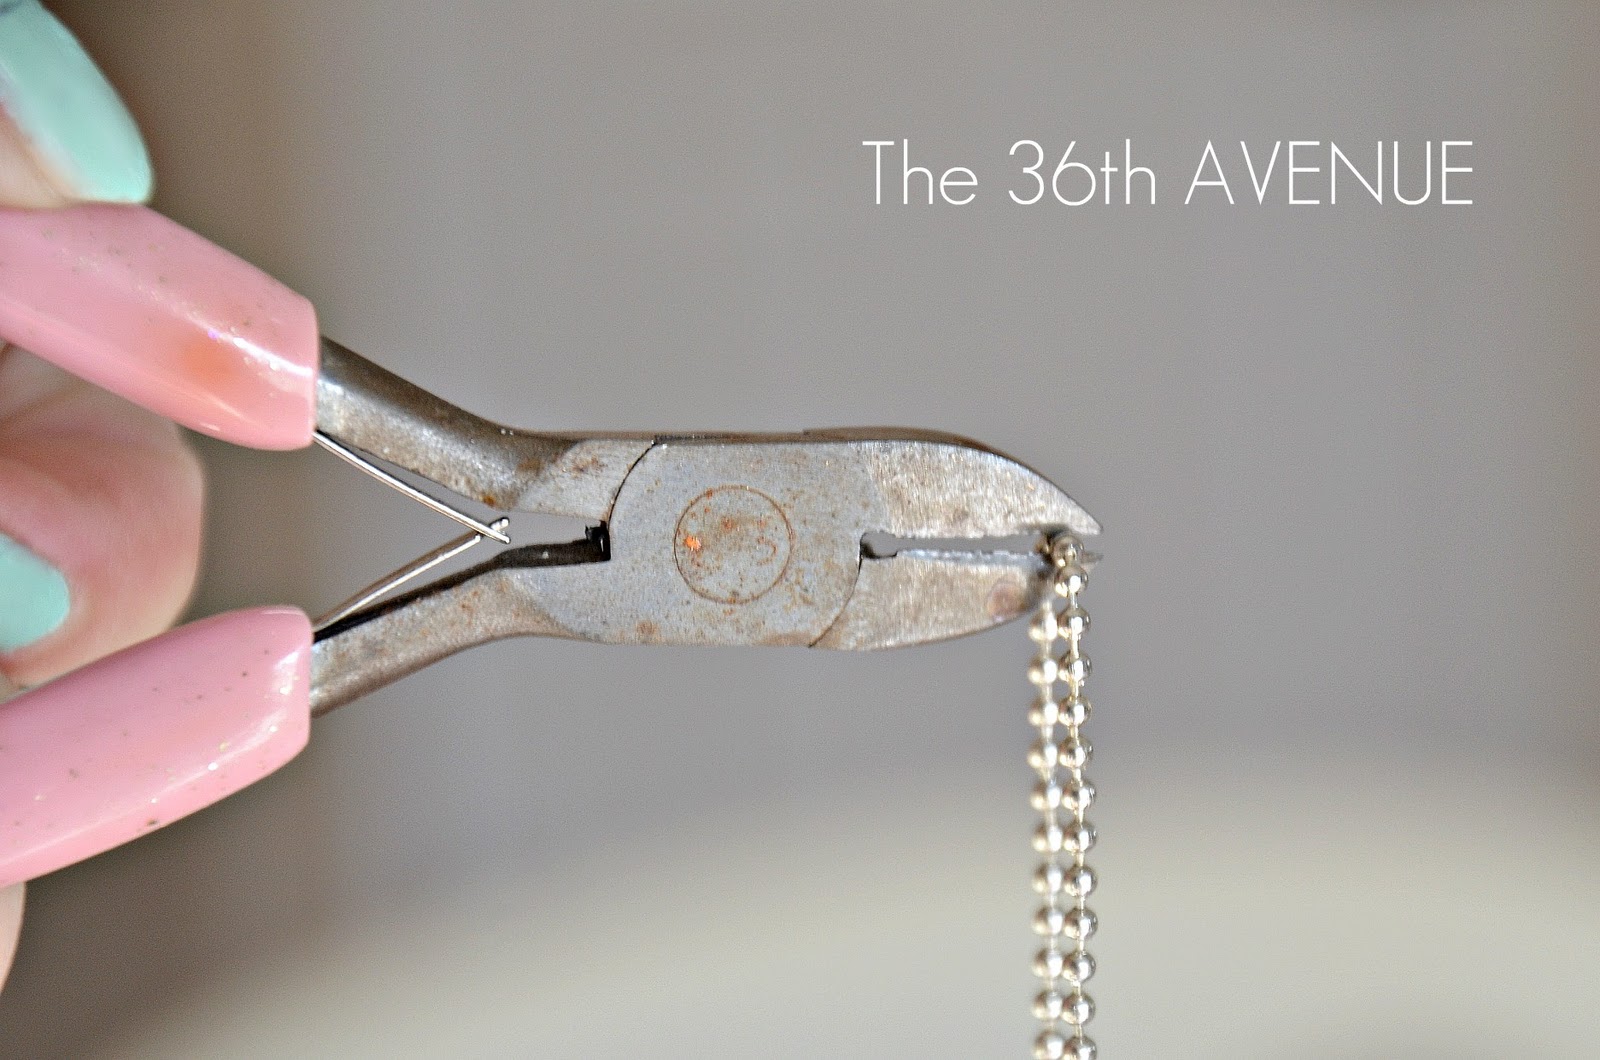
Poke a hole for the chain. I used a nail to make mine.
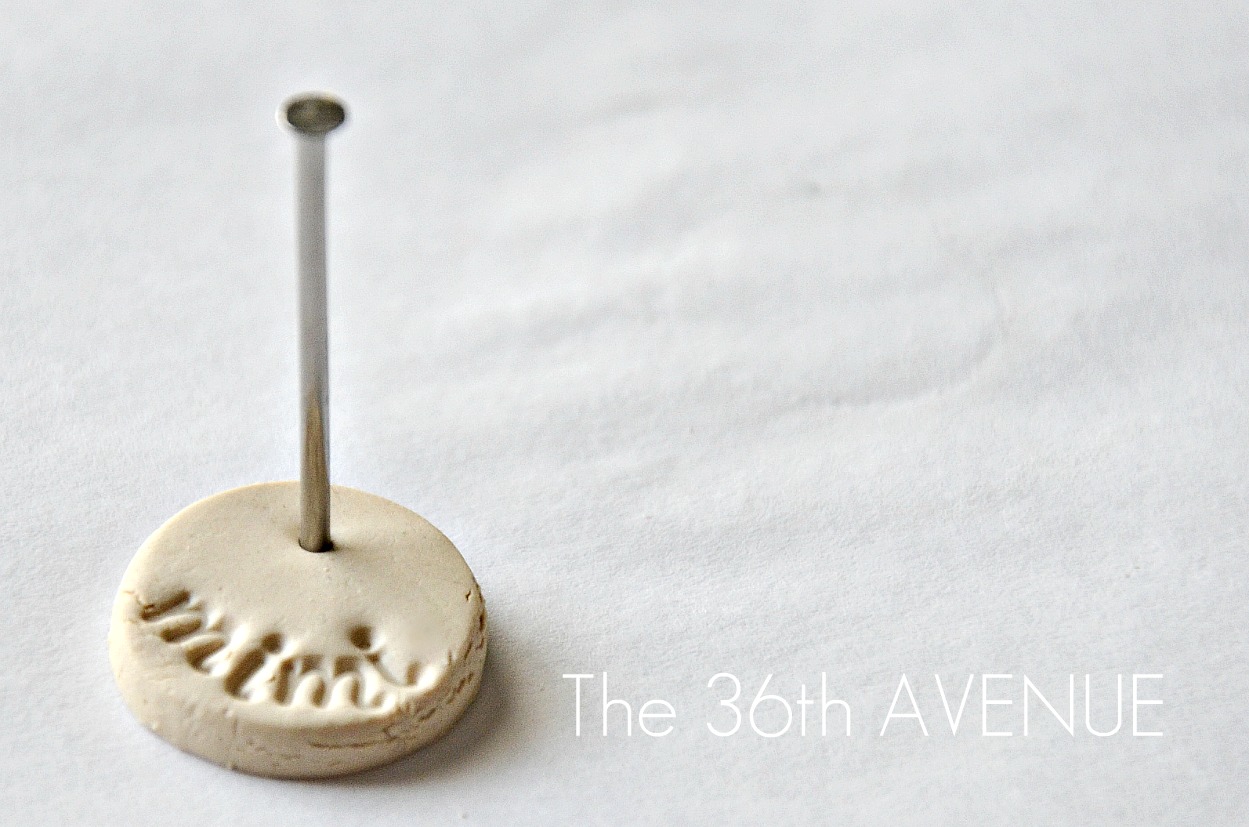
The size of the hole need to be big enough to put whatever you are hanging the pendant from through…
NOTE: I got my chain at Walt-Mart also.
It comes in one long piece but with enough locks to make four…

If you end up getting this one fold the chain in half and cut it…
And then fold each half in half and cut it again…
You will end with four chains for around $3 total.
6
OK… back to the pendants 😉
Let the clay dry naturally or turn the oven at 175º and let the heat dry the clay for about 10 minutes.
Make sure you check often and pull it out as soon as the clay feels dry.
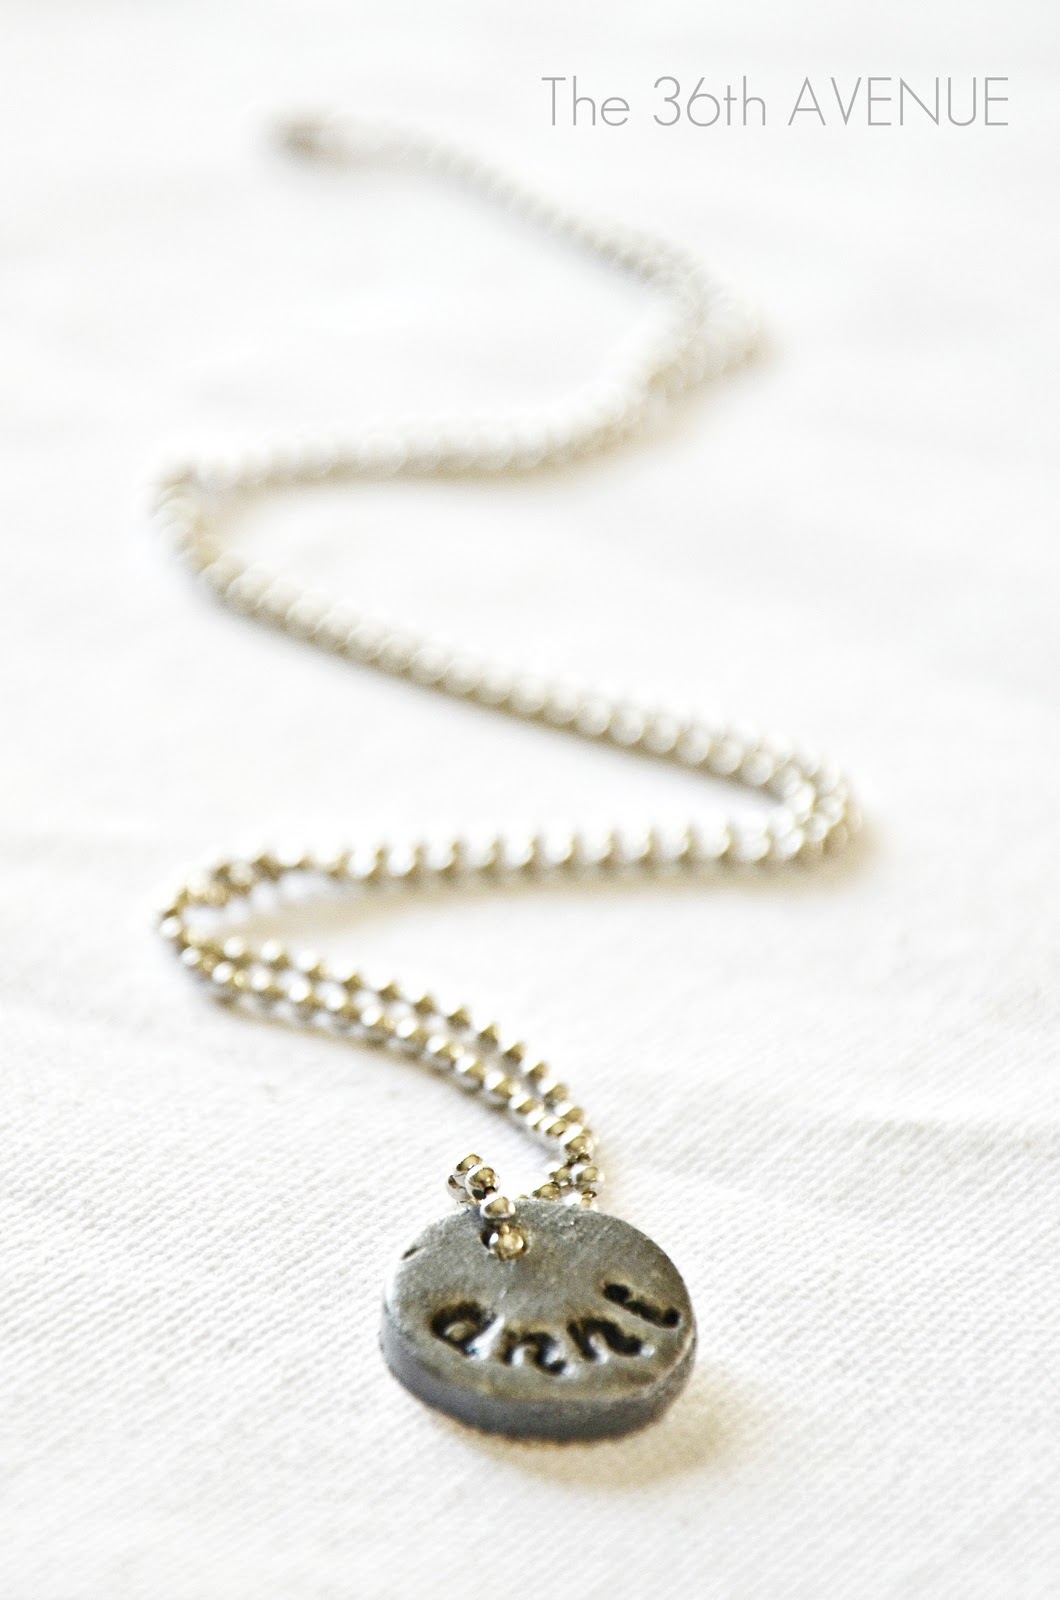
Then paint it…
I spray painted mine in silver.
To make the letters stand out I used an antiquing glaze.
I am sure you can use regular acrylic paint as well, just wipe off the excess with a damp napkin WHILE THE PAINT IS WET.

You are done!
For a more grownup look check out my Stamped Washer Necklace’s Tutorial.

Get creative and use stamps, thumbprints, fun colors… There are so many different possible designs!
The important thing is to let those kiddos use their endless creativity and imagination.
Happy Tuesday!
♥
Desirée
Thank you for visiting The 36th AVENUE…
if you are new I would love for you to stay in touch with me. You may want to

Hi!! I loved the ideas!!!
Have a nice day!!
Cimara
Hi found you through StumbleUpon and love your tutorials! Would love to make these clay pendants with my friends little girl 🙂
Just wondering what size of letter stamp you used on these?
What a fabulous project. I’m definitely pinning this. Thank you.
I love this! What a cute idea 🙂 I’ve never worked with any sort of clay before so this sounds like a good project for me to start on!
This is a great MOM craft!
~Bliss~
I’m totally going to have to make one of these…this is so cute! Thanks so much for sharing!
What a lovely idea — so cute! Thank you for sharing! I am going to have to try this one for sure!
Kendall
songbirdsandbuttons.blogspot.com
I have been a reader for just a short time so far – but just want to tell you how much I love your blog. Most crafty type blogs are very nice but I go in and go out rather quickly. You keep me engaged and I always leave feeling so inspired to try out some of the ideas I see here.
Deb,
What a sweet thing to say! I am so glad you like it here and I am grateful to have you as one of my readers!
Have a wonderful day my love…
Love this idea, just wondering about the clay you use… You just say roll into a ball. What kind of clay is it? Is it something you purchased or made yourself? Thanks
Linda,
Thank you for you comment I just added some info to the post. It is air dry clay. You can buy it at Wal-Mart.
How lovely! What a great idea, and very well explained!
Thanks for sharing!
Love the tutorial! Many thanks for sharing 🙂