
For the last few weeks I’ve been doing a bunch of makeovers around the house that I can’t wait to show you. Among them there is a small area in our Master Bedroom where I’m adding a tiny little office space. I already had the perfect desk for it. Well, almost perfect I didn’t like how the entire desk was painted yellow, so I stripped the paint on the top and refinished it. Here it is!

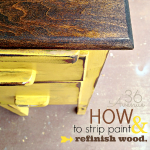
I know that the easiest way to change the look of furniture is painting it, but sometimes it is nice to let some of the gorgeous wood come through. I am a huge fan of two tone furniture, so when I am looking for thrifty pieces I like to make sure that the top is made of solid wood. I was so excited to strip some of the paint and give it character and personality! I want to show you today how easy it is to strip paint and refinish wood. Let us start with how to strip wood…
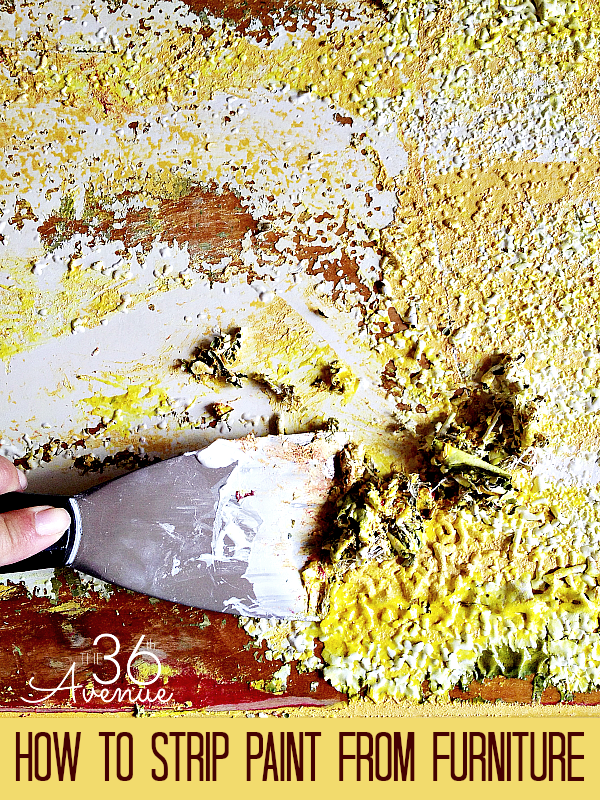
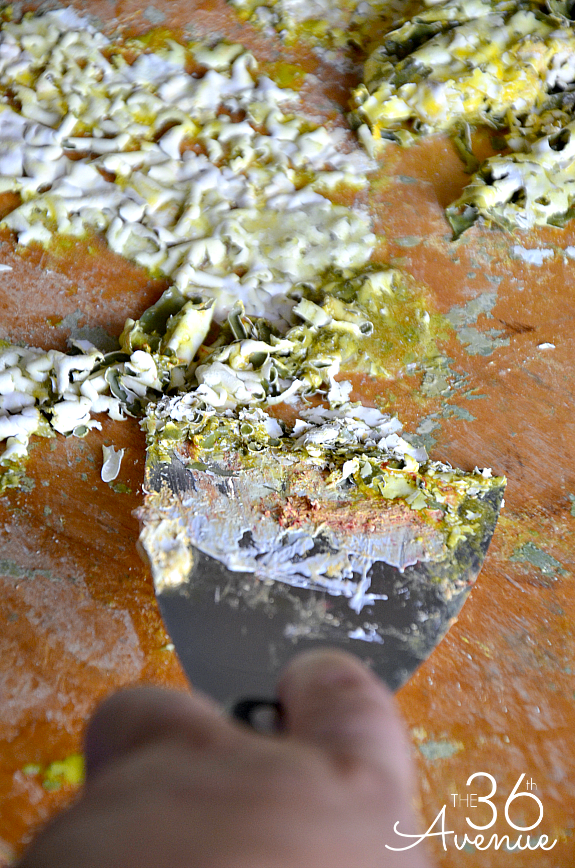
As you can see in the picture above, this desk had a fair share of layers of paint.
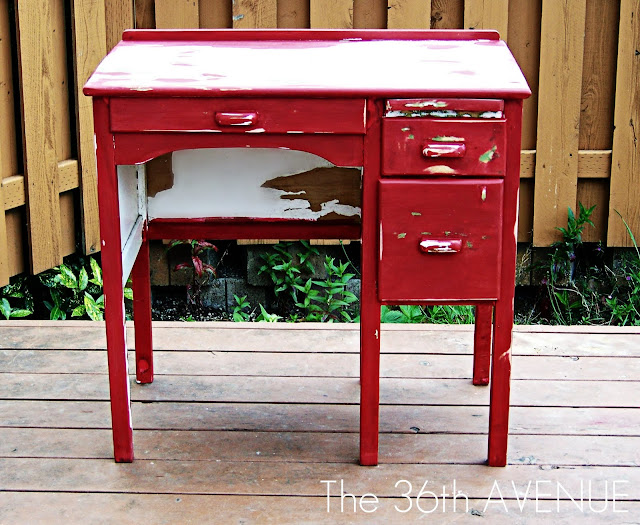
I was lucky to find this charming little desk in Oregon years ago in a yard sale for $5! The owner told me that she had bought it like 20 years earlier when it was all wood, then she had painted it green, and years later she repainted it white.
When it became mine I added a new layer of paint, my choice was red.
This was of course before I painted yellow… Wow! This little guy has had a serious journey!
You can see how to achieve this chipped look here.
So I think that gives us one coat of varnish and four layers of different colors of paint…
I believe it is time to show this desk its true colors!
Step 1
The first thing you want to do is to move the piece you are going to work outside to an open ventilated area.
Apply the stripping spray on the surface that you are going to work on.
I used Premium Stripper by Klean Strip. I found it at my local Lowe’s and it worked perfectly.
In less than a minute you are going to notice the first few layers of paint bubbling.
{ Read paint striper instructions since every product is different }
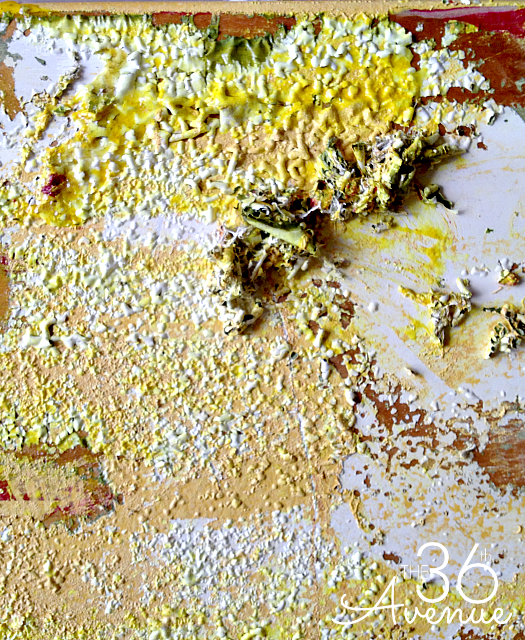
This is when you want to strip the paint off with a metal spatula. I noticed that the paint came off easier while the bubbled paint was still freshly wet from the spray. You may repeat the process a few times until the wood looks pretty much paint free.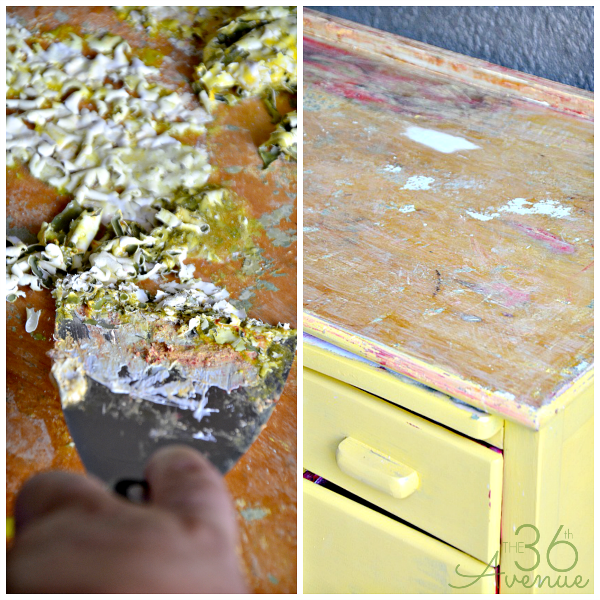
Step 2
Time to sand off the entire surface and make it look even and smooth. I like to use an electric sander since it is a lot faster and does a better job. I wanted to bring some of the wood tones to the yellow area of the desk so I also sanded the edges and corners of the desk. You are going to see in a few seconds how much character this simple sanding did for this piece.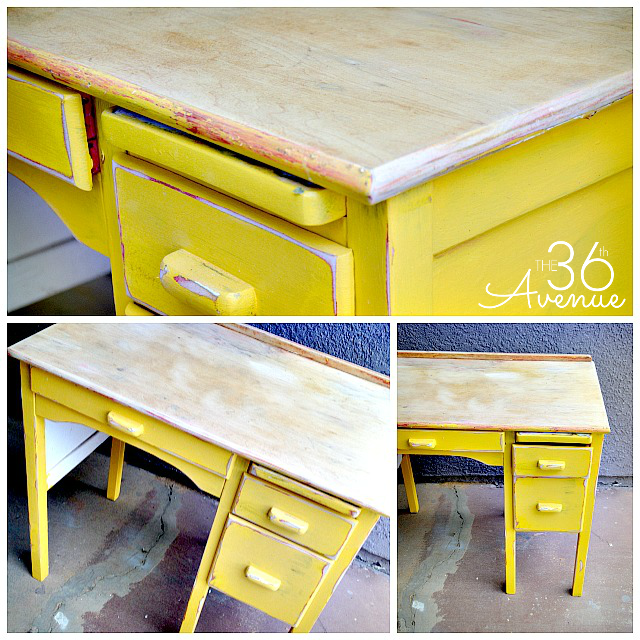
Step 3
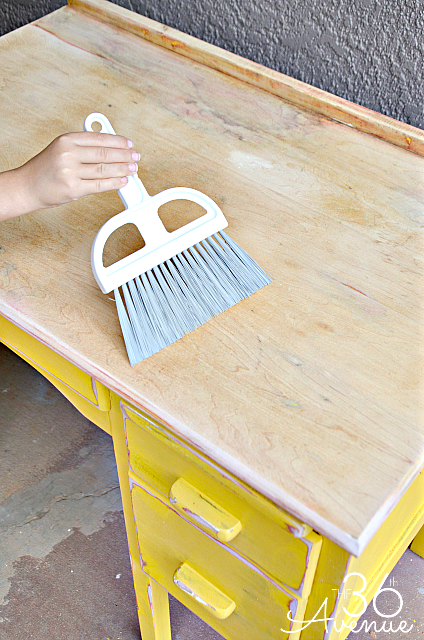
Do not skip this step! Make sure to dust off and clean your furniture before applying your finish. It is really important to have a clean surface to absorb the finish and ultimately make the wood look great! Here is my little Mimi giving mama a hand!
Step 4
Apply your wood finish to the clean wood surface. I like to use old t-shirts for this step. Apply as many coats as needed until you accomplish the look that you want.
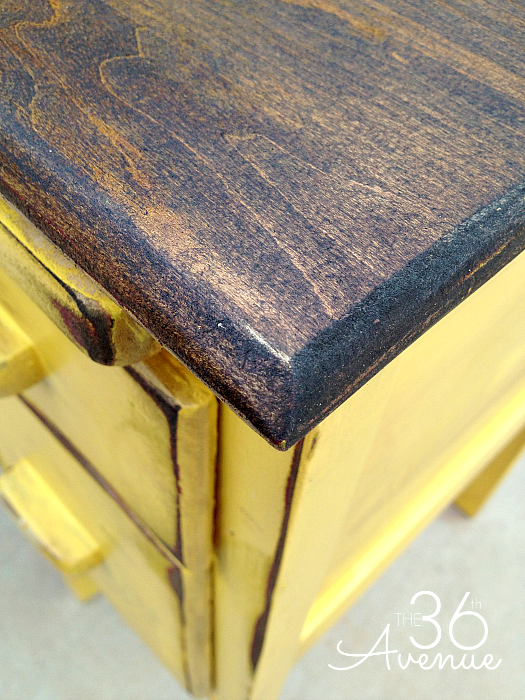
For this desk top I used the color Minwax Jacobean 27
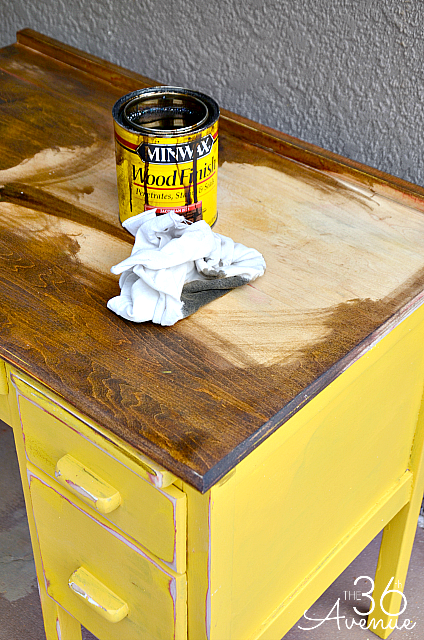
I also applied the same wood finish to the areas that I had sanded. Have a second rag handy so you can clean off the extra finish. You need to work quickly so the wood finish doesn’t dry on top of the painted area. It is better to work your way through a small portion at a time. I love this step because it is when magic happens!
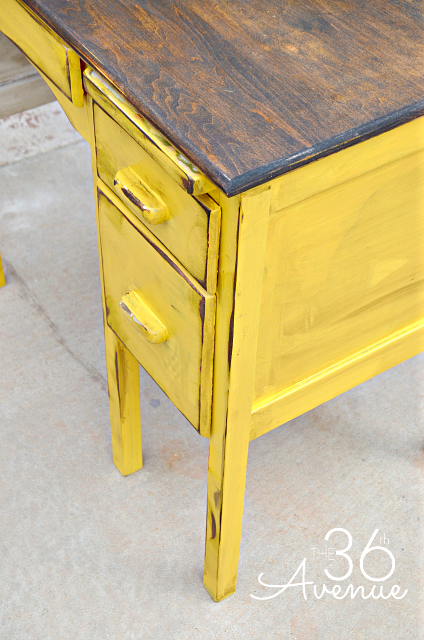
Look how pretty it looks… I am loving the rich dark wood tone against the bright yellow.
I like to wait 24 hours to allow the finish to dry and cure before I apply clear mixing glaze to seal the stain.
Use a rag to rub the glaze uniformly on the wood. My favorite product is the Clear Mixing Glaze by Valspar.
You can find it together with all the other products that I used for this makeover at Lowe’s over at the paint department.
So, this is how you strip paint and refinish wood!
Come on! That was easy… you can do it!
For more furniture makeovers click here and check out how to paint laminated furniture.

Also click here to take a look at my Top 10 Furniture Makeovers.

And these amazing 60 DIY Furniture Makeovers…
Trust me this is an amazing source of inspiration.

Wishing you all a happy day!
Besos
Desiree

I LOVE the new stain on the top! So beautiful! Love the cheery yellow as well!
Love the yellow paint against the finished stain top ! You made it looks easy. I still have one project to strip in my balcony. Hopefully I can do it soon ! Thanks for inspiring 🙂
best,
Marlin
Did you use a wood conditioner before staining?
I don’t Diane. The glaze at the end conditions the wood.
Love the wood top Desiree!
I’ve got a piece just waiting for this – thanks for the tutorial and the inspiration Pinning!
Thank you friend!
I love it Desiree! : ) I am redoing a bunch of furniture right now too! LOVE the yellow next to the stained wood!
Thank you Ashley! I can’t wait to see your makeovers 🙂
Do I really have to strip to refinish wood? I’ve never done it that way before and I’m not sure it’d be pretty sight!
Love the contrast of the wood grain top and yellow base! Stripping furniture is such a mess, but it’s worth it when it turns out so beautifully!
Christy @ Creating a Beautiful Life
Oh, that desk looks awesome now!
I love the stained top – I did something like this to my kitchen step stool, thankfully that hadn’t any color on it before, because I know how much work that is… Had to do it with my nightstand. And not only the top.
But I think, that makes these furniture so special: All the work you did to them make them really yours!
Have an awesome week!
Love, Midsommarflicka
I love it Desi! The sanding and stain on the yellow gives it that wow — like “magic” :). This makes me want to do a piece of furniture now!
Go for it! We are loving our new old desk 🙂