

According to my husband anything that has SUGAR is NOT good for the children.
Because he is such a good father every year during Halloween he tries his best to take away from the children as much candy as he can.
In his effort to assure that the candy is good for them he will go through the painful SACRIFICE of trying one and each piece of candy that they get… Ha!
During Christmas he cares SO MUCH about Santa that no matter how many cookies we bake he needs to try all of St Nicholas’s as well…
…Again he doesn’t want our old jolly Santa to get sick 😉
These Christmas pillows were inspired by my sweet husband and pretty much designed by my children…
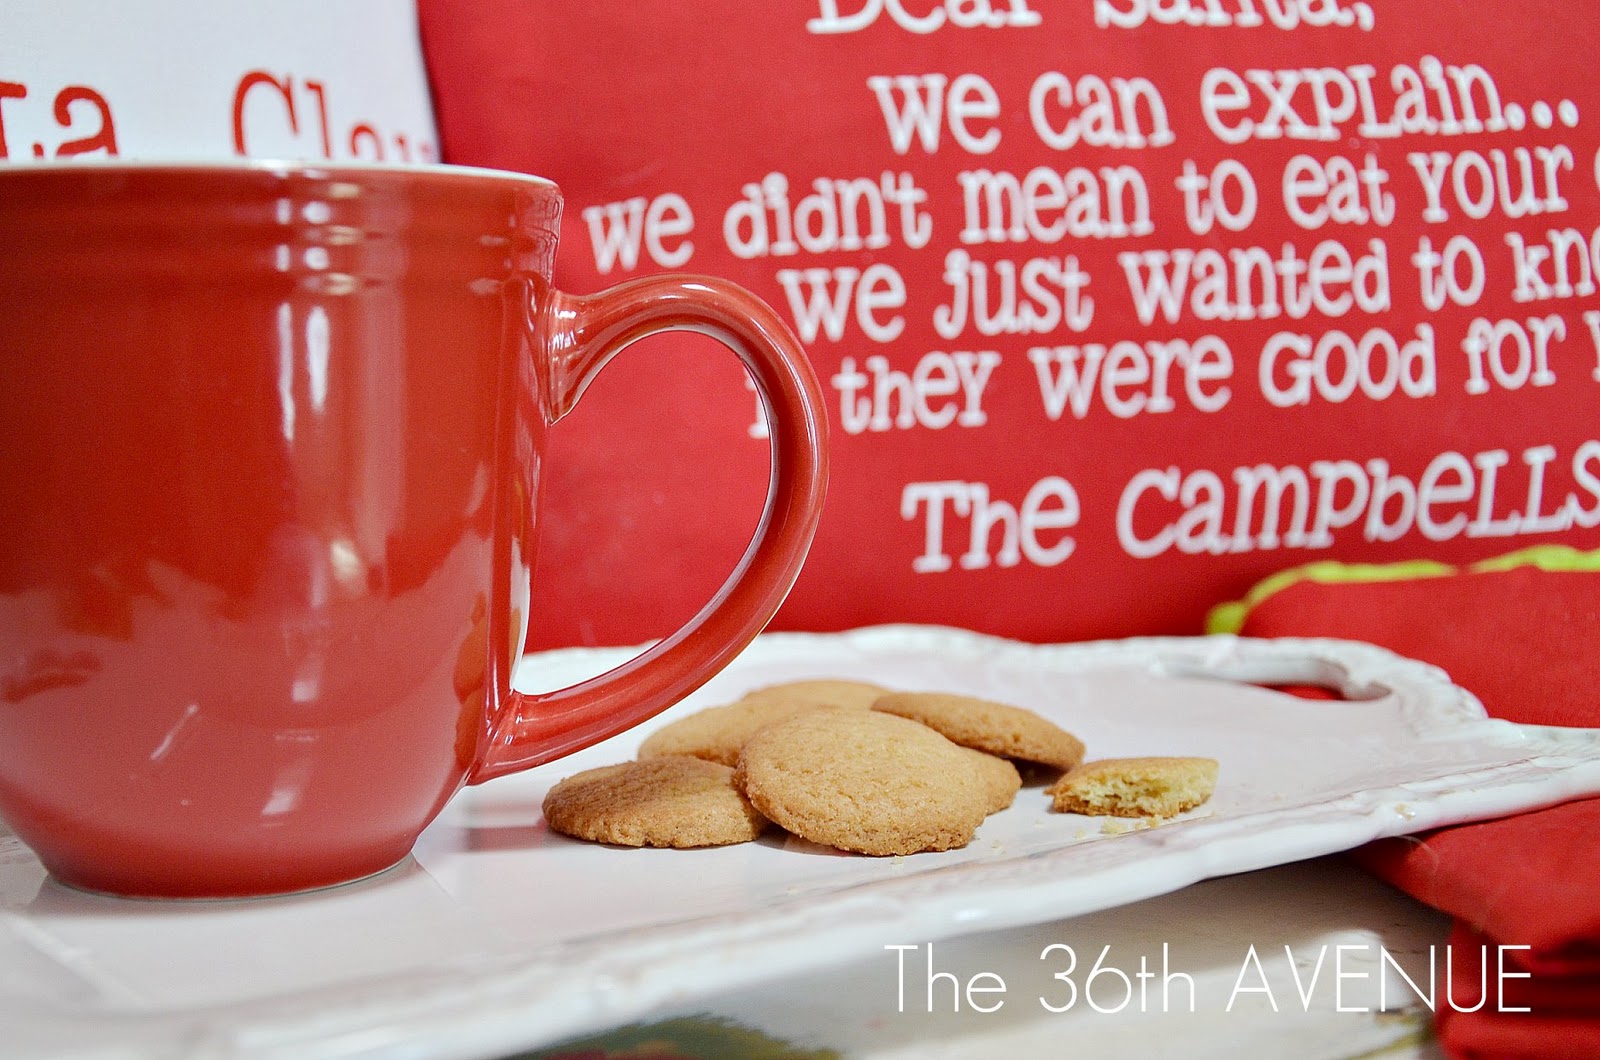
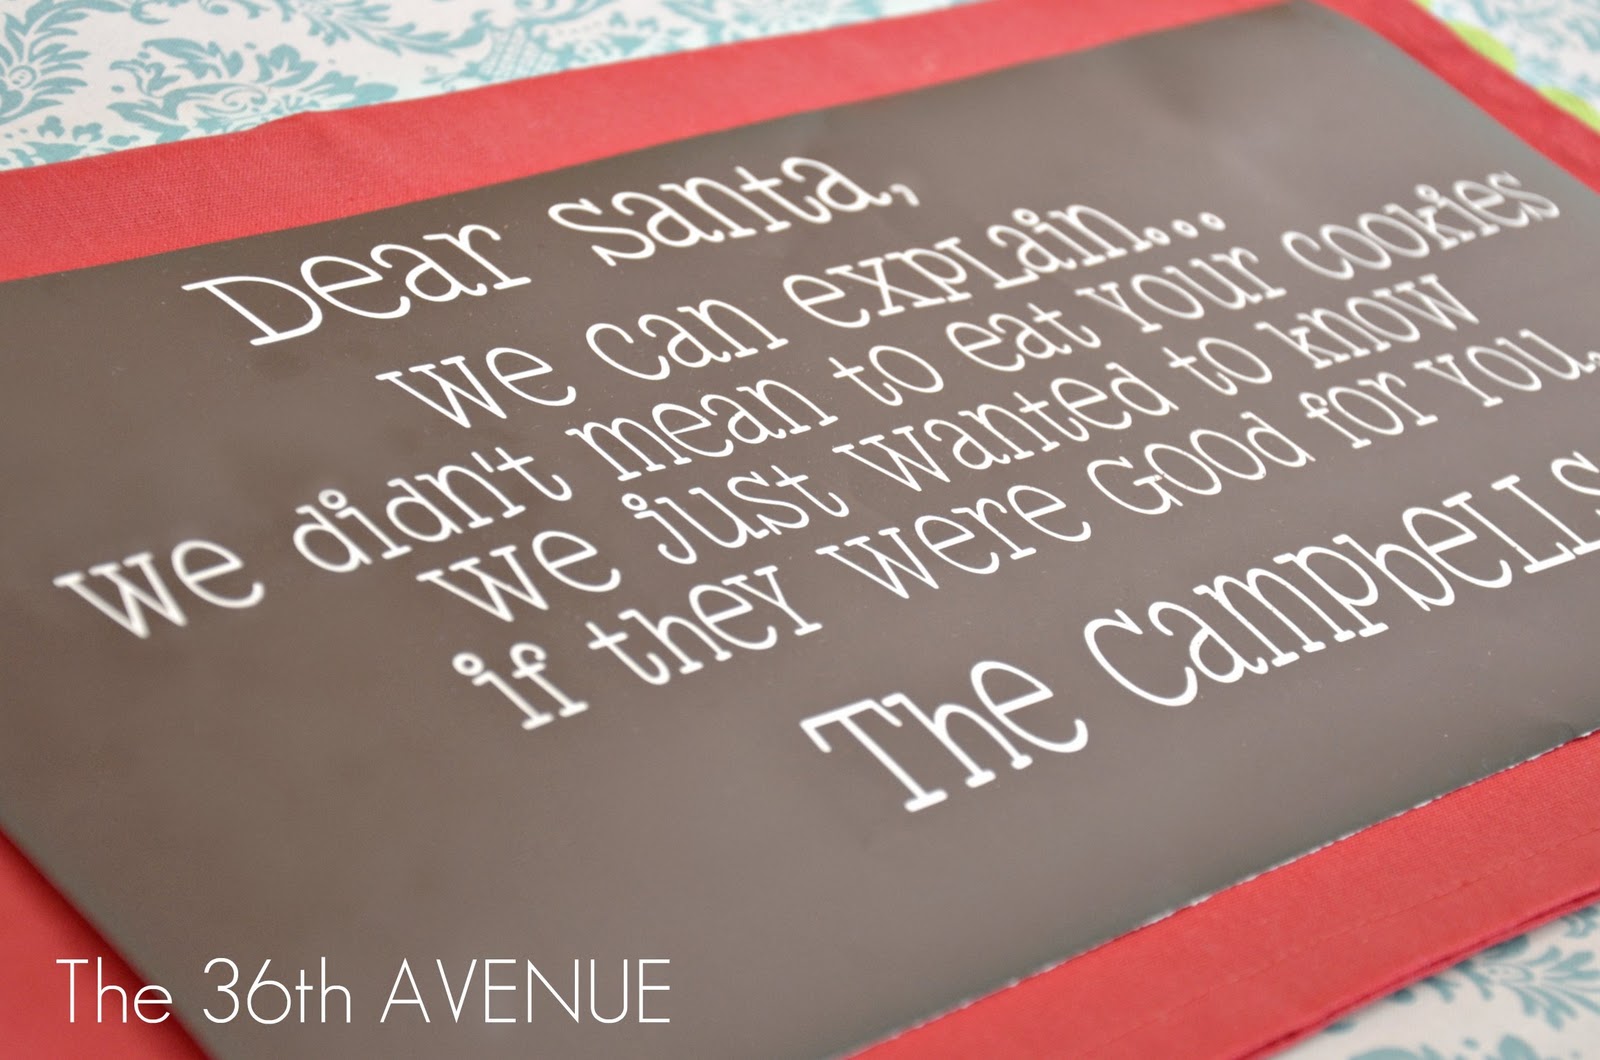
Santa we need to explain…

We love these pillows…and we hope Santa loves them too 😉
TUTORIAL
You’ll need for this project fabric, fabric paint, brushes and your stencils.
For the “letter” pillow I used a napkin from Target {they come in a set of two} and canvas fabric for the envelope.
1
MAKE YOUR PILLOW CASES
For the letter pillow I placed the stencil on top of the folded napkin to decide the size of the pillow.
{ Do NOT transfer your stencil yet}
I cut the extra fabric….

…and I sewed the ends leaving one side open. Don’t close it yet since you have to stencil it.
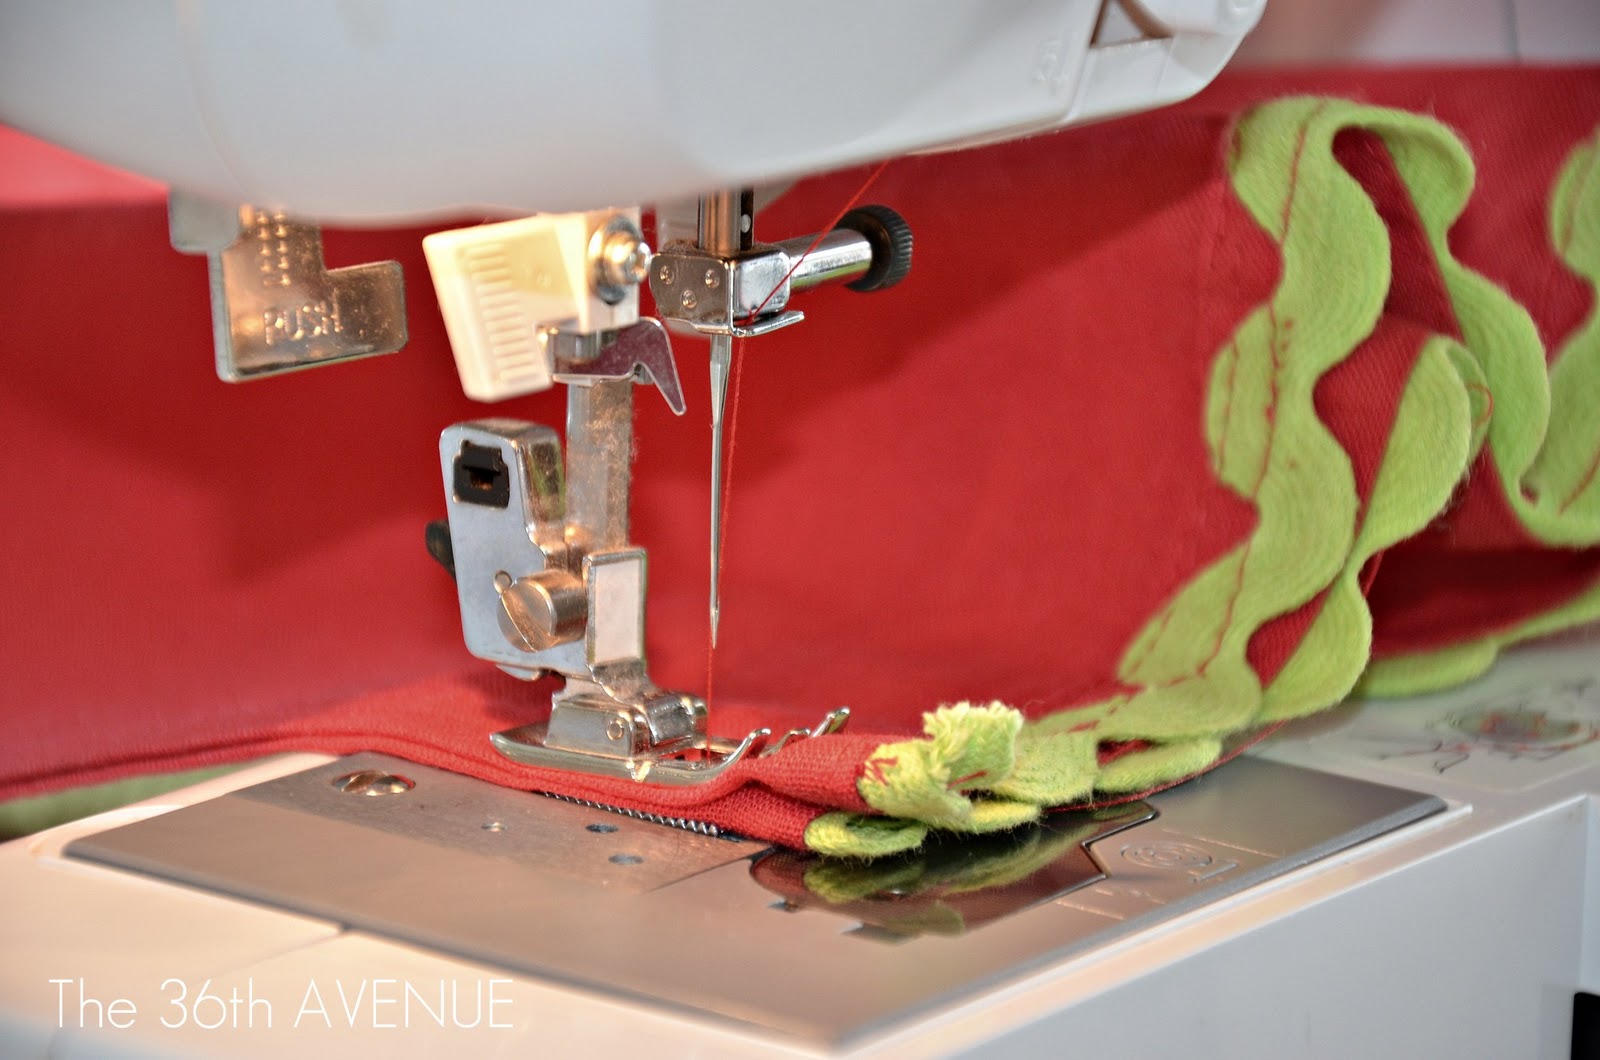
For the envelope pillow I actually made an envelope… I love the back!

2
STENCILED THE PILLOWS
Here is where the real fun begins.
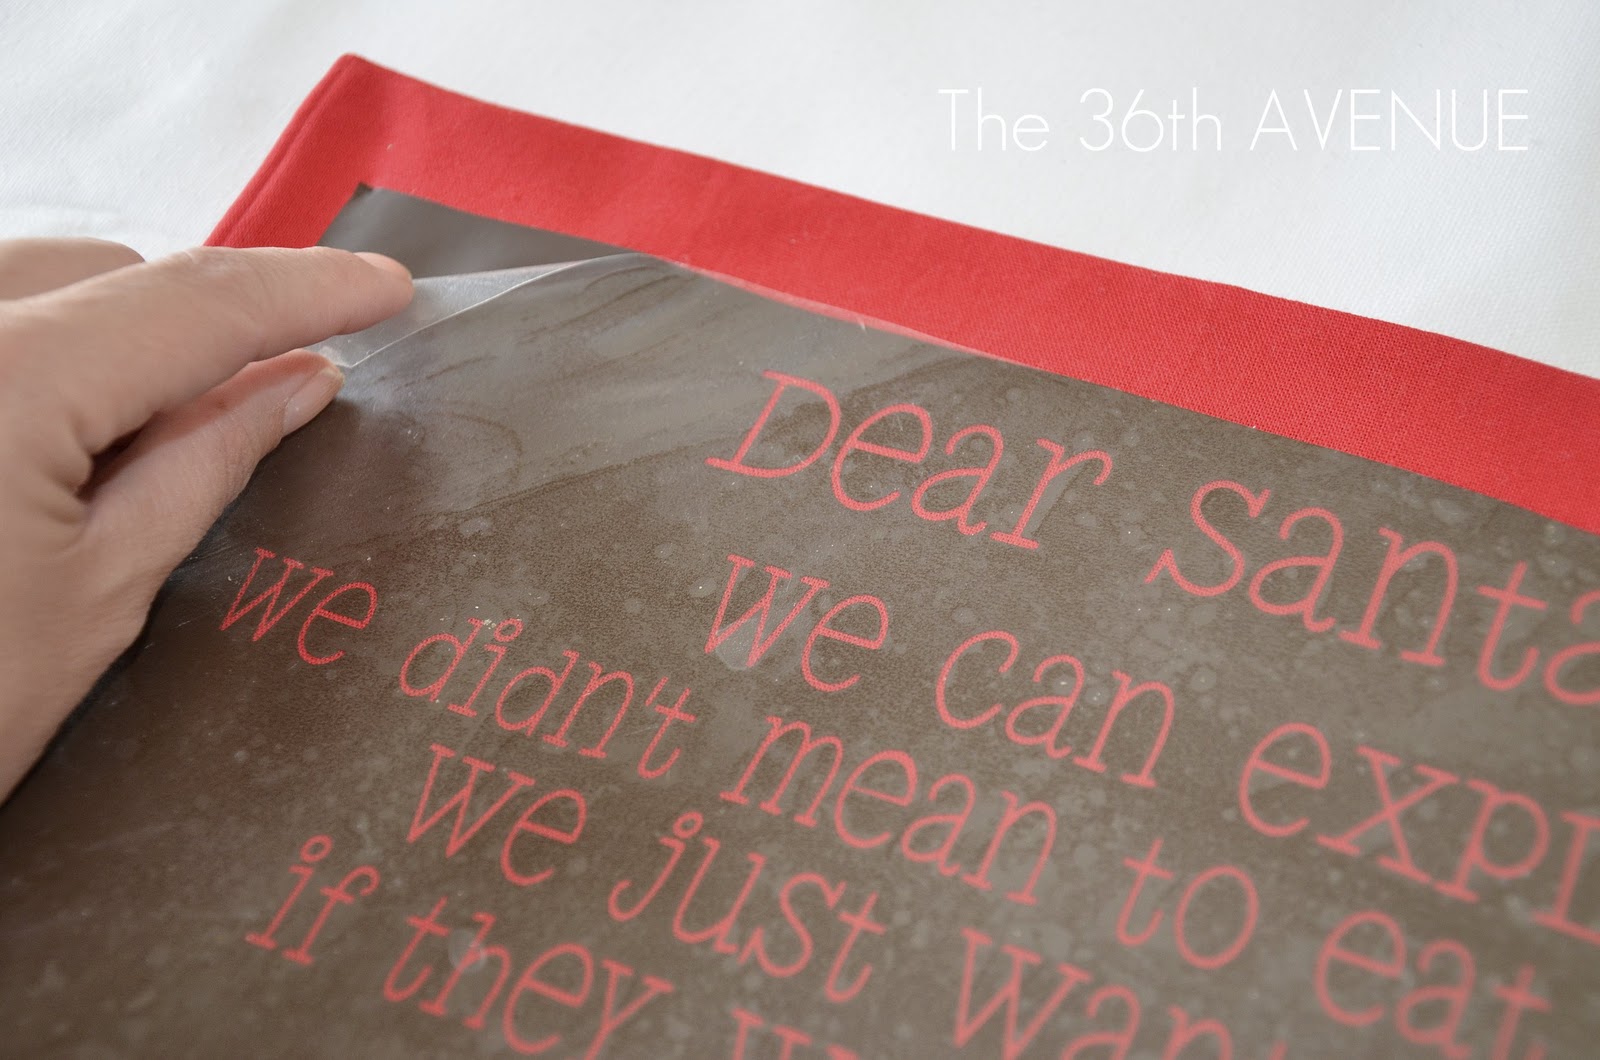
You know what to do… first transfer your vinyl. Don’t throw away the backing paper, put it inside of the pillow case right under the stencil just in case the paint bleeds through the fabric. As they say in Spain “It is better to prevent than to cure “
Second get your paint ready.
I used for my pillows SoSoft Fabric Paint from DecoArt. I have used acrylic paint before but I will never again.
This paint was SO smooth and easy to apply. I loved it!
I used the white one for my letter to santa pillow…

Make sure you use a flat brush like the one in the picture to tap the paint.
DO NOT BRUSH IT. TAP IT!
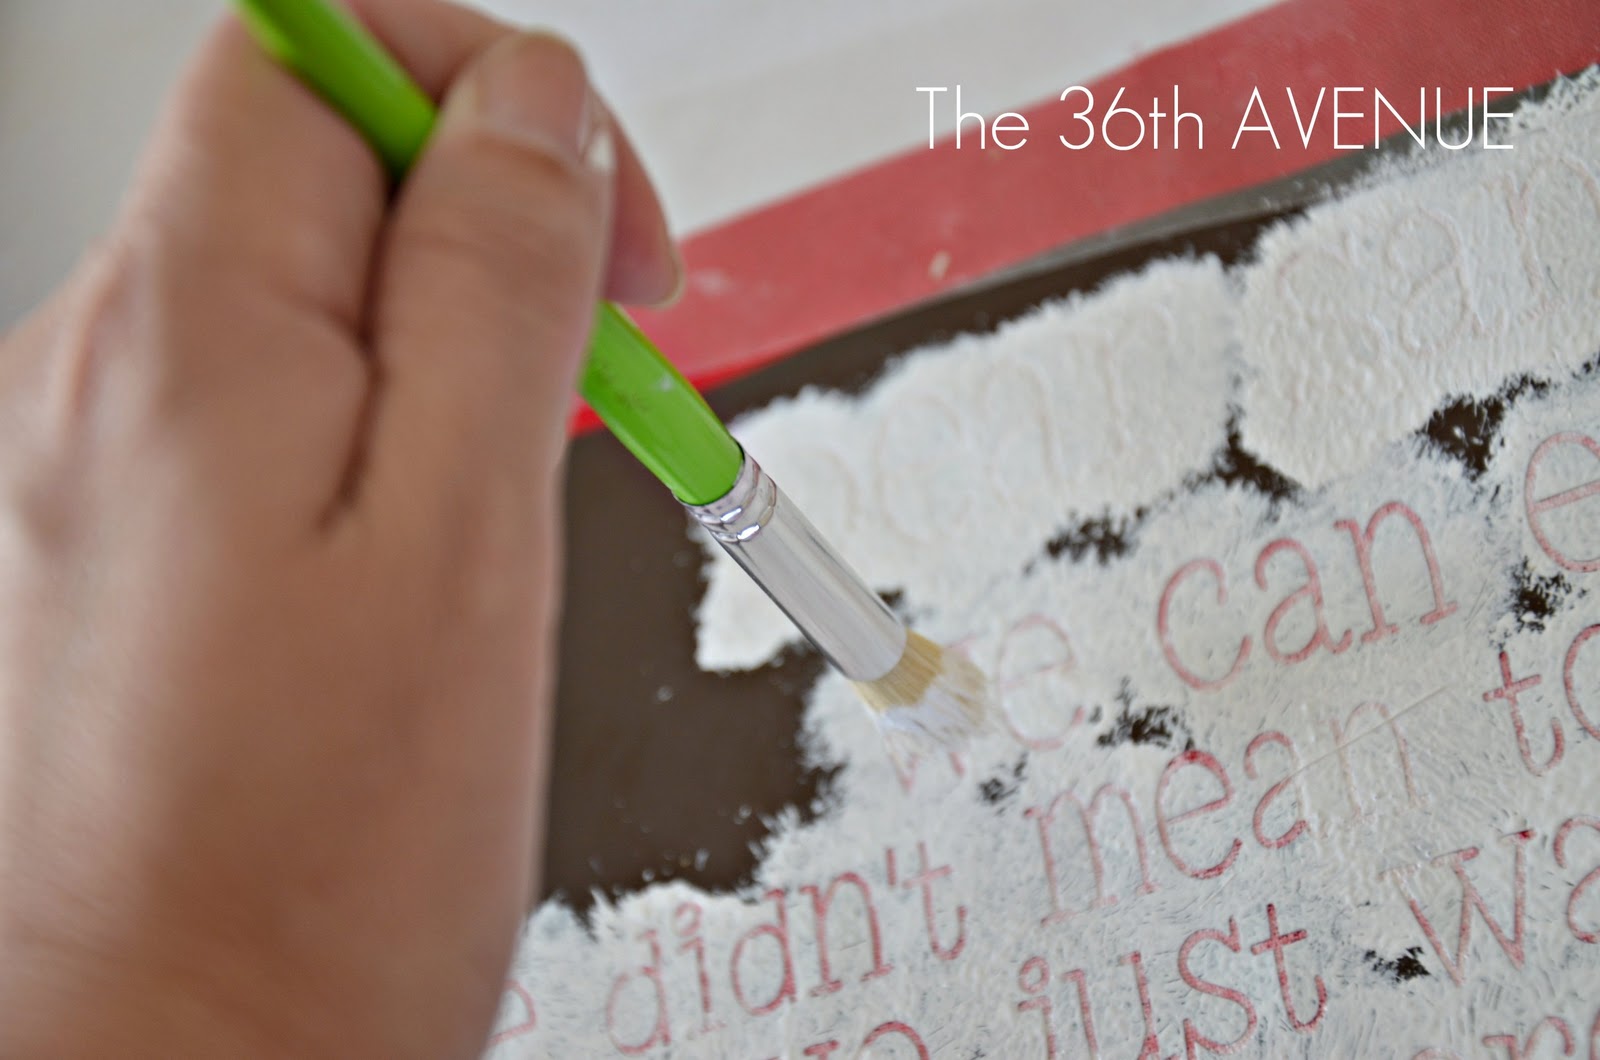
I did two coats since the fabric really absorbs the paint.
For the envelope I used DecoArt Red SoSoft Paint…
This red is so pretty, just PERFECT!

Do the same thing place your vinyl stencil and paint… After the paint is dry peel the vinyl off.
I love this part when you start to see all the details as they come PERFECTLY alive!
I adore the stamps…

At this point you’ll have something like this.
Darn CUTE!

If this is your first time using vinyl stencils click HERE for a more detailed TUTORIAL.
3
Finish YOUR PILLOWS
Just fill them up or insert a pillow inside. Close the last ends and you are done!
Here is the envelope…

…and here is the letter!

Oh, the joy!

…Do you see that EXTRA napkin I am making a set to a very special friend of mine. I would say her name but I’m afraid she is watching 😉
I love Christmas… I really do!

I love Christmas!
………………………………………..
the BEST FIESTAS in TOWN!


I love these pillows! Do you sell the template? I have a Silhouette Cameo to cut the vinyl and I’d like to make these for Christmas.
Thank you Jess. Unfortunately I don’t have the template for them.
I would still like to buy your stencils. Please contact me soon!!
The stencils are fab!!! I would love to buy that Santa cookies one if you are selling them! luv luv luv luv luv your stuff:)
in would love to buy the stencils!!! How much?
Still wanting to buy those stencils. Thanks!!!
How do I make or where do you get the stencils for the letter.
You need a vinyl machine to make them or I can sell the stencils to you.
I hope this helps!
I love the Santa pillows. In just discovered your site, and I was wondering if I could purchase the Santa pillow stencils to make for my grandkids?
Thanks, Juanita
Love love these!
I featured them today: http://adiamondinthestuff.blogspot.com/2011/11/time-to-shine-features-no-45.html
Thank you so much Courtney!
Desiree, I love these cushions and the story behind them.
I wonder if you’d consider sharing this at my Simply Christmas Inspitaion Party at http://shabbyartboutique.blogspot.com/2011/11/yay.html
Festive hugs ~ Kerryanne
Wow these pillows are so stinkin’ adorable!
I said HI on Craft Gossip