

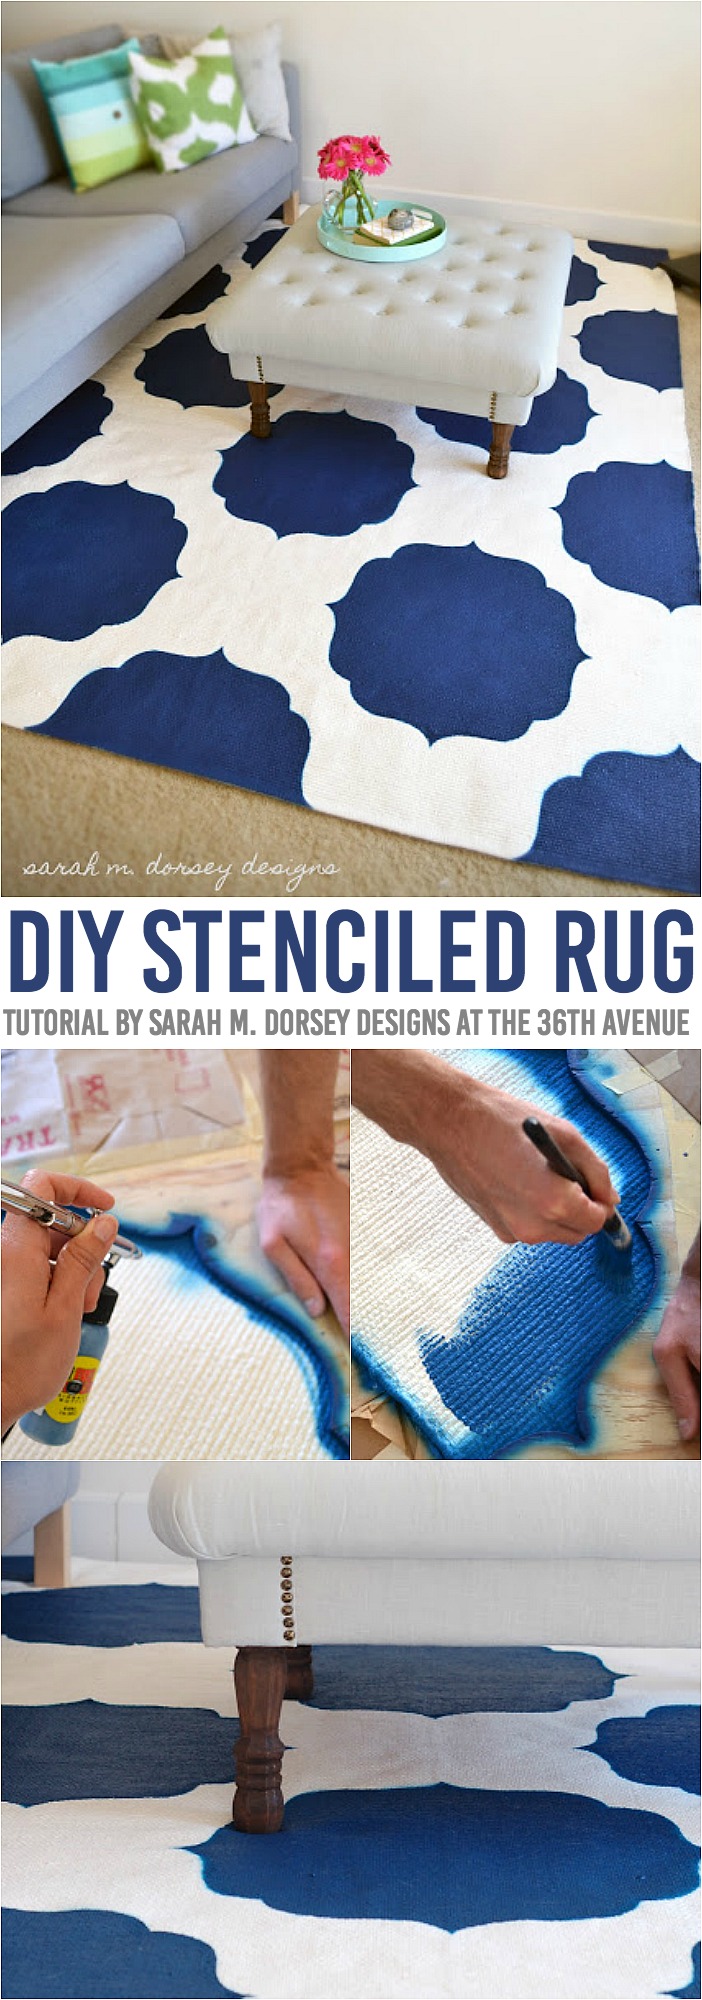
Can you believe this rug was hand painted? This DIY Stenciled Rug Tutorial is awesome and easy to follow! The possibilities are simply endless! Home decor just got better!
Hi there!!
I am Sarah and I blog at Sarah M. Dorsey Designs where I share every step of my diy adventures.

I love The 36th Avenue, Desirée is extremely talented and there is endless inspiration!
So I am super excited to be guest blogging today, thanks so much for having me!
Today I am sharing with you one of of my latest DIY projects: a Stenciled Moroccan Rug, here is how I did it!

First I added the dimensions of the rug and a quick sketch of the pattern to my sketch up model.

Gathered supplies …

SW loyal blue, fabric medium, plywood for the stencil, and a rug (5’11” x 8’2″) from Ikea
then I created a design in illustrator – printed on several pieces of 8.5 x 11 which were taped together.
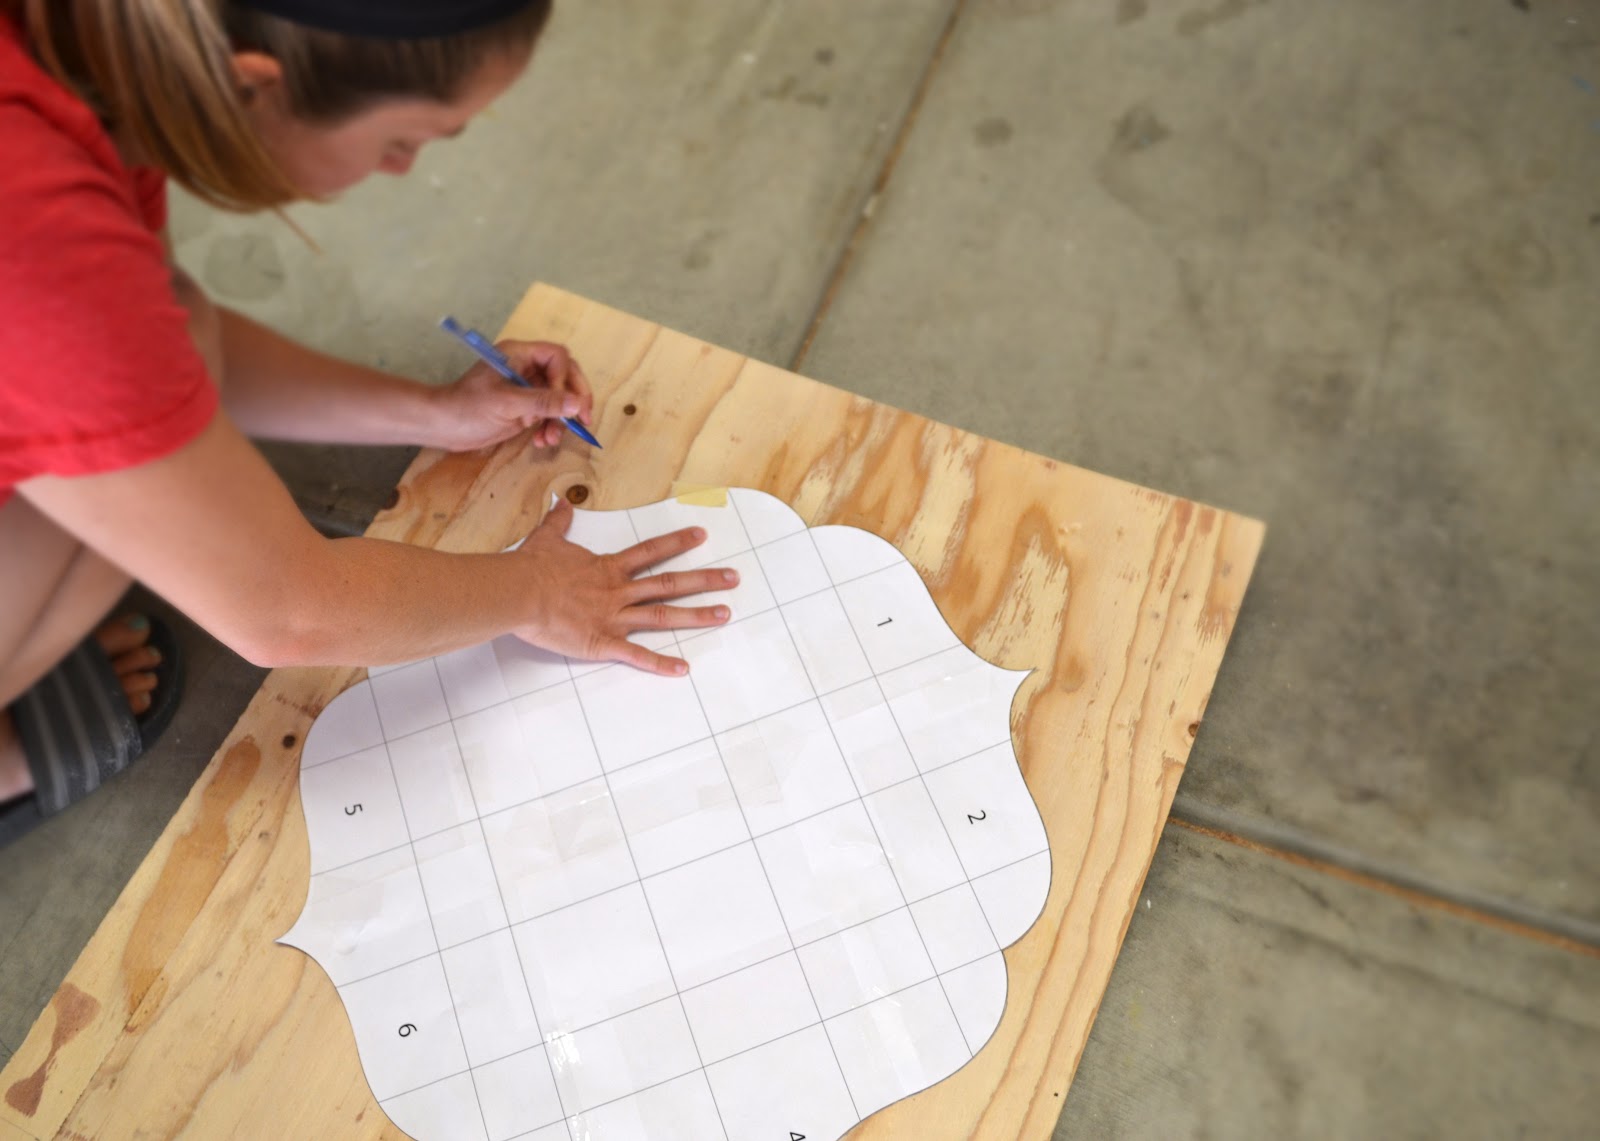
I traced the pattern on a piece of 3/8 plywood and cut with a jigsaw.

We printed out our plan and wrote down some measurements since the edges of the rug aren’t square we ran tape down the middle of the medallion points so that they would line up.
Prior to painting we took the tape off of the area to be painted pressing on the board so it wouldn’t slip!
We also attached some paper bags on the outside of the stencil to prevent over spray.

The points of the stencil were lined up on the center of the tape lines … and they we started painting!

We were originally going to airbrush the whole thing … but it took way too long
so we airbrushed the sides to get a clean line (pressing firmly on the board)

and brushed the interior, first coat looking very smurfy…

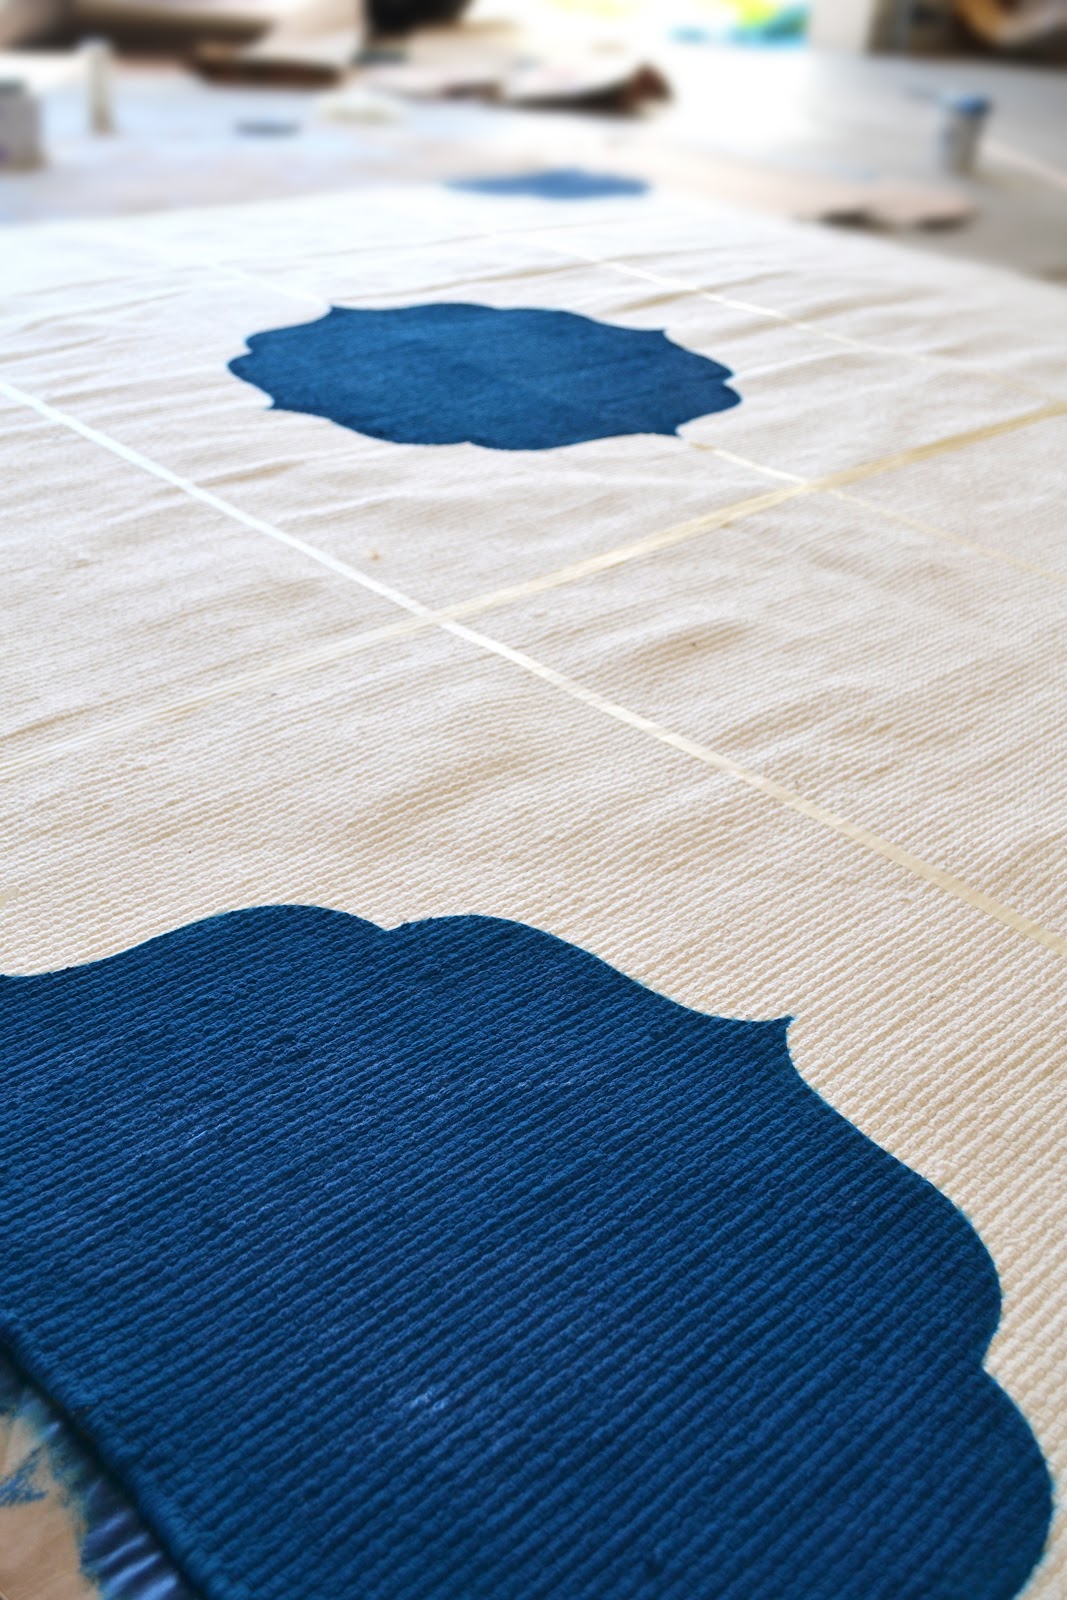
Once dry, we applied a second coat.
Yes! SW loyal blue but the satin paint had too much sheen so I gave it a final coat of sw loyal blue in matte.
An hour or two later, it cut the sheen down and there you have it a custom Moroccan rug!

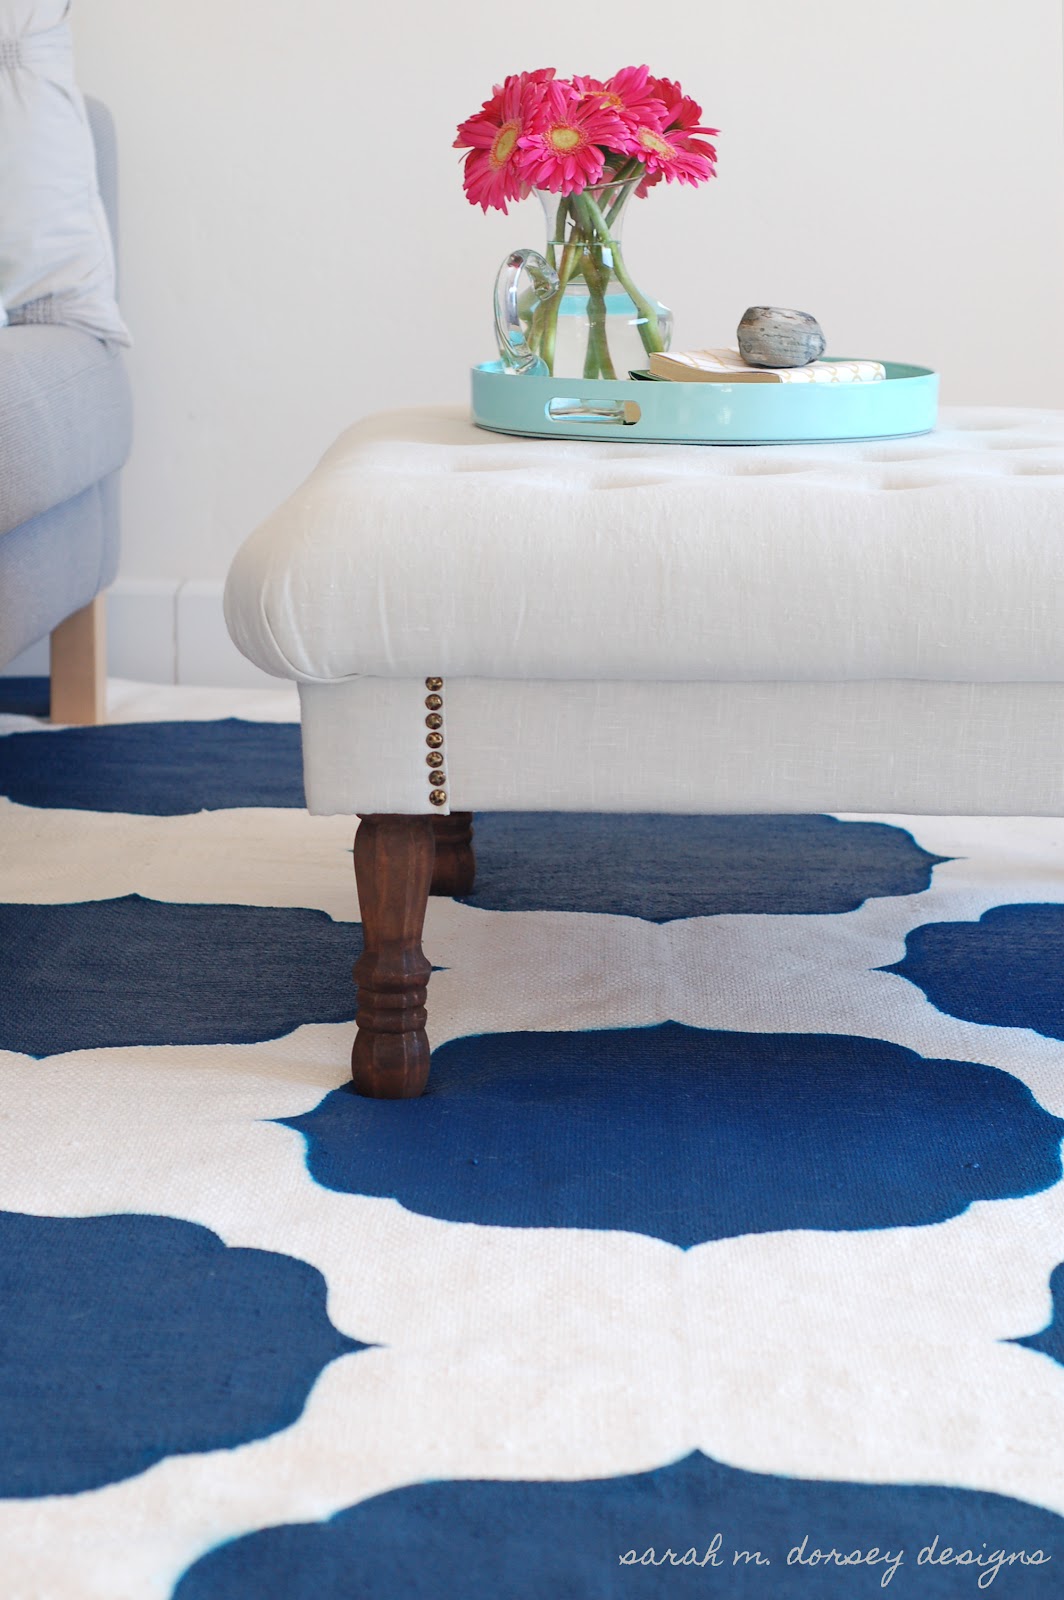


Still a lot to do in this room but I love the instant character that the rug gives the seating area and how it grounds the ottoman .
Are you interested in making a custom ottoman?
Click here to see how I did it.
Notes and Tips:
1. If you don’t have an airbrush I would recommend trying Simple Spray, upholstery fabric paint or a paint sprayer (I haven’t tried these so I can’t comment on the edges or durability, but would imagine that as long as the stencil is held tight it would work well)
2. A lighter paint color will require fewer coats – which will work best with this method, once dry the medallion will shrink slightly making it more difficult to line up for additional coats.
3. Don’t want to spray it?
Try cutting the pattern out of contact paper or vinyl or use tape if your design will allow
I am obsessed with DIY projects!
I’ve had a blast sharing with you some of my favorite DIY projects!
I am so happy to have Sarah with us today.
She is super talented and her blog is such a source of inspiration.
Here are some other projects that you should check out over at her blog:
She cut a table in half to create this ombre table to fit a narrow space.
Brilliant GIRL!
The other half of the table is in the master bedroom.
She also stenciled the wall with a custom stencil.
Trust me you want to click here to read more.

This diy tufted headboard with wings and nailhead was made for under $150!
See how she transformed the lamps or dresser…
Click here and here to read more!

Make sure you stay in touch with Sarah by following on facebook and her blog

Thanks you again Sarah for visiting with us!

What a fantastic idea, love the rug
Kind Regards
Anna
I’m woefully ignorant about this type of DIY: does the paint dry hard or does the rug feel the same afterwards? I know you used the fabric medium–is that what helped and, if so, how much do you use?
For what/How did you use the fabric medium? I couldn’t figure that part of the supplies out. Great idea! And such a gorgeous look in your room! Love it.
Wow, this is an incredible DIY! I love the way this area rug turned out… and such a great tutorial. Thank you!
NIIICE work!!! I just fell in LOVE!!
Wow, this looks amazing. I love it. Such a statement in the room. Hugs, Marty
So Bold and graphic. Love that!
Thanks for sharing,
Deb@LakeGirlPaints
What an incredible idea!! The rug looks fantastic and I love the blue stenciled print!
Thank you so much for sharing this with us Sarah – I ‘ll be sure to visit your blog regularly for more inspiring ideas!
Well wishes from Australia:)