
Hello Friends!
It was so good to meet so many of you at Snap and to see so many of you again.
Among the many fun things I got to do there I had the opportunity to be one of the speakers
together with my awesome blogging friends Sarah from Thrifty Decor Chick and Amy from The Idea Room.

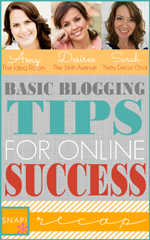
Today I will be sharing a recap of my part of the presentation and a few
basic blogging tips for online success.
This post will have two parts… too much to say in just one post.
The first thing I want to touch on is the power that pictures have in blogging.
Besides beautiful pictures there are other things that you can do to make your images help your blog grow.
Picture Size
This is true and I learned this lesson the hard way.
As bloggers we have a ton of images in our sites that can take a ton of time to download.
Longer it takes to download, less time your readers will spend at your blog,
and less the chance that they will want to come back.
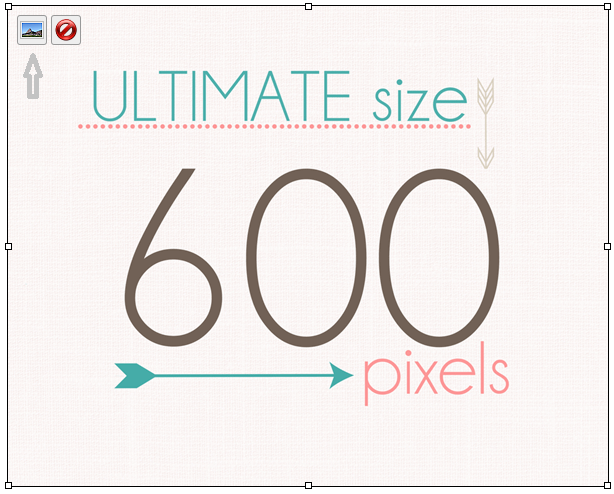
So, here is the magic number…
Make sure you re-size your images before you put them on your post.
So right after you edit them re-size them no larger than 640 pixels.
Don’t make your images too small either since they don’t look as appealing.
Watermarks
I hope that by now we all know how important it is to watermark our pictures.
Even if you don’t have a fancy watermark make sure you put the name of your blog on them.
However you want your images to be the focal point of the picture instead of your watermark or titles.
Here I put three examples… the first one is good, the second one is better but the third one is best.
A picture will represent your work, so make them cute, clean, and clear.
Remember that a great project and high quality photos will bring traffic to your blogs instead of your watermark.
Do not hide your hard work under a bunch of letters.
Backgrounds
Another way to make your images stand out is the color on your blog background.
If you pay attention to online stores and big sites they have in common white or really light backgrounds.
Check out how much the dark backgrounds take away from the same images.
Naming and Saving your Pictures
When we download an image from our camera to our computers they are named
with a series of number and letters, like… DSC5453.jpg
After you are editing and resizing your images you want to make sure that you
actually replace that nonsense name with a new one that actually make sense.
There is a way to do this…
Instead of saving your pictures “save them as”.
This way you can replace the original title with one that relates to your post.
So, if you are sharing a recipe about brownies name your picture brownies.
If you have multiple images of the same recipe or project give them other titles that relate
such as Brownie Recipe, Best Brownies, and so on.
This will give your images an advantage in Google search,
so when the wonderful people out there craving brownies are searching for them on the internet,
your images may be chosen first.
Alternative Text and Titles are another way to give your picture even more value.
After you have put your post as a draft in your blog add a small description in the title and alternative text.
You do this clicking on the picture and on the small box in the corner.
A window like this will open, add the title and a small description there.
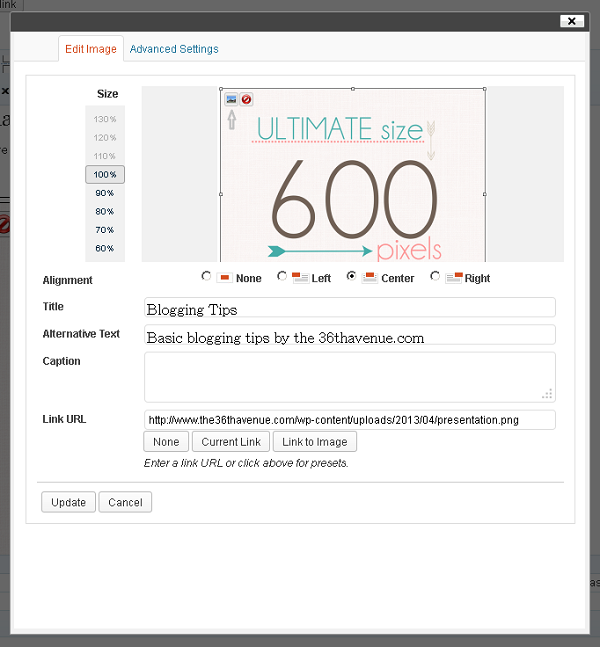
If the pictures belong to me I like to add also a link to my blog as part of the alternative text.
So, back to the brownies, I would say… ~Brownies Recipe by the36thavenue.com~
For this picture above I chose ~Basic blogging tips by the36thavenue.com~
This is especially important for Pinterest.
As you can see I didn’t add www. but it will turn into a link in Pinterest.
I have noticed that most people are in a hurry and if you provide them with a short but good description of your picture
most of the time they will choose to leave it as part of their pin.
*This mini tutorial is for WordPress users. I am sure there is a way to do it on Blogger as well.
Keep in mind that every WordPress Theme is a little bit different.
I have noticed that some of them choose the Tittle instead of the Alternative Text as an automatic description for Pinterest.
Try both ways to see which one works better for you.
So in conclusion…
That’s right!
Let your pictures bring traffic to your blog.
Pay attention to detail, lighting, and make them speak for you.
To see the portions of the presentation that were covered by Amy from The Idea Room
and Sarah from Thrifty Decor Chick, you can visit their respective sites here:
{Basic Blogging Tips for Online Success Part 1 of 3–Amy from The Idea Room}
{Basic Blogging Tips for Online Success Part 3 of 3–Sarah from Thrifty Decor Chick}
Have a great day my friends!
Besos
Desiree

Thank you so much for this very helpful post! I’m a new blogger and there is so much to learn!
I so agree with all of your tips! I LOVE blogs with big, clean, gorgeous photos! Sometimes I don’t even READ any of the post. I just love to scan the pics!
Wonderful tips… So far I am doing most of it right, but you filled in the spaces on the other stuff. Thank you! 🙂
Thanks for the picture tips!
Thank you so much for sharing. Great and easy tutorial ~ can’t wait to try it =)
Great post, I learned some great stuff! Thank you.
love the points I know so much I need to do on my blog….time time time
take a peak sometime
Great blog post! As someone who works in marketing I can tell you that many professional company blog posts don’t follow these rules, and they’re so important! Great tips. Thanks for sharing 🙂
Thank you Desiree for such good, timely information!! I think I can check a couple things off the list now with my blog re-design done. But I will have to check the photo sizing, good to know. Thank you again 🙂
xo, Tanya
Wonderful tips – thank you!