

I’m so excited it’s October!!
How about you?
Today, I want to share with you a fun project to display your fall captures!
I don’t know about you, but I REALLY fill up my camera’s memory this time of year!
Let’s get started by watching the mini canvas Photoshop Video Tutorial.
Next, you’ll want to download the Autumn Mini Canvases or work with your supplies on hand.
I recommend printing the canvases on photo paper for long lasting quality and vibrant colors.
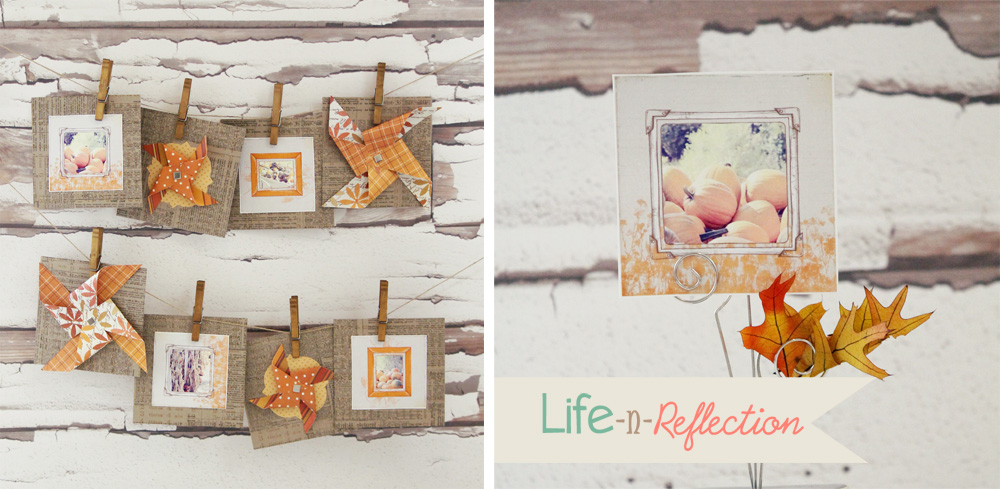
You can print up to 4 – 4″x4″ mini canvases on 1 sheet of photo paper!
That’s what I call frugal!! Once printed, trim into 4 separate squares. 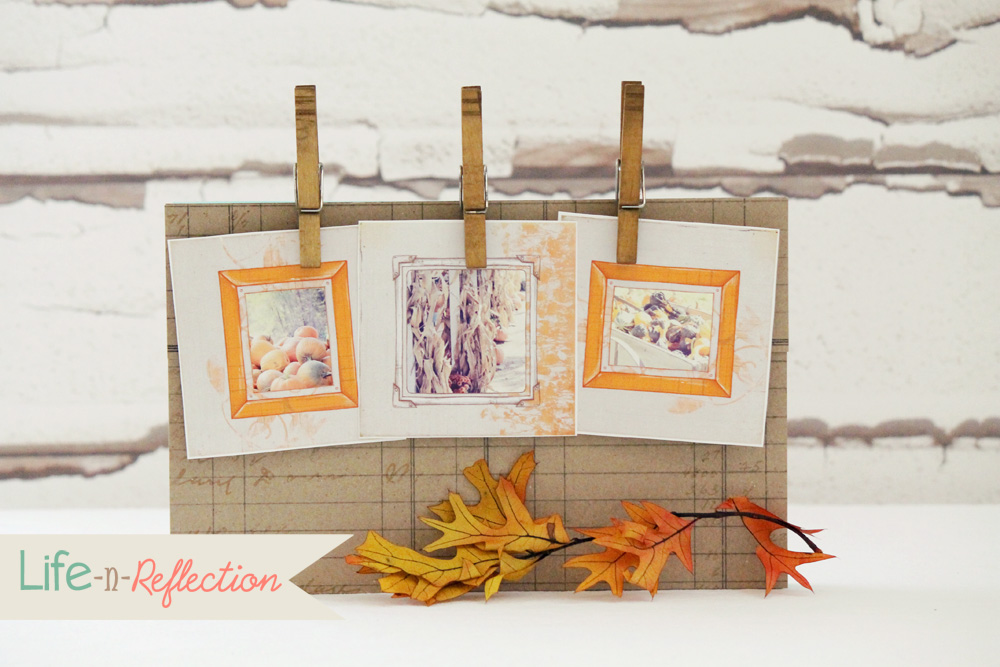
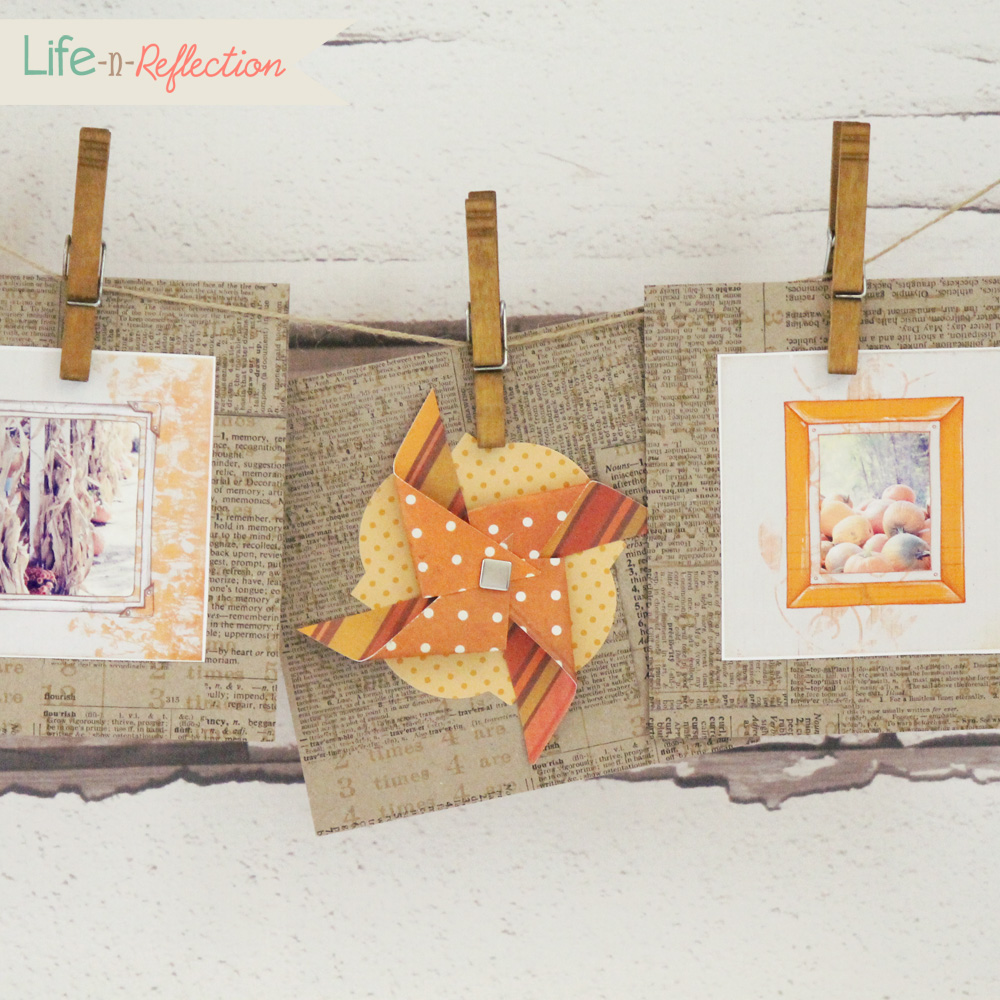
First, cut 4 – 6″x6″ squares from scrapbook paper or craft card stock.
Next, glue each canvas to one square.
Last, cut 4 more squares to add some playfulness with your paper craft embellishments or whip up some paper pinwheels!

Isn’t she extraordinary?
I love when talented people like Kristy share with the rest of us their Photoshop knowledge.
I really need all the help I can get when it comes down to Photoshop.
Make sure you take the time to visit and follow Kristy’s blog Life-n-Reflection .
Among many amazing ideas and tutorials you’ll find her

and her Home Sign Printables.
They would make great homemade gifts!

You can also find Kristy over at Life-n-Reflection Facebook/Twitter/Shop.
Thank you Kristy for visiting with us today!
I hope to see you all back here at 6:30 pm during the link party!
Besos.
Desirée

Desiree, you melted my heart again. Thank you for all your sweet words!!
We love you here Kristy!
You know I love Kristy & all her goodies. Been playing with many of these myself!! So much fun & really gets the creativity going.
I heart you Gina, can’t wait to what you’ve been making 😉
Super fun! I love photo projects! I fill my memory cards up a ton during this time of year too 🙂
I knew I couldn’t be the only one, thanks for sharing DeAnn