
Hello My Friends!
I am sharing with you today my first Christmas Gift of the year.
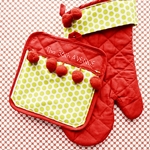
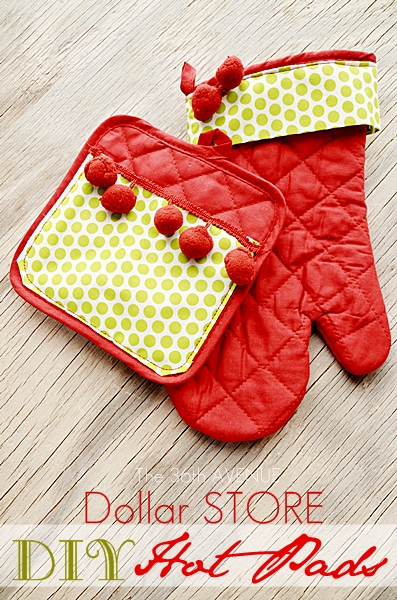
These are Hot Pads from the Dollar Store after they got a little makeover.

Are they fun or what?
They would make a great gift, they are super affordable and very easy to make.
They sell the Hot Pads in many colors so you can really custom make them to your like
to coordinate even the colors of your own kitchen. This is what you are looking for.

Here is a quick tutorial that I previously shared over at The Idea Room with Amy’s readers.
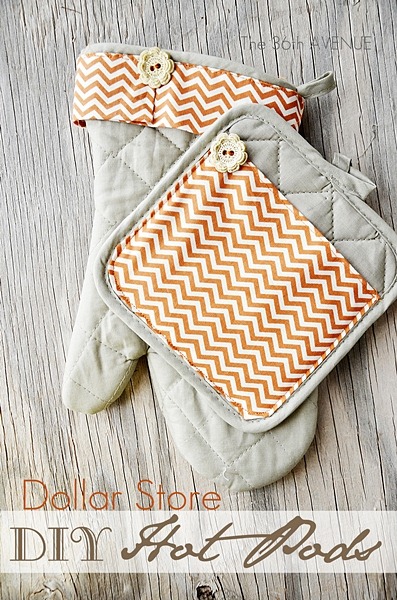
These Hot Pads in the tutorial have more of a Fall look.
Let me show you what I did!
MATERIALS
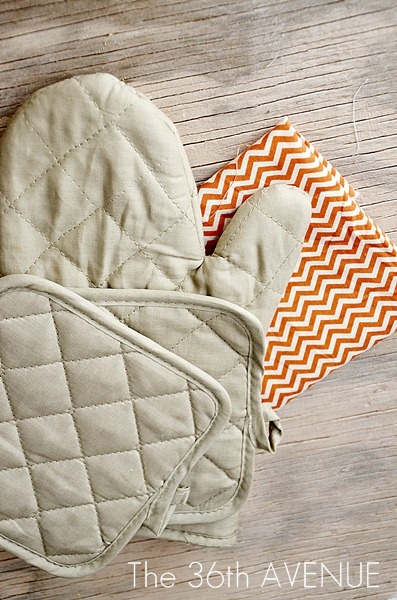
You don’t need much.
1 Hot Pad Glove
Square Hot Pads
{ You can find them at the Dollar Store. The squares hot pads comes in a set of two }
1/4 Yard of Fabric of your choice.
{ I found mine at Jo-Anns, but you can use a fabric scrap if you have some around }
Buttons
{ My buttons came from Wal-Mart }
TUTORIAL
This was so easy and quick to make.
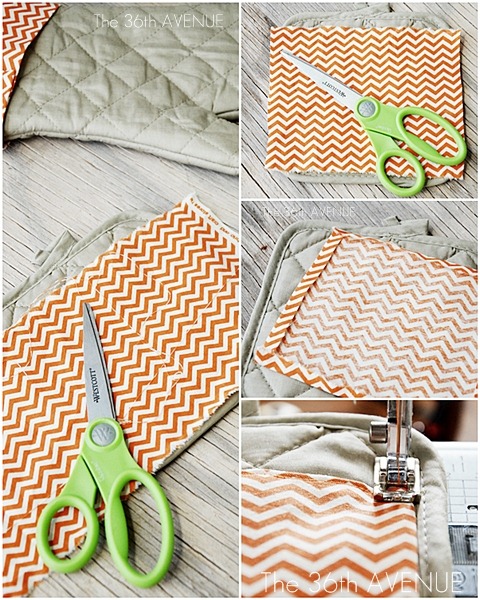
FIRST cut a strip of fabric long enough to cover the width of your glove.
I cut mine 4 inches wide.
Fold the fabric in half and then fold the unfinished top again about half an inch.
Just like the picture.

I like to use my iron to make every fold perfect and crisp.
SECOND
Use one of the square hot pad as a mold to cut another piece of fabric.
You are going to use this fabric to make a pocket.
After you cut the fabric fold the ends of it.
Iron it.
Turn it around and sew it to the hot pad.
If you are adding the trim make sure you sew it before
you attach the pocket to the Hot Pad.

THIRD do the same thing with the strip sewing it around the top of the glove and
attach the buttons in place…They are so cute!

And you are done!
These would make a great gift for neighbors or the lucky one hosting Thanksgiving this year.
I am giving mine as a gift to a good friend of mine
with our favorite delicious Pumpkin Bread.
Delicious!

Make sure to check out our Pumpkin Bread Recipe here.
You are going to love it!

I love how fun these Hot Pads are!
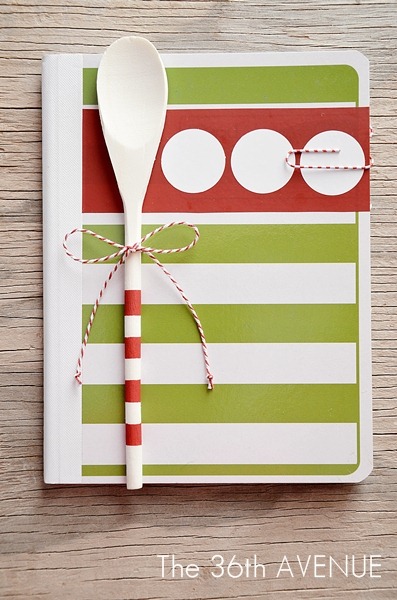
Add this DIY Recipe Book to make the perfect gift!
Click here to see the tutorial.
For more Handmade Gift Tutorials you may want to check out 25 Handmade Gifts Under $5.
So many cute ideas!

I hope you like them as much as I do!
Besos
Desirée

Oh, WOW! These are so adorable! I don’t have a sewing machine, so I sew mine by hand. Took a little while, but the results are quite all right 🙂 Thank you so much for sharing this tutorial! Now I have a christmast gift for my in-laws 🙂 Greetings from Norway!
Karin, you are amazing girl… I can’t believe you did it by hand!
Have a wonderful day my dear!
This is such an awesome idea! Thank you for sharing. One question, what didi you wrap the pumkin bread in? I love the presentaion. Never feel “crafty” when presenting baked goods. Love it!!
I used a coffee filter 😉
How darling are these?! Great tute!
Thank you so much Marie!
These are so cute and would make such a great little gift! I love how they can be created for so many holidays. Pinned!
I love how you’ve got your bread “packaged” here! I always feel like gifting bread is kinda lackluster, but the way you have it here is adorable 🙂 The whole thing is super cute!
Thanks for the tutorial! The pot holders turned out so cute!!
Thanks for the party Desiree!
Thank you Barbara!