
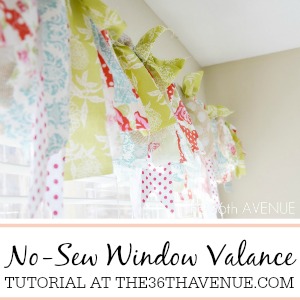
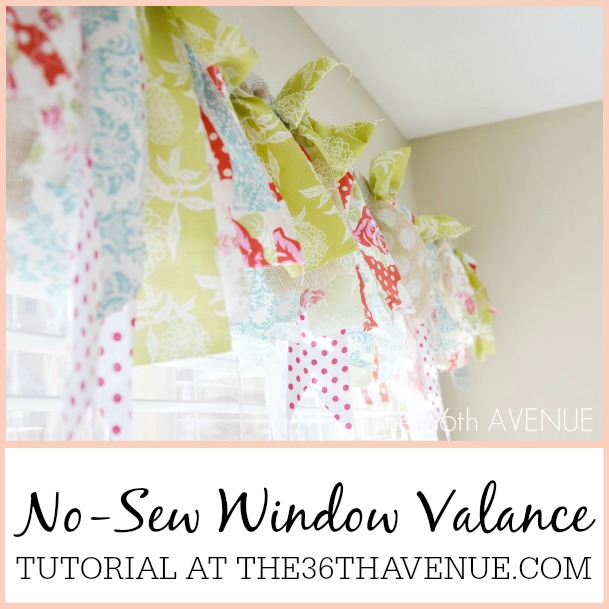
This DIY No-Sew Window Treatment is so easy to make and super affordable. All you need is a bunch of fabric scraps and it will take you about fifteen minutes to give your windows a brand new look. I love this no-sew valance for girl’s rooms and nurseries. Super cute! Take a look!
©the36thavenue.com DO NOT COPY, SAVE, OR PASTE THIS IMAGE.
MATERIALS
Curtain Rod
Scissors.
Fabric Scraps : I used a bunch of different fabrics that I had from other projects!

You can see these projects here…
Tutorial HERE
Tutorial HERE

Ready to make your valance?
TUTORIAL

- Cut strips of different colored fabric scraps into different lengths and about 4 to 5 inches wide.
- Tie them to the curtain rod.
- Trim the ends to your liking.

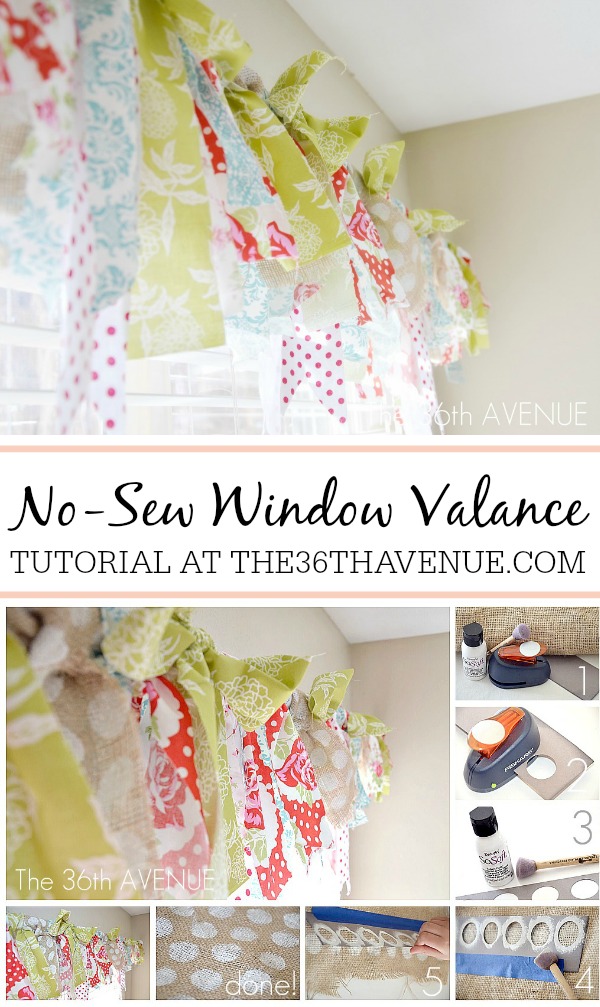
HOW TO MAKE POLKA DOT BURLAP
I wanted to add a bit of polkadot burlap to my valance but it’s expensive so I made my own!

MATERIALS
Piece of thick card-stock.
A circle punch – You can find it HERE
White Acrylic Paint- You can find it HERE
Flat brush to stencil – You can find it HERE
TUTORIAL
- Punch holes out of the card-stock. You want them to have the same distance between them to make a uniform pattern. I used as a guideline the previous hole, placing the punch holder at the edge of the previous circle as shown in image two.
- Secure the stencil to your fabric with painter’s tape.
- Now it is time to paint. Make sure when you apply any paint on fabric that you tap the brush up and down. NEVER brush side to side. Since you have the tape, you can lift the stencil from the fabric to make sure the entire surface of the circle is covered.When you put the stencil down it will go back to the right place as shown in image five.
- Repeat the painting process until you cover the entire area and let the paint dry completely before you use the burlap.
You are done!
Stand back and enjoy your masterpiece!

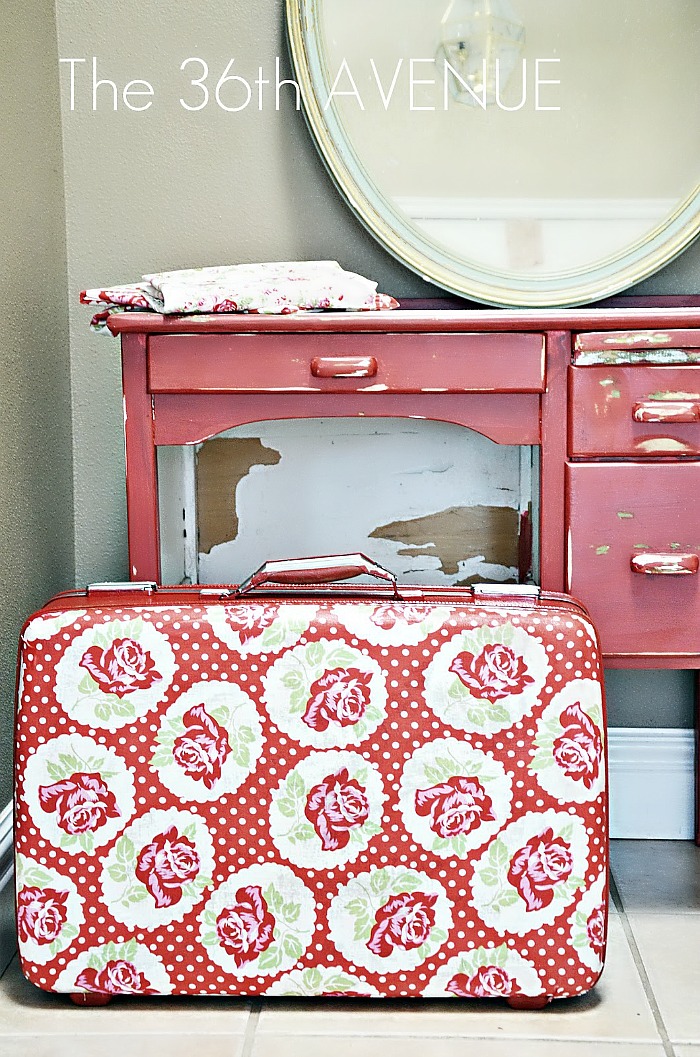
Here are some other Fabric Scrap projects that I love!
Tutorial HERE


Click HERE

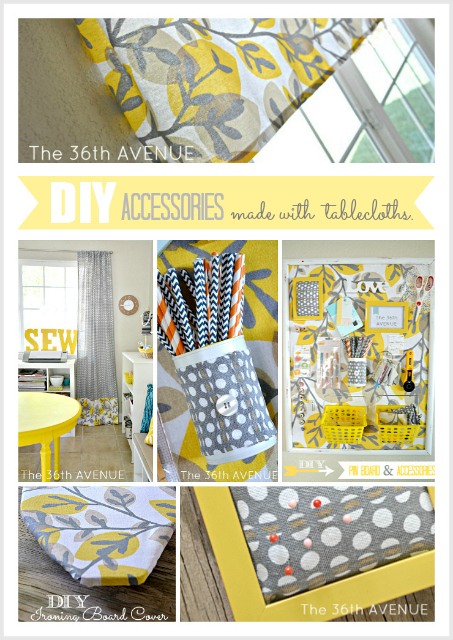
DIY Accessories made with a Tablecloth
Tutorials HERE
Thank you so much for stopping by today!

![]()
