
If you were visiting last week the Share Your Awesomeness Link Party,
you may remember that I asked your opinion about what banner you liked the most.
{ You can see the three different banners here. }
The great majority chose the classic triangle shape.
Now, one comment woke up my creativity, this is what Amanda said:
“Thanks for hosting.
I SO look forward to your parties every week {pretty lady} 😉
I absolutely LOVE the half circle banner, however, knowing how creative you are~I am TOTALLY expecting some sort of awesome, “new” shaped, fabulous looking banner, that is unique and inspiring as well!
{No pressure}
Haha! 😉
Take care!
Amanda “
OK lets review the comment… This time this is how it sounded to me…
” …some sort of awesome, “new” shaped, fabulous looking banner, that is unique and inspiring as well?”
Mmmm… I am pretty sure my window treatment is not that exciting but Amanda my love, thank you for giving me the push to create something different…
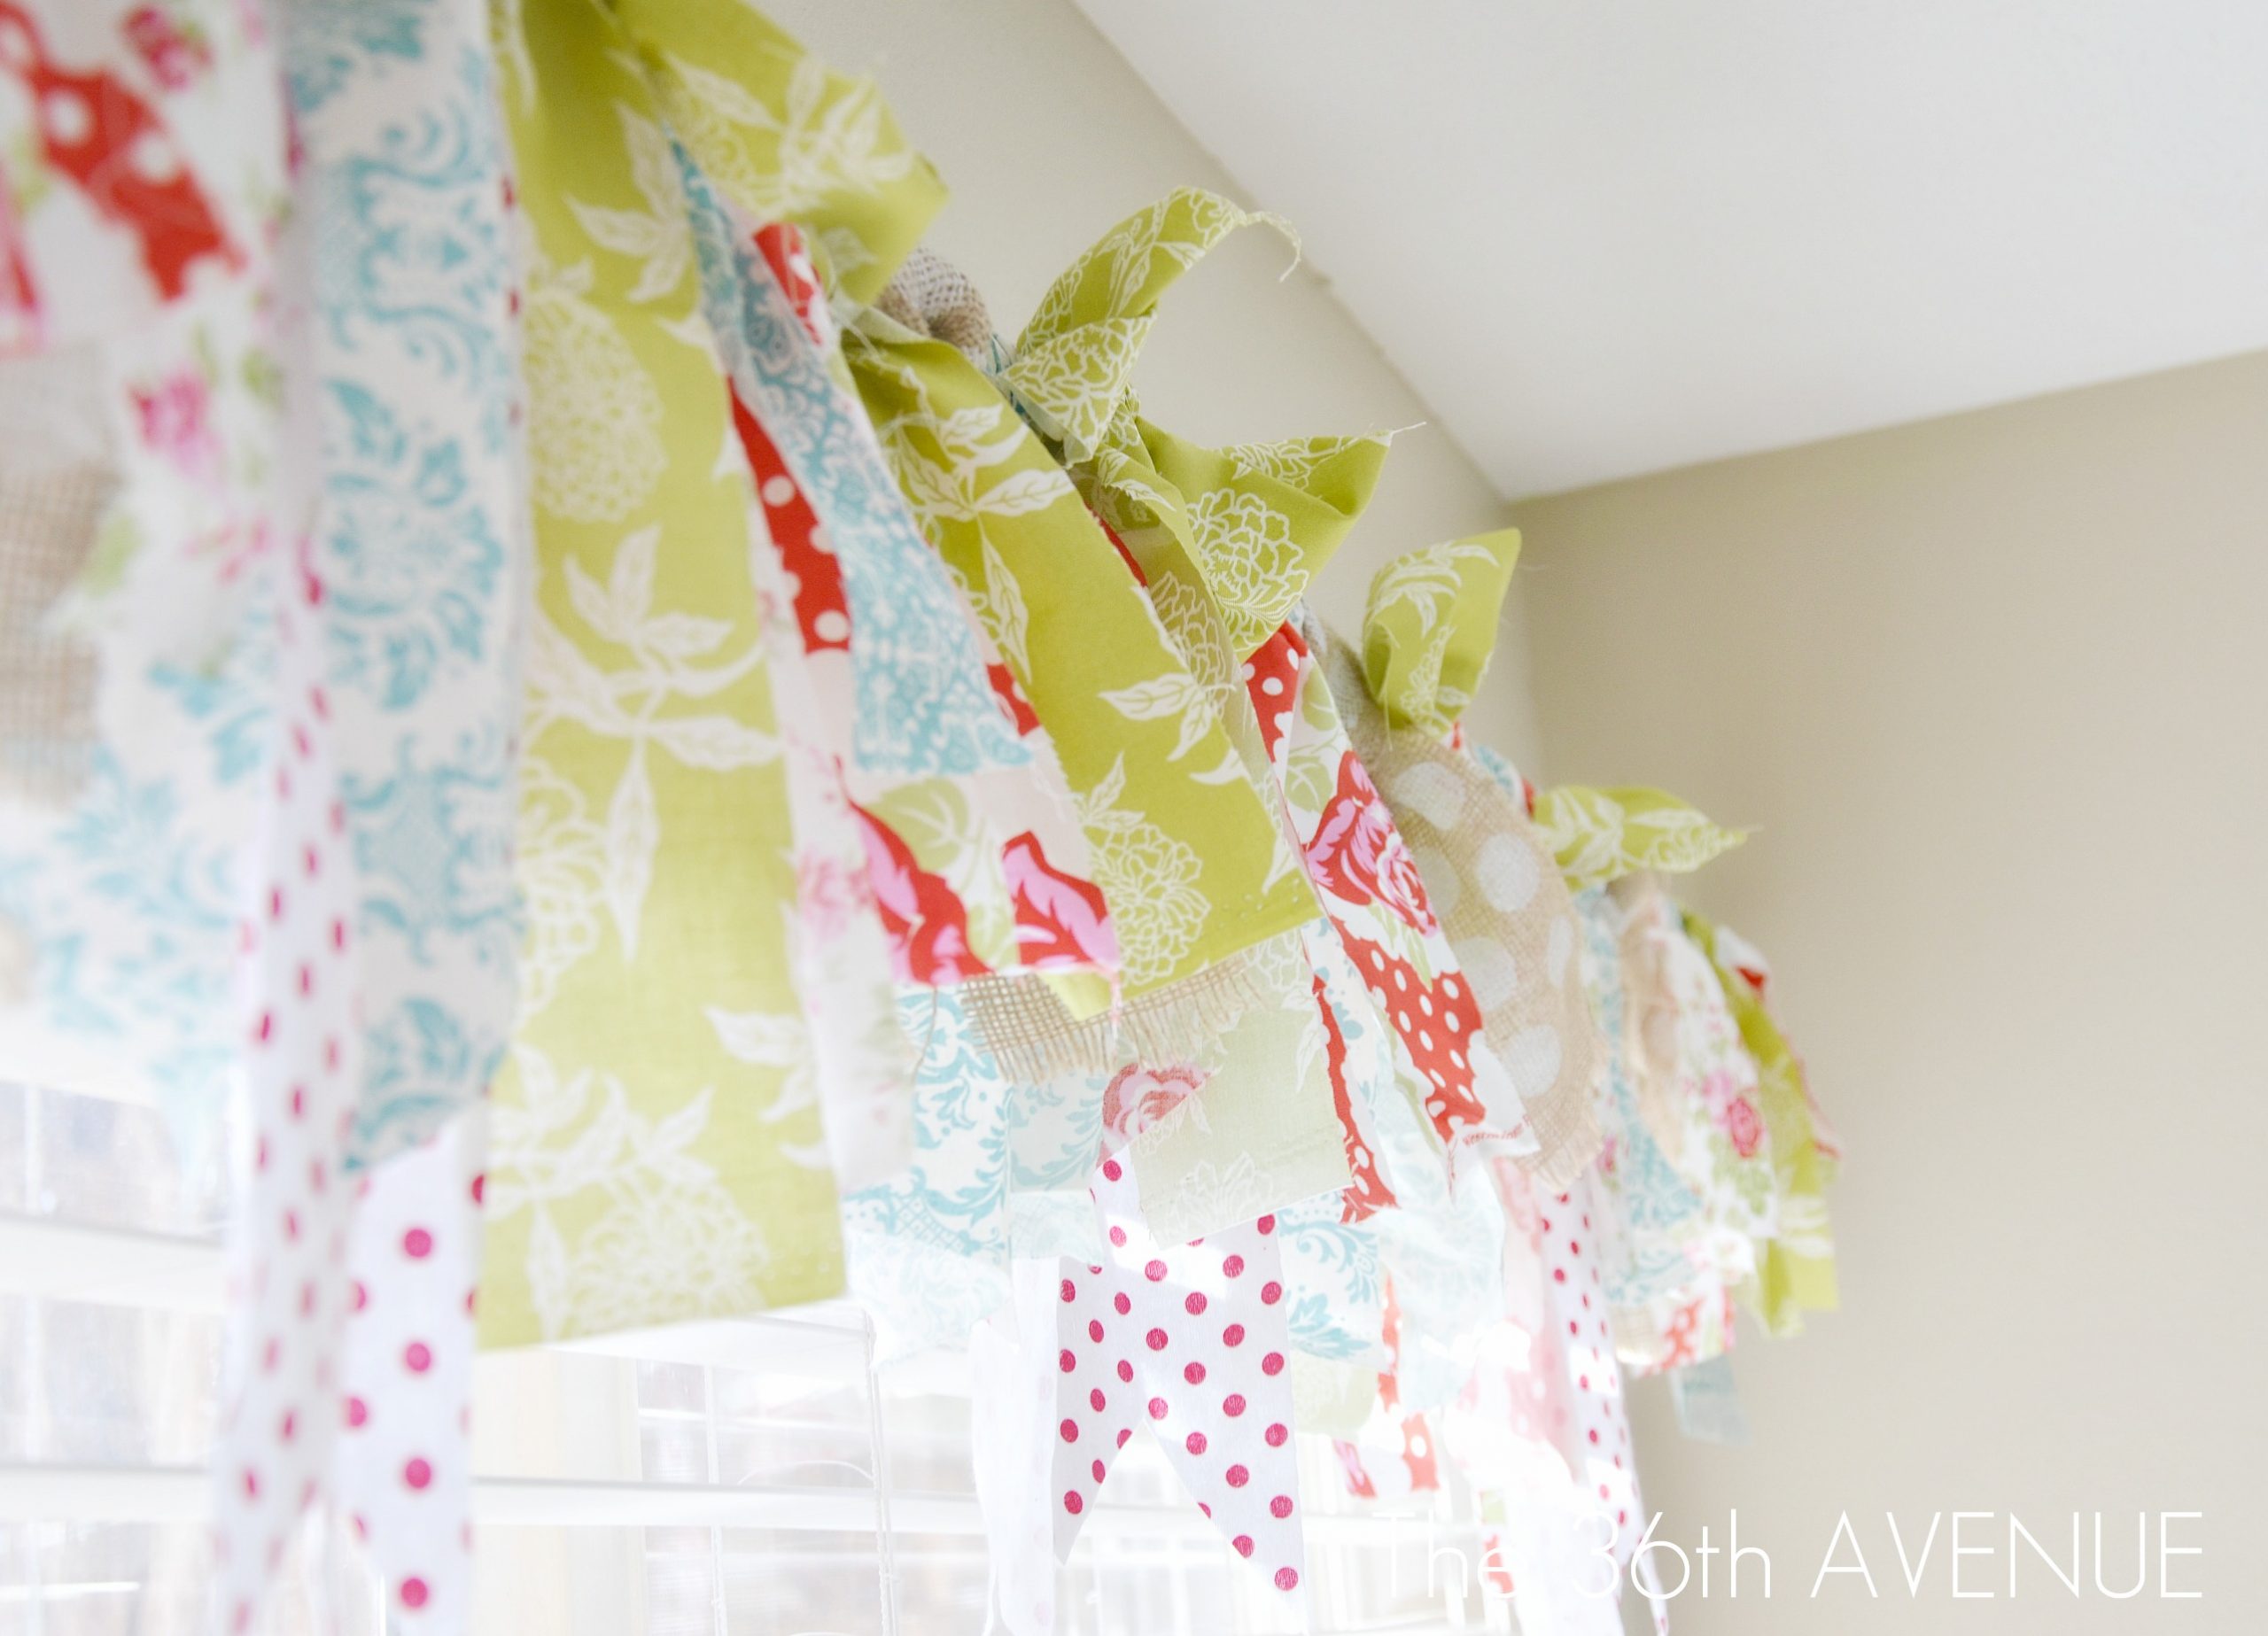
Here it is… and by the way my banner’s name is Amanda 😉

This banner was so easy to make that I really didn’t feel the need for a tutorial.
All you need is scissors and scraps fabric… no sewing here today.
All I did was cut strips of scrap fabric that I had around the house and then I tied them to the curtain rod…
I made the length of each color a little bit different to give it movement and interest.

My new craft room is all about color and brightness so I decided to mix different shades and patterns to really bring the fun out.
If you want to do something similar but you are not sure about how to mix match colors make sure to check out my
” 101 Color: The Color Wheel” Post. I am confident that by the end you’ll come up with something EXTRAORDINARY!

Now… while I was putting it together I realized that this was the fabric that I used for some of the projects that I made last year.
I love that! It is a little reminder of my 2011 journey.


When I first thought to be done I realized that the window and the polka dot wall was a little bit disconnected from each other.
I decided at this point to make my own polka dot burlap to take care of this problem…
Here is a little picture tutorial.

1
You’ll need a piece of card-stock. A circle punch holder. AWESOME Paint and a flat brush to paint.
{ image one }
2
Punch holes out of the card-stock.
You want them to have a consistency. I used as a guideline the previous hole, placing the punch holder at the edge of the previous circle.
{ image two }
3
Get ready to paint!
Since I was introduced to SoSoft Fabric Paint by DecoArt, this paint has become my FAVORITE for fabrics.
It is truly soft to the touch and it goes smoothly and evenly on the fabric.
You should give it a try!
{ image three }
4
Secure the stencil to your fabric with painter’s tape.
It is easy to paint that way.
{ image four }
5
Now it is time to paint.
Make sure when you apply any paint on fabric that you tap the brush up and down,
NEVER brush side to side.
Because of the tape you can lift the stencil from the fabric to make sure the entire surface of the circle is covered.
When you put the stencil down it will go back to the right place.
{ image five }
And that was it!
You are ready to do whatever you please with your Polka Dot Fabric…
Enjoy!

……………………………………………………………………………….
Click HERE to see my favorites Link Fiestas!


I love that the fabrics are a walk down memory lane! I’ve got a knotted garland I’ve been thinking of draping in my office, I like it tied right to the pole! Besos, friend;)
LOve this idea…redoing my 7 year olds room and plan to try this!!! Thanks
That is darling – it looks so simple and cheery. Thanks for sharing, I have to give this a try, maybe with a little red, white and blue.
Oh, my. I forgot to say THANK YOU for the lovely idea and tutorial. Thank you!
You are sweet Katie… Thank you so much for taking the time to leave me a comment!
Have a great evening!
I have liked this idea for so long. Tonight I finally did it. I re-purposed the following items: a pillowcase, a table cloth and a curtain panel. I’m waiting for daylight to decide whether I truly like it or not. And whether or not I need to cut some of the strips shorter.
I love this!! I just bragged about it on my blog!! You have such wonderful ideas!!
Thanks a ton for sharing!
I just found your blog, and it is stunning! Lovely tutorial, I am a non-sewer so I would love to do this in my daughter’s room! I am now following!
Hi Desiree…..I have much to learn about this blog thing :o) Anyway, I looooove this no sew window treatment idea. My 2 year old grandaughters new room is going to be a fish theme with all the beautiful ocean blue colors and I think this idea would be perfect for a sea weed effect. Using some ribbon might be good…what do you think??
BTW – You are AWESOME xoxo
Aww!
Thank you sweetheart!
I LOVE these!! I am now following your blog and you are so creative. The only question I have is where do you find such adorable fabrics? Please let me know I would love to make something like this
Angela
Angela,
There are amazing online shops and many of these fabrics come from my local fabric stores.
I love this idea…..gonna do it in my newly painted green laundry room with some black, white and black and white damask fabric! i don’t ever mess with material, so this is stupid question, but do you need to do anything about edges fraying? thank you!! 🙂
I didn’t do a thing since they are not going to be touch.
You’ll be fine. It is super easy to do!