DIY Clipboard Charts to make Back to School Days stress free!
Where did SUMMER go?
I am not sure… but I think it is fair to say that the source of inspiration for my project is PANIC… It screams PLEASE HELP ME to deal with all of the back to school chaos. I have an 8, 9 and 10 years old… yep… Can you see now what I am talking about…
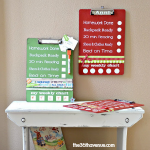
So here is what I came up with… a “back to school chart” to help me I mean help them to stay on top of things and make the transition and the school year stupendous!
I made three of them, two for my girls and one for my boy…
Here is the tutorial of how to make them…. This is what you’ll need to make yours!
The Steps Were REALLY SIMPLE… 1st: We painted the CLIPBOARDS…
{ I let the future owners of the boards help… 😉 }
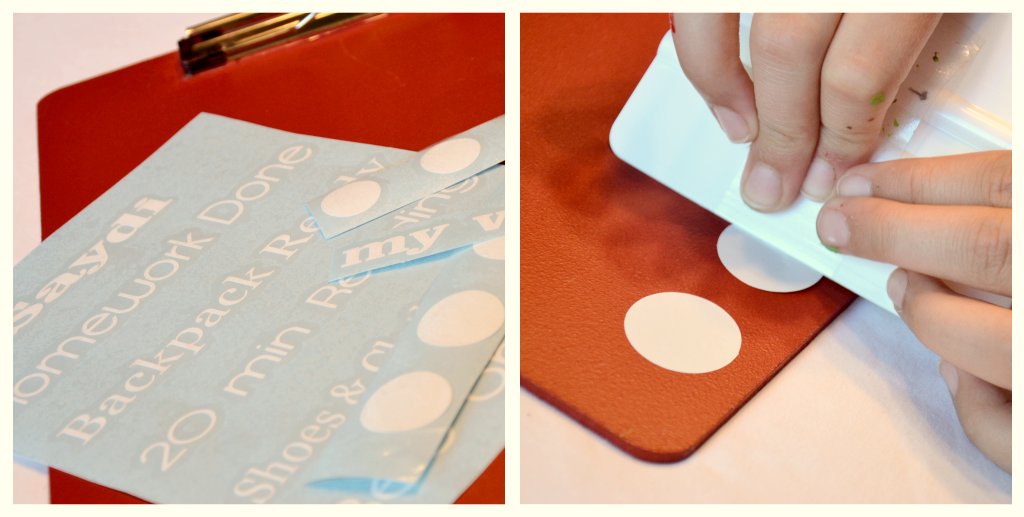
2nd: VINYL Time!
I used a high gloss vinyl for the polka dots and squares so the dry erase markers could work on it and be erase easily… pretty cool! {CLICK HERE FOR A FULL TUTORIAL OF HOW TO APPLY VINYL}
3rd:
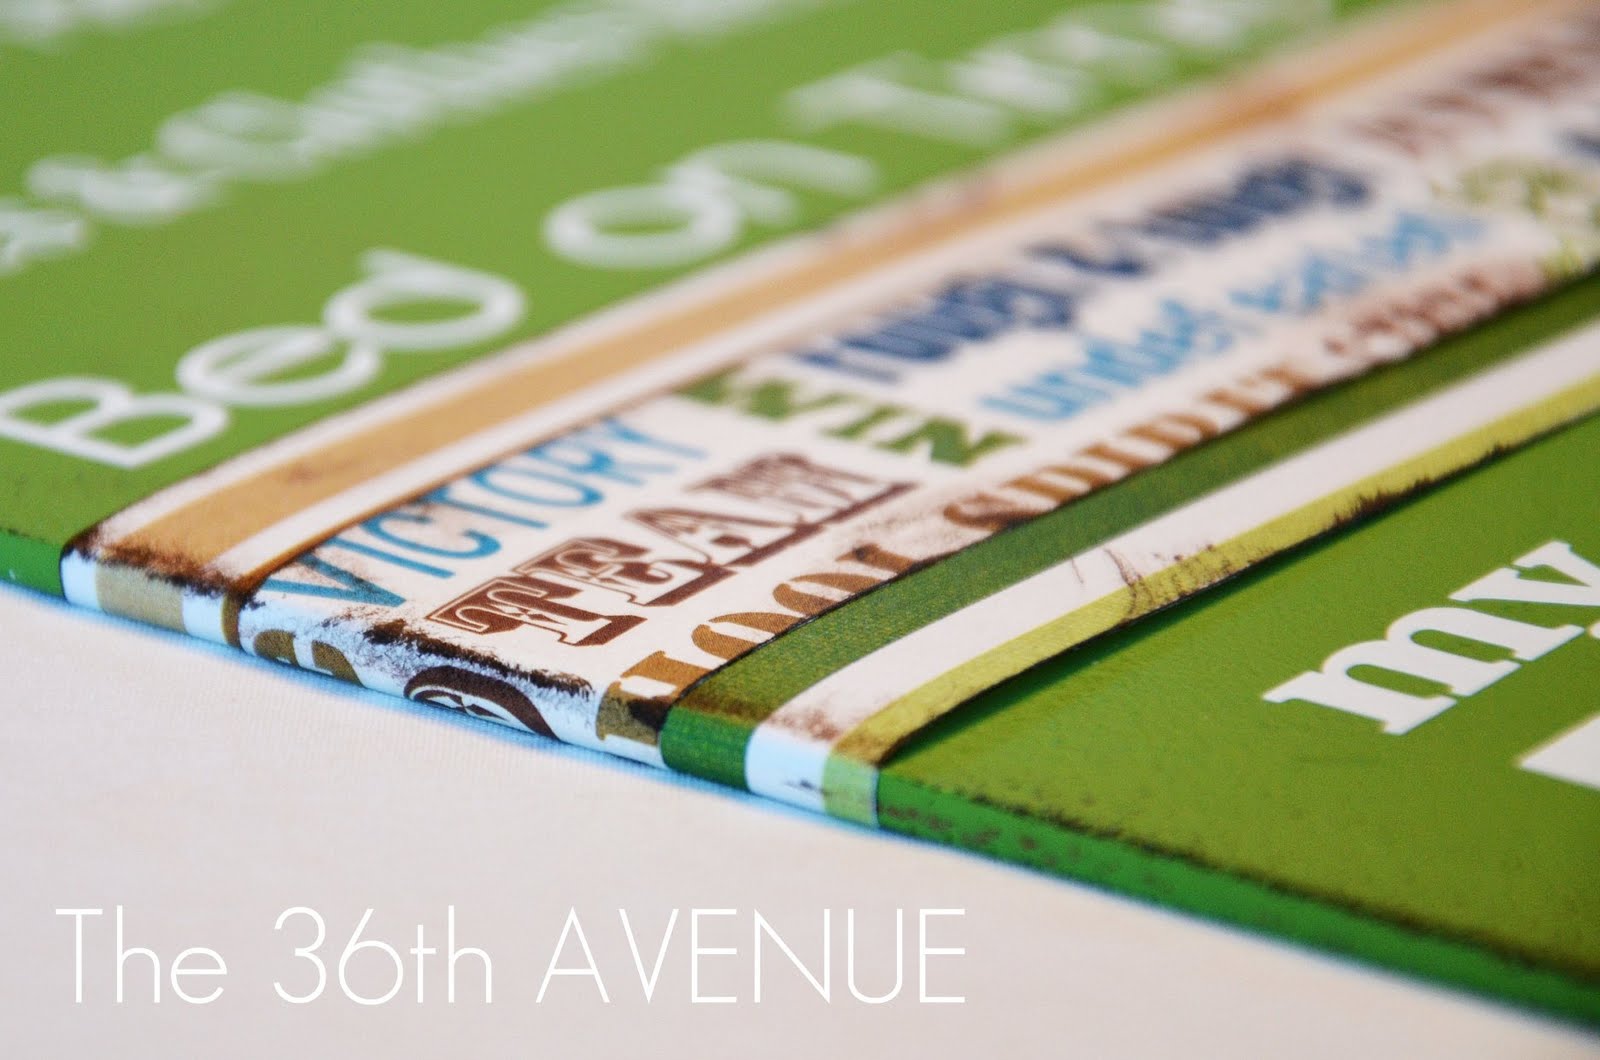
Time to embellish the clipboards…
I want to keep them really simple, so I used just a strip of scrapbook paper and some ribbon for the girls. To make my boy’s board look a bit tougher I used squares instead of dots and I antiqued the clipboard using a regular ink pad.
a closer look…
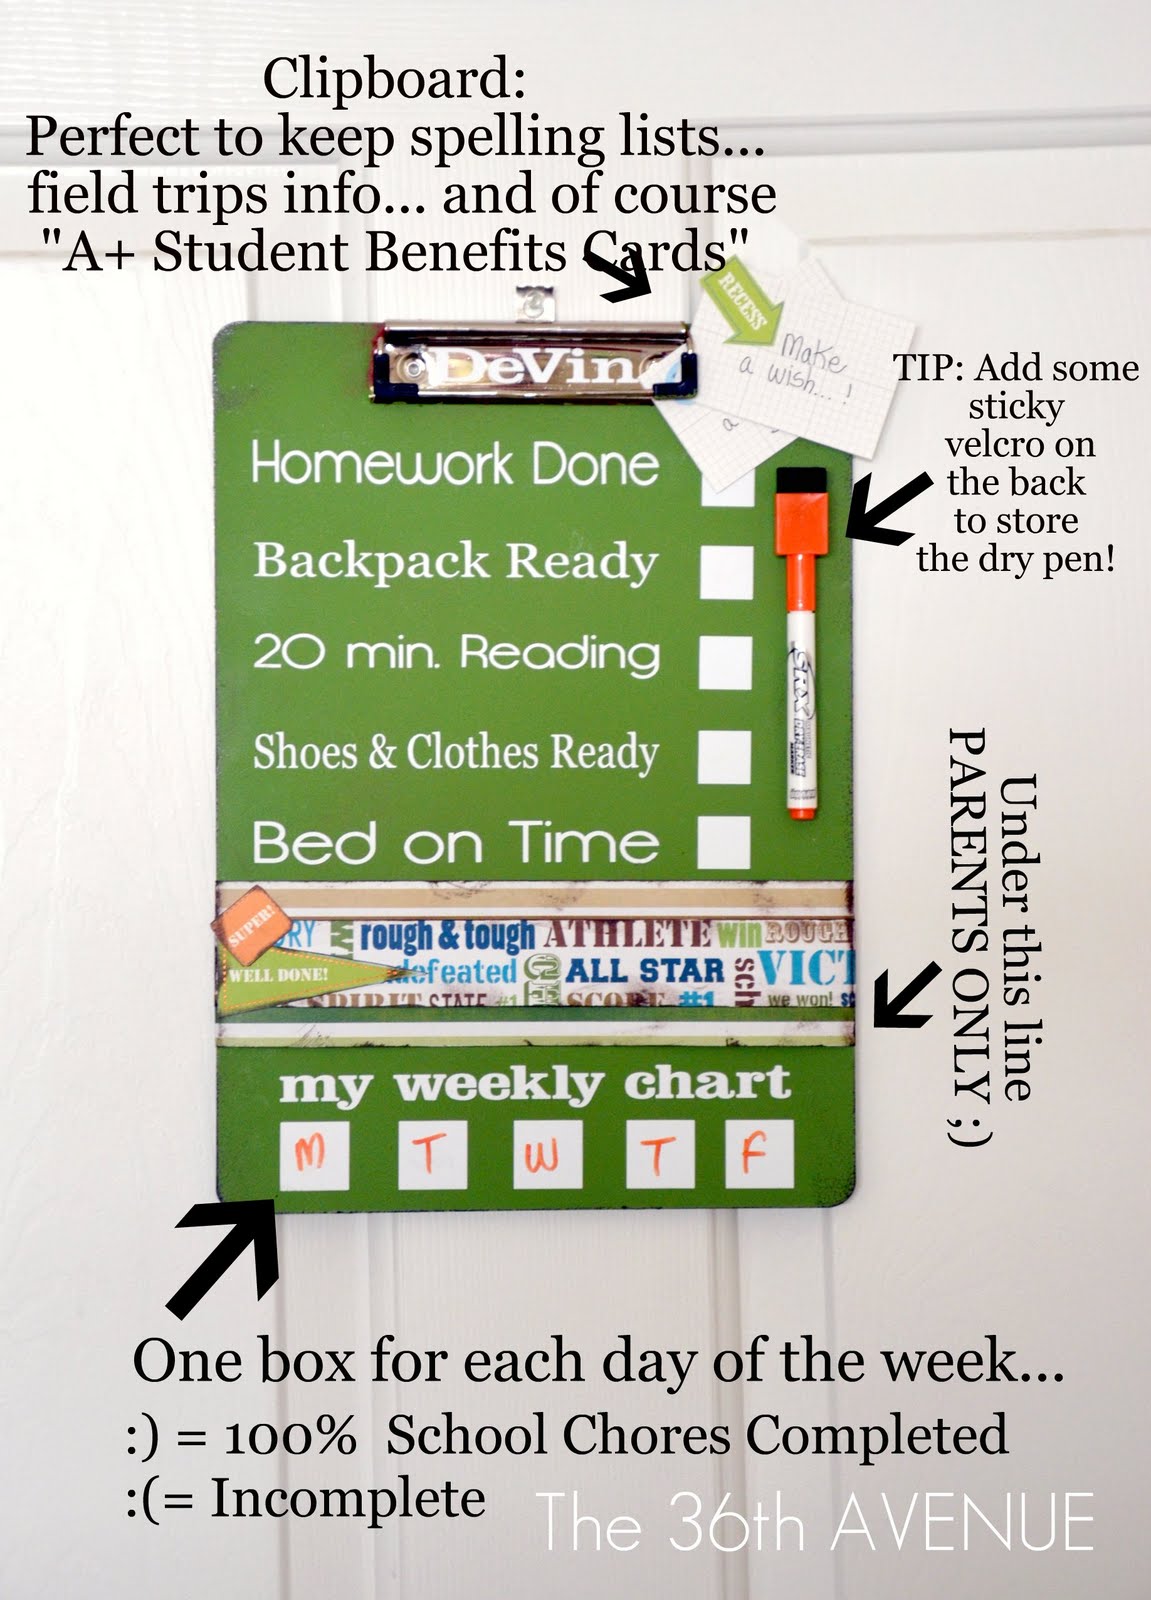
…I want them to be not just adorable BUT useful… so I came up with a plan of how to use them,
THIS IS HOW THEY WORK!
Every day the children need to do and check off the five items on their list:
I am in love with this idea, thank you so much! My son is 11, I’ve been trying to come up with a way to make it so that there isn’t an ”ugh” or a deep sigh followed by the lovely eye role when given (and trust me, it’s small lol) his chore list. This is great AND we can make it together! Thanks again!
This is so amazing! I’m very excited to get this started! I read though the tutorial, it it does not mention how or where you got the vinyl “responsibilities”. Did you make them yourself or are they pre printed and available at Walmart, Joann’s or Michaels?
Thank you again!
I just love what you do and your generous heart! I am a g’mamma so this us my 2nd time round for little ones! I would love to make these boards for my wee G’kids. I live in New Zealand and we cannot buy the vinyl. Are you able to give me a link where you buy yours. I don’t have a silhouette but a circuit that does the same job! Thank you again!
Linda Rose
I love this idea, but I have never worked with vinyl and don’t have any kind of cutters. Do you have any suggestions for an alternative for the print? Does someone sell just vinyl dots and squares?
I see the link for vinyl stenciling on fabric but did you stencil these or print out vinyl letters and stick them on? Can I do that on a Cricut? Thanks for the inspiration. You are amazing!
I was wondering about the actual list of FIve to do list. How did you print those make those. If you said it I am sorry haven’t had time to view the tutorial. I would love to make these. Thanks
Holly
I love your site I get the emails each day and am inspired!!!


I am in love with this idea, thank you so much! My son is 11, I’ve been trying to come up with a way to make it so that there isn’t an ”ugh” or a deep sigh followed by the lovely eye role when given (and trust me, it’s small lol) his chore list. This is great AND we can make it together! Thanks again!
So happy you like it Kimberly… My son is 11 as well and it has worked great for us!
I love this! So creative and interactive! Will be making this this week!!
This is so amazing! I’m very excited to get this started! I read though the tutorial, it it does not mention how or where you got the vinyl “responsibilities”. Did you make them yourself or are they pre printed and available at Walmart, Joann’s or Michaels?
Thank you again!
Hi Desiree
I just love what you do and your generous heart! I am a g’mamma so this us my 2nd time round for little ones! I would love to make these boards for my wee G’kids. I live in New Zealand and we cannot buy the vinyl. Are you able to give me a link where you buy yours. I don’t have a silhouette but a circuit that does the same job! Thank you again!
Linda Rose
I love this idea, but I have never worked with vinyl and don’t have any kind of cutters. Do you have any suggestions for an alternative for the print? Does someone sell just vinyl dots and squares?
Erin, coma back tomorrow. I will be posting an alternative project that has a similar look and the same results without the vinyl 🙂
I see the link for vinyl stenciling on fabric but did you stencil these or print out vinyl letters and stick them on? Can I do that on a Cricut? Thanks for the inspiration. You are amazing!
You need a vinyl cutter like the Silhouette.
I was wondering about the actual list of FIve to do list. How did you print those make those. If you said it I am sorry haven’t had time to view the tutorial. I would love to make these. Thanks
Holly
I love your site I get the emails each day and am inspired!!!
Holly, there is a link to them in the tutorial…
Did you end up painting the back with the chalkboard paint? I’d love to know what that ended up being used for and I couldn’t find pictures… Thanks!
Sara, I never did the tutorial for it.
Hi there! I just wanted to let you know I featured you on Blissful and Domestic today. Stop by and check it out:>
http://www.blissfulanddomestic.com/2012/08/back-to-school-features.html