
There is a good chance you’ve seen this project before
when I shared it with Jamielyn’s fantastic readers at her EXTRAORDINARY blog I Heart Nap Time.
But just in case you missed it here it is ONE MORE TIME!
when I shared it with Jamielyn’s fantastic readers at her EXTRAORDINARY blog I Heart Nap Time.
But just in case you missed it here it is ONE MORE TIME!
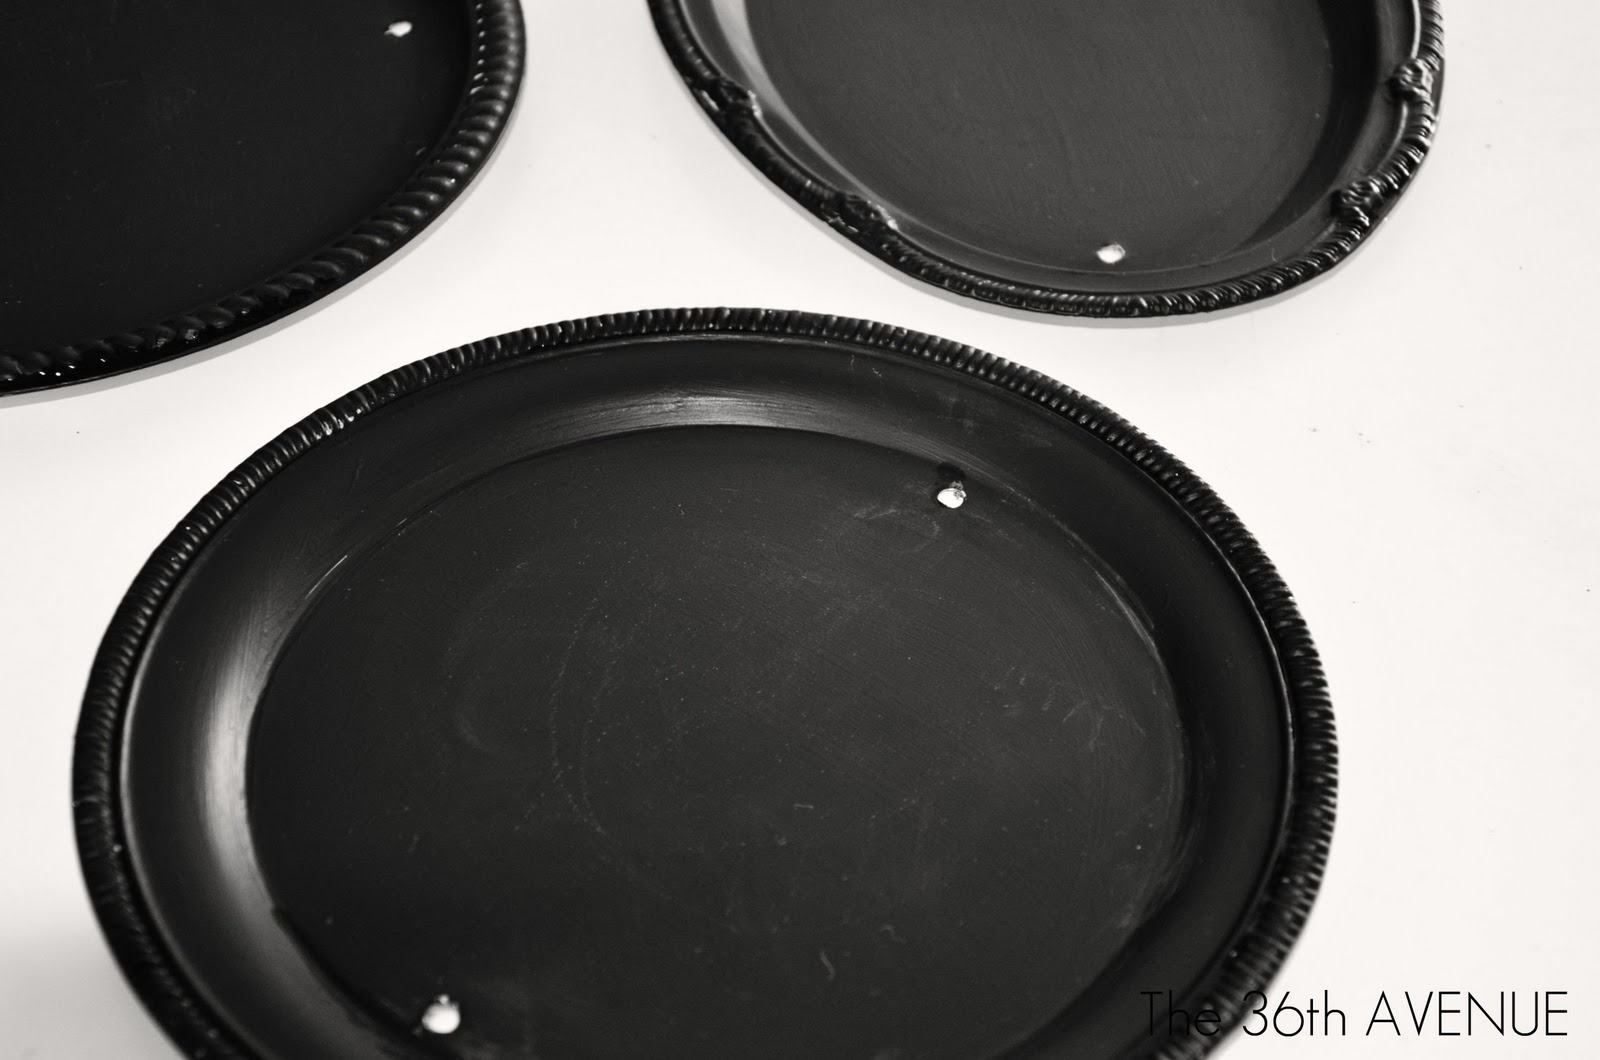
Just a few weeks ago I found these silver platters at my local Dollar Store…
and my first thought was CHALKBOARDS!
.
.

.
.
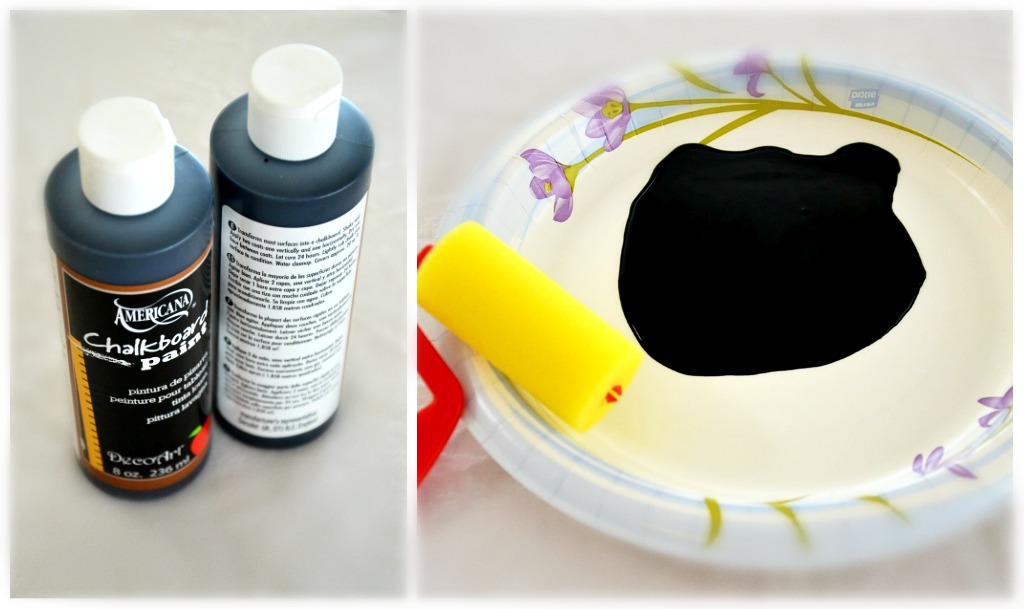
I went home right away and I took out my chalkboard paint…
.
I went home right away and I took out my chalkboard paint…
{THANK YOU SO MUCH TO DECOART FOR PROVIDING THE WONDERFUL PAINT FOR THIS PROJECT}
I was ready to get this party started 😉
.
.
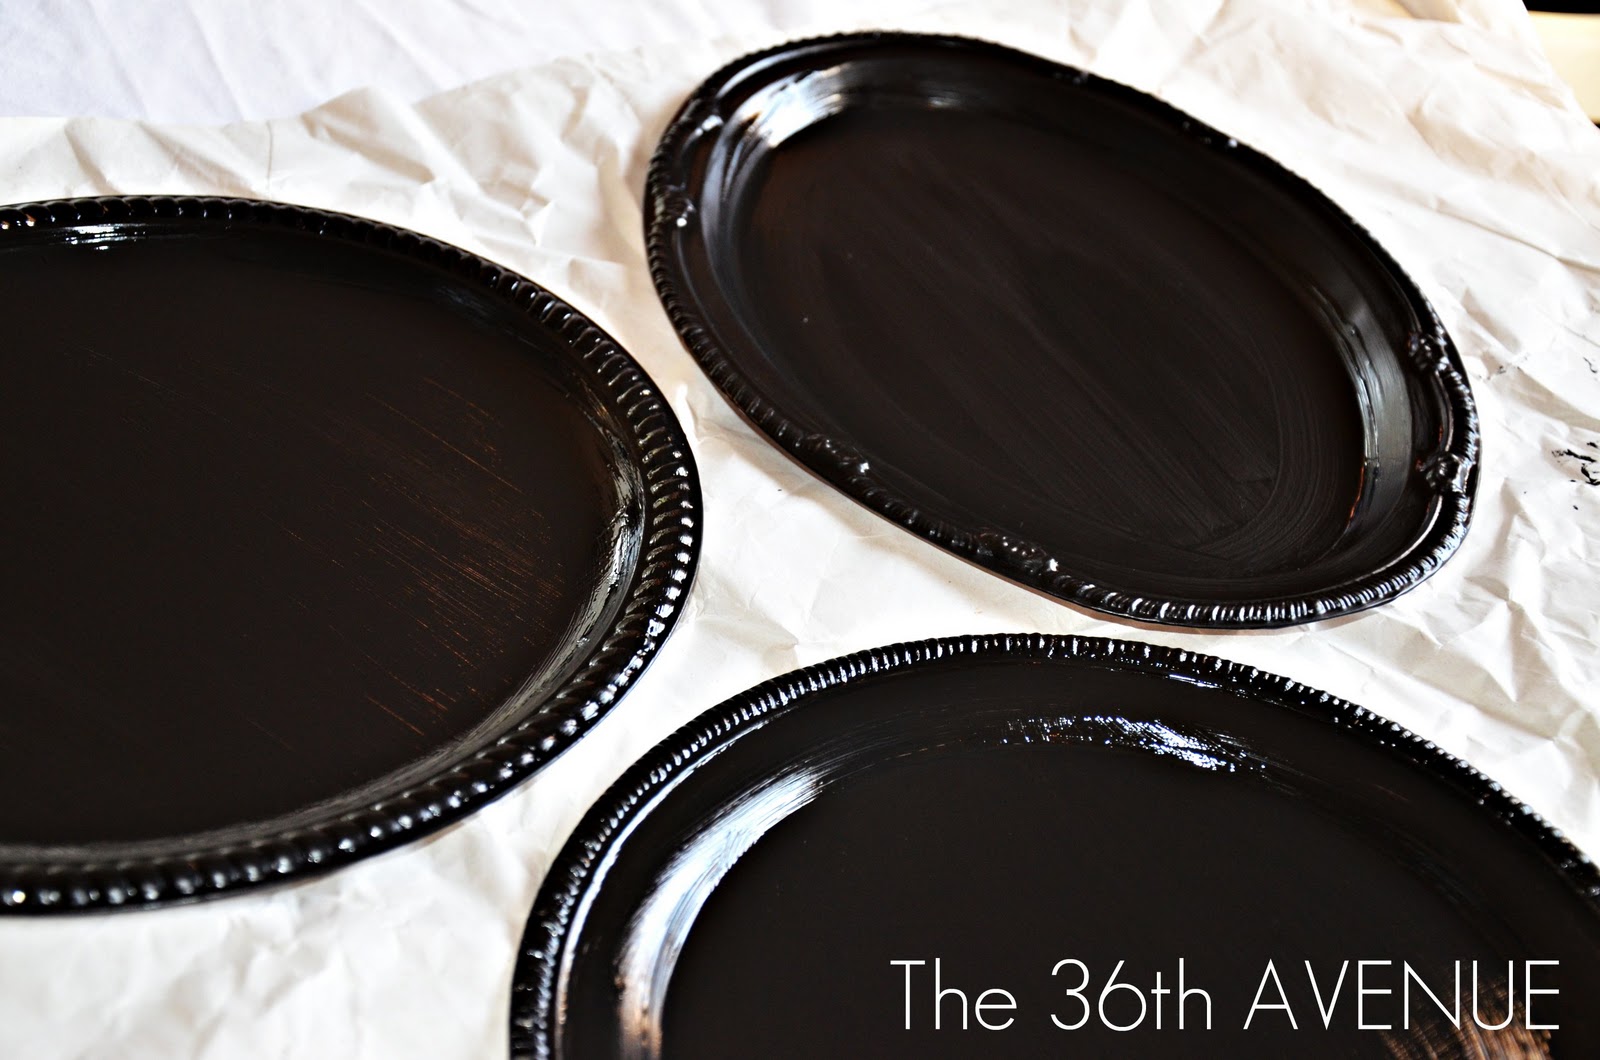
I gave the platters enough coats of paint to cover the entire surface perfectly…
.
I gave the platters enough coats of paint to cover the entire surface perfectly…
They looked awesome already!
.
.
After they dried I prepared the surface spreading chalk all over and wiped it off with a clean sock…
The sock worked perfectly!
.
After they dried I prepared the surface spreading chalk all over and wiped it off with a clean sock…
The sock worked perfectly!

.
.
For the next step I used a drill to make two holes in each platter…
.
For the next step I used a drill to make two holes in each platter…
Do this slowly… I don’t want you to get hurt!
.
.
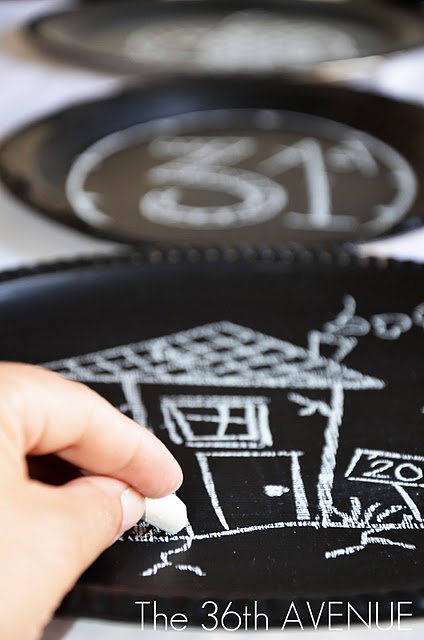
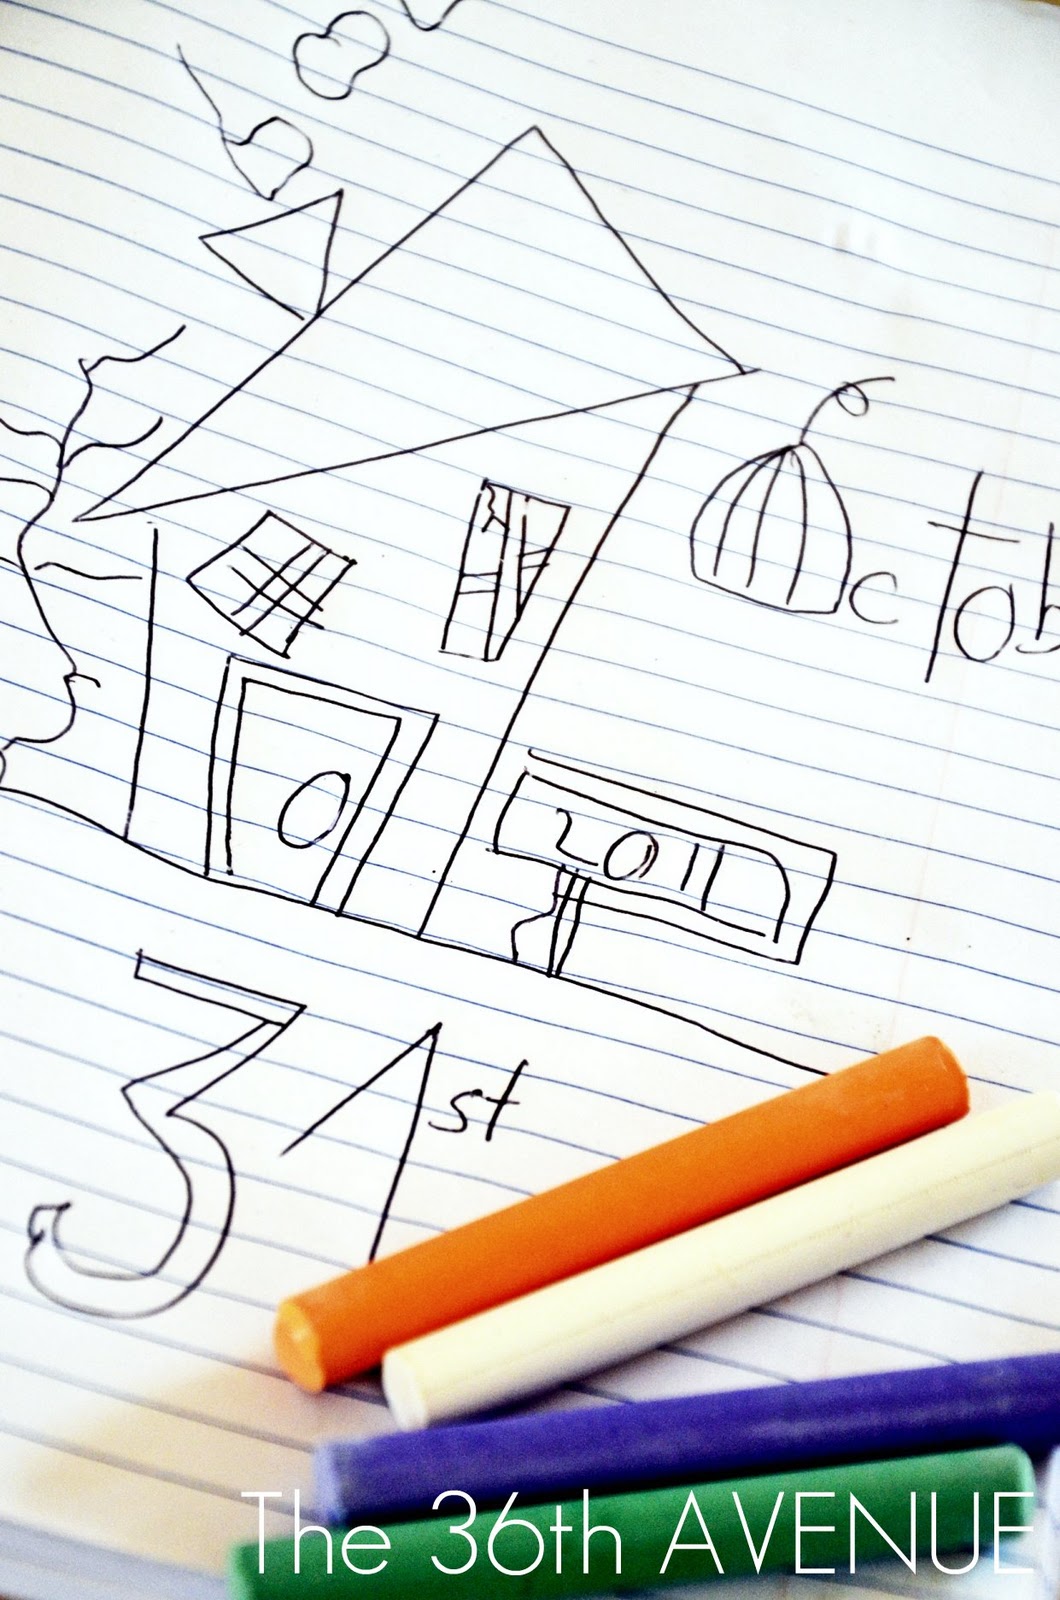
We were ready to decorate the platters with some chalk…
.
We were ready to decorate the platters with some chalk…
My kids gave me the ideas for the drying…
How cute is their sketch…?
…Yes, I am a copy cat!
How cute is their sketch…?
…Yes, I am a copy cat!
.
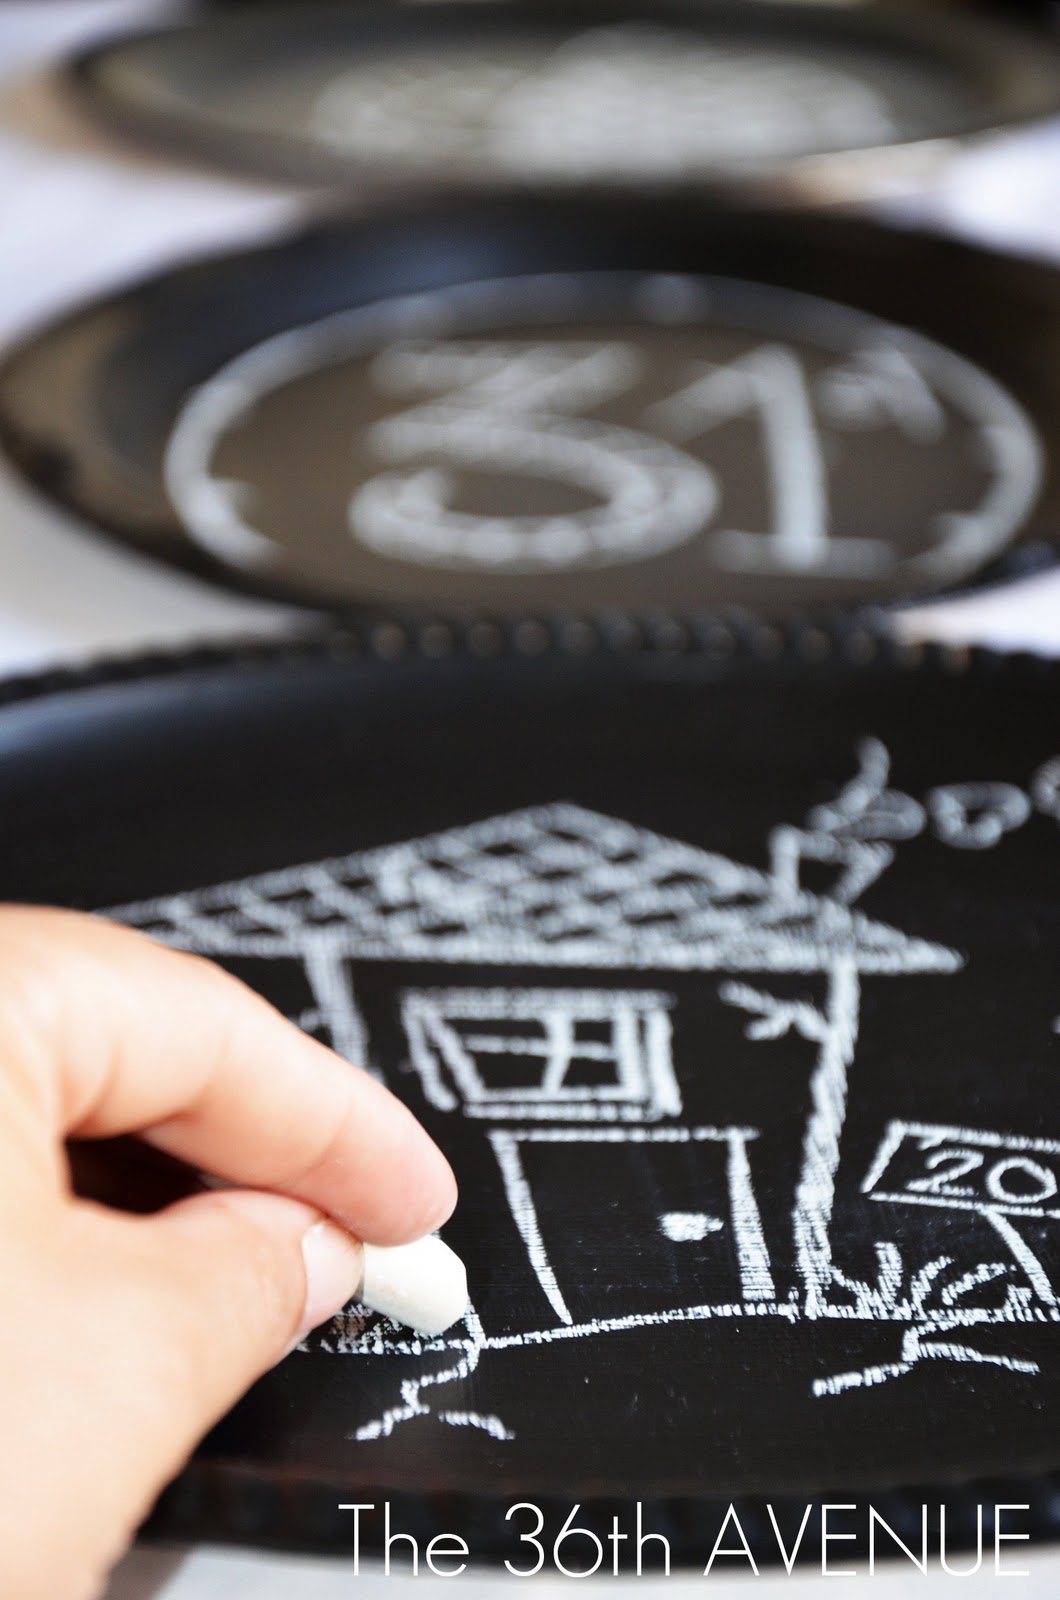
.First I used white chalk to outline the drying…
.First I used white chalk to outline the drying…
.
.
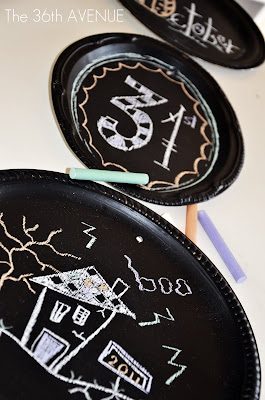
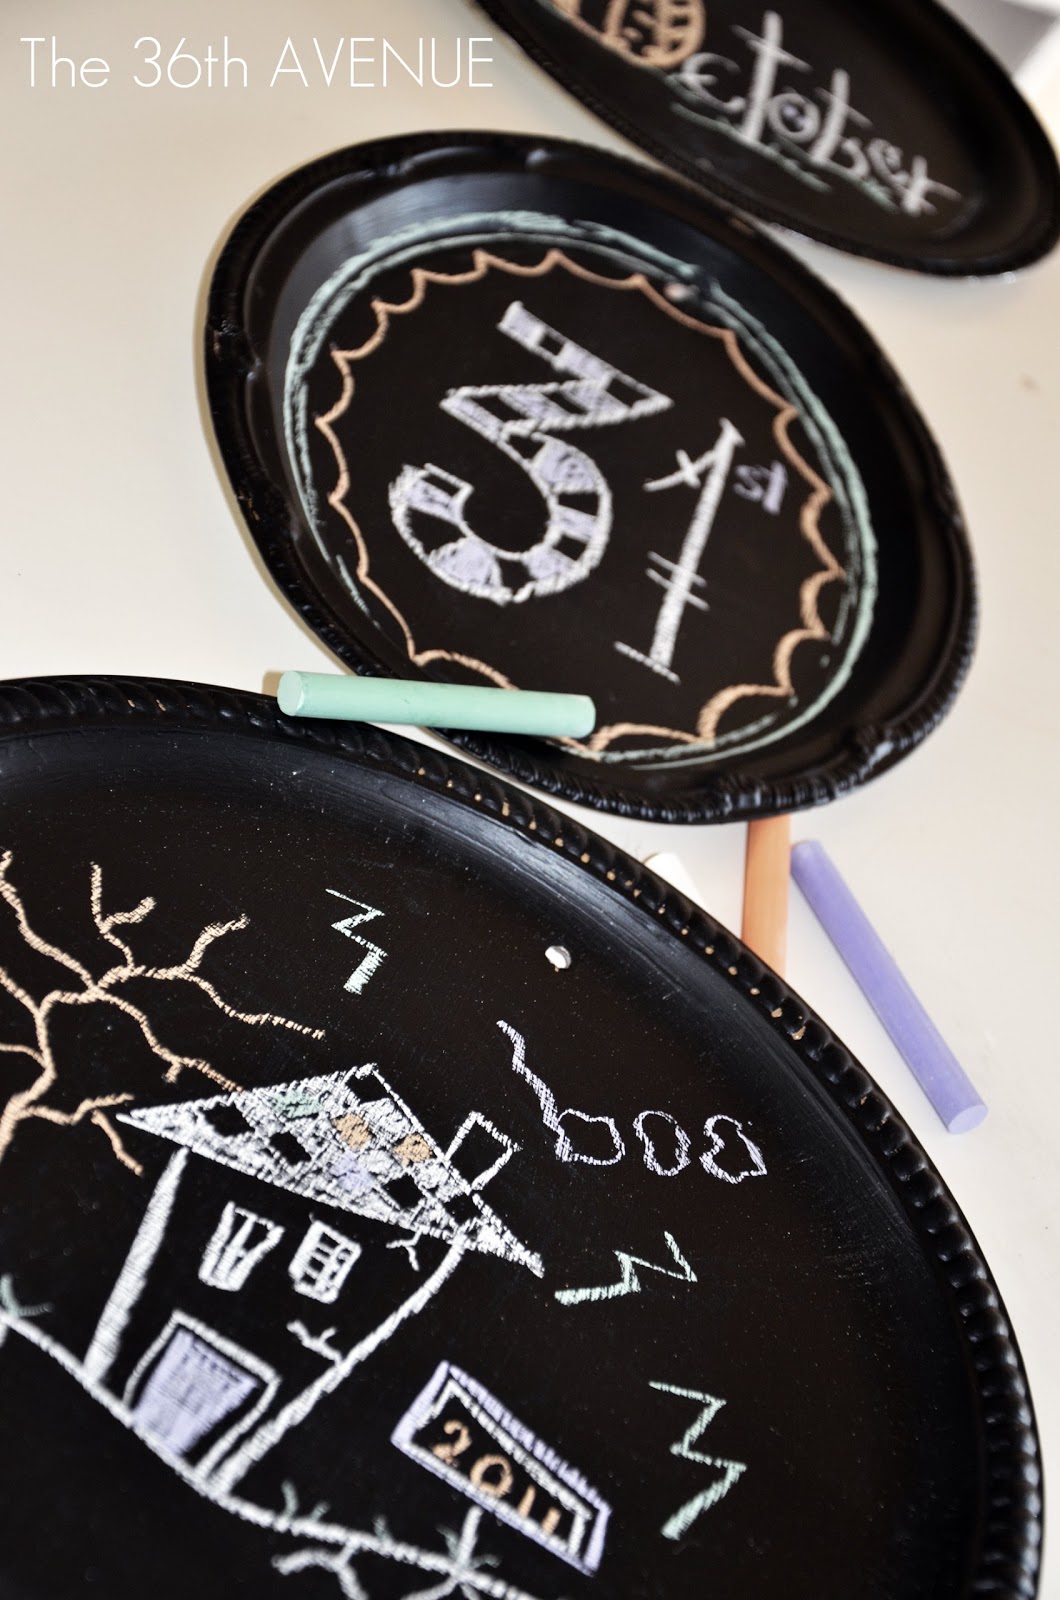
…and after I used some color chalk since my little assistants thought that
it would look better…
You must ALWAYS trust the pros!
.
.
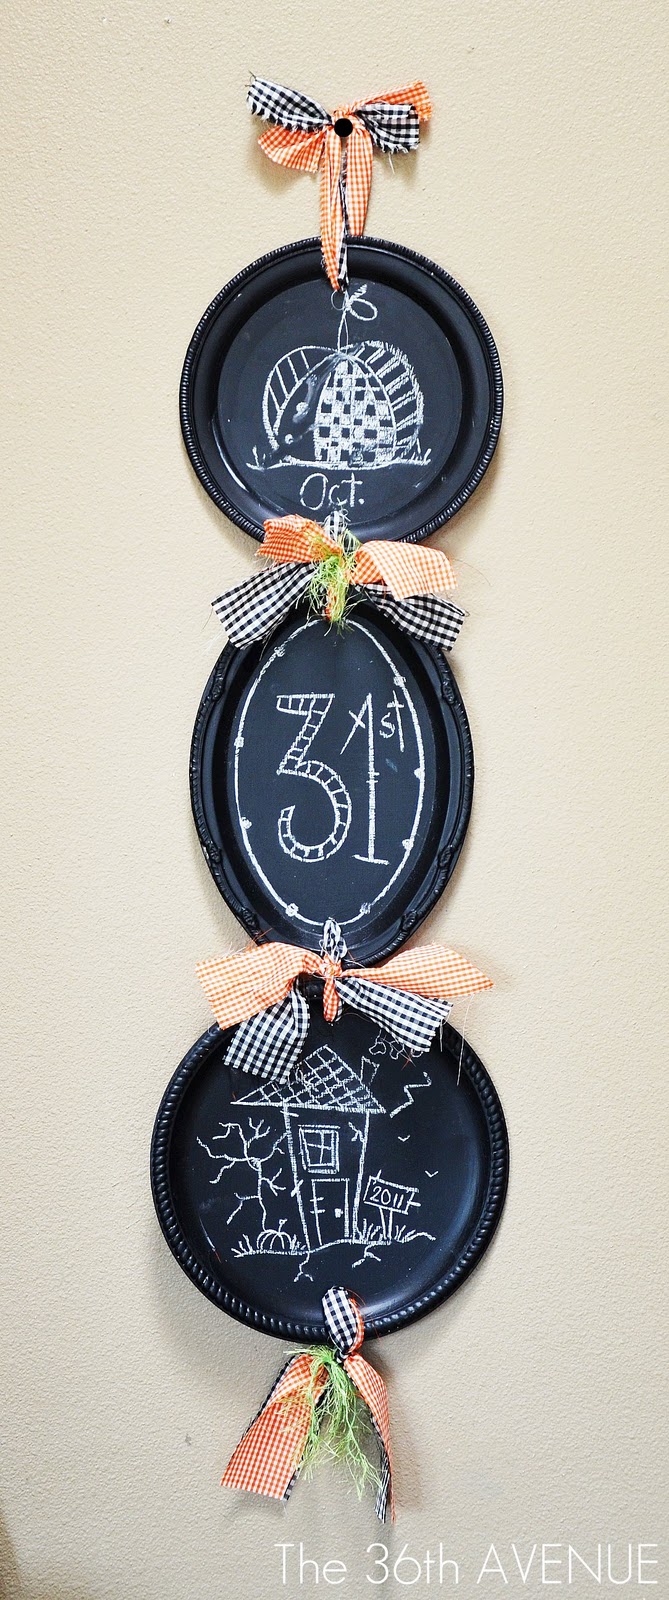
At this point we just had one more step… to connect all three platters.
.
At this point we just had one more step… to connect all three platters.
You can use fabric or ribbon among some other thing for this step!

.
.We love Halloween so much
that we hung it up right away…
.We love Halloween so much
that we hung it up right away…
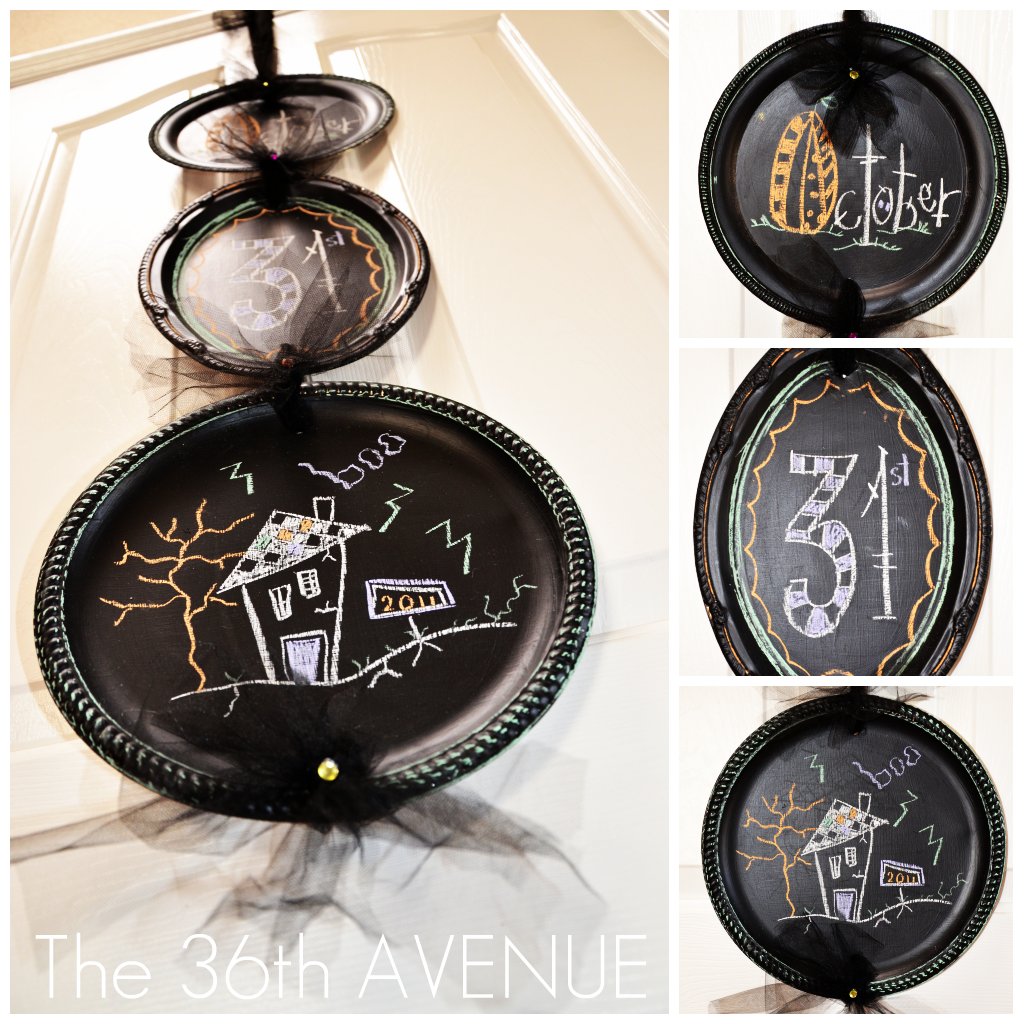
.
.Here is how it looks with some color fabrics
for the connections….
.Here is how it looks with some color fabrics
for the connections….
.
.
The coolest thing about this project is that you can use it all year long just change the colors of the fabrics according to the seasons.
.
.
Now looking at it I think it would look very cute with the words:
TRICK
or
TREAT!
LOVE HALLOWEEN!

I live on 36th avenue. Awkward… Anyway your blog is great 🙂
Is the first step of paint the chalk paint? And then another layer of chalk paint too? A little confusing as to type of paint in first step.
Thanks! Love the idea.
Yes Judy… just chalk paint… Thank you so much for visiting!
This would be great to use for my daughter, they play school all the time. Homemade and portable teacher’s/student chalkboard
This is great, love how they turned out. The sock tip is a good one, too.
I’d love for you to add it to my new “Thrifty Thursdays” link party – it’s perfect for it!
I love this idea! It’s so cool that you could change them out for the seasons or holidays.
Alida
radcrafter.com
These are flippin adorable! How great would they be for chargers for a Halloween party too! Ooo… I might do that. Thanks for sharing!
Oh my goodness, soooo cute! I love them all connected together like that. And the white and colored chalk on them is just adorable! Great job!!! I want to make one now!!
soooooooooooooooo darling. LOVE THEM. xo jen
Thank you Jen!
It so good to see you here… I feel like I’m all alone since I switched sites 🙁
Awesome project, so cute!
I feel compelled to mention, however, that “Hanged” is not a work. I believe the word you’re looking for is “hung”. 🙂
Ah, after all that I wrote “work” when I mean “word”…darn me.
Thanks…!