
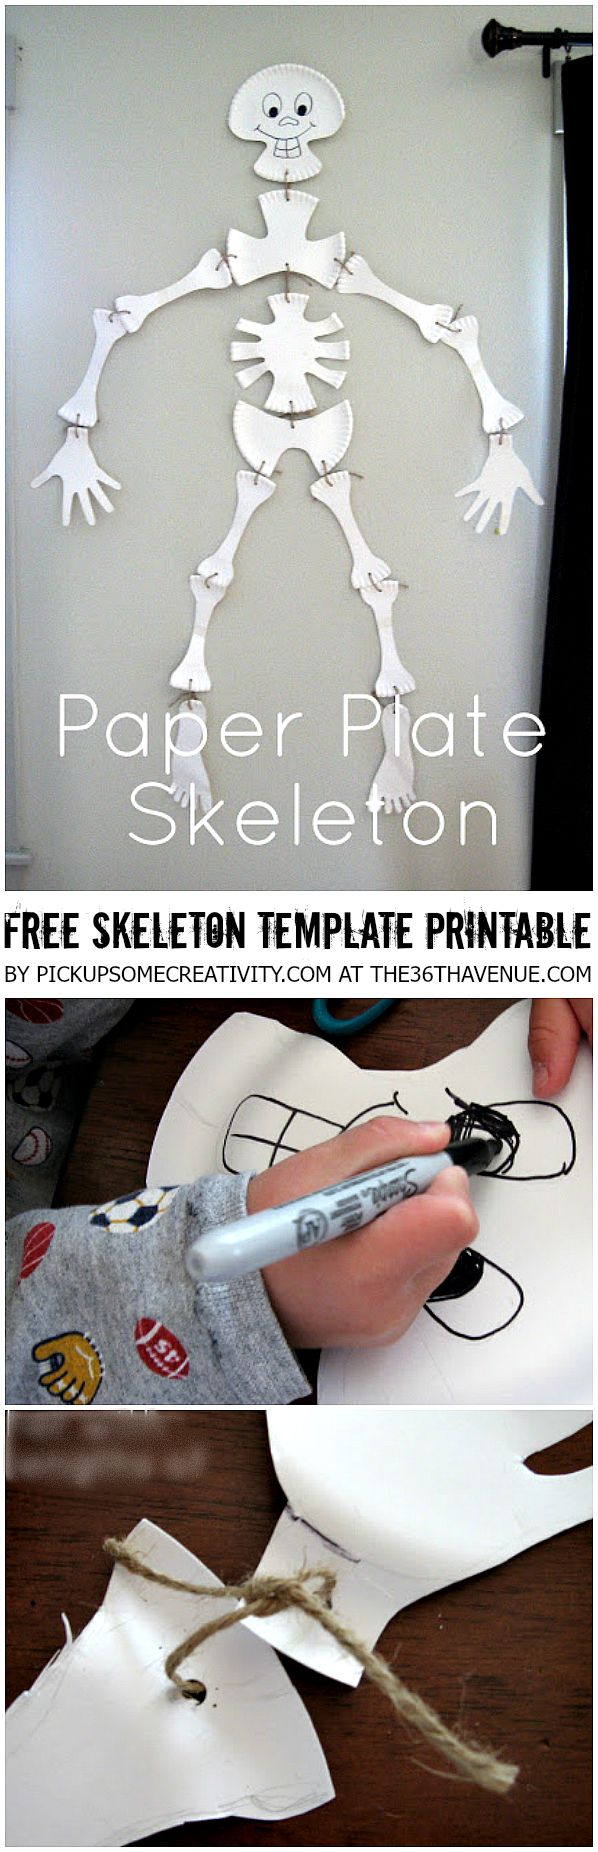
Halloween is so much fun! Today we have Chris sharing how to make a Paper Plate Skeleton and sharing her Free Skeleton Template Printable! Kids will love to make and display this Halloween Craft!
DO NOT COPY, SAVE, OR PASTE THIS COLLAGE IMAGE.
Hello there, 36th Avenue readers!
My name is Chris.

I write about family, life, and creating over at Pickup Some Creativity. I was so surprised and happy to have Desiree invite me over today. I’m sharing my tutorial for making a Paper Plate Skeleton, including a free printable template.

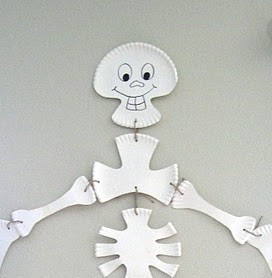
I love this guy. I’m not big intoHalloween, but this skeleton is based on a decoration my mama made when I was a little girl. I recall hanging the skeleton up and getting excited about trick or treating as a child. When my oldest boy was 2, I called my mom to ask her how she made her skeleton. She sent me a copy of the magazine photo that inspired her, and the paper plates to make him.
This was all back in our very poor college days!
Since then, we’ve had this skeleton. My kids love him, and were so excited to see him when I pulled out our fall decorations. I thought he might be a simple and easy decoration you could whip together, with stuff you probably have on hand. So, I’m sharing my version of this fun activity.
My little boy and I made a smaller version together so we could show you how to do it. Making this paper skeleton is a fun and easy activity you can do with your kids, and have memories for years to come.
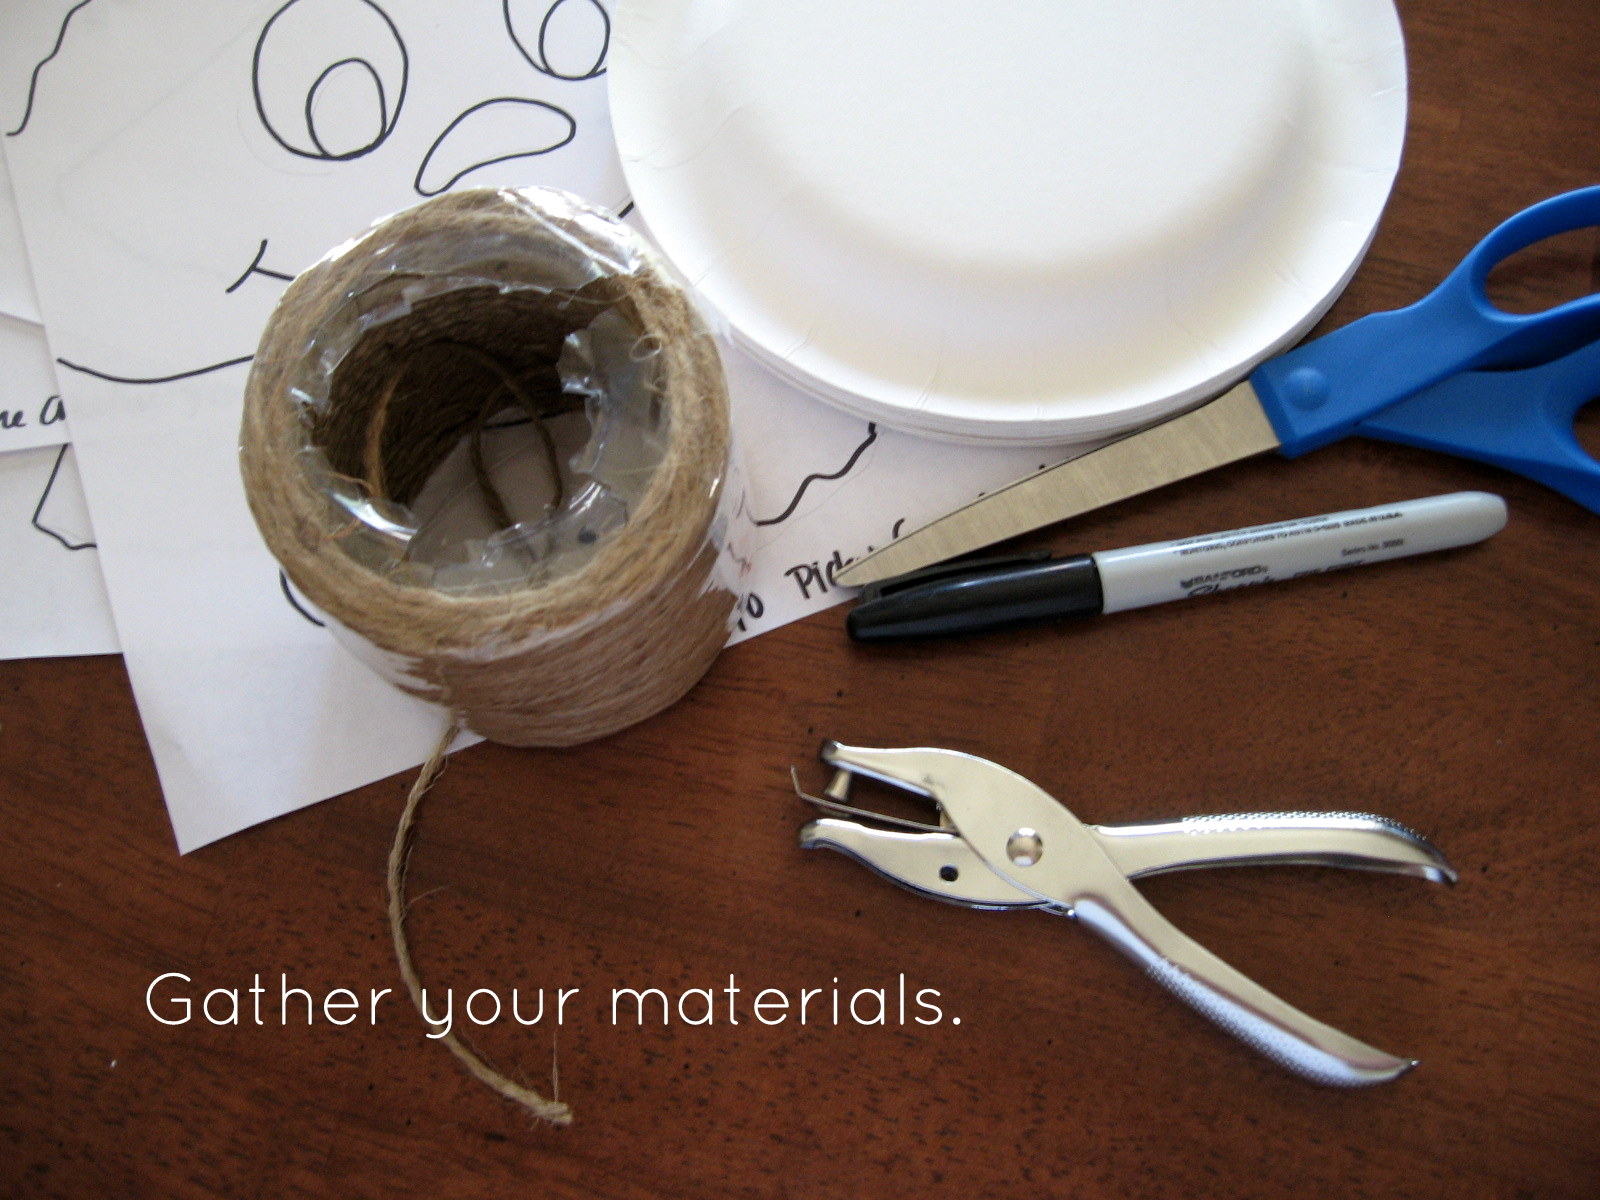
You will need:
-
18 white paper plates, the cheap kind with fluted edges.
-
Templates, which you can find HERE
-
Pencil, Permanent Marker, and Scissors
-
Paper hole punch
-
Jute for tying everything together.
Step One.
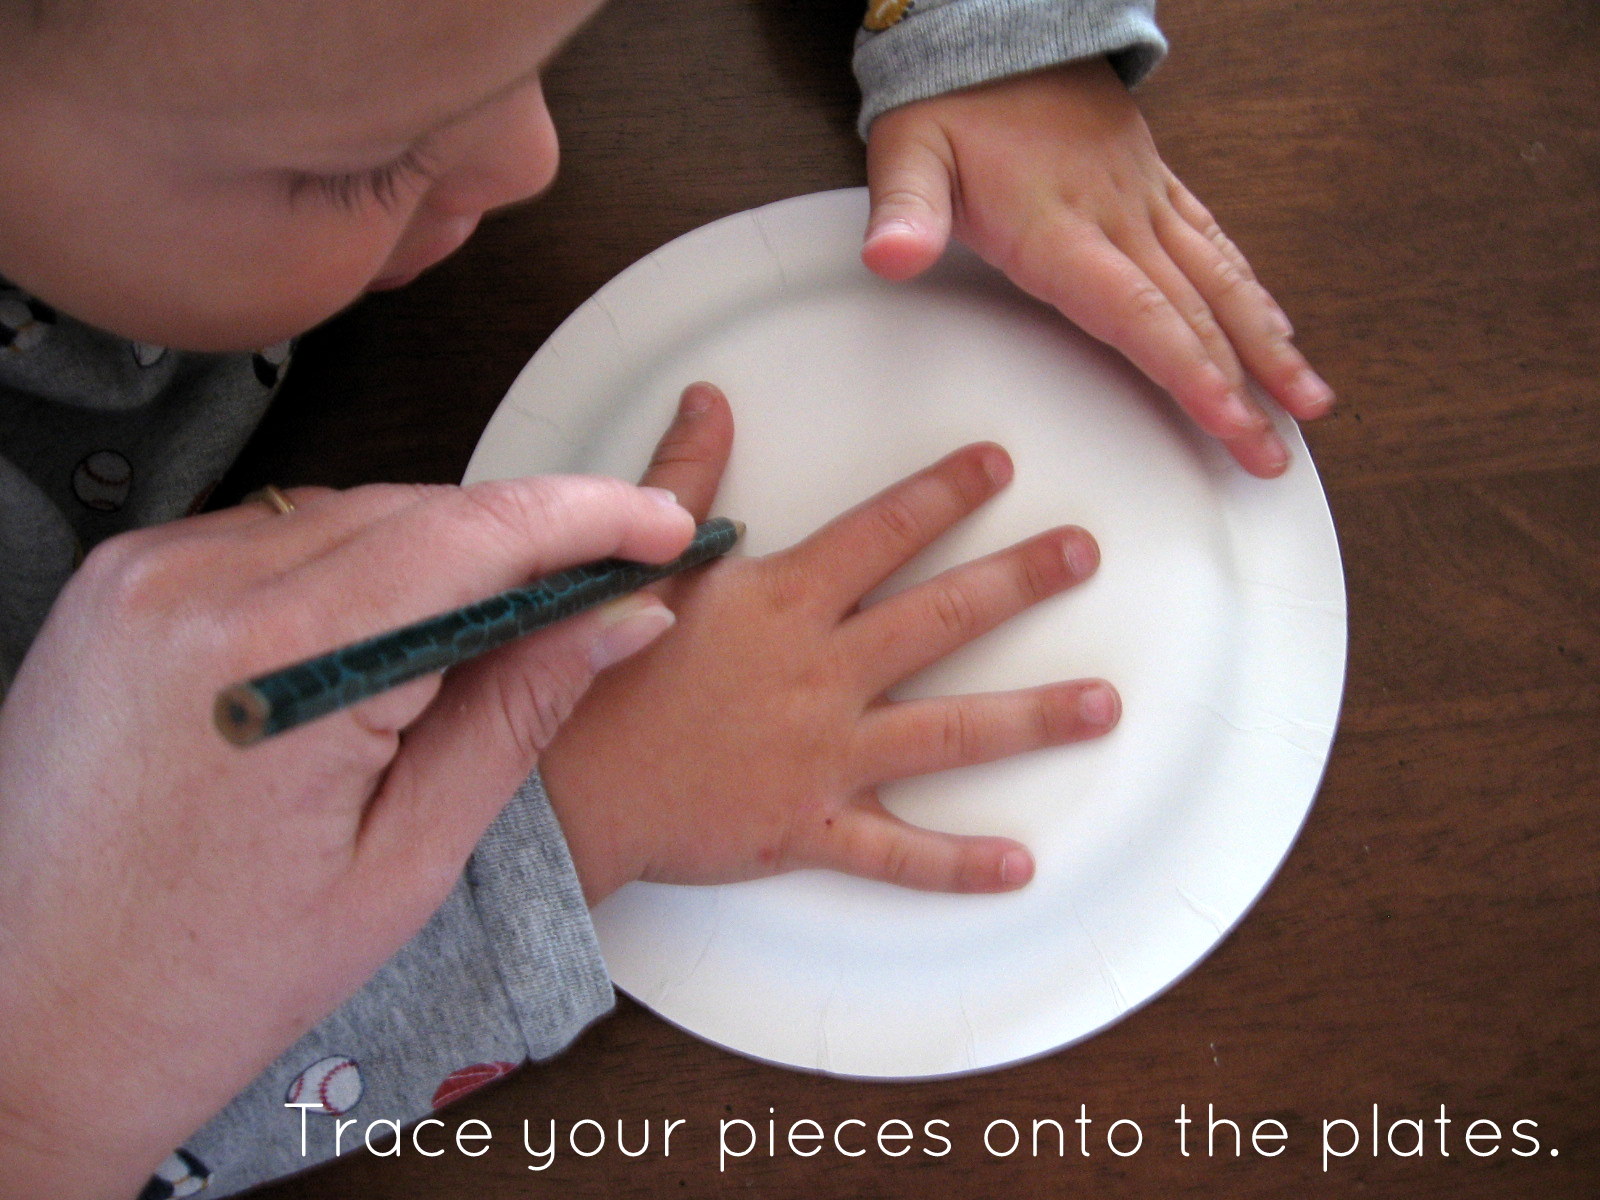
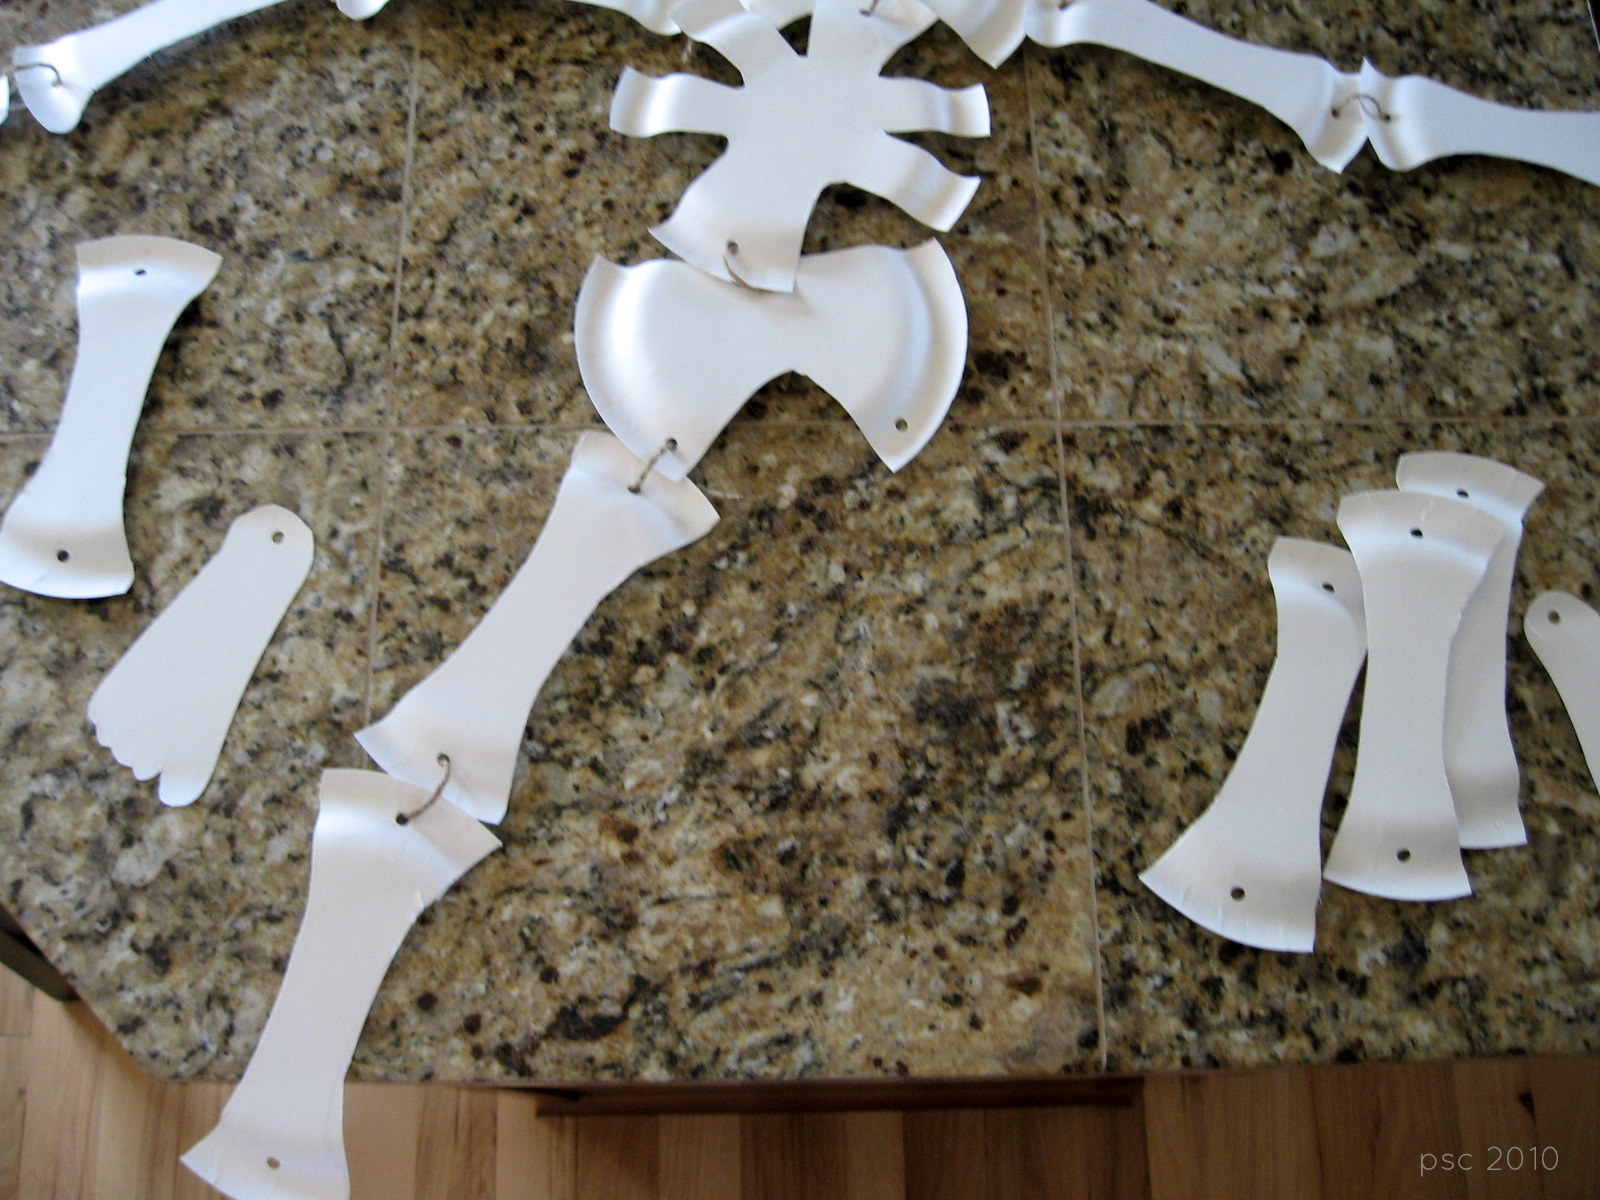
Trace all your pieces onto the paper plates. Using your templates, trace 10 bones, and then one of each head, shoulders, ribs, and hips. For the hands and feet, use your own. It makes the project a little more personal.
Step two.
Cut all your pieces out.
Cut all your pieces out.
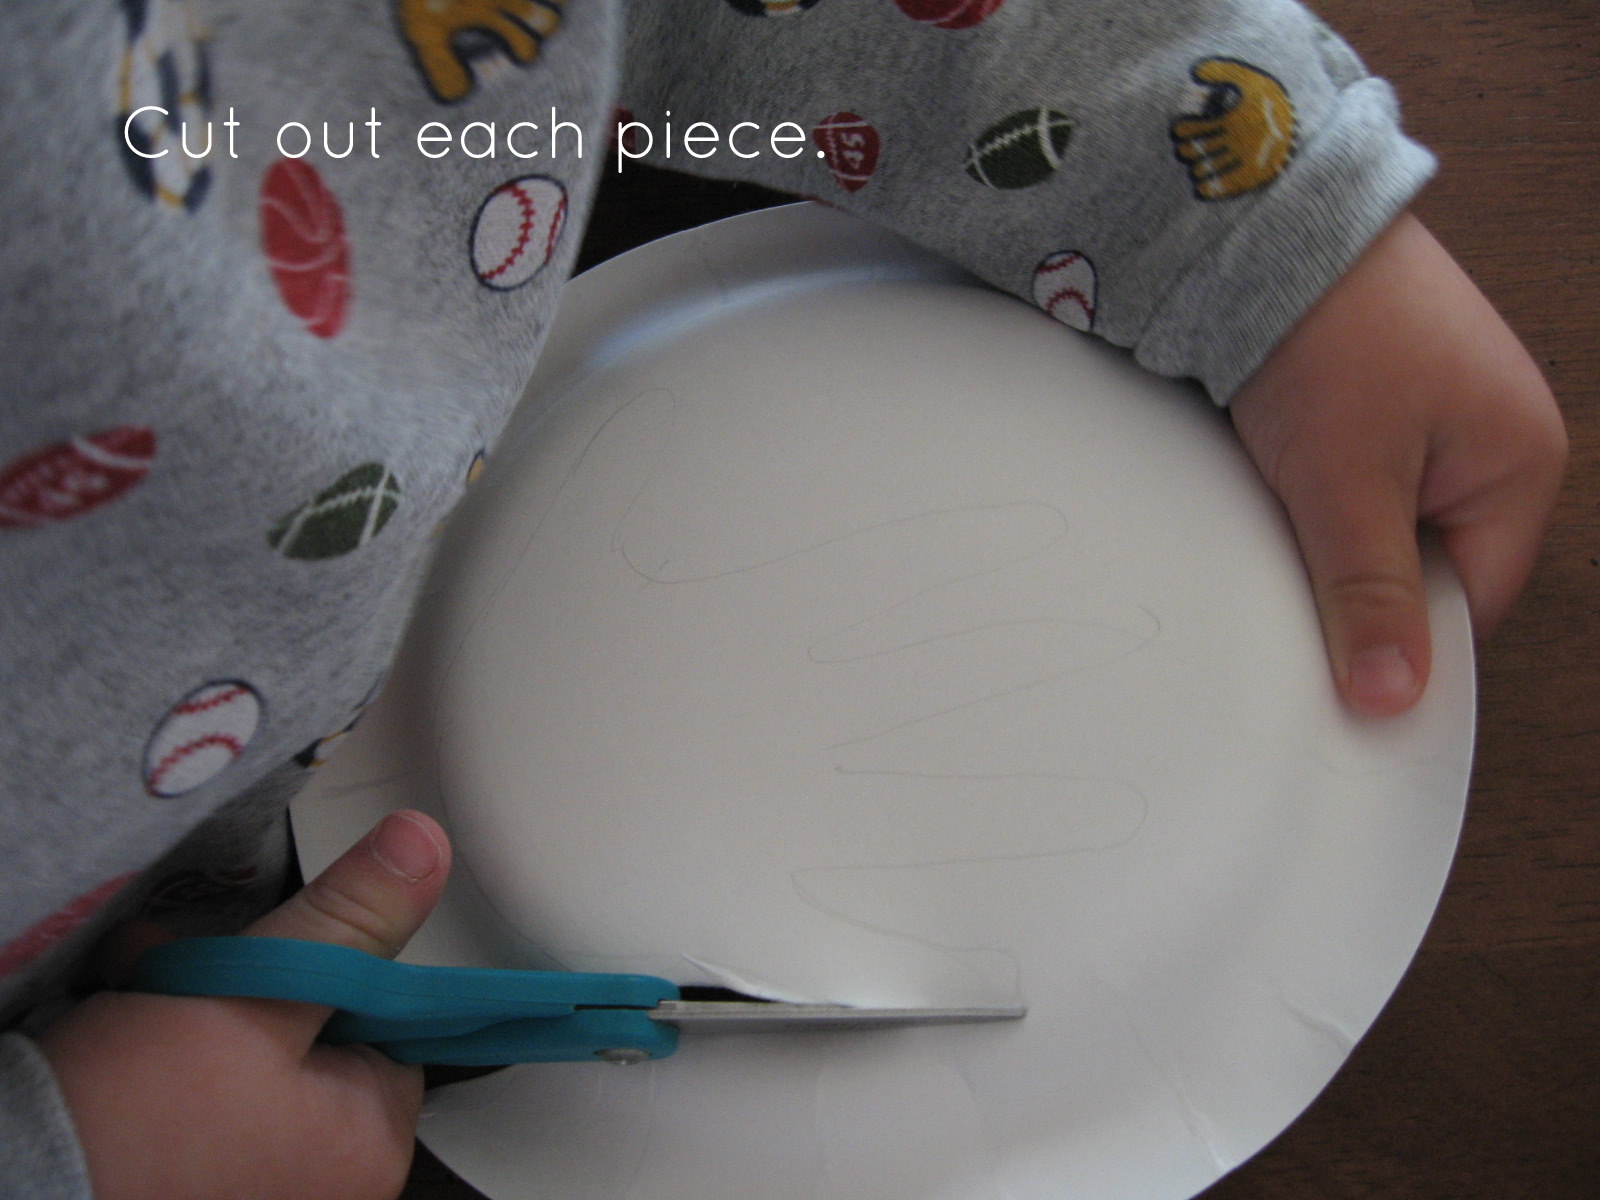

You should have one head, one shoulder/neck piece, one rib piece, one hip, two hands, two feet, and 10 long bones for arms and legs.

Don’t forget your skeleton’s face. This gives him a little personality.
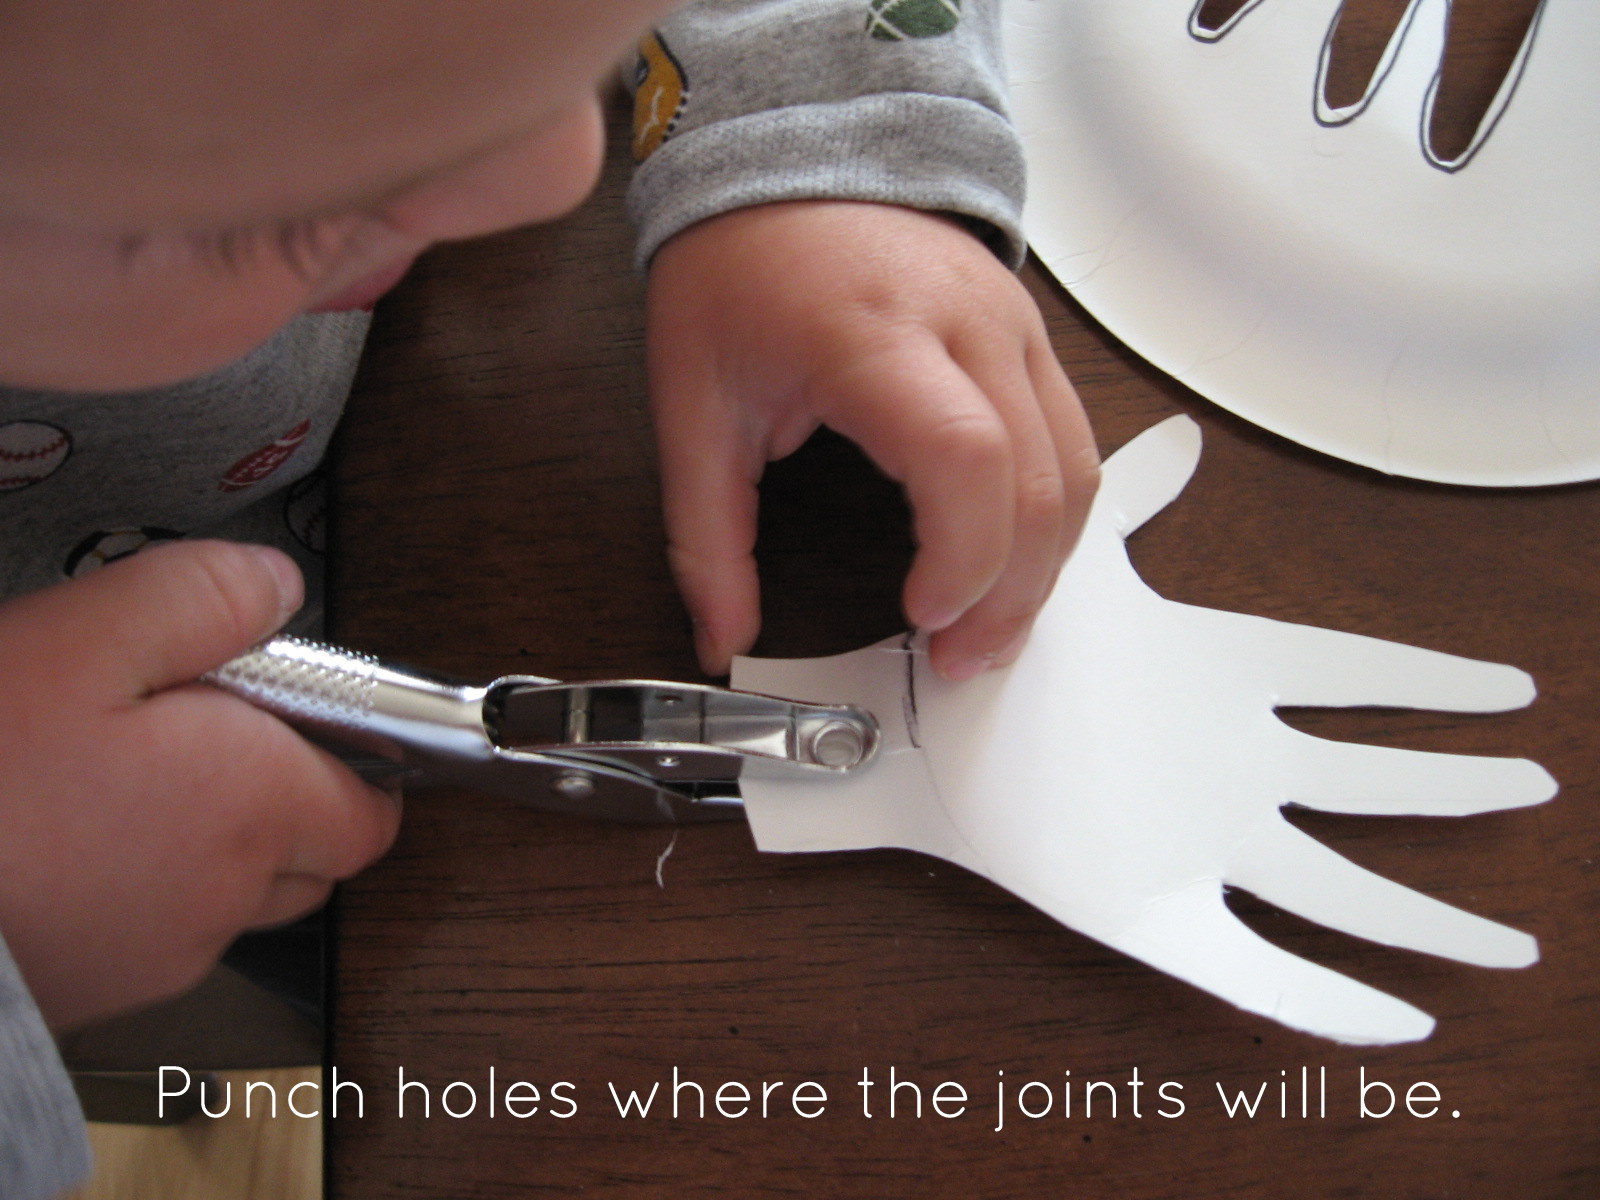
Step three.
Punch holes for joining.
Step four.
Cut out approximately 4″ pieces of jute, and tie your joints together. I used a square knot.
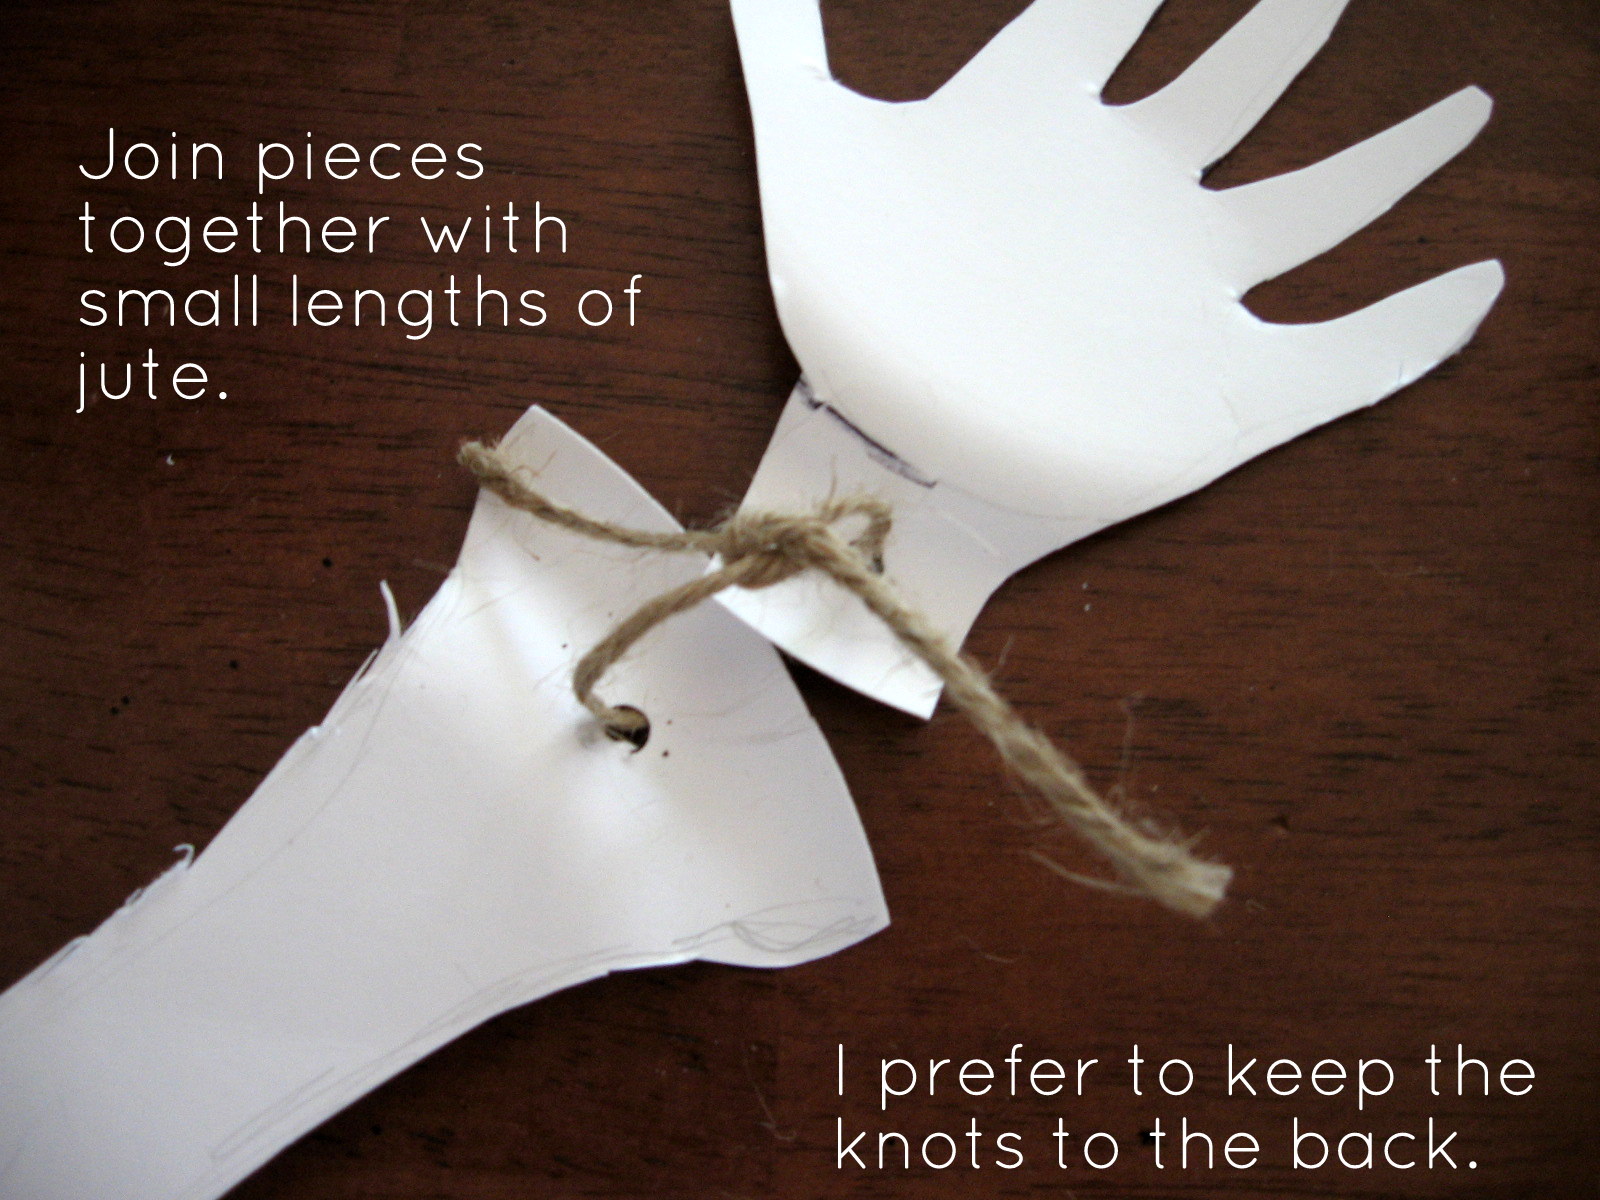
Using this photo as a guide, tie all the pieces together. You might want to sing along as you go. “The head bone’s connected to the neck bone…”

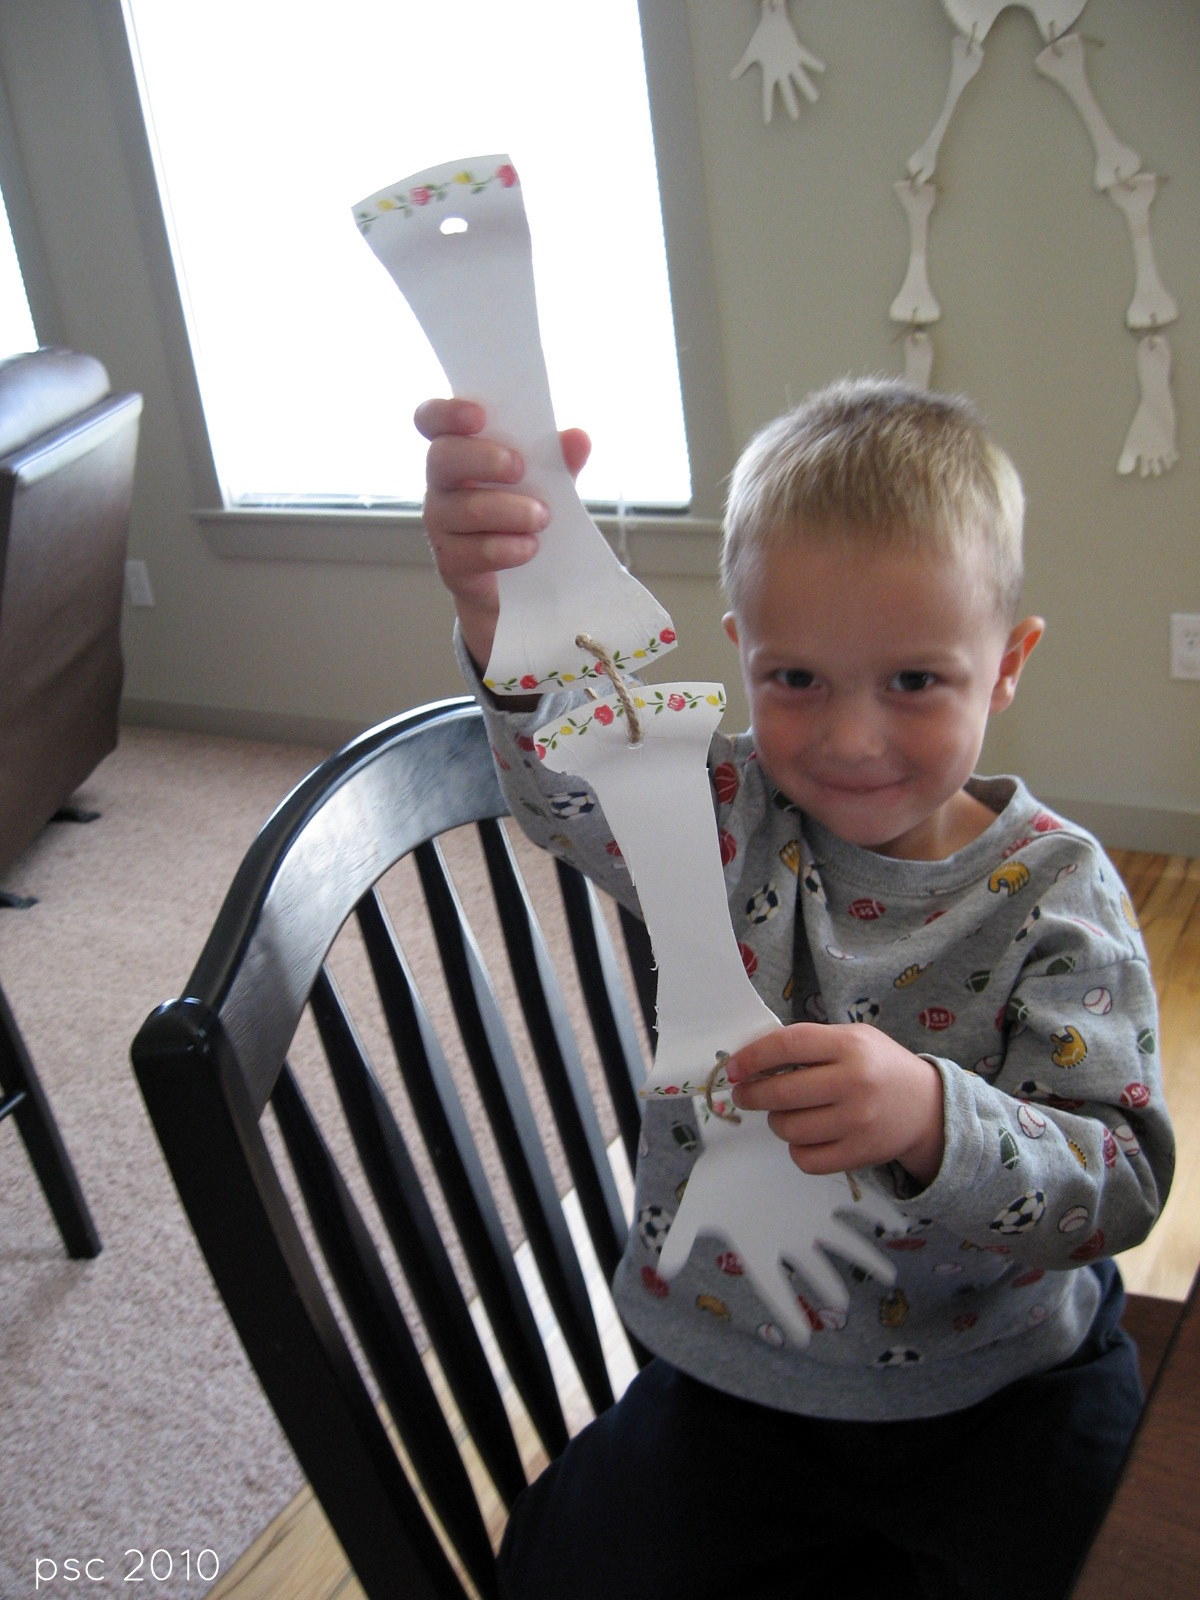
Keep tying, until he’s all put together.
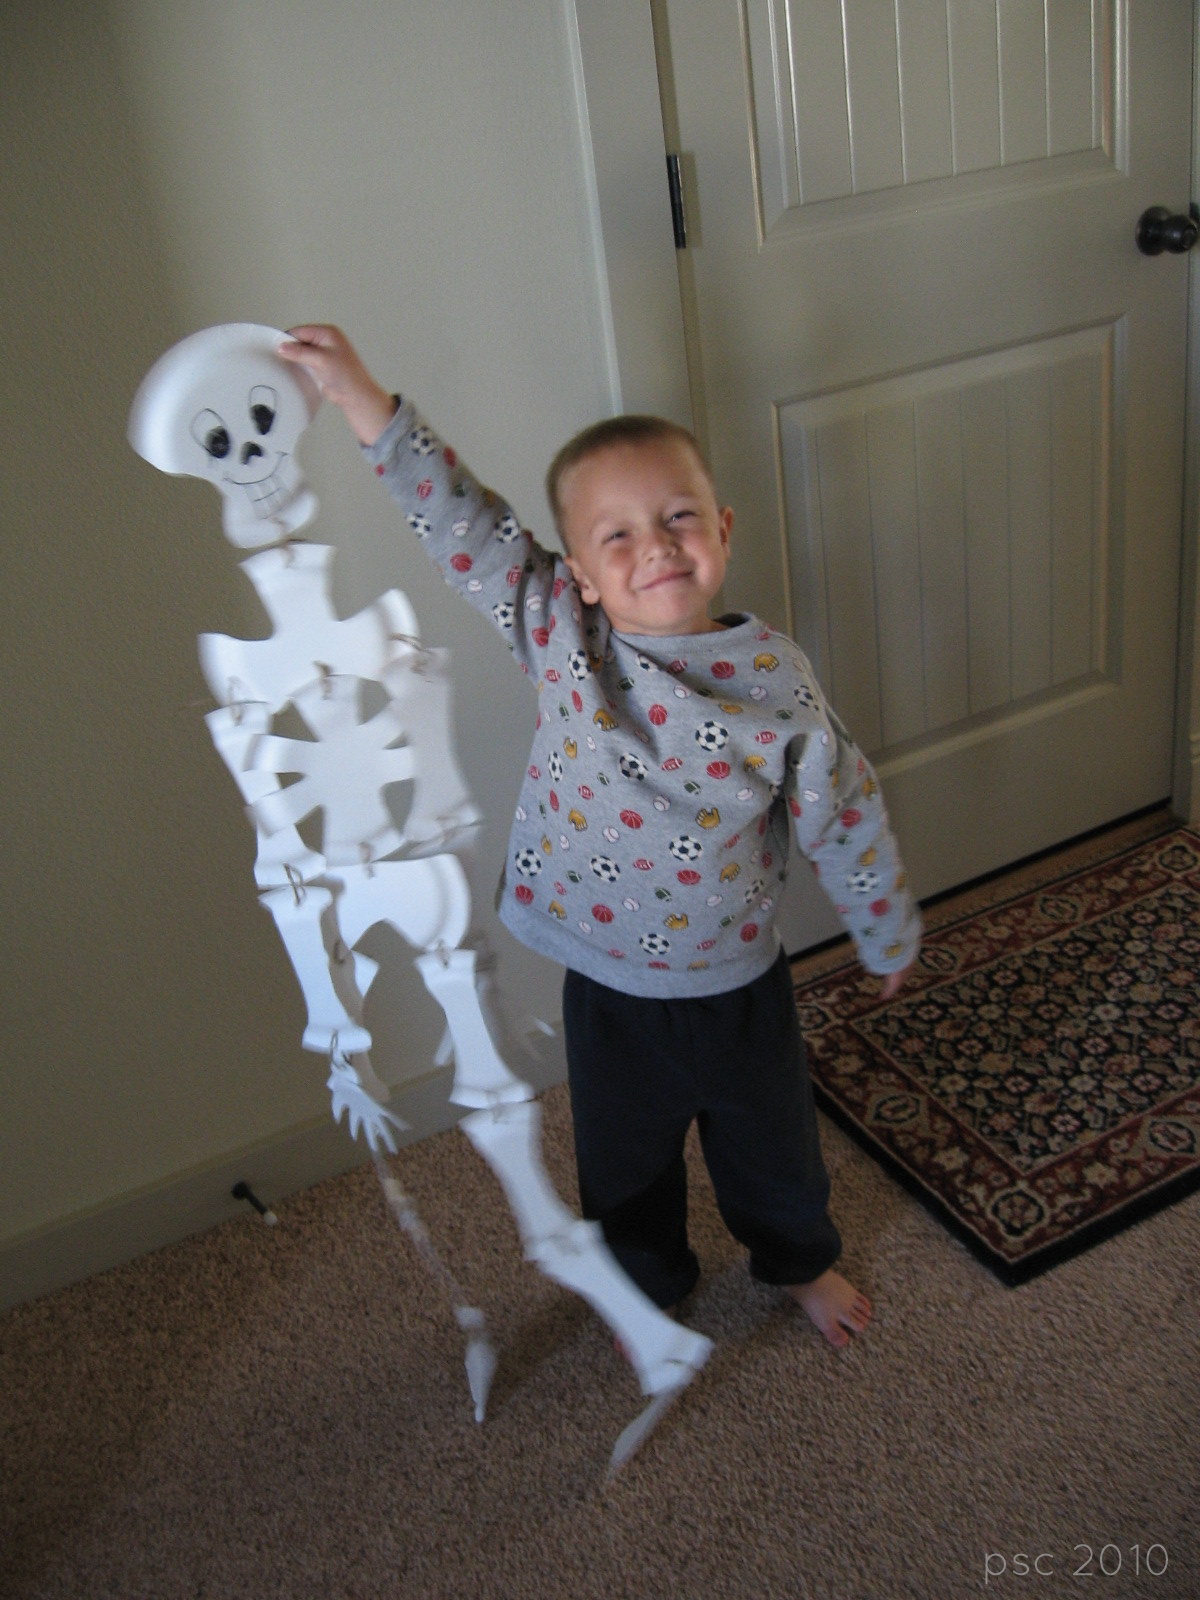
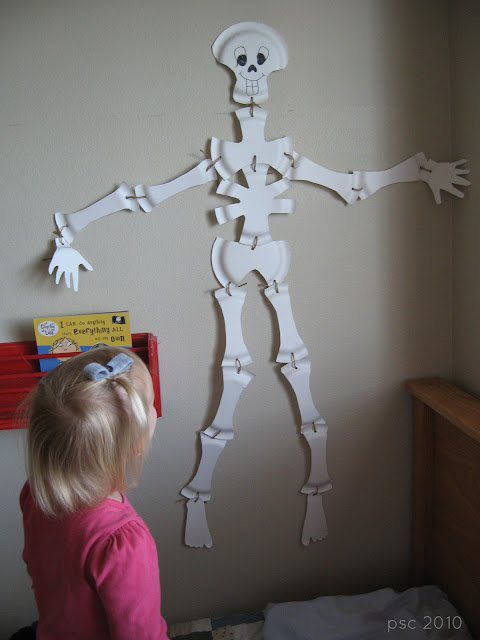
Now he’s ready to hang on a wall and bring a smile to your child’s face.
There you go, a simple, fun activity to share with your kids.
I would love to see what your skeleton turns out like.
You’re welcome over at my place anytime. 🙂
Thanks, Desiree, for inviting me.
I’m still just tickled to have been included.
……………………..
I first saw this sweet simple project on Pinterest and I loved it!
I am always looking for inexpensive activities that I can do with my four little ones and this was just PERFECT…
It was a treat to visit Chris’ blog and see so many great tutorials.
Take a minute to stop by and say hi to my girl!
Thank you Chris…
We’ll be making our skeletons sometime this week 😉
Desirée

This was so awesome! It took some time but it was pretty easy. My three year old has it hanging on his door now.
These are soooooo cute… My group of friends and I (all 23-25 years old) are having a crafting party and going to donate these to a childrens home 🙂 Thanks for sharing!!!
What a great idea!